
Keep up to date on current trends and technologies
Mobile - Mobile Web Development

I Built a Tiny Journal App to Learn Laravel. Here's the Process, Step by Step.
SitePoint Team

I Built a Task Management API in Laravel to Learn the Fundamentals (Here's What Happened)
SitePoint Team
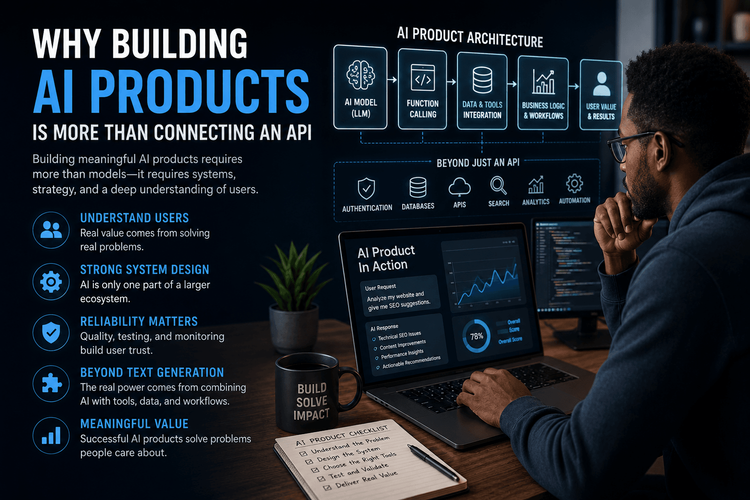
Why Building AI Products Is More Than Connecting an API
Christian chimeremeze ezenwa

Stop Guessing: Why Transparent Pricing Calculators Are the Future of Web Agencies
sharjeel

Top Mobile App Development Programming Languages
Lucero del Alba

Accessing localhost from Anywhere
Patrick Catanzariti

How to Simulate Mobile Devices with Device Mode in Chrome
Craig Buckler

How to Test Responsive Web Design Cross-Browser Compatibility
Craig Buckler

5 Ionic Framework App Development Tips and Tricks
Charles Muzonzini

Realtime App Development with RethinkDB and React Native
Wern Ancheta
Quick Tip – Using and Installing Cordova
Mark Brown
Fast, Lightweight Data Storage for Cordova Apps with LokiJS
Wern Ancheta
Build an Android App with React Native
Wern Ancheta
The 21-Step Checklist for Bulletproof Mobile User Onboarding
Kishan Gupta
Using Socket.IO and Cordova to Create a Real Time Chat App
Wern Ancheta
Working with the Facebook API in a Cordova App
Wern Ancheta
Storing Local Data in a Cordova App
Narayan Prusty
Synchronizing Offline App Data with PouchDB
Jay Raj
Offline Support in Firebase, a Truly Mobile Datastore?
Thomas Greco
Scanning a QR Code with Cordova
Narayan Prusty
10 Essential Material Design Resources and Tutorials
Ada Ivanoff
Creating an Audio Calling App with Ionic and PhoneRTC
Wern Ancheta
How to Run Node.js with Express on Mobile Devices
Krzysztof Trzeciak
3 Options for Creating Mobile Apps Without Coding
Jay Raj
Integrating Local Notifications in Cordova Apps
Narayan Prusty
App Prototyping: Getting Started with Facebook Origami
Mateo Prifti
Building a Native App with JavaScript Using NativeScript
Jay Raj
Creating a Location Sharing App Using the Ionic Framework
Jay Raj
Understanding the Mobile User
Richa Jain
Creating a Bucket List App with Ionic and Firebase – Part 2
Jay Raj
Hello Sailfish, an Introduction to Developing for SailfishOS
Michele Tameni
Creating a Bucket List with the Ionic Framework and Firebase
Jay Raj
Showing 32 of 112