

In the previous part of this tutorial, we saw how to get started creating a Bucket List app using IONIC and Firebase. We implemented sign in functionality using Firebase as a back end. In this part, we’ll implement sign up functionality and enable users to add wishes to their list once signed in. Source code from this tutorial is available on GitHub.
Key Takeaways
- The tutorial continues with the creation of a Bucket List app using Ionic and Firebase, focusing on the implementation of sign up functionality and enabling users to add wishes to their list.
- The tutorial provides detailed steps on creating a sign up screen, implementing sign up functionality, adding a wish feature, and listing these wishes on the user’s homepage.
- The tutorial also demonstrates how to read and write data to Firebase and how to navigate between different views in the application.
- The tutorial concludes with a brief FAQ section, addressing questions about Firebase pricing, integrating Firebase with an Ionic app, handling user authentication, storing and retrieving data, deploying the app, monitoring usage and performance, handling errors, securing app data, and using Firebase for push notifications.
Getting Started
Clone the source code from the previous part of the tutorial.
git clone https://github.com/sitepoint-editors/iBucketListApp_Part1
After the clone has completed, navigate to the project directory and install the required dependencies.
cd iBucketListApp_Part1

npm install
Run ionic serve to run the app in the web browser.
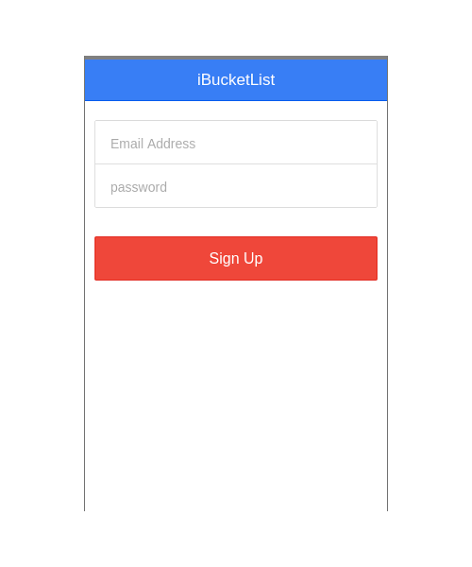
Creating Sign Up Screen
Start by creating the sign up screen. Navigate to the www/templates folder and create a file called signup.html. Inside signup.html add the following code:
<ion-view title="iBucketList">

     <ion-content>

        <div class="list list-inset">

              <label class="item item-input">

                <input type="email" placeholder="Email Address" ng-model="login.email">

              </label>

              <label class="item item-input">

                <input type="password" placeholder="password" ng-model="login.password">

              </label>

        </div>

        <div class="padding">

            <button ng-click="signup()"  class="button button-block button-assertive">

                  Sign Up

            </button>

        </div>
    </ion-content>

</ion-view>
Open www/js/app.js and add a new state for the sign up page.
.state('signup', {

    url:'/signup',

    templateUrl:'templates/signup.html',

    controller:'SignUpCtrl'

  })
Next create a controller for the sign up view. Open www/js/controller.js and add the SignUpCtrl controller.
.controller('SignUpCtrl', ['$scope', function($scope){
   // Code will be here
}])
Save the above changes, open http://localhost:8100/#/signup in your browser and you should see the sign up screen.
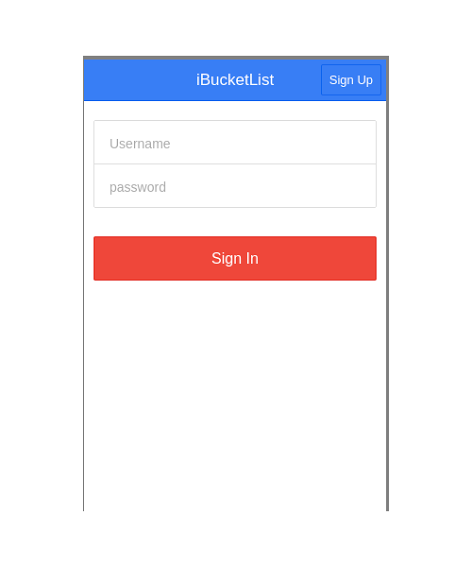
Next we need to add a button to the sign in screen to navigate to the sign up screen and vice versa.
Add the following code into home.html after the start of theion-view element.
<ion-nav-buttons side="secondary">

      <button class="button" ng-click="showSignUp()">

        Sign Up

      </button>

</ion-nav-buttons>
As you can see in the code above, we have set side="secondary" which means to the right side. We attached a ngClick directive to call the showSignUp function which we’ll define next in the HomeCtrl function.
$scope.showSignUp = function(){

        $state.go('signup');

}
Save the above changes and load the home page of the app. You should have the Sign Up link on the right side of the header. Click on it to navigate to the sign up page.
Add the Back button to the sign up page to navigate back to the sign in page.
<ion-nav-buttons side="primary">

      <button class="button" ng-click="showSignIn()">

        Back

      </button>

</ion-nav-buttons>
Add the remaining code to showSignIn function to the SignUpCtrl controller.
.controller('SignUpCtrl', ['$scope','$state', function($scope,$state){
    $scope.showSignIn = function(){

        $state.go('home');

    }
}])
Implementing Sign Up
To implement the sign up functionality using firebase, inject the $firebaseAuth module in to the SignUpCtrl controller.
.controller('SignUpCtrl', ['$scope','$state','$firebaseAuth', function($scope,$state,$firebaseAuth)
Create a function called signup in SignUpCtrl controller. We have already added the ngModel directive to the input fields in the sign up page. Using the input field values call the createUser firebase API to create a new user.
$scope.login={};
var firebaseObj = new Firebase("https://burning-fire-1723.firebaseio.com");
var loginObj = $firebaseAuth(firebaseObj);
$scope.signup = function(){

        var email = $scope.login.email;

        var password = $scope.login.password;
        loginObj.$createUser(email, password)

            .then(function() {

                // do things if success

                console.log('User creation success');

                $state.go('home');

            }, function(error) {

                // do things if failure

                console.log(error);

            });

}
Save the above changes and try to sign up. If your user creation is successful, you’ll be redirected to the sign in page.
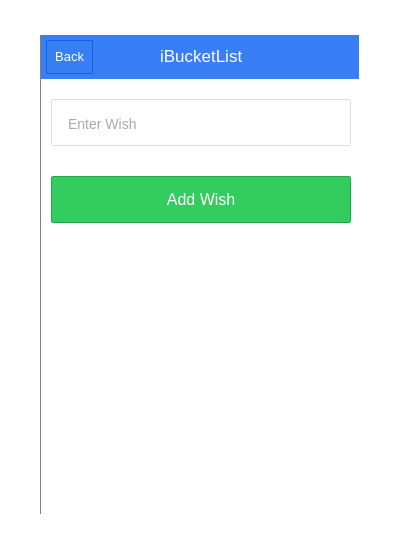
Adding a Wish
Once the user has logged in, we will display a success message on their home home page and display a list of wishes added. But first we need to create an interface for the user to add wishes.
Create a page called templates/addWish.html.
<ion-view title="iBucketList">

    <ion-nav-buttons side="primary">

      <button class="button" ng-click="showUserHome()">

        Back

      </button>

    </ion-nav-buttons>

     <ion-content>

      <div class="list list-inset">

              <label class="item item-input">

                <input type="text" ng-model="user.wish" placeholder="Enter Wish" >

              </label>
        </div>

      <div class="padding">

            <button ng-click="add()"  class="button button-block button-balanced">

                  Add Wish

            </button>

        </div>

    </ion-content>

</ion-view>
In js/app.js define a state for the add wish page.
.state('addWish', {

    url:'/addWish',

    templateUrl:'templates/addWish.html',

    controller:'AddWishCtrl'

  })
Create a controller for the ‘add wish’ page in js/controller.js. Inside AddWishCtrl add a method called showUserHome to navigate back to the user home.
.controller('AddWishCtrl', ['$scope','$state', function($scope,$state){
    $scope.showUserHome = function(){

        $state.go('userHome');

    }
}])
Save the above changes and to view the ‘add wish’ page open the browser to http://localhost:8100/#/addWish.
Next let’s implement the functionality for the ‘add wish’ page. We have already defined ng-model="user.wish" on the input element. Let’s define the add function attached to the Add Wish button in AddWishCtrl.
$scope.add = function(){

        var firebaseObj = new Firebase("https://blistering-heat-2473.firebaseio.com/MyWish");

        var fb = $firebase(firebaseObj);
        // Adding code will be here

    }
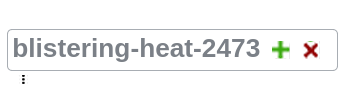
As seen above, we have used the URL /MyWish, login to the Firebase dashboard and click on the plus icon next to the firebase URL.
Make sure you have $firebase injected in the AddWishCtrl.
.controller('AddWishCtrl', ['$scope','$state','$firebase', function($scope,$state,$firebase)
Next we’ll use the push API to write data to firebase.
fb.$push({

    wish: $scope.user.wish

}).then(function(ref) {

    console.log(ref);

}, function(error) {

    console.log("Error:", error);

});
To identify the wish created by a particular user, we’ll add the email address of the user along with their wish, creating an AngularJS service to store the email address of the user during sign in. Add the service SessionData to the controller.js file.
.service('SessionData', function() {

    var user = '';
    return {

        getUser: function() {

            return user;

        },

        setUser: function(value) {

            user = value;

        }

    };

});
The above service has two functions getUser and setUser to get and set user data respectively.
Inject the SessionData service in to the HomeCtrl.
.controller('HomeCtrl',['$scope','$firebaseAuth','$state','SessionData', function($scope,$firebaseAuth,$state,SessionData)
In the success callback of the signin function, we’ll set the username in the SessionData service.
SessionData.setUser(username);
In the add function of the AddWishCtrl, push the email address along with the particular wish. Inject SessionData into the AddWishCtrl.
.controller('AddWishCtrl', ['$scope','$state','SessionData','$firebase', function($scope,$state,SessionData,$firebase){
Here is the complete add function in AddWishCtrl.
$scope.user = {};
$scope.add = function(){

        var firebaseObj = new Firebase("https://blistering-heat-2473.firebaseio.com/MyWish");

        var fb = $firebase(firebaseObj);

        var user = SessionData.getUser();
        fb.$push({

            wish: $scope.user.wish,

            email: user

        }).then(function(ref) {

            console.log(ref);

            $state.go('userHome');

        }, function(error) {

            console.log("Error:", error);

        });

    }
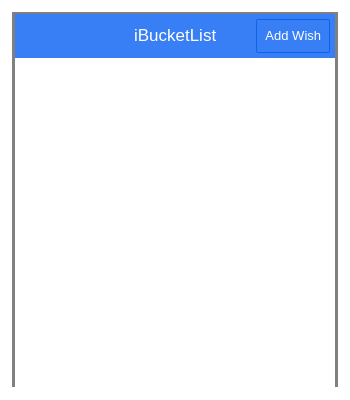
Next let’s add a menu button to the header bar on the user home page to enable navigation to the ‘add wish’ page. Add the following code above ion-content in userHome.html.
<ion-nav-buttons side="secondary">

      <button class="button" ng-click="showAddWish()">

        Add Wish

      </button>

</ion-nav-buttons>
Inside UserHomeCtrl add the showAddWish function to navigate to the add wish page.
.controller('UserHomeCtrl', ['$scope','$state','$firebase', function($scope,$state,$firebase){

    $scope.showAddWish = function(){

      $state.go('addWish');

 }

}])
Save changes and try to sign in to the app. When on the user home page, you should be able to view the Add Wish button in the header. Click on it and it should take you to the add wish page.
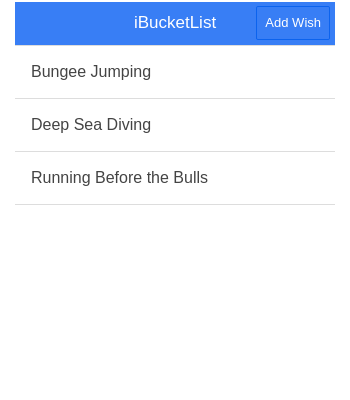
Listing Wishes on User Homepage
On the user homepage we’ll display all the wishes added to firebase. We’ll fetch all the items added as an array and bind it to a $scope variable. Inside UserHomeCtrl add the following code:
var firebaseObj = new Firebase("https://blistering-heat-2473.firebaseio.com/MyWish");
var sync = $firebase(firebaseObj);

$scope.wishes = sync.$asArray();
As seen above, we created a Firebase object using our unique firebase URL. Then we passed the firebaseObj to $firebase which would return the data as an array. To display the data on the user home page, we’ll make use of the ngRepeat directive. In userHome.html, inside ion-content, add the following code:
<ul class="list">

    <li class="item" ng-repeat="wish in wishes">

        {{wish.wish}}

    </li>

</ul>
Save the changes and you should have all the wishes listed in the user home page.
Conclusion
In this tutorial, we implemented sign up functionality using Firebase as a back end. We learned how to read and write data to Firebase. I hope this tutorial serves as a useful resource for beginners to get started with IONIC framework.
Let us know your thoughts, suggestions and any problems encountered in the comments below.
Frequently Asked Questions (FAQs) about Creating a Bucket List App with Ionic and Firebase
How does Firebase pricing work for my Bucket List App?
Firebase offers a free tier known as the Spark plan, which includes basic features and 10GB of hosting. However, if your app requires more resources or advanced features, you may need to upgrade to the Blaze plan. The Blaze plan is a pay-as-you-go plan, meaning you only pay for the resources you use. It’s important to monitor your usage to avoid unexpected costs.
How can I integrate Firebase with my Ionic app?
Integrating Firebase with your Ionic app involves installing the Firebase and AngularFire2 libraries into your project. You’ll then need to initialize Firebase in your app module and provide your Firebase project credentials. Once this is done, you can use Firebase services such as authentication, database, and storage in your app.
What are the key features of the Bucket List App?
The Bucket List App allows users to create, update, and delete items from their bucket list. It also supports user authentication, meaning each user has their own private list. The app is built with Ionic, a popular framework for building mobile apps, and uses Firebase for backend services.
How can I handle user authentication in my Bucket List App?
Firebase provides a powerful authentication service that supports email and password login, as well as social login with providers like Google and Facebook. You can use the AngularFire2 library to easily integrate Firebase authentication with your Ionic app.
How can I store and retrieve data in my Bucket List App?
Firebase offers a NoSQL database called Firestore for storing and retrieving data. In your Bucket List App, you can use Firestore to store each user’s bucket list items. AngularFire2 provides a simple API for interacting with Firestore, allowing you to perform operations like adding, updating, and deleting items.
How can I deploy my Bucket List App?
Once you’ve built your Bucket List App, you can deploy it using Ionic’s command-line interface. If you want to host your app on the web, you can use Firebase Hosting, which is included in both the Spark and Blaze plans.
How can I monitor usage and performance of my Bucket List App?
Firebase provides several tools for monitoring usage and performance. Firebase Analytics gives you insights into how users are interacting with your app, while Firebase Performance Monitoring helps you understand and improve your app’s performance.
How can I handle errors in my Bucket List App?
Firebase Crashlytics is a real-time crash reporter that helps you track, prioritize, and fix stability issues in your app. It’s a valuable tool for maintaining a high-quality app and ensuring a great user experience.
How can I secure my Bucket List App’s data?
Firebase provides several security features to help protect your app’s data. Firestore has built-in security rules that you can configure to control access to your data. Firebase Authentication also helps secure your app by ensuring only authenticated users can access certain resources.
Can I use Firebase for push notifications in my Bucket List App?
Yes, Firebase Cloud Messaging (FCM) is a free service that lets you send notifications and messages to users across platforms. It’s a powerful tool for engaging users and driving usage of your app.

