
![]()
In a previous article, I cover how to build an online store with Rails from scratch, explaining how to build a shopping cart using Redis. This article continues down that path, adding how to accept payments using Braintree. Braintree helps online businesses process credit card payments by providing a merchant account, payment gateway, recurring billing, and credit card storage.
Source Code for this article is in the same repository as the mentioned article, under the Part2 branch.
Key Takeaways
- Quick Setup: Easily set up Braintree in your Rails application with gems like ‘braintree’ and ‘figaro’, and configure it using environment variables to keep your credentials secure.
- Sandbox Testing: Utilize the Braintree sandbox environment to test your payment integration thoroughly before going live, ensuring a smooth transition to production without risking real transactions.
- Transaction Flow: Implement a robust transaction processing mechanism using Braintree’s SDKs, which handle sensitive payment information securely, avoiding any PCI compliance issues on your server.
- Customer Management: Take advantage of Braintree’s Vault to securely store customer payment information, allowing for quicker transactions and improved user experience without re-entering payment details.
- Enhanced Security and Fraud Protection: Configure Braintree to include CVV and AVS verification for added security and leverage the sandbox settings to test these features effectively.
Step 1: Prepare Application
Purchase Join Model
We have yet to create any relationship between the User & Movie models, which should represent the purchased movies for each user or the buyers for each movie. Let’s declare a many-to-many relationship using has_many :through to make the association indirectly, through a join model. We’ll call it Purchase.
Generate the Purchase model with two foreign_keys:
rails g model purchase movie_id:integer buyer_id:integer
Add an index combining the foreign keys to the migration:
class CreatePurchases < ActiveRecord::Migration

  def change

    create_table :purchases do |t|

      t.integer :movie_id

      t.integer :buyer_id

      t.timestamps

    end

    add_index :purchases, [:movie_id, :buyer_id], unique: true

  end

end
Next, migrate your database:
rake db:migrate
Finally, add the associations to the models:
# Movie Model

has_many :purchases

has_many :buyers, through: :purchases
# User Model

has_many :purchases, foreign_key: :buyer_id

has_many :movies, through: :purchases
# Purchase Model

belongs_to :movie

belongs_to :buyer, class_name: 'User'
You can use the
:class_nameand:foreign_keyoptions to supply the model name and foreign key if the name of the other model cannot be derived from the association name.
Purchasing Functionality
We need to implement several basic methods to represent the purchasing process. Inside User, add cart_total_price, which returns the total price of movies in the cart:
def cart_total_price

  total_price = 0

  get_cart_movies.each { |movie| total_price+= movie.price }

  total_price

end
def get_cart_movies

  cart_ids = $redis.smembers "cart#{id}"

  Movie.find(cart_ids)

end
Another new method, purchase_cart_movies!, loops around the cart movies, purchases it, then empties the cart:
def purchase_cart_movies!

  get_cart_movies.each { |movie| purchase(movie) }

  $redis.del "cart#{id}"

end
def purchase(movie)

  movies << movie unless purchase?(movie)

end
def purchase?(movie)

  movies.include?(movie)

end
Mocking Purchased Movies
Let’s assume that, after purchasing any movie, the user will have access to watch it online. We can mock this scenario by adding a YouTube video for each movie:
rails g migraiton add_video_url_to_movies
Then rake db:migrate your database and add some videos to each movie. I’ve updated the CSV file with some YouTube URLs, so you can use it and re-seed your database.
The show view needs to be modified for users who purchased the movie.
<%if signed_in?%>

  <%if current_user.purchase? @movie %>

    <div class="flex-video">

      <iframe width="100%" height="" src="<%= @movie.video_url %>" frameborder="0" allowfullscreen></iframe>

    </div>

  <%else%>

    <%=link_to "", class: "button", data: {target: @cart_action, addUrl: add_to_cart_path(@movie), removeUrl: remove_from_cart_path(@movie)} do%>

      <i class="fi-shopping-cart"></i>

      <span><%=@cart_action%></span> Cart

    <%end%>

  <%end%>

<%end%>
Also, the movie price label should be changed to “Purchased”.
<p class="label movie-label radius mb1">

  <%= (current_user && current_user.purchase?(@movie)) ? "Purchased" : "$#{@movie.price}" %>

</p>

Step 2: Initialize Braintree
Braintree provides businesses with the ability to accept payments online or within their mobile application. It’s a full-stack payment platform that replaces the traditional model of sourcing a payment gateway and merchant account from different providers.
Braintree Sandbox
Braintree provides a sandbox that allows trying Braintree with no commitment and tests your integration before going to production. Visit the Braintree Get Started page and sign up for a sandbox account.
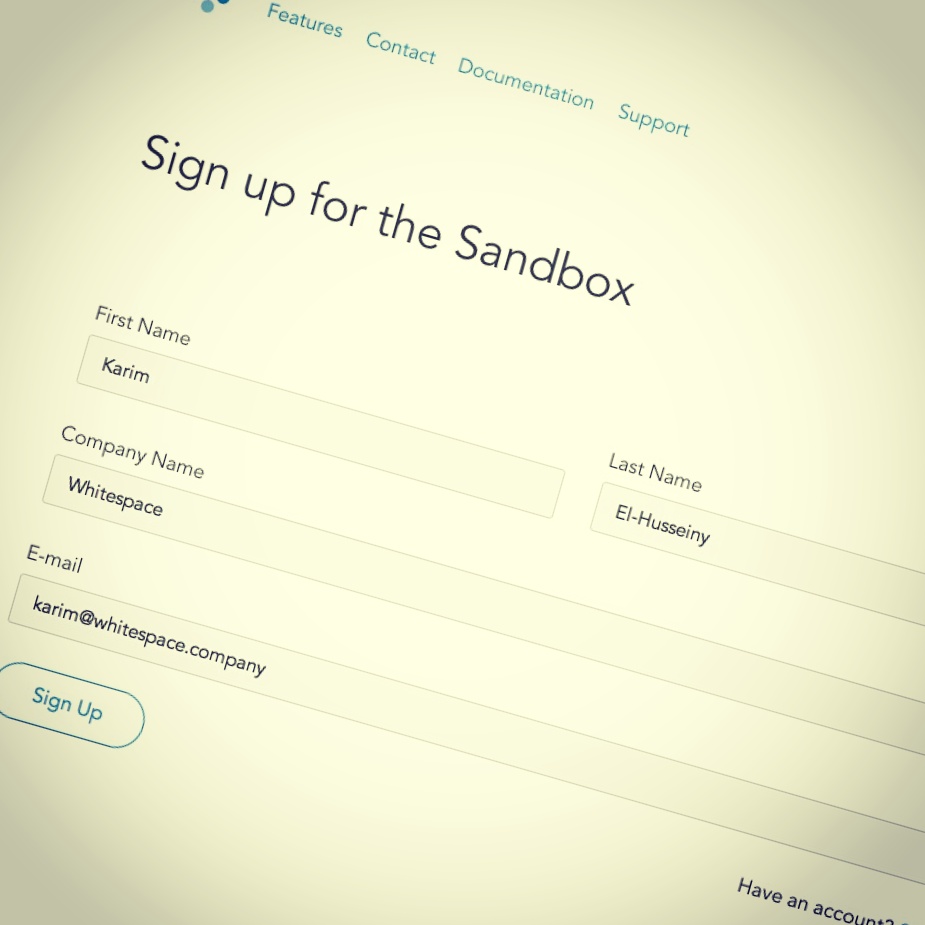
After logging into your sandbox account, you’ll be redirected to a dashboard which enables you to take advantage of the payment gateway and vault. It also provides PCI compliant credit card processing, storage, and retrievals.
Sandbox Keys & Configuration
Inside the sandbox dashboard or inside API keys under your user account settings, you’ll find your application keys and configurations that are added to your application initializers. In the production environment, you’ll replace these keys with the production Braintree Account keys.
Now, let’s get back to our application directory and add the required gems to the Gemfile:
gem 'braintree', '~> 2.33.1'

gem 'figaro', '~> 0.7.0'
Figaro is a simple Rails app configuration gem using ENV and a single YAML file to make it easy to securely configure Rails applications by encouraging a convention that keeps configuration out of Git.
Create a new initializer /config/initializers/braintree.rb and add the basic Braintree configuration keys as environment variables to securely keep secret keys away from version control.
Braintree::Configuration.environment = :sandbox

Braintree::Configuration.logger = Logger.new('log/braintree.log')

Braintree::Configuration.merchant_id = ENV['BRAINTREE_MERCHANT_ID']

Braintree::Configuration.public_key = ENV['BRAINTREE_PUBLIC_KEY']

Braintree::Configuration.private_key = ENV['BRAINTREE_PRIVATE_KEY']
We are using the figaro gem to deal with these environment variables easily. Under your app directory run:
$ rails generate figaro:install
This creates a commented config/application.yml file and adds it to your .gitignore file.
Go back to your Braintree Sandbox account, under the Configuration Code section choose Ruby as your programming language. Copy the server side configuration keys, add them to application.yml and you’re done!
# Braintree configuration keys

BRAINTREE_MERCHANT_ID: 'use_your_merchant_id'

BRAINTREE_PUBLIC_KEY: 'use_your_public_key'

BRAINTREE_PRIVATE_KEY: 'use_your_private_key'
Step 3: Transaction Processing
How Braintree Works
Braintree offers complementary client and server SDKs. They represent the Client-side Encryption solution that combines the best of Braintree’s traditional Server-to-Server (S2S) approach and the innovative Transparent Redirect (TR) solution. In a nutshell, the Braintree mechanism can be described as following:
- The application backend generates a client token using the Ruby SDK for the frontend that initializes the JavaScript SDK using that client token.
- The Braintree-provided JavaScript library encrypts sensitive data using the public key and communicates with Braintree before the form is ever posted to your server.
- Once the data reaches Braintree’s servers, it is decrypted using the keypair’s private key, then returns a payment method nonce to your client code. Your code relays this nonce to your server.
- Your server-side code provides the payment method nonce to the Ruby SDK to perform Braintree operations.
Create Transactions Controller
Generate a “transactions” controller that will be responsible for handling Braintree operations:
$ rails g controller transactions new
Configure the routes.rb file to restrict transactions to the new, create actions only:
resources :transactions, only: [:new, :create]
Obviously, we should call authenticate_user! before accessing these controller actions, making sure that current_user already add some items to cart.
class TransactionsController < ApplicationController

  before_action :authenticate_user!

  before_action :check_cart!
  # Other Code
  private

  def check_cart!

    if current_user.get_cart_movies.blank?

      redirect_to root_url, alert: "Please add some items to your cart before processing your transaction!"

    end

  end

end
Generate Client Token
Inside the new action, generate the client token and pass it to the Braintree JS SDK initializer. There are a variety of ways to pass variables from a Rails application to JavaScript. One of them is to use the Gon gem. Gon allows us to set variables in our controllers and then access them from JavaScript. Let’s install Gon in the usual way, by adding it to the Gemfile and running bundle install.
gem 'gon', '~> 5.1.2'
Next, update the application.html.erb layout file by adding include_gon inside the head section.
<%= include_gon %>

<%= stylesheet_link_tag "application" %>

<%= javascript_include_tag "vendor/modernizr" %>

<%= csrf_meta_tags %>
Go back to our transactions#new action and set variables on a gon object. Generate a client token and set it to client_token on the gon variable.
def new

  gon.client_token = generate_client_token

end
private

def generate_client_token

  Braintree::ClientToken.generate

end
Setup Braintree JavaSript SDK
Note We use Javascript as our client. Braintree also supports other clients, like Android and iOS.
To setup the JavaScript SDK, just include this in your application layout:
<script src="https://js.braintreegateway.com/v2/braintree.js"></script>
The Braintree Client SDK offers a complete payment UI for easy integration into your app. It enables you to accept credit card and PayPal payments via one of the following of integrations:
- Drop-in UI which gets a full-featured checkout with a PayPal option.
- A PayPal Button.
- Credit Card Tokenization to use your own customized card checkout UI instead of the drop-in.
We’ll use the drop-in checkout UI to create our new transaction form.
Use Drop-In UI
In order to use the drop-in payment UI, configure the form where the UI will add the payment method nonce:
<div class="form-container radius-box glassy-bg small-10 small-centered medium-8 large-6 columns">

  <h2 class="mbs">New Transaction</h2>

  <%= form_tag transactions_path do%>

    <p>Please enter your payment details:</p>

    <div id="dropin"></div>

    <%=submit_tag "Pay #{current_user.cart_total_price}$", class: "button mt1" %>

  <%end%>

</div>
Next, inside transactions.js.coffee, initialize the Braintree Javascript SDK, give it the client_token we generated using gon, and specify dropin integration to add the payment UI into the form.
$ ->

  unless typeof gon is 'undefined'

    braintree.setup(gon.client_token, 'dropin', { container: 'dropin' });
We have to show a checkout button inside the carts/show.html.erb view that redirects users to the new transaction form.
<%=link_to "Checkout", new_transaction_path, class: "button" unless current_user.get_cart_movies.blank?%>

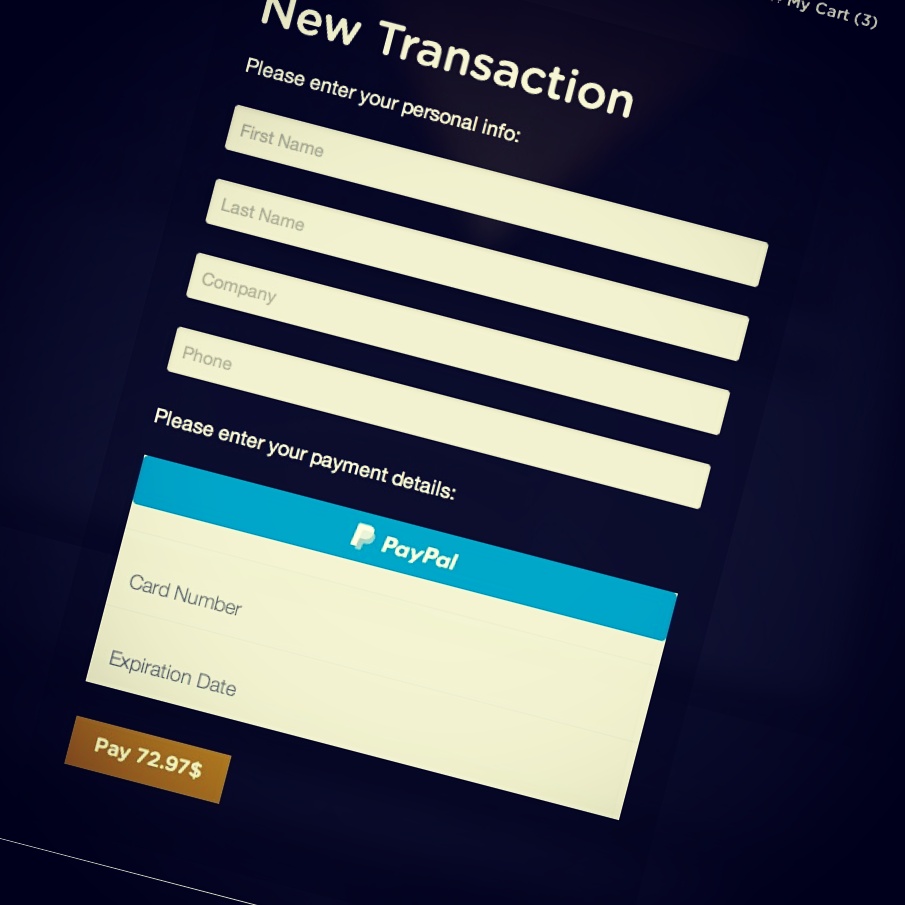
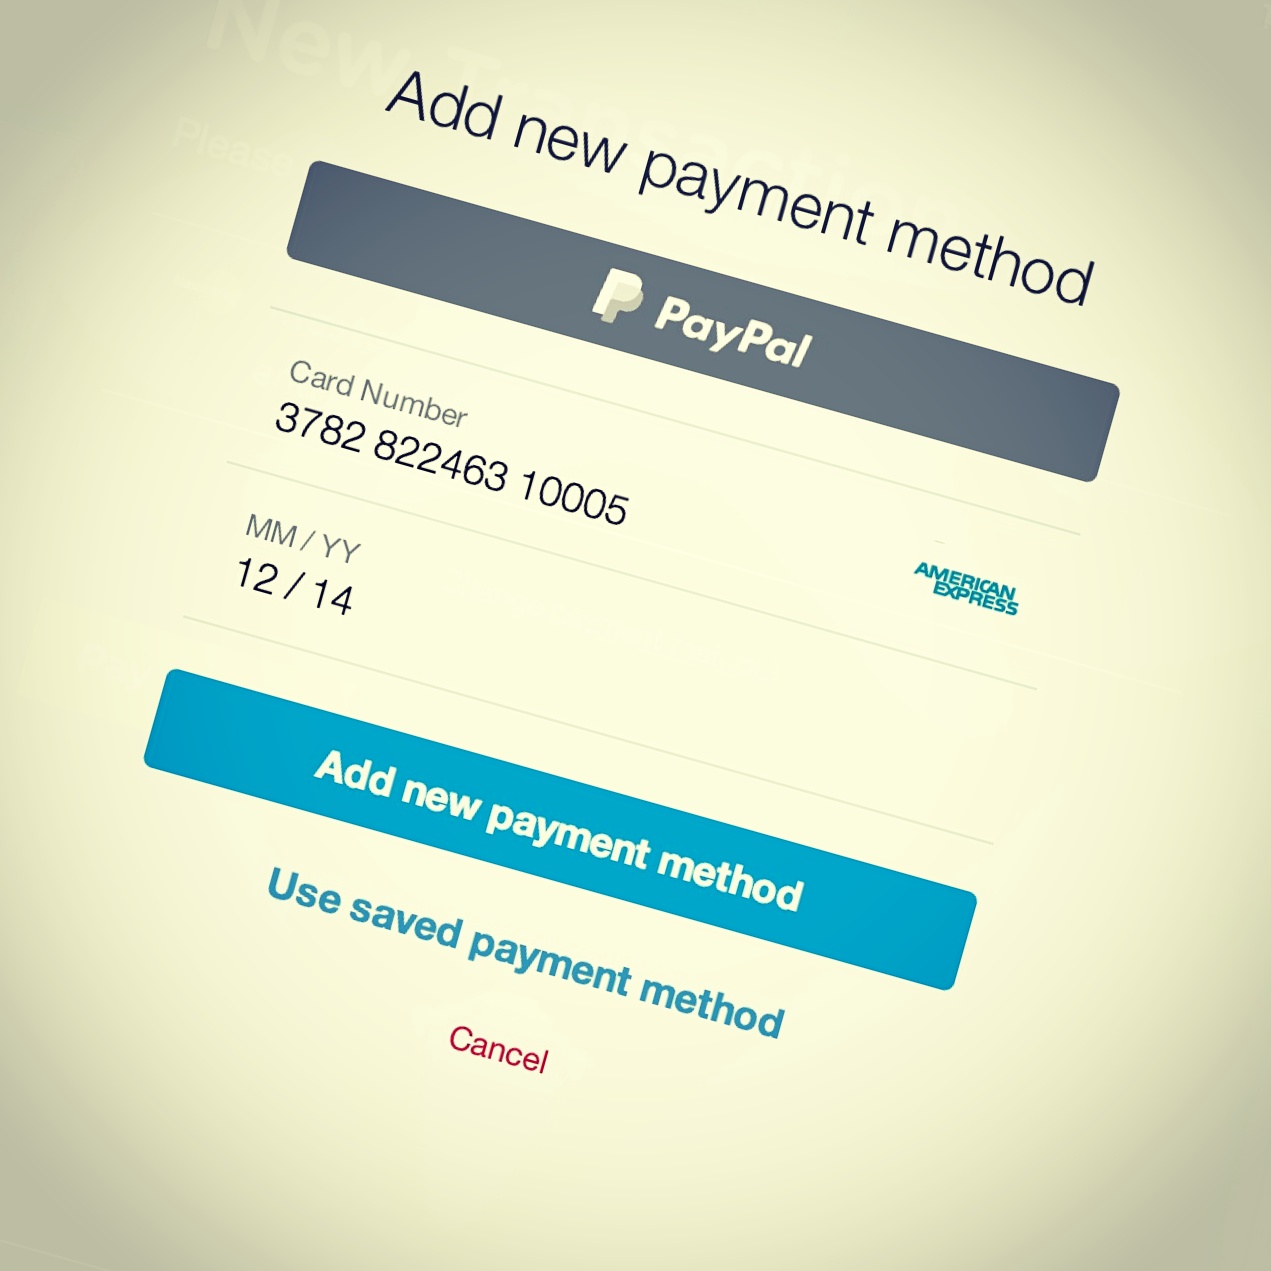
Now, visit the new transaction to see a complete payment UI that includes a card entry form and a PayPal button powered by the Braintree Drop-In UI.
When a user completes the payment form and submits it, our client code produces a payment method nonce for use on our server. The sensitive, non-encrypted data is not included in the form that is submitted to our server, and, therefore, will never pass through our system. The other, non-payment fields will be available to us. This means we can perform custom validations without exposing ourselves to security risks or the extra PCI compliance requirements of having unencrypted credit card data passing through our environment.
Create Transaction
The minimal required attributes to submit a transaction are: the amount of the transaction and a payment method nonce. Remember, the nonce is provided by the JavaScript SDK client code.
class TransactionsController < ApplicationController

  before_action :authenticate_user!

  before_action :check_cart
  def new

    gon.client_token = generate_client_token

  end
  def create

    @result = Braintree::Transaction.sale(

              amount: current_user.cart_total_price,

              payment_method_nonce: params[:payment_method_nonce])

    if @result.success?

      current_user.purchase_cart_movies!

      redirect_to root_url, notice: "Congraulations! Your transaction has been successfully!"

    else

      flash[:alert] = "Something went wrong while processing your transaction. Please try again!"

      gon.client_token = generate_client_token

      render :new

    end

  end
  private
  def generate_client_token

    Braintree::ClientToken.generate

  end
  def check_cart

    if current_user.get_cart_movies.blank?

      redirect_to root_url, alert: "Please add some items to your cart before processing your transaction!"

    end

  end
end
The transaction result may be successful or unsuccessful. When @result.success? returns true, it means that your transaction has been accepted and stored as an authorized operation:
@result.transaction.status

#=> "authorized"
Otherwise, it will return false if validations deny the transaction from being authorized. The result object will contain the validation errors indicating which parameters were invalid so you can render them in your view:
@result.errors
Also, the result indicates if the transaction was created using a PayPal account or a credit card:
@result.transaction.payment_instrument_type == PaymentInstrumentType::CreditCard

#=> true
Okay, so let’s test our functionality. Add some movies into your cart, go to the My Cart page, and click Checkout to redirect to transaction form. Enter random credit card information using one of these credit card numbers and submit your payment info by clicking the Pay button.
If everything is OK, the selected movies will be purchased successfully and you’ll have an access to watch them online.
Now, when visit your sandbox account and click on the Transactions link under Advanced Search, you can search and browse all transactions created by your application. Here, we can see our latest transaction with an Authorized status.
Processing Options
You may notice that the Braintree Drop-In UI does not show some fields, like CVV & AVS. Checking CVV is recommended as a preliminary method to help prevent fraud. To add them, you have to enable and configure their rules for your sandbox account.
Hover on the Settings dropdown menu from the topbar menu and click on the Processing option. The options are under Basic Fraud Protection and you can then enable and configure their verification rules. After finishing & saving your configuration, those fields will be appear in the UI and their validations will work as you configured them.
Step 4: Deal With Customers
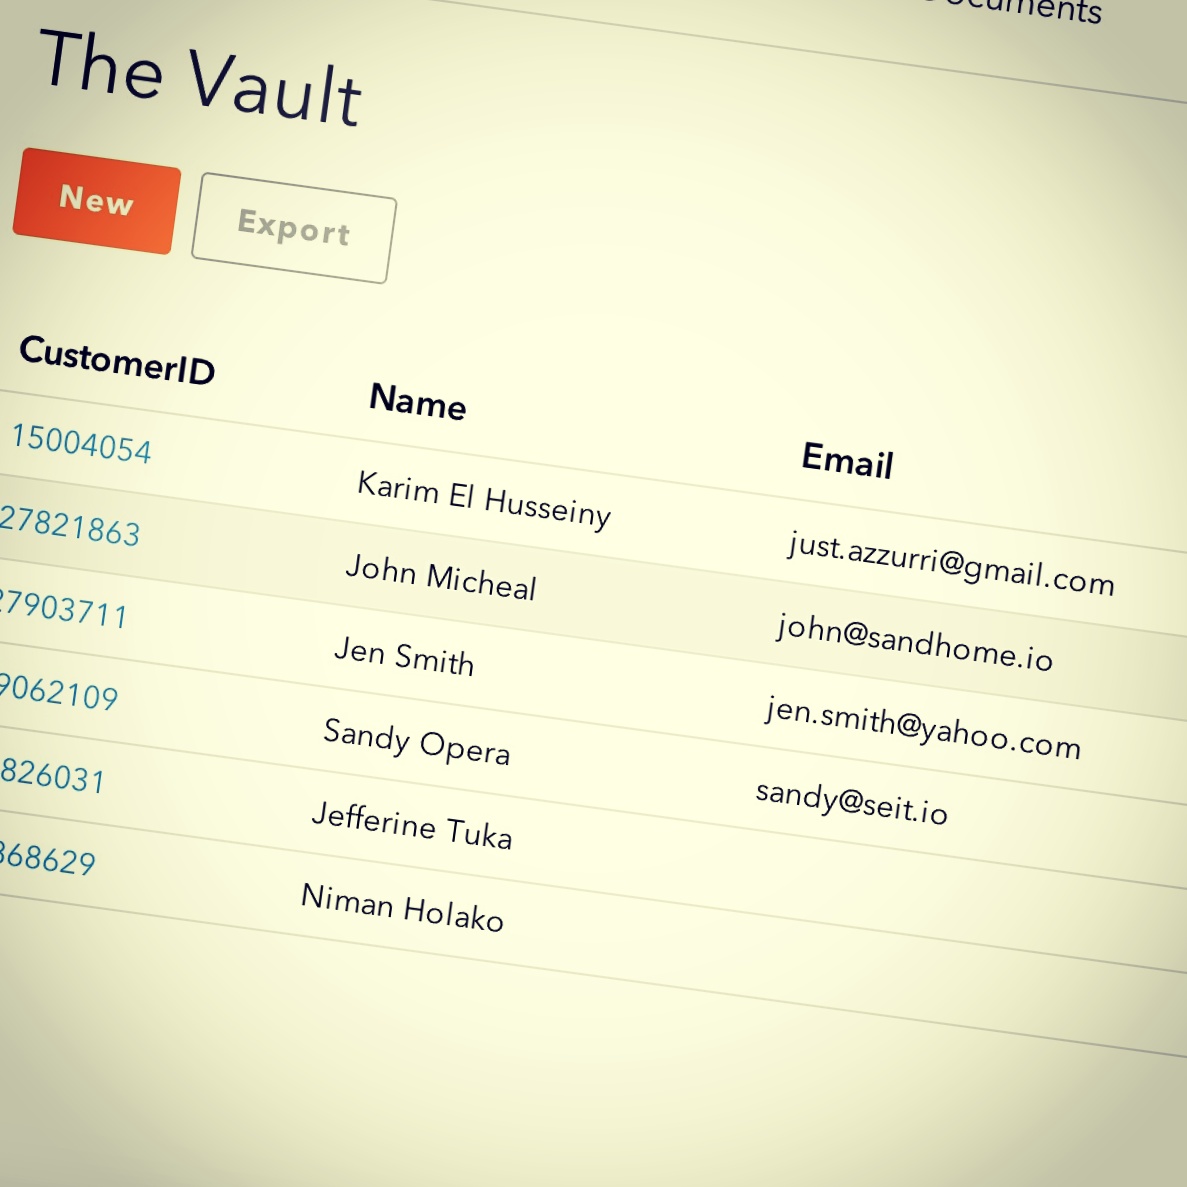
Braintree Vault
What if we want to associate users credit cards with their accounts so they don’t have to add card details everytime they want to checkout?. Braintree offers Vault technology to handle this. Utilizing the Vault allows securely storing the customer’s credit card information without the need for customers to re-enter it each time they purchase a product from our website.
Create Customer
Creating a new customer in the Vault will return an ID that is used to access that customer’s information. So, we need to add braintree_customer_id to the User model to store this customer ID:
$ rails g migration add_braintree_customer_id_to_users

$ rake db:migrate
Also, inside the User model write a method that checks if the user has payment info or not yet:
def has_payment_info?

  braintree_customer_id

end
Next, create a partial form for customer details and render it conditionally inside the new transaction form:
# views/transactions/new.html.erb
<%= form_tag transactions_path do%>

  <%= render 'customer_form' unless current_user.has_payment_info? %>

  <p>Please enter your payment details:</p>

  <div id="dropin"></div>

  <%=submit_tag "Pay #{current_user.cart_total_price}$", class: "button mt1" %>

<%end%>
# views/transactions/_customer_form.html.erb`
<p>Please enter your personal info:</p>

<div class="mb1">

  <%= text_field_tag :first_name, "",placeholder: "First Name", class: "radius" %>

</div>

<div class="mb1">

  <%= text_field_tag :last_name, "",placeholder: "Last Name", class: "radius" %>

</div>

<div class="mb1">

  <%= text_field_tag :company, "",placeholder: "Company", class: "radius" %>

</div>

<div class="mb1">

  <%= text_field_tag :phone, "",placeholder: "Phone", class: "radius" %>

</div>
Then, go back to the transactions controller and change the generate_client_token private method to identify an existing customer by including the customer_id.
private

def generate_client_token

  if current_user.has_payment_info?

    Braintree::ClientToken.generate(customer_id: current_user.braintree_customer_id)

  else

    Braintree::ClientToken.generate

  end

end
Update the create action to store the new customer in the vault in case the current_user doesn’t have payment info:
def create

  unless current_user.has_payment_info?

    @result = Braintree::Transaction.sale(

                amount: current_user.cart_total_price,

                payment_method_nonce: params[:payment_method_nonce],

                customer: {

                  first_name: params[:first_name],

                  last_name: params[:last_name],

                  company: params[:company],

                  email: current_user.email,

                  phone: params[:phone]

                },

                options: {

                  store_in_vault: true

                })

  else

    @result = Braintree::Transaction.sale(

                amount: current_user.cart_total_price,

                payment_method_nonce: params[:payment_method_nonce])

  end
  if @result.success?

    current_user.update(braintree_customer_id: @result.transaction.customer_details.id) unless current_user.has_payment_info?

    current_user.purchase_cart_movies!

    redirect_to root_url, notice: "Congraulations! Your transaction has been successfully!"

  else

    flash[:alert] = "Something went wrong while processing your transaction. Please try again!"

    gon.client_token = generate_client_token

    render :new

  end

end
Notice, if the Braintree Client SDK succeeds with a payment method nonce, that nonce will then be linked with the identified customer. For that, we leave the transaction sale as is, in case the current_user has already payment info.
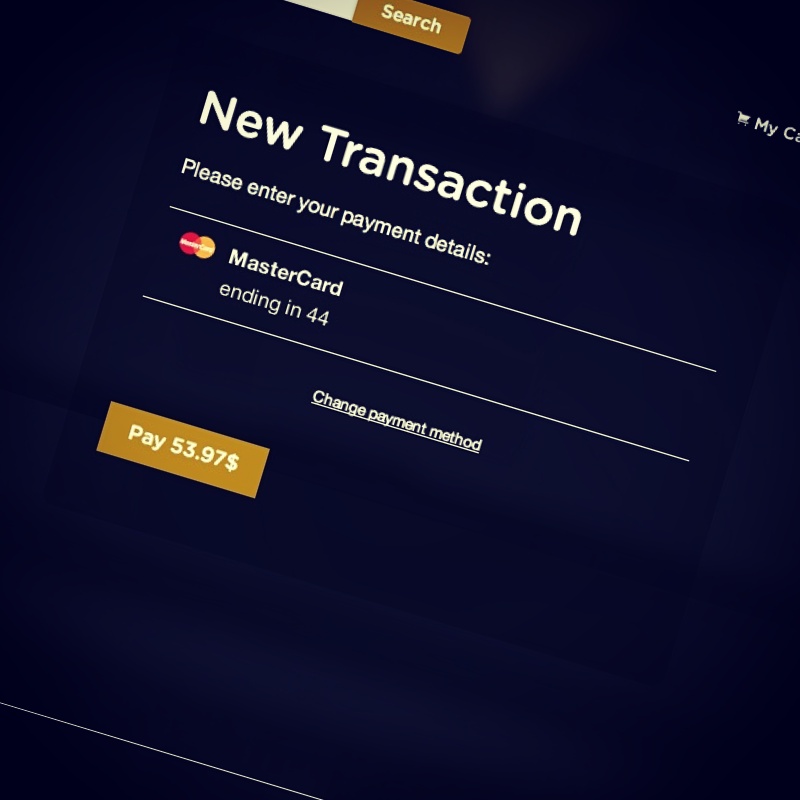
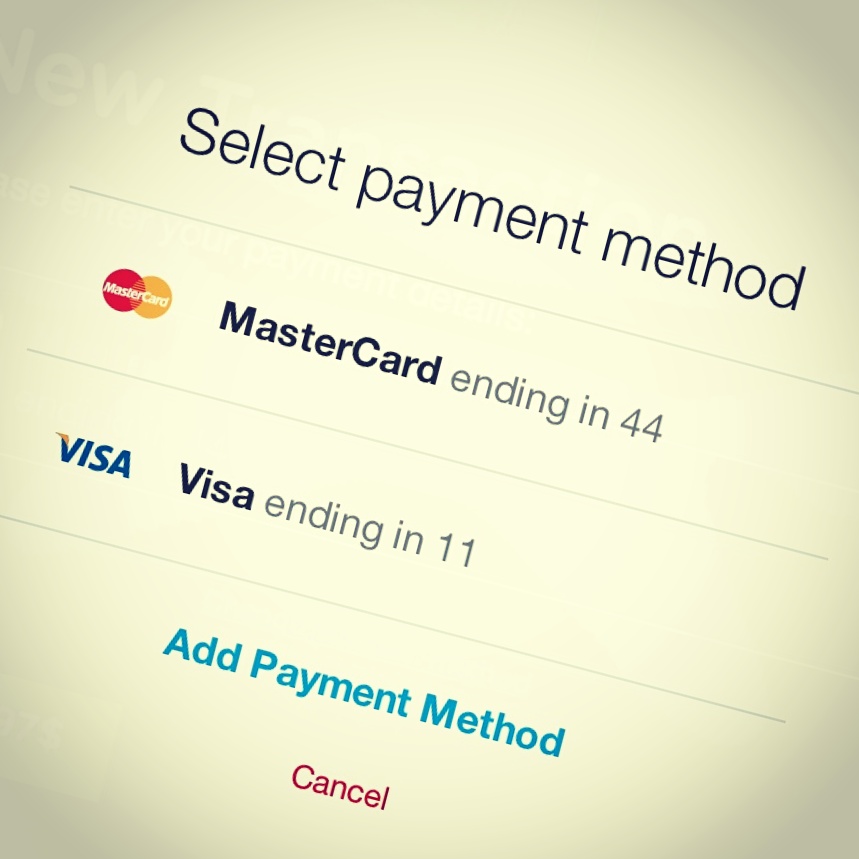
Storing Multiple Credit Cards
Test the payment scenario again and you’ll see that the previously entered credit card details are already there! You can click pay directly or change the payment method to enter new credit card details, which will be also linked to your Braintree customer and accessible for future transactions.
Still Need More?
You are now familiar with the Braintree API and understand how to deal with their Client & Server SDK. The app can accepts payments from users credit cards and store them in the Vault.
There is still more that can be done with Braintree, including providing subscription plans for users which cab be upgraded, downgraded, or cancelled. Maybe I’ll tackle that in a future post…
Frequently Asked Questions (FAQs) about Integrating Braintree Payments with Rails
What are the prerequisites for integrating Braintree Payments with Rails?
To integrate Braintree Payments with Rails, you need to have a basic understanding of Ruby on Rails. You should also have Rails installed on your system. Additionally, you need to have a Braintree account. If you don’t have one, you can create it on the Braintree website. You will also need to install the Braintree gem in your Rails application.
How do I install the Braintree gem in my Rails application?
To install the Braintree gem in your Rails application, you need to add the following line to your Gemfile: gem 'braintree'. After adding this line, run the bundle install command in your terminal. This will install the Braintree gem in your Rails application.
How do I configure Braintree in my Rails application?
To configure Braintree in your Rails application, you need to set up your Braintree credentials. You can find these credentials in your Braintree account. Once you have these credentials, you can set them in your Rails application by adding the following lines to your config/initializers/braintree.rb file:Braintree::Configuration.environment = :sandboxBraintree::Configuration.merchant_id = "your_merchant_id"Braintree::Configuration.public_key = "your_public_key"Braintree::Configuration.private_key = "your_private_key"
Replace “your_merchant_id”, “your_public_key”, and “your_private_key” with your actual Braintree credentials.
How do I create a transaction using Braintree in my Rails application?
To create a transaction using Braintree in your Rails application, you can use the Braintree::Transaction.sale method. This method takes a hash of options as its argument. The options hash should include the amount of the transaction and the payment method nonce. Here is an example:result = Braintree::Transaction.sale(
:amount => "10.00",
:payment_method_nonce => nonce_from_the_client,
:options => {
:submit_for_settlement => true
})
In this example, replace “nonce_from_the_client” with the actual payment method nonce.
How do I handle errors when creating a transaction using Braintree in my Rails application?
When creating a transaction using Braintree in your Rails application, you can handle errors by checking the success? method on the result object. If this method returns false, it means that there was an error in creating the transaction. You can then access the error messages by calling the message method on the result object. Here is an example:if result.success?
redirect_to :action => "show", :id => result.transaction.idelse
flash[:error] = "Error: #{result.message}"
redirect_to :action => "new"end
In this example, if there is an error in creating the transaction, the error message is stored in the flash and the user is redirected to the “new” action.
How do I test my Braintree integration in my Rails application?
Braintree provides a sandbox environment for testing your integration. You can use this environment to simulate transactions and test your integration without making actual charges. To use the sandbox environment, you need to set the environment option to :sandbox in your Braintree configuration.
How do I move from the sandbox environment to the production environment in Braintree?
To move from the sandbox environment to the production environment in Braintree, you need to change the environment option in your Braintree configuration to :production. You also need to replace your sandbox credentials with your production credentials.
How do I refund a transaction using Braintree in my Rails application?
To refund a transaction using Braintree in your Rails application, you can use the Braintree::Transaction.refund method. This method takes the id of the transaction to be refunded as its argument. Here is an example:result = Braintree::Transaction.refund("the_transaction_id")
In this example, replace “the_transaction_id” with the actual id of the transaction to be refunded.
How do I handle disputes using Braintree in my Rails application?
Braintree provides a Disputes API that you can use to handle disputes in your Rails application. You can use this API to retrieve disputes, accept disputes, and provide evidence for disputes.
How do I secure my Braintree integration in my Rails application?
To secure your Braintree integration in your Rails application, you should never store sensitive data such as payment method nonces or transaction ids in your database. You should also use HTTPS for all communication with the Braintree servers. Additionally, you should regularly update your Braintree gem to the latest version to benefit from the latest security updates.