The 12 Best Android Tutorials for First-Time App Developers

Key Takeaways
- The article provides a comprehensive list of 12 Android tutorials suitable for first-time app developers, ranging from Google’s ‘Building Your First App’ tutorial to a guide on ‘Getting Started with Android Library Projects’.
- These tutorials cover a wide range of topics, from basic Android development to advanced topics like game development, creating better user interfaces, parsing XML data, and localizing Android apps.
- Not all tutorials are strictly for beginners, some start from a beginner level and delve into more advanced topics. If a tutorial seems too complex, the author suggests spending more time with it or moving forward and revisiting it later.
- The author emphasizes that while these tutorials may not turn a beginner into a top Android developer, they provide a solid foundation for understanding Android programming and could offer new insights to even experienced developers.
This article was updated in January 2017.
Learn more about the official Android IDE with our screencasts A Tour of the Official Android IDE – Android Studio screencast.
When there is so much information and you are a first-time Android developer, it’s easy to get confused about where to start. To make it easy for you and with no illusions that this list of Android tutorials is the best or complete, here are 12 Android tutorials to start with.
Not all the tutorials and their content are strictly beginner beginner focussed. Some of them start out for beginners and then delve into more advanced topics. So if you can’t follow everything in every single tutorial, don’t get desperate or frustrated.
If you encounter a hurdle, just spend more time with the tutorial, reading it a couple of times if necessary. If you are still not on friendly terms with it, there is no drama – just move forward and revisit it later.
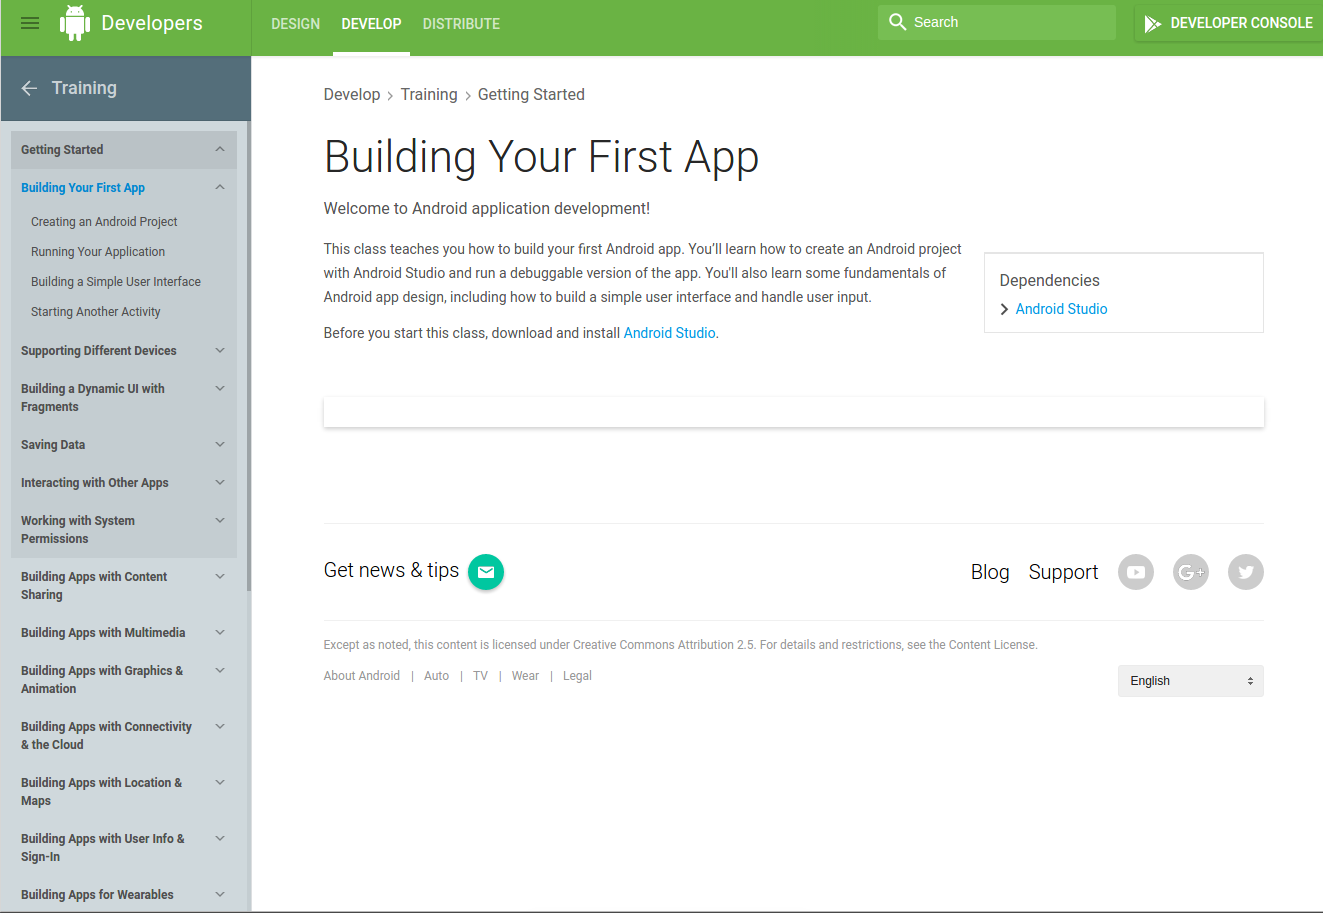
Building Your First App
Naturally, we start the list with a tutorial from Google, the creators of Android. The ‘Building Your First App‘ tutorial starts from the very beginning and it’s suitable for absolute beginners. If you have no programming knowledge whatsoever, don’t expect to be able to handle the tutorial but if you have some programming background, it’s easy.
The tutorial has several ‘Best Practice’ sections at the end. This is good because all the important content about the topic in one place and you just have to read it.
Android Development – Tutorial
The reason this tutorial is near the top is that it’s very up-to-date (based on Android 7.0, the latest Android version as of today).
This tutorial has more topics and information than the tutorial from Google, so if you are looking for an in-depth tutorial, this is one the.
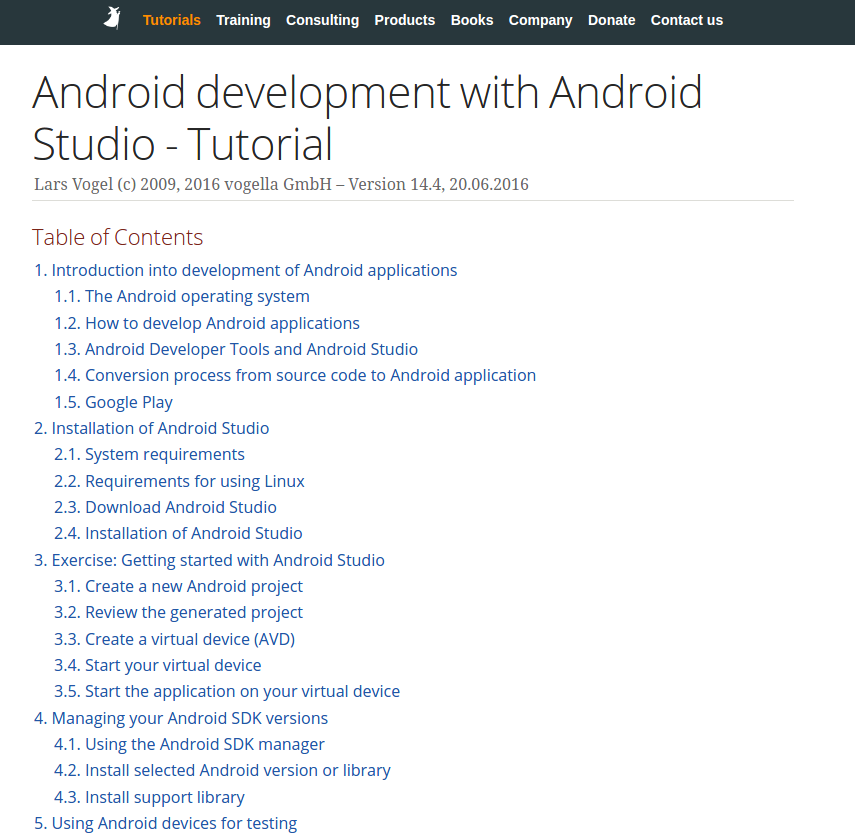
It’s not an easy or quick tutorial. If you want to get the most from it, you will need quite a lot of time to read it from start to finish. It can be a great source if you need to consult a given topic in detail.
Video Tutorials Series
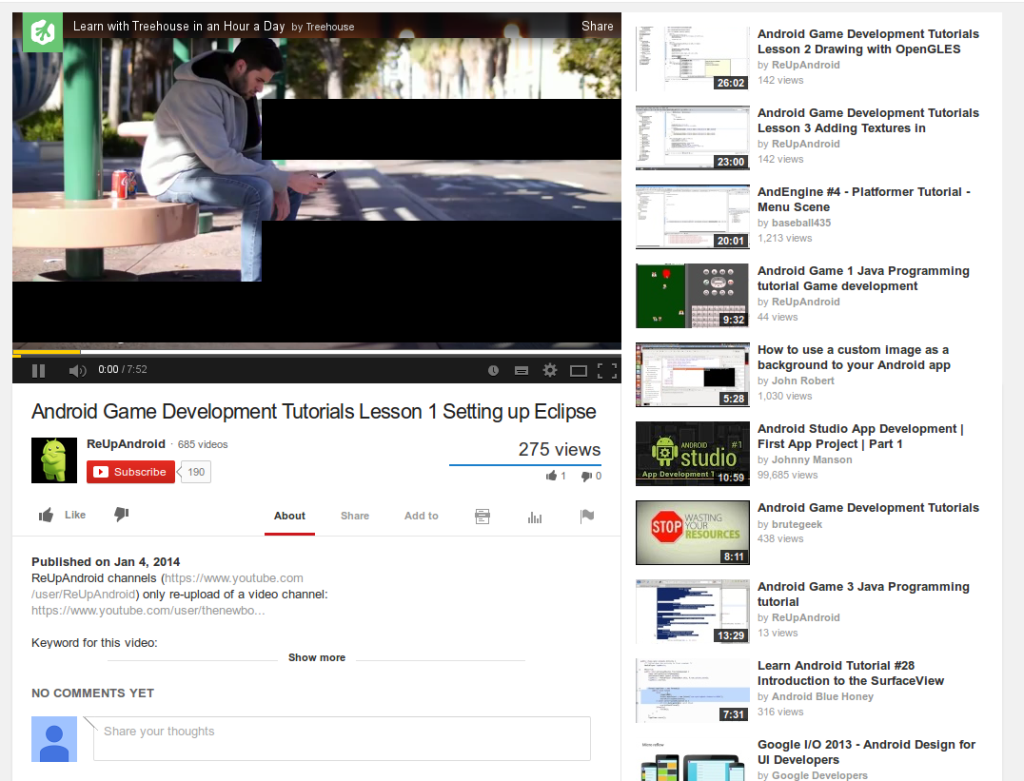
I find video tutorials less useful (except when they teach design, animation, or any other visual topic) but for many people they are the preferred way of learning. If you belong to this group, you will love this series of video tutorials.
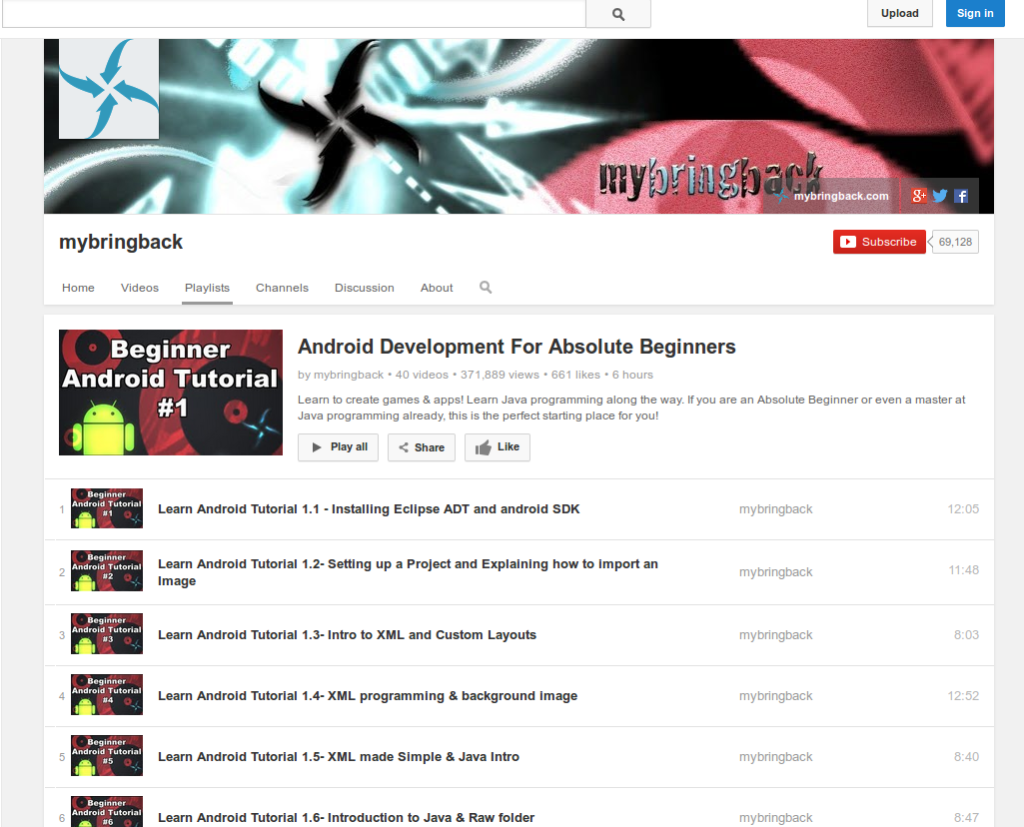
It’s a comprehensive series of video tutorials ranging from under 5 to 15 minutes in length. Similarly to the previous two tutorials, this series covers everything from absolute beginner level to advanced topics. It’s not uptodate but I couldn’t find a decent video tutorial about a more recent Android version.
An Android Tutorial/Book
It might be old-school, but for me the best way to get a complete idea about something is by reading a book about it. In a book, everything is organized logically, pages are numbered and keep their layout and there is enough text to explain the and code/graphics. The first two tutorials in this list are book-like but if you want something more authentic you could print them. Even better, a pdf tutorial, like this one, is a much better option. Similarly to the previous resource, this one might not be very up to date but it does cover the major principles of Android programming.

This is one more general tutorial that covers Android development from beginner level to advanced.
Game Development Series
If you have some knowledge about Android but you want to delve into games development, this series of video tutorials is a great start. The series starts with the very basics of Android (and Eclipse) but my personal feeling is that if you are a total stranger to Android, the journey will be too hard. Again, this tutorial isn’t about the latest Android version but it does give a solid foundation about Android programming and I couldn’t find a more current one.
From what I saw, the series mentions general Android as well, not only game development. If you don’t know Android basics, my advice is to first read some of the general Android tutorials and then move to specialized topics, such as game development.
Better User Interfaces with the Android Action Bar
After you have had enough of general Android tutorials, let’s move to tutorials for common tasks. For some of these topics you can find information in the general tutorials as well but if you want more detail, this is for you. The first tutorial is about how to build Better User Interfaces with the Android Action Bar.
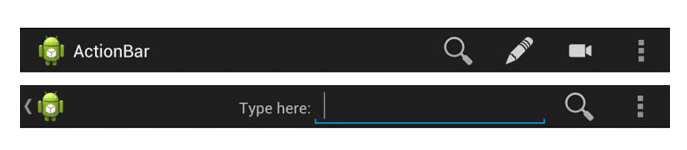
In this tutorial you will learn how to set up the action bar, how to add actions, how to split, hide, and overlay it, as well as how to add navigation. You will also learn about action bar interactivity, such as how to handle clicks on its items and to use action views.
Learning to Parse XML Data in Your Android App
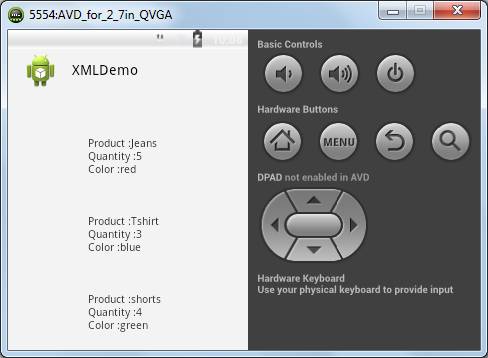
While you could write Android applications that do not involve any data input, often you will need external data. In such cases you need to know how to handle this data. XML can help you a lot and this is why I’ve included a tutorial on how to Parse XML Data in Your Android App.
This tutorial leads you step by step in the world of XML parsing. It also helps you create a parser that will look like the one shown in the next screenshot.
Android 101 for iOS Developers
With the huge popularity of Android, even die-hard iOS developers are likely to consider switching or at least expanding to it. If you are an iOS developer, you are lucky because you are not new to mobile development as a whole. Of course, you could read the general Android tutorials I listed earlier but especially for you, here is a better tutorial. Unfortunately, some of the info in this tutorial might be outdated but with the rapid development of mobile programming technologies this is inevitable. You might want to check a more recent tutorial on the same topic but it isn’t as detailed as the first one.
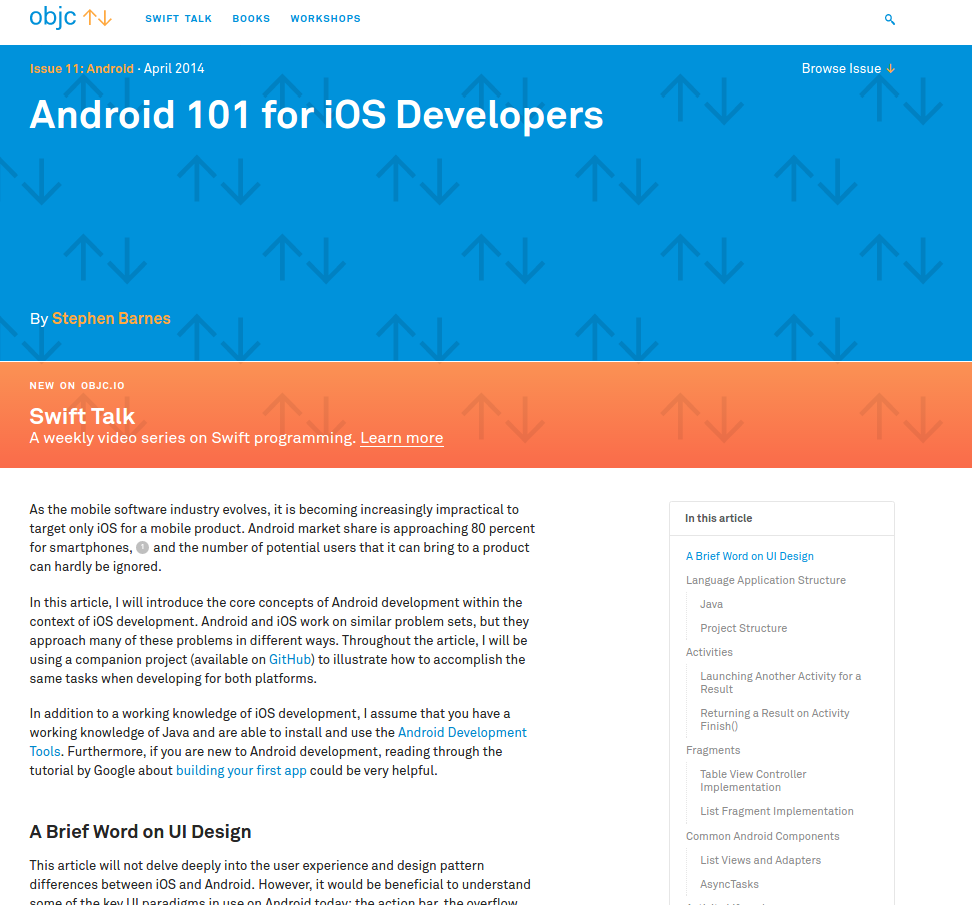
This tutorial is great because it summarizes the differences between iOS development and Android development, thus making the change easier for you. You might need separate reading on some of the points it mentions but it’s a great tutorial without being overly detailed.
Scheduling Background Tasks in Android
This topic is a bit advanced but since it’s not too difficult and it’s useful, it makes sense to include it on the list. The ‘Background tasks in Android‘ tutorial discusses the types of alarms in Android and how to set them.
Android Adventures – Getting Started With Android Studio
I don’t think Android Studio is the most popular method to develop Android apps but since it (supposedly) makes Android development easier, here is a tutorial about Android Studio.
Even if you already use other Android development tools and you wouldn’t change them, it still makes sense to read what Android studio can offer.
The tutorial is a pretty detailed one – it starts with how to install Android Studio, how to create a new project, how to add functionality to it, how to run it, etc. The tutorial isn’t hard to read but if you have no prior Android knowledge, you might not be able to understand everything.
Localizing Android Apps
Android applications are popular all over the world. Your users speak different human languages, which means if you want to reach them, you need to think about localizing your Android apps. This tutorial explains it all.
Getting Started with Android Library Projects
At some point in your Android development career you will get tired of having to re-invent the wheel all the time and you will appreciate the advantages of reusable code. If you are already there, you will certainly want to know more about reusable code. In this case this tutorial will help you get started as quickly as possible.
The ‘Getting Started with Android Library Projects’ tutorial is a bit longer because it’s a three-part series. The first part warms you up with some basic concepts, while the other two delve into more detail about how and when to use Android Library Projects.
Conclusion
I can’t promise that after reading all the tutorials on this list you will become a top Android developer but they are a great start.
Most of these tutorials are for beginners but I am sure that even experienced Android developers will have something new to learn, or find better ways of doing a task they’ve been doing for ages. So, if you have a spare minute, check the tutorials, learn something new and let us know your favorite tutorials.
Learn more about the official Android IDE with our screencasts A Tour of the Official Android IDE – Android Studio screencast.
Frequently Asked Questions (FAQs) about Android Development for Beginners
What are the prerequisites for learning Android development?
Before you start learning Android development, it’s beneficial to have a basic understanding of programming concepts. Knowledge of Java or Kotlin, the two primary languages used in Android development, is highly recommended. Familiarity with XML can also be helpful as it is used in designing UI layouts. Lastly, understanding basic concepts of databases, particularly SQLite, can be advantageous as it is used for data storage in Android.
How can I set up my development environment for Android?
To set up your development environment, you need to install Android Studio, the official IDE for Android development. It comes with a code editor, debugger, and a simulator for testing your app. You can download it from the official Android website. After installation, you can create a new project and start coding.
What is an Android Activity and how is it used?
An Android Activity represents a single screen with a user interface. For example, an email application might have one activity showing a list of emails, another to compose an email, and another to read emails. Each activity is independent of the others; as such, a different activity can be started anytime from another activity.
What is an Android Service?
A Service in Android is a component that runs in the background to perform long-running operations without needing to interact with the user. For instance, a service might play music in the background while the user is in a different application.
How can I store data in Android?
Android provides several options for you to save persistent application data. The solution you choose depends on your specific needs, such as whether the data should be private to your application or accessible to other applications (and the user) and how much space your data requires.
What is Android Manifest file?
The Android Manifest file provides essential information about your app to the Android system, which the system must have before it can run any of the app’s code. It includes the package name of the app, components like activities, services, broadcast receivers, content providers etc.
What is the Android SDK and what does it include?
The Android SDK (Software Development Kit) is a set of development tools used to develop applications for the Android platform. The SDK includes a comprehensive set of development tools, including a debugger, libraries, a handset emulator, documentation, sample code, and tutorials.
What is the role of the Android Runtime?
The Android Runtime provides a key component called Dalvik Virtual Machine which is a kind of Java Virtual Machine specially designed and optimized for Android. The Dalvik VM makes use of Linux core features like memory management and multi-threading, which is intrinsic in the Java language.
What is the difference between an Android library and an Android runtime?
An Android library is a collection of code that you can call upon in your code, it’s a file that you can include in your Android app to use its functionality. On the other hand, Android runtime is the environment in which your Android applications run. It includes the core libraries, Dalvik virtual machine, and other necessary components to run your app.
How can I debug my Android application?
Android Studio provides a debugger that allows you to do various things such as step through your code, inspect variables, and evaluate expressions at runtime. You can set breakpoints in your code where you want the debugger to pause execution so you can inspect the variables and the state of your application.
Ada is a fulltime freelancer and Web entrepreneur with more than a decade of IT experience. She enjoys design, writing and likes to keep pace with all the latest and greatest developments in tech. In addition to SitePoint, she also writes for Syntaxxx and some other design, development, and business sites.