


Key Takeaways
- The author recommends 8 essential Grav plugins for a developer’s personal blog: Admin, Google Analytics, Archive Plus, External Links, Reading Time, Sitemap, Highlight, Advanced Page Cache, and Diagrams. Each plugin has unique features that enhance blog functionality, usability, and user experience.
- The author also provides bonus tweaks and tips for using Grav plugins, including how to clear cache, translate strings, and extend themes. These tips help optimize the functionality and performance of the plugins and the blog.
- While Grav plugins can enhance a blog’s functionality and user experience, they can also pose security risks if not properly managed. It’s important to download plugins from trusted sources, keep them updated, and regularly review and remove any unnecessary plugins to minimize potential vulnerabilities.
8 Must-Have Grav Plugins to Round Off Your Blog’s Installation
I recently switched my blog over from Blogger to Grav, and while quite a nifty platform on its own, Grav really shines once you prop it up with some custom themes and plugins.
This post will list the plugins I believe to be essential for a developer’s personal blog, and the reasons behind each suggestion.
![]()
0. Admin
It goes without saying that every Grav installation should have the Admin panel installed. It’s a fantastic addon that makes the software much more usable, allows you to install plugins easily, lets you handle localization and translation, and much more.
The installation instructions for the Admin panel are in the official docs.
1. Google Analytics
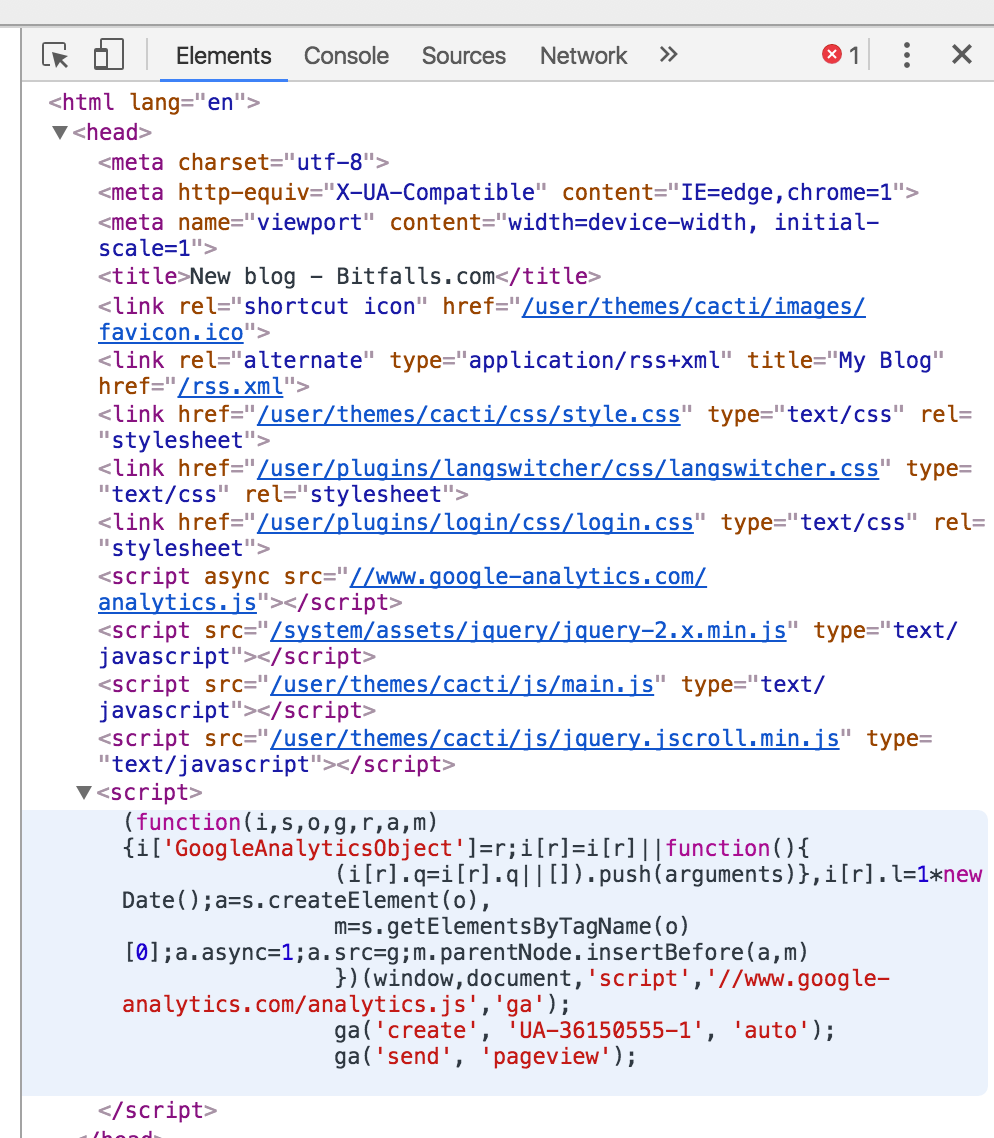
Most themes have some kind of Google Analytics support baked-in, but some don’t, and some only have it on certain pages. If you’re not interested in extending a theme just to include a GA snippet in a template, the Google Analytics plugin is the right choice.
Once installed, a configuration option will appear in the plugins interface and allow for insertion of the UA key, which will then be injected into every page – regardless of whether or not the chosen theme supports it out of the box.
2. Archive Plus
The archive plus plugin helps produce an archive tree of posts sorted by month and year, much like the archive links on Blogger.

*Note: To use this one, an extended theme is necessary, but that’s very easy to accomplish. See the Bonus tweaks section at the end of this list.
Once installed, from the root of the installation, we copy the archive partial from the plugin’s folder into our custom theme (modify folder names as per your own custom theme’s name):
mkdir -p user/themes/cacti-swader/templates/partials
cp user/plugins/archive_plus/templates/partials/archive_plus.html.twig user/themes/cacti-swader/templates/partials/archive_plus.html.twig
The archive plus partial can now be used in any other template as usual. For example, to include it in the home page of our custom Cacti theme, we copy the post-list template from the theme to our custom theme’s templates folder, and add the partial inclusion into the content block, like so:
{% block content %}

        {% include 'partials/archive_plus.html.twig' %}
Note that for things to show up, they need to have some taxonomy applied. For example, give them the tag “blog” and then in the plugin’s settings under Filters select tag -> blog, otherwise, nothing will show up.

Note: right now, the plugin doesn’t work well with multi-language sites in that it caches its archive tree once for the whole site, rather than per language. A fix is in progress.
3. External Links
The external links plugin adds a small “external link” icon to all links that lead away from the blog’s domain. Simple, and effective.

Note: If you’re using a theme with the langswitcher functionality for multi-language support, like Cacti, the langswitcher partial forces a default external class in the language links. The most effective solution (besides upvoting the issue requesting a customizable class) is to extend the langswitcher’s partial by copying it into a custom theme.
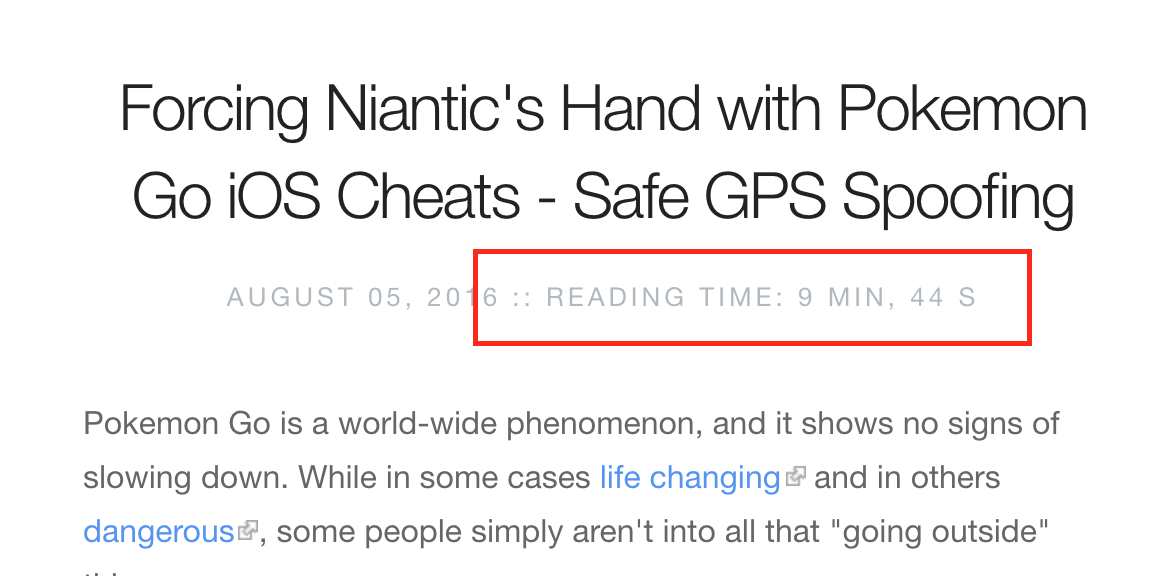
4. Reading Time
Medium-style indicator of estimated reading time for a given post is provided by the official reading time plugin.
Once installed, the plugin adds a new Twig filter which we can use on some text to turn it into a reading time label, like so:
{{ page.content|readingtime({'minutes_label': 'min', 'minute_label': 'min', 'seconds_label': 's', 'second_label': 's'}) }}
This can then be placed anywhere in the post to show readers how much time they’ll have to set aside to read a post. Protip: it’s best to keep this under 10 minutes!
Note also that you can change the labels to those of your choice – useful when localizing.

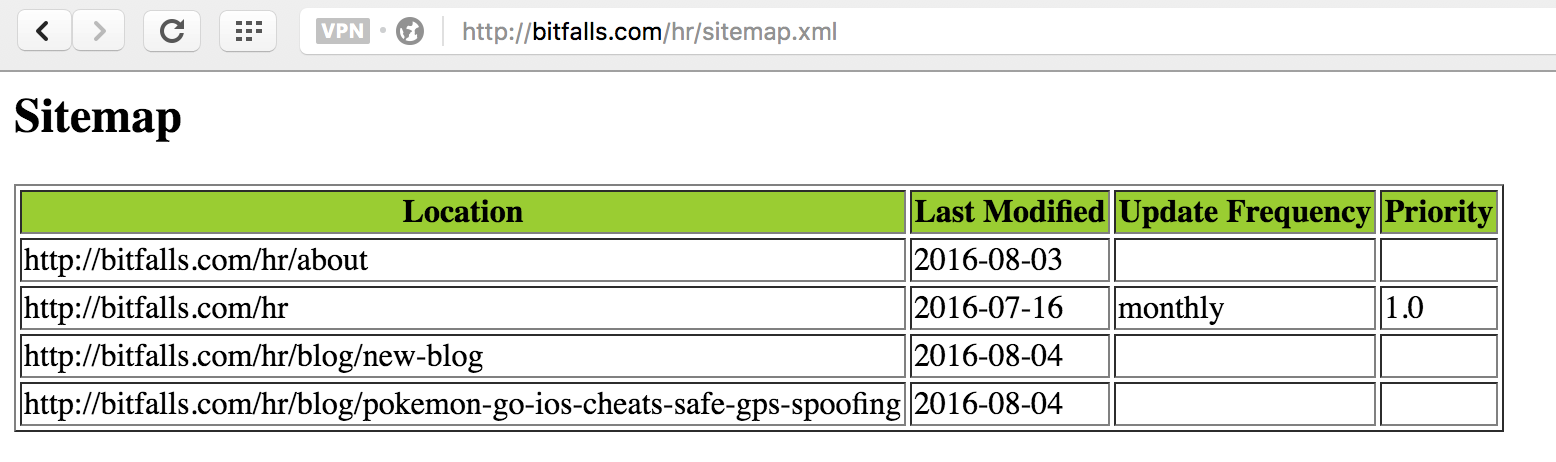
5. Sitemap
The Sitemap plugin automatically builds a search-engine friendly sitemap. This works equally well on multi-language sites, but requires the lang prefix before the sitemap route to actually render the language’s sitemap:
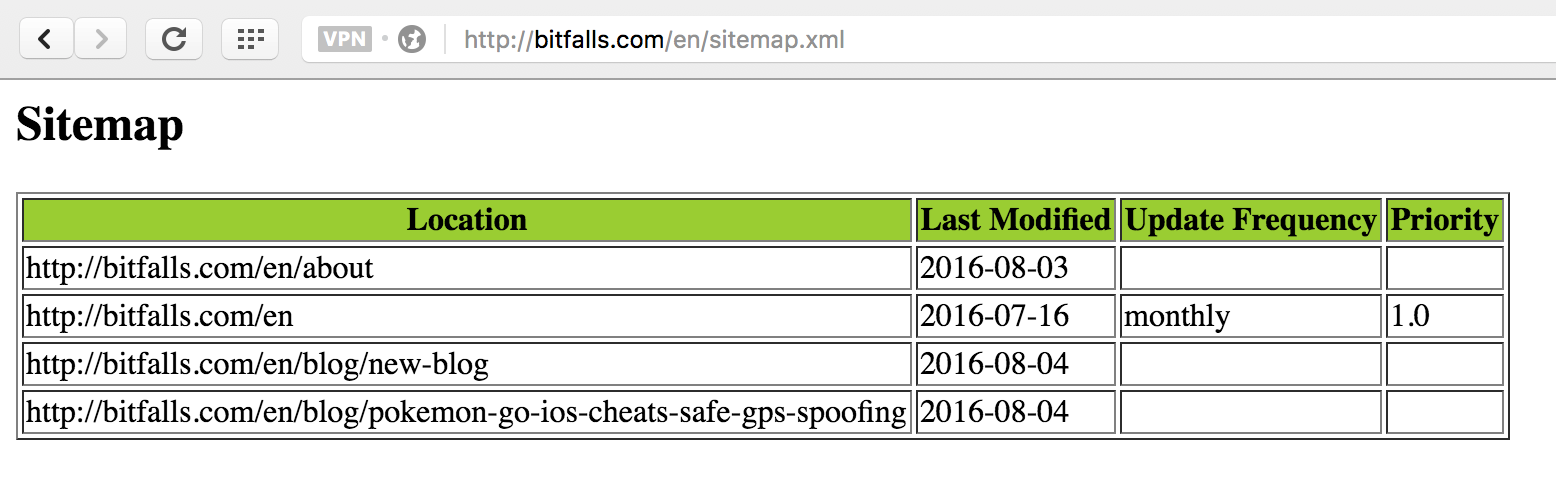
With this plugin, your site is immediately ready for submission to search engines.
6. Highlight
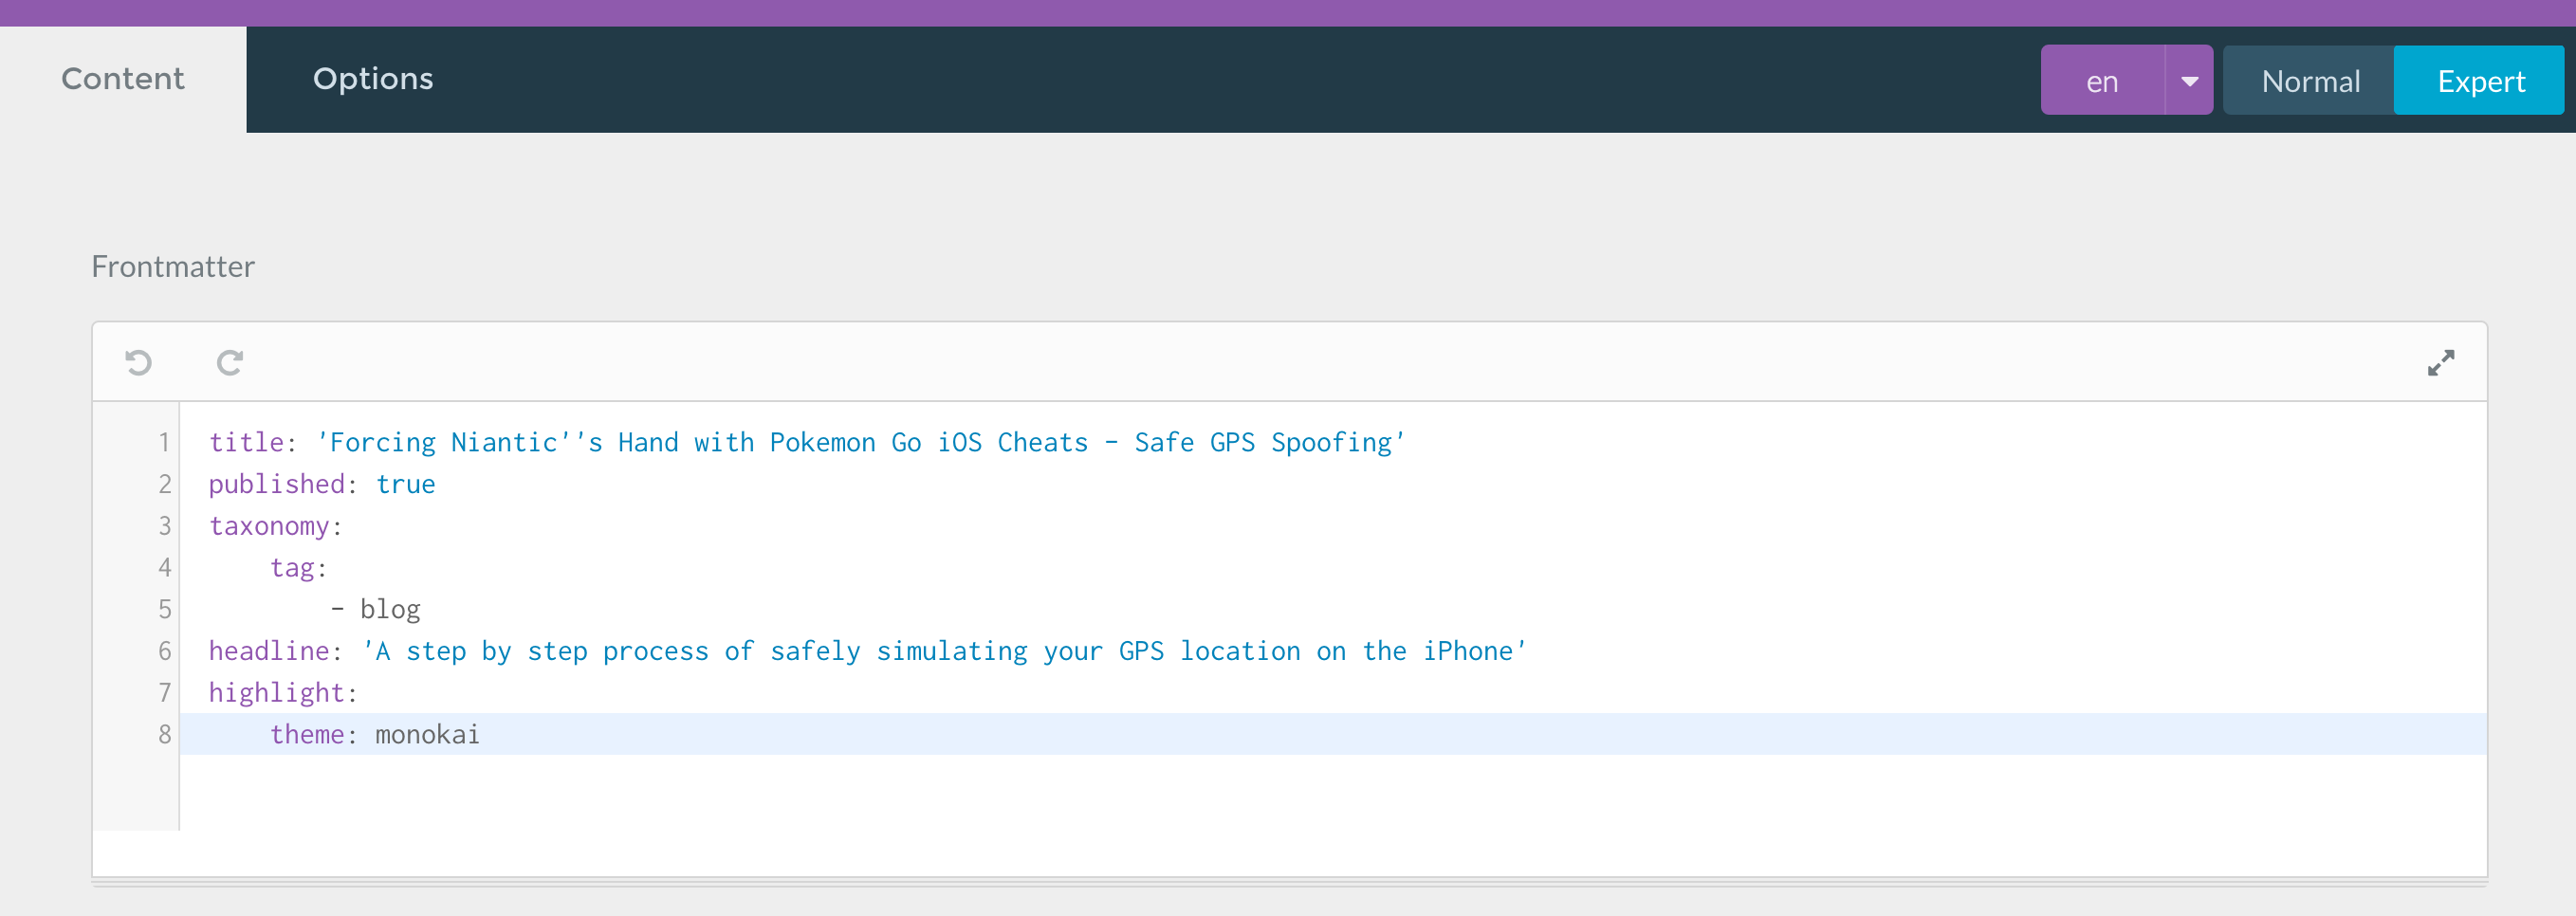
Every developer needs code highlights in their blog posts, and the highlight plugin is what does the trick.
After installing it, to use it one needs to either manually edit the front-matter of a page (the stuff that goes before the content), or use expert mode in the Admin UI to edit it there, and include a highlight theme declaration. My example in the image below uses the Monokai theme:
When rendered, it looks like this:
The following should be kept in mind:
-
to minimize performance impact, it’s best to only activate highlights per every page which needs it.
-
the plugin will try to autodetect the language it needs to render if no language hints are provided, but it’s recommended to always provide them for both performance and accuracy:
    ```php
    <?php echo "Hello";
    ```
7. Advanced Page Cache
While we’re on the topic of performance, the Advanced Page Cache Plugin caches pages in full based on their URLs and uses these static versions in future requests.
As the docs say, this means a manual cache bust is required when any changes are made, however, the performance improvements are rather dramatic and worth it. It’s important to keep the following in mind:
This plugin is intended for production scenarios where optimal performance is desired and more important than convenience. AdvancedPageCache is not intended to be used in a development environment or a rapidly changing one.
Many plugin events will not fire when a cached page is found becuase these are not processed by Grav, only the static page is returned. For example, because there is no RenderEvent with the cached page, the DebugBar will not show even if enabled.
Also keep in mind that the plugin doesn’t really work as well as it should with multi-language sites, so it’s best to use it only in production and only on single-language sites. For powerful multi-language site caching, look into a front layer like Varnish.
8. Diagrams
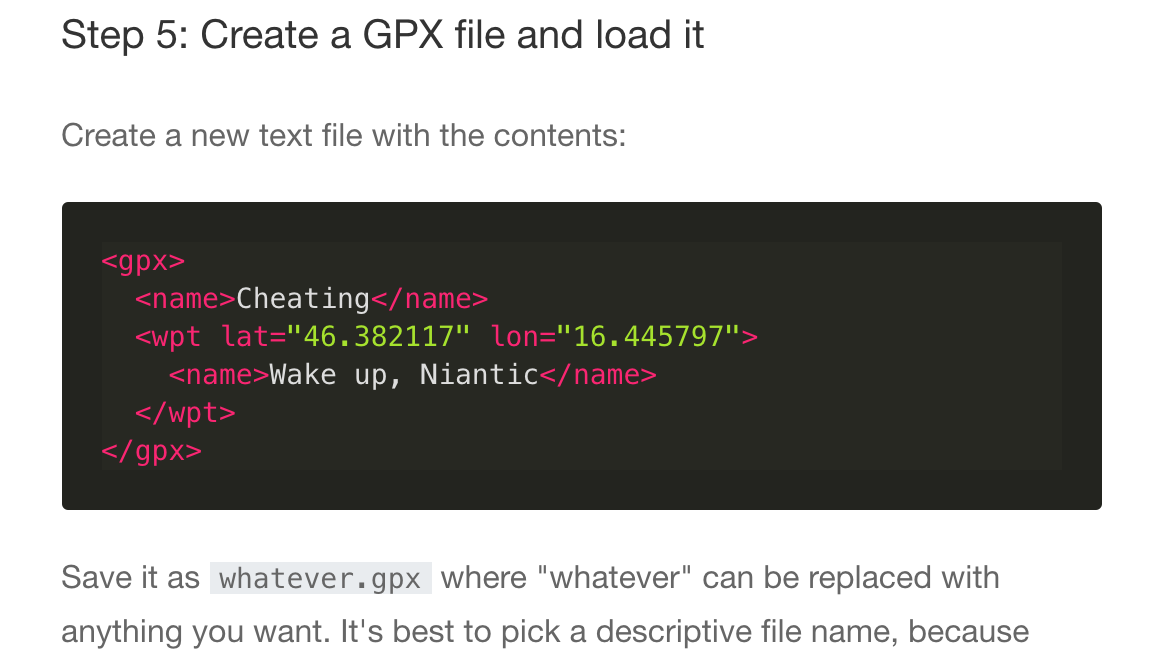
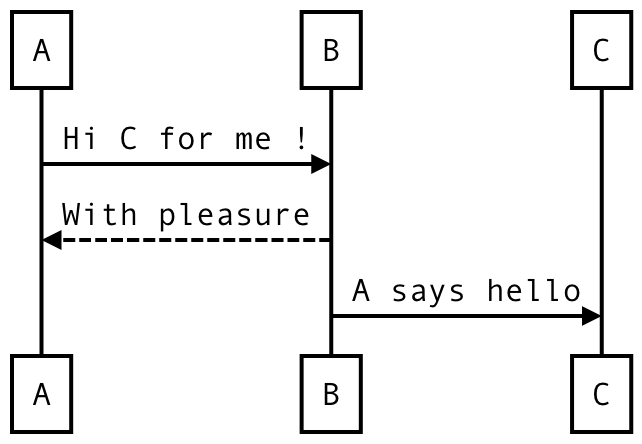
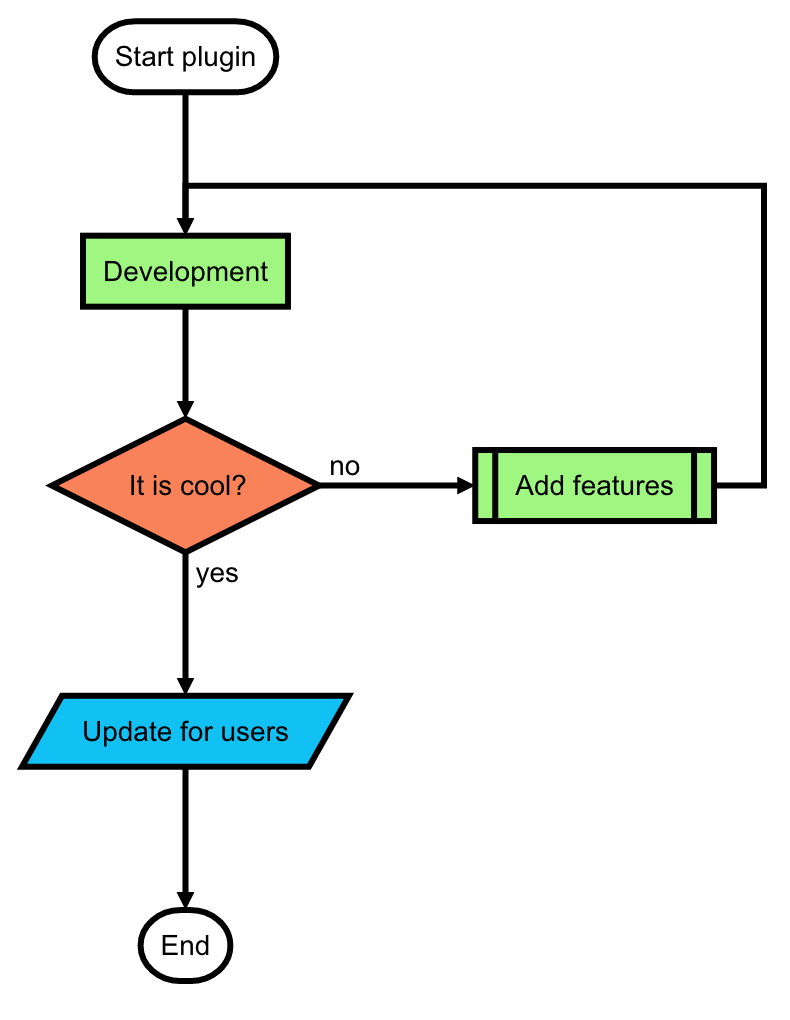
As a developer, you might sometimes need to draw diagrams in your explanations of the code you’re presenting. The diagrams plugin helps with that.
This plugin allows you to define diagrams within the Markdown content of your post(s), thus bypassing the need to any sort of illustration software, and keeping the style consistent across all your writings. Here are examples of two diagrams produced with the plugin – for actual usage, please see the plugin’s README file.
Bonus Tweaks and Tips
Here are some bonus tweaks you should apply to your Grav installation.
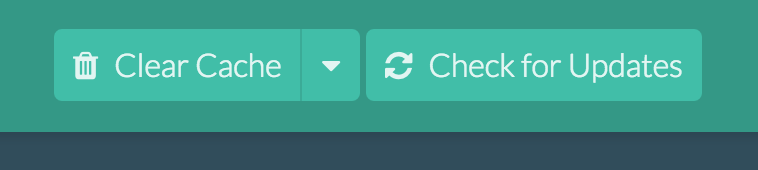
Clear Cache
When ever something new is installed, remember to clear the cache (from the Dashboard) to apply changes.
Translating Strings
In the case of, for example, the reading plugin above, you might want to prefix the time with a “Reading time:” label. However, this can get awkward when using a theme with multi-language functionality built in, like the Cacti theme I’m using.
To help with this, each multi-language supporting theme has a languages.yaml file in its root folder. Here’s an example from my own modified Cacti language file:
en:
  SITE:
    TITLE: Bitfalls.com
    DESCRIPTION: Developer, Complainer, Beagle Owner
    COPYRIGHT: © Copyright %s Bitfalls.com
  SUBSCRIBE: RSS
  TWEET: Tweet
  SHARE: Share
  MONTHS_OF_THE_YEAR: [January, February, March, April, May, June, July, August, September, October, November, December]
  DAYS_OF_THE_WEEK: [Monday, Tuesday, Wednesday, Thursday, Friday, Saturday, Sunday]
  READING_TIME: Reading time

hr:
  SITE:
    TITLE: Bitfalls.com
    DESCRIPTION: Programer, bundžija, vlasnik bigla
    COPYRIGHT: © Prava:  %s Bitfalls.com
    MONTHS_OF_THE_YEAR: [Sijecanj, Veljaca, Ozujak, Travanj, Svibanj, Lipanj, Srpanj, Kolovoz, Rujan, Listopad, Studeni, Prosinac]
    DAYS_OF_THE_WEEK: [Ponedjeljak, Utorak, Srijeda, Cetvrtak, Petak, Subota, Nedjelja]
  READING_TIME: Vrijeme čitanja
The values that aren’t defined in the secondary language (and others) default back to those from the primary one. Notice the label READING_TIME. To use it in a template, we do this:
{{ "READING_TIME"|t }}
The t filter to which we’re piping the string is a translate filter which looks at the language.yaml file of the theme and pulls the value from there:
In case of arrays, like with dates above, the ta filter comes in handy:
'MONTHS_OF_THE_YEAR'|ta(page.date|date('n') - 1)
The above snippet means “send the array MONTHS_OF_THE_YEAR to the ta (translateArray) filter, and translate its X element, where X is page.date|date('n') - 1“.
Extended Theme
Extending a theme is relatively easy, and should be done to allow for inclusion of custom partials and edited templates without breaking the parent theme. This also allows us to update the theme via the official channels. To extend a theme (the example uses the Cacti theme):
-
Create a new folder in
user/themes. E.g.user/themes/cacti-swader. -
Create a new YAML file:
user/themes/cacti-swader/cacti-swader.yaml:streams: schemes: theme: type: ReadOnlyStream prefixes: '': - user/themes/cacti-swader - user/themes/cactiRemember to include any additional values into this same file that already exist in the default
user/themes/cacti/cacti.yaml, otherwise, some theme functionality might be missing:enabled: true author: Bruno Škvorc title_header: false home_profile: true infinite_scroll: true analytics: UA-xxxxxxxx-1 social: twitter: @bitfalls -
Create a
/user/themes/cacti-swader/blueprints.yamlfile:name: Cacti Swader version: 1.0.0 description: "Extending Cacti" icon: crosshairs author: name: Bruno Skvorc email: bruno.skvorc@sitepoint.com url: http://bitfalls.com -
Modify the
themevalue underpagesin/user/config/system.yamlto becacti-swader.
That’s it. The extended theme will be read first, and anything missing will be pulled from the base theme. For more advanced theme extension procedures, this post will come in handy.
Conclusion
Grav is a relatively new, highly performant, and very intuitive flat-file CMS which, while not being very anal on security, is highly dedicated to simplicity and usability.
In a future post, I’ll cover some advanced plugins for implementing comments, image auto-optimization, CDNs, and much more.
I’ll also talk more about why I picked Grav in a later post, but for now I’d like to know what you are using for a personal blogging engine (Static site generators? Full blown CMS?), and whether or not you’d like to recommend some Grav plugins I missed.
Let us know!
Frequently Asked Questions (FAQs) about Grav Plugins
What are the benefits of using Grav plugins for my blog?
Grav plugins offer a range of benefits for your blog. They can enhance the functionality of your blog, making it more interactive and user-friendly. For instance, plugins can help you manage SEO, improve site navigation, create contact forms, and much more. They can also help you customize your blog to suit your specific needs and preferences. Moreover, Grav plugins are easy to install and use, making them a convenient choice for both beginners and experienced bloggers.
How do I install Grav plugins?
Installing Grav plugins is a straightforward process. First, you need to download the plugin from the Grav official website or other trusted sources. Once downloaded, extract the zip file and upload it to the ‘user/plugins’ directory of your Grav installation. After uploading, you can enable the plugin from the admin panel of your Grav site. Remember to check the plugin’s documentation for any specific installation instructions.
Are there any security risks associated with using Grav plugins?
While Grav plugins can enhance your blog’s functionality, they can also pose security risks if not properly managed. It’s important to only download plugins from trusted sources to avoid malicious code. Additionally, always keep your plugins updated to the latest version, as updates often include security patches. Regularly review and remove any unnecessary plugins to minimize potential vulnerabilities.
Can I use Grav plugins with other CMS platforms?
Grav plugins are specifically designed for the Grav CMS platform and may not work with other CMS platforms. If you’re using a different CMS, you’ll need to find plugins that are compatible with that specific platform. However, Grav’s simplicity and flexibility make it a great choice for bloggers, and its wide range of plugins can cater to most blogging needs.
How do I troubleshoot issues with Grav plugins?
If you’re experiencing issues with a Grav plugin, start by checking the plugin’s documentation for any known issues and solutions. If that doesn’t help, try disabling other plugins to see if there’s a conflict. You can also reach out to the Grav community or the plugin’s developer for assistance. Remember to provide detailed information about the issue, including any error messages, to help them diagnose the problem.
Can I develop my own Grav plugins?
Yes, if you have coding skills, you can develop your own Grav plugins. Grav’s architecture is designed to be easy to extend, making it a great platform for developers. You can find detailed information on how to create Grav plugins in the Grav documentation.
How do I keep my Grav plugins updated?
Keeping your Grav plugins updated is crucial for security and functionality. You can update your plugins manually by downloading the latest version and replacing the old files. Alternatively, you can use the Grav Package Manager (GPM) to update your plugins automatically.
How do I choose the right Grav plugins for my blog?
Choosing the right Grav plugins for your blog depends on your specific needs and goals. Consider what functionality you want to add to your blog, and look for plugins that provide those features. Read reviews and check the plugin’s documentation to ensure it’s reliable and compatible with your Grav version.
Can Grav plugins slow down my blog?
While Grav plugins can enhance your blog’s functionality, having too many plugins can potentially slow down your site. It’s important to only use necessary plugins and regularly review and remove any that are no longer needed. Also, ensure your plugins are well-coded and updated regularly to maintain optimal performance.
Are there any costs associated with using Grav plugins?
Many Grav plugins are free to use, but some may require a fee, especially for advanced features or premium versions. Always check the plugin’s details before installing to understand any potential costs. Remember, investing in high-quality, reliable plugins can enhance your blog’s functionality and user experience, potentially leading to increased traffic and engagement.

