Getting Started With Microsoft Visual Studio Code on Linux

Key Takeaways
- Microsoft’s Visual Studio Code (VSCode) is a cross-platform code editor that works well on Linux, Mac, and Windows, offering features such as intelligent code completion, linting, interactive debugging, version control, and support for build tools like Gulp and Jake.
- The guide provides a step-by-step tutorial on how to install and use VSCode on Ubuntu, including creating a project, using IntelliSense for automatic code completion and context-aware code suggestions, debugging, and using version control with Git.
- Despite being in preview as of May 2015, VSCode is continuously updated with improvements and new features, all of which are available for all platforms simultaneously. The interface is optimized for web development, and the setup process, while slightly involved, is worth the effort for its streamlined functionality.
Microsoft Visual Studio is one of the most powerful integrated development environments available, with one downside: it’s only available for Windows. In order to attract Linux and Mac users to the Visual Studio family of development tools, Microsoft recently launched Visual Studio Code (or VSCode for short)—a truly cross-platform code editor that is both fast and light-weight.
VSCode works equally well on Linux, Mac, and Windows. However, because Microsoft Visual Studio 2013 itself is available on Windows, VSCode is most likely to see more adoption among Linux and Mac users who, until now, had to make do with simpler alternatives such as Sublime Text, Atom or Komodo Edit for web development.
Here are some features that might make VSCode a compelling alternative to your present code editor:
- intelligent code completion
- linting
- interactive debugging
- version control
- support for build tools such as Gulp and Jake.
In most of the other popular code editors, these features are only available after you install the appropriate plugins manually—if they are available at all.
In this tutorial, I’m going to show you how to install and use VSCode on Ubuntu, one of the most popular Linux distros.
Note: if you’re a Windows user, you can still follow this tutorial by skipping all the command-line installations. You just have to use the Windows installer instead, which sets everything up for you.
Prerequisites
In order to follow this tutorial, you’re going to need:
- A 64-bit computer running Ubuntu 14.04 or higher
- A sudo user
Installation
Create a directory for VSCode.
mkdir ~/VSCodeEnter that directory, and use wget to download VSCode.
cd ~/VSCode
  wget 'http://download.microsoft.com/download/9/5/4/9549F9CC-2663-40D7-8CB6-244D7C4C3CDA/VSCode-linux-x64.zip'
Extract the archive using unzip.
unzip VSCode-linux-x64.zipCreate a link to the executable named Code inside /usr/local/bin/ so that it can be run from any directory.
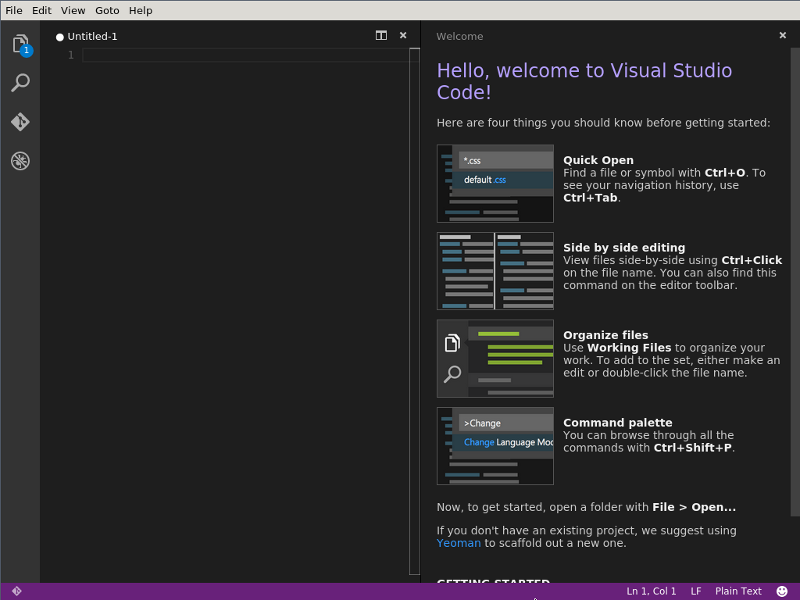
sudo ln -s $PWD/Code /usr/local/bin/codeStart VSCode by typing in code. You should be able to see the welcome screen now:
Creating a Project
In the present release of VSCode, there isn’t an option to create a new project. However, it can treat existing directories as projects. For it to do so, all you have to do is pass the directory as a command line argument to code. For example, for it treat the directory ~/JustAnotherApp as a project, you could type in:
cd ~/JustAnotherApp
  code .
If your project doesn’t have any files yet, here’s what you will see:
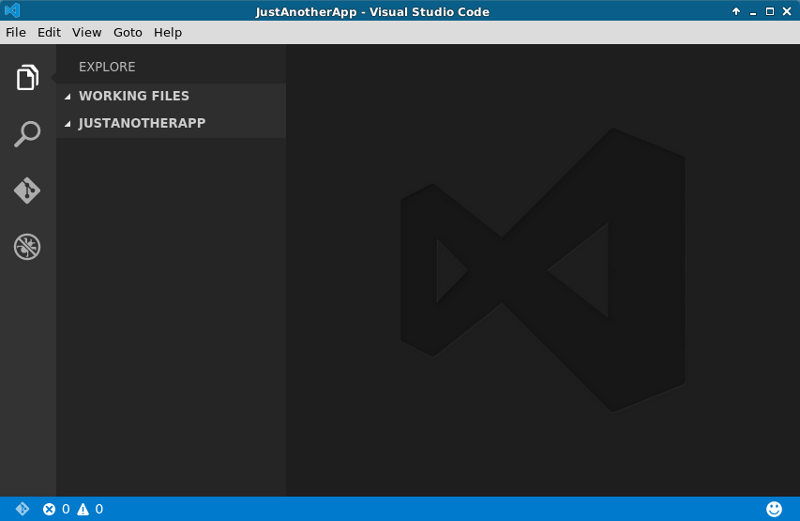
You can now click on the name of your project to see buttons that let you create new files and folders:

Using IntelliSense
IntelliSense is an umbrella term used by Microsoft that covers features such as automatic code completion and context-aware code suggestions. These are really helpful for increasing productivity, especially when you are using a new API or library. In the present preview release of VSCode, IntelliSense is available on all platforms for JavaScript, CSS, HTML and a few other languages. In this tutorial, I’ll show you how to use it in your Node.js projects.
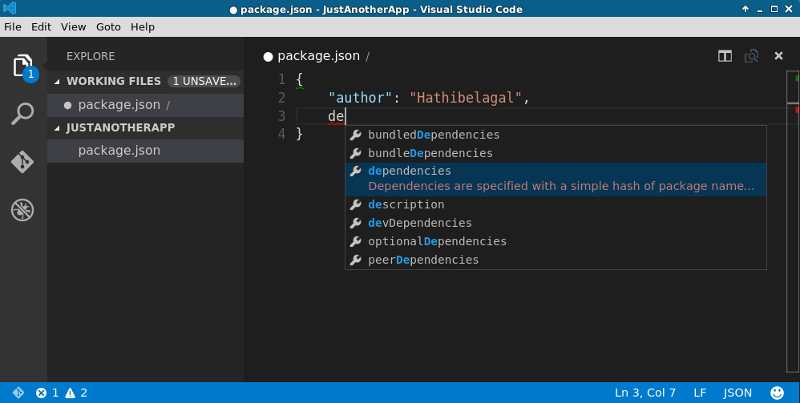
To view IntelliSense’s suggestions, all you have to do is press Control+Space. For example, in your project’s package.json, invoking IntelliSense will list all the available fields:
Similarly, pressing Control+Space in your Javascript files, you can see the fields and methods available in certain common classes and objects.
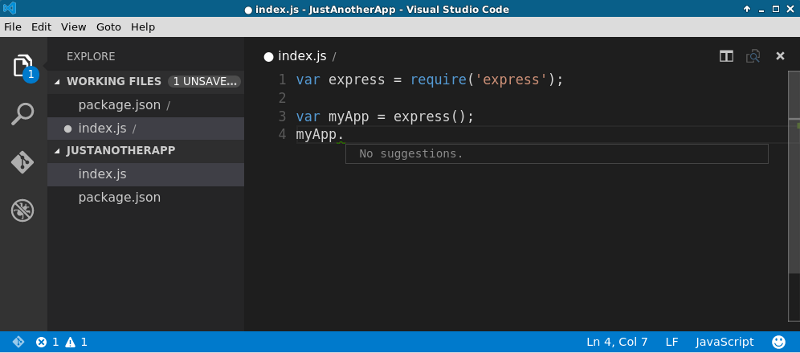
However, these suggestions are not available for all classes. For instance, if you try to look at the fields and methods available in an instance of express, you’ll find nothing by default:
To solve this problem, you need the relevant TypeScript type definitions. To get these definitions, you can use TSD (TypeScript Definition manager for DefinitelyTyped), an npm module.
If you don’t have it already, install it from the terminal using:
npm install tsd@next -gNow, inside your project directory, you can use tsd to install the type definitions you want. For example, to install the type definitions for the Express framework, you have to type in the following:
tsd install express --saveThis will create a file named tsd.d.ts inside your project, in a directory called typings. Reference this file inside VSCode by adding the following code to your JavaScript file:
/// <reference path="typings/tsd.d.ts" />You can now press Control+Space to see that suggestions are available for objects that belong to the Express framework:

Debugging
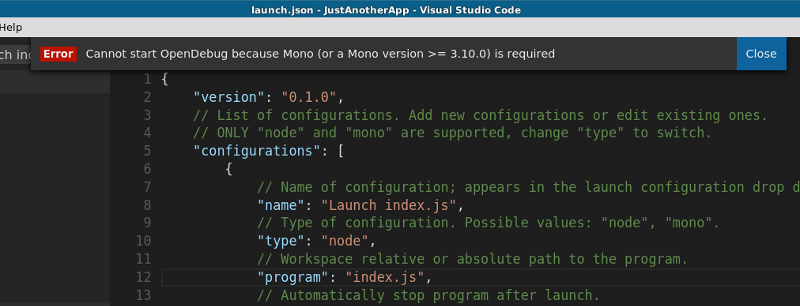
In most light-weight code editors, debugging support is either absent, or is supported only with the help of plugins. VSCode, on the other hand, sports a built-in interactive debugger that can vastly improve your coding experience. The first time you try to use the debugger in your Node.js project, VSCode generates a file named launch.json that contains various configuration details. This file might need a few changes depending on your project. The most important fields in this configuration are name and program. By default, name has the value Launch app.js and program has the value app.js. You need to change these to match the files in your project. For example, if the name of your project’s main file is index.js instead of app.js, your launch.json should contain:
"name" : "Launch index.js",
  "program" : "index.js"
Though it works out of the box on Windows, on Ubuntu (and most other Linux distros and Mac OS X), you need to install Mono 3.10.0 or higher for the debugger to work. Without it, trying to start the debugger will fail:
To install the latest version of Mono, you need to add a new PPA to Ubuntu’s software sources. Do so by opening a terminal and typing in:
sudo add-apt-repository ppa:ermshiperete/monodevelopYou can now install Mono using apt-get.
sudo apt-get update
  sudo apt-get install monodevelop-current
Finally, create a link to the mono executable inside /usr/bin:
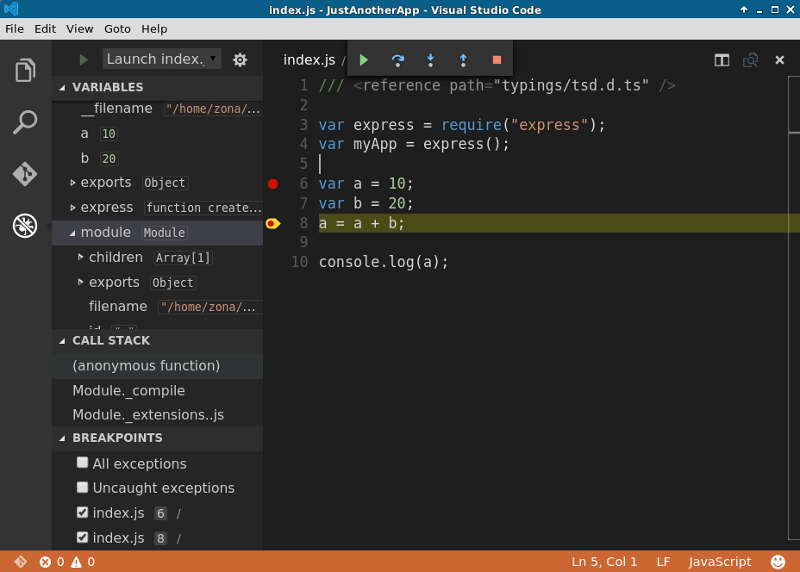
sudo ln -s /opt/monodevelop/bin/mono /usr/bin/monoReturn to VSCode and start the debug again. You should see it working:
Using Version Control
On all platforms, VSCode supports version control with Git. To use this feature, you need to have Git installed on your computer. On Ubuntu, you can install Git by opening a terminal again and typing in the following:
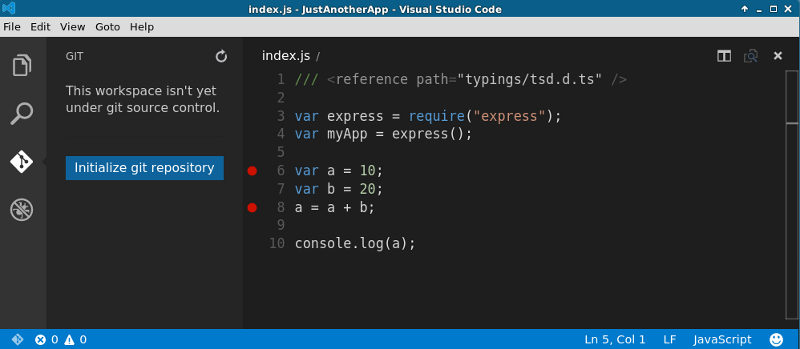
sudo apt-get install gitGo back to VSCode, and click on the Git button in the toolbar. You’ll be prompted to initialize a new repository:
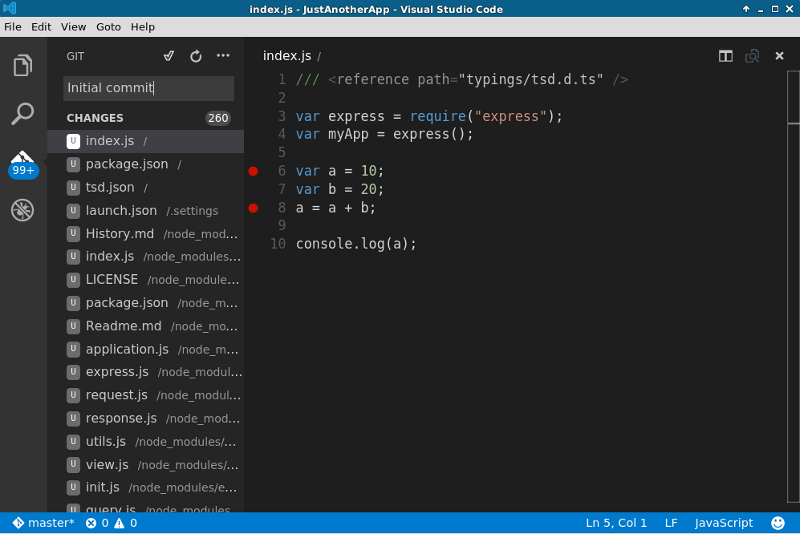
Once initialized, VSCode shows you all the files that need to be committed or updated. Committing is as simple as typing in a commit message and clicking on the check mark:
Using Markdown Preview
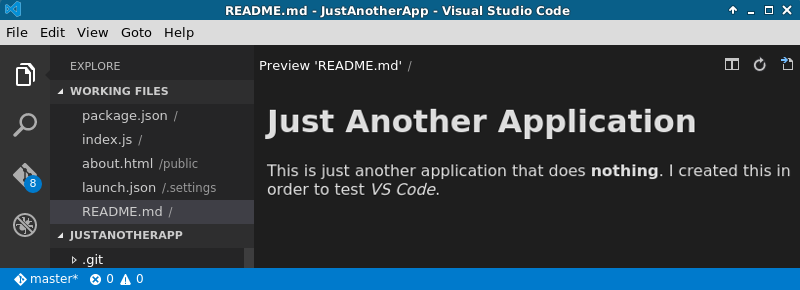
On all platforms, VSCode supports Markdown preview, and it works without any additional installations. When you are editing a markdown file, pressing Control+Shift+V at any time will display a preview of the file.
For example, if your Markdown file looks like this:

… the preview will show this:
Conclusion
You now know how to install and run Visual Studio Code—the first development tool from Microsoft’s Visual Studio family that supports Linux—on your Ubuntu system. Though the set up process is slightly involved, you should give it a try in order to experience its slick and streamlined interface that’s optimized for web development.
As of May 2015, VSCode was still in preview, with improvements and new features likely to appear in following months. Updates are easy to install, and are available for all platforms at the same time.
If you have any questions or comments about this guide, please let me know. Have you tried VSCode already? If so, what did you think?
Frequently Asked Questions (FAQs) about Visual Studio Code on Linux
Is Visual Studio Code compatible with Linux?
Yes, Visual Studio Code is fully compatible with Linux. It is a lightweight but powerful source code editor that runs on your desktop and is available for Windows, macOS, and Linux. It comes with built-in support for JavaScript, TypeScript, and Node.js, and has a rich ecosystem of extensions for other languages such as C++, C#, Python, PHP, and more.
How do I install Visual Studio Code on Linux?
Installing Visual Studio Code on Linux is straightforward. You can download the .deb package from the official Visual Studio Code website and install it using the dpkg command. Alternatively, you can also install it via the snap package manager if your Linux distribution supports it.
Can I use Visual Studio Code for C++ development on Linux?
Yes, you can use Visual Studio Code for C++ development on Linux. You will need to install the C++ extension for Visual Studio Code, and also have GCC or Clang installed on your system. The C++ extension provides features like IntelliSense, code navigation, and debugging support.
Is Visual Studio Code open source?
Yes, Visual Studio Code is open source. It is developed and maintained by Microsoft, and its source code is available on GitHub. This means that you can contribute to its development, report bugs, or even create your own fork of the software.
How do I update Visual Studio Code on Linux?
If you installed Visual Studio Code via the snap package manager, it will be automatically updated whenever a new version is available. If you installed it via the .deb package, you will need to download and install the new package manually.
Can I use Visual Studio Code on Linux for Python development?
Yes, Visual Studio Code is an excellent choice for Python development on Linux. You will need to install the Python extension for Visual Studio Code, which provides features like IntelliSense, linting, debugging, code navigation, code formatting, Jupyter notebook support, refactoring, and more.
Does Visual Studio Code support remote development on Linux?
Yes, Visual Studio Code supports remote development via the Remote – SSH extension. This allows you to use a remote machine as if it was your local machine, opening up a whole new set of possibilities for cloud-based development.
Can I customize the look and feel of Visual Studio Code on Linux?
Yes, Visual Studio Code is highly customizable on Linux. You can change the theme, customize the workspace layout, and even create your own custom keybindings.
Does Visual Studio Code support Git on Linux?
Yes, Visual Studio Code has built-in support for Git on Linux. You can perform Git operations directly from the editor, view diffs of your changes, stage and commit changes, and more.
Can I run Visual Studio Code on a Raspberry Pi running Linux?
Yes, you can run Visual Studio Code on a Raspberry Pi running Linux. You will need to install the ARM version of Visual Studio Code, which is available on the official website.
Hathibelagal is an independent developer and blogger who loves tinkering with new frameworks, SDKs, and devices. Read his blog here.


Published in
·Business·Conversion·Entrepreneur·Entrepreneurship·Entrepreneurship·Marketing·Revenue·September 17, 2015