

Key Takeaways
- Jenkins is a popular open-source build server that allows for automated testing of complex applications, speeding up the release process by catching and addressing errors before deployment.
- Jenkins pipelines, a feature introduced in the 2.0 release, are a set of customizable steps written in the Groovy scripting language that test and build your code. If a step fails, the entire build fails and Jenkins stops executing.
- Jenkins can be easily installed and configured using Laravel Homestead. Once set up, a new build job can be created to check out the latest build of a project, install dependencies, and run unit tests.
- Jenkins pipelines can be written as a Jenkinsfile script in the root of a code repository, allowing them to be version controlled. Multibranch pipeline jobs can also be set up to run different actions for different branches of a project.
- Jenkins supports an extensive ecosystem of plugins that can be installed and configured to extend its functionality, including testing plugins and integrations with cloud services. It can be configured to automatically build whenever a commit is pushed to a repository, and should be properly secured.
This article was peer reviewed by Christopher Thomas and Peter Nijssen. Thanks to all of SitePoint’s peer reviewers for making SitePoint content the best it can be!
As our applications become more complex – with Composer dependencies, Webpack build scripts, and per-environment variables – we inevitably reach a point where testing all of these different intricacies becomes slow and laborious, especially when you’re tearing down and rebuilding the entire environment for each test. Likewise, code style might deviate over time and creating a production ready deployment archive requires a specific set of steps to be followed.
Suppose that, to test your application, you need to perform the following steps:
- Run
composer installto ensure the dependencies are installed - Run
php -lagainst each PHP file in the codebase to check for syntax errors - Run PHPUnit for unit testing
- Run Codeception for functional testing
![]()
If any of these steps fail then the software should be considered unsuitable for deployment until the errors have been addressed. As your software becomes more complex and the number of tests increases over time it can take many minutes to run the full suite which slows down your developers which in turn slows down the release process.
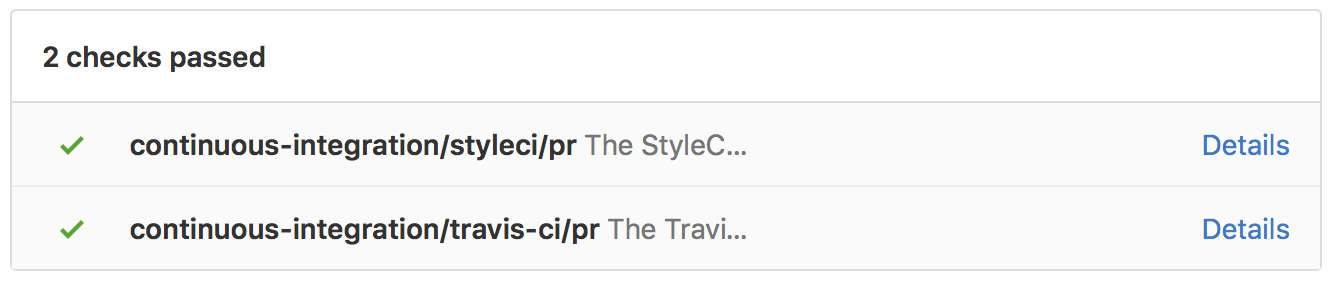
To help overcome this you can introduce a build server into your development workflow. A build server runs a piece of software that enables you to run a series of steps over and over again in the background, and if one of the steps fails the build server can inform you of the issue. If you’ve contributed to an open source project you may have seen a build server such as TravisCI or CircleCI in action. For example, every pull request on the Laravel project is tested by TravisCI to ensure the change doesn’t break any tests, then StyleCI ensures the code change matches the project code style.
Jenkins is a popular open-source build server that this year had its 2.0 release. One of the principal features of this new release is the inclusion of the (previously optional) pipelines plugin as a core feature.
A pipeline is a set of completely customizable steps that can be run in order to test and build your code. Pipelines are written in the Groovy scripting language which has a very simple syntax that is easy to get comfortable with. For example, if you wanted to describe the test steps described before as a pipeline, it might look similar to this:
node {
    stage("composer_install") {
        sh 'composer install'
    }

    stage("php_lint") {
        sh 'find . -name "*.php" -print0 | xargs -0 -n1 php -l'
    }

    stage("phpunit") {
        sh 'vendor/bin/phpunit'
    }

    stage("codeception") {
        sh 'vendor/bin/codecept run'
    }
}
The node statement tells Jenkins to assign a single build node (Jenkins can run either in a single-server mode, or a multi-node setup). Inside the node block are multiple stages, each of which performs a specific action.
Jenkins will run each of the stages in turn and if any of them should fail then the entire build will fail and Jenkins will stop executing.
From this simple example you could easily add additional stages with other tests, tell Jenkins to send a Slack notification for successful or failed builds, push successfully tested code into a release branch or mark a pull request as good to merge.
Installing Jenkins
Jenkins is very easy to install and for this tutorial we’re going to use Laravel Homestead to give a consistent virtual environment so you can play with Jenkins locally.
The first step is to install Laravel Homestead – there is a useful guide here. You only need to get the virtual machine up and running, we don’t need to configure any sites in the homestead.yaml file.
With your Homestead virtual machine up and running, SSH into it with vagrant ssh.
Homestead ships with all the dependencies we need, namely Git, PHP and Composer so we just need to install Jenkins itself. Following the Jenkins Debian package guide we need to perform the following steps.
Run wget -q -O - https://pkg.jenkins.io/debian-stable/jenkins.io.key | sudo apt-key add -. This command adds the code-signing key to Aptitude so the Jenkins packages from this repository will be trusted.
Next, the package sources list needs updating so Aptitude knows about the Jenkins package repository. Execute echo "deb https://pkg.jenkins.io/debian-stable binary/" | sudo tee -a /etc/apt/sources.list.
Finally, we need Aptitude to update its cache of available packages, and then install Jenkins:
sudo apt-get update && sudo apt-get install jenkins
Installing Jenkins will take approximately five minutes as it has quite a number of dependencies that also need installing.
Once Jenkins is installed, open http://192.168.10.10:8080 in your browser (or your virtual host configured URL like homestead.app) and you should see a page titled “Unlock Jenkins”.
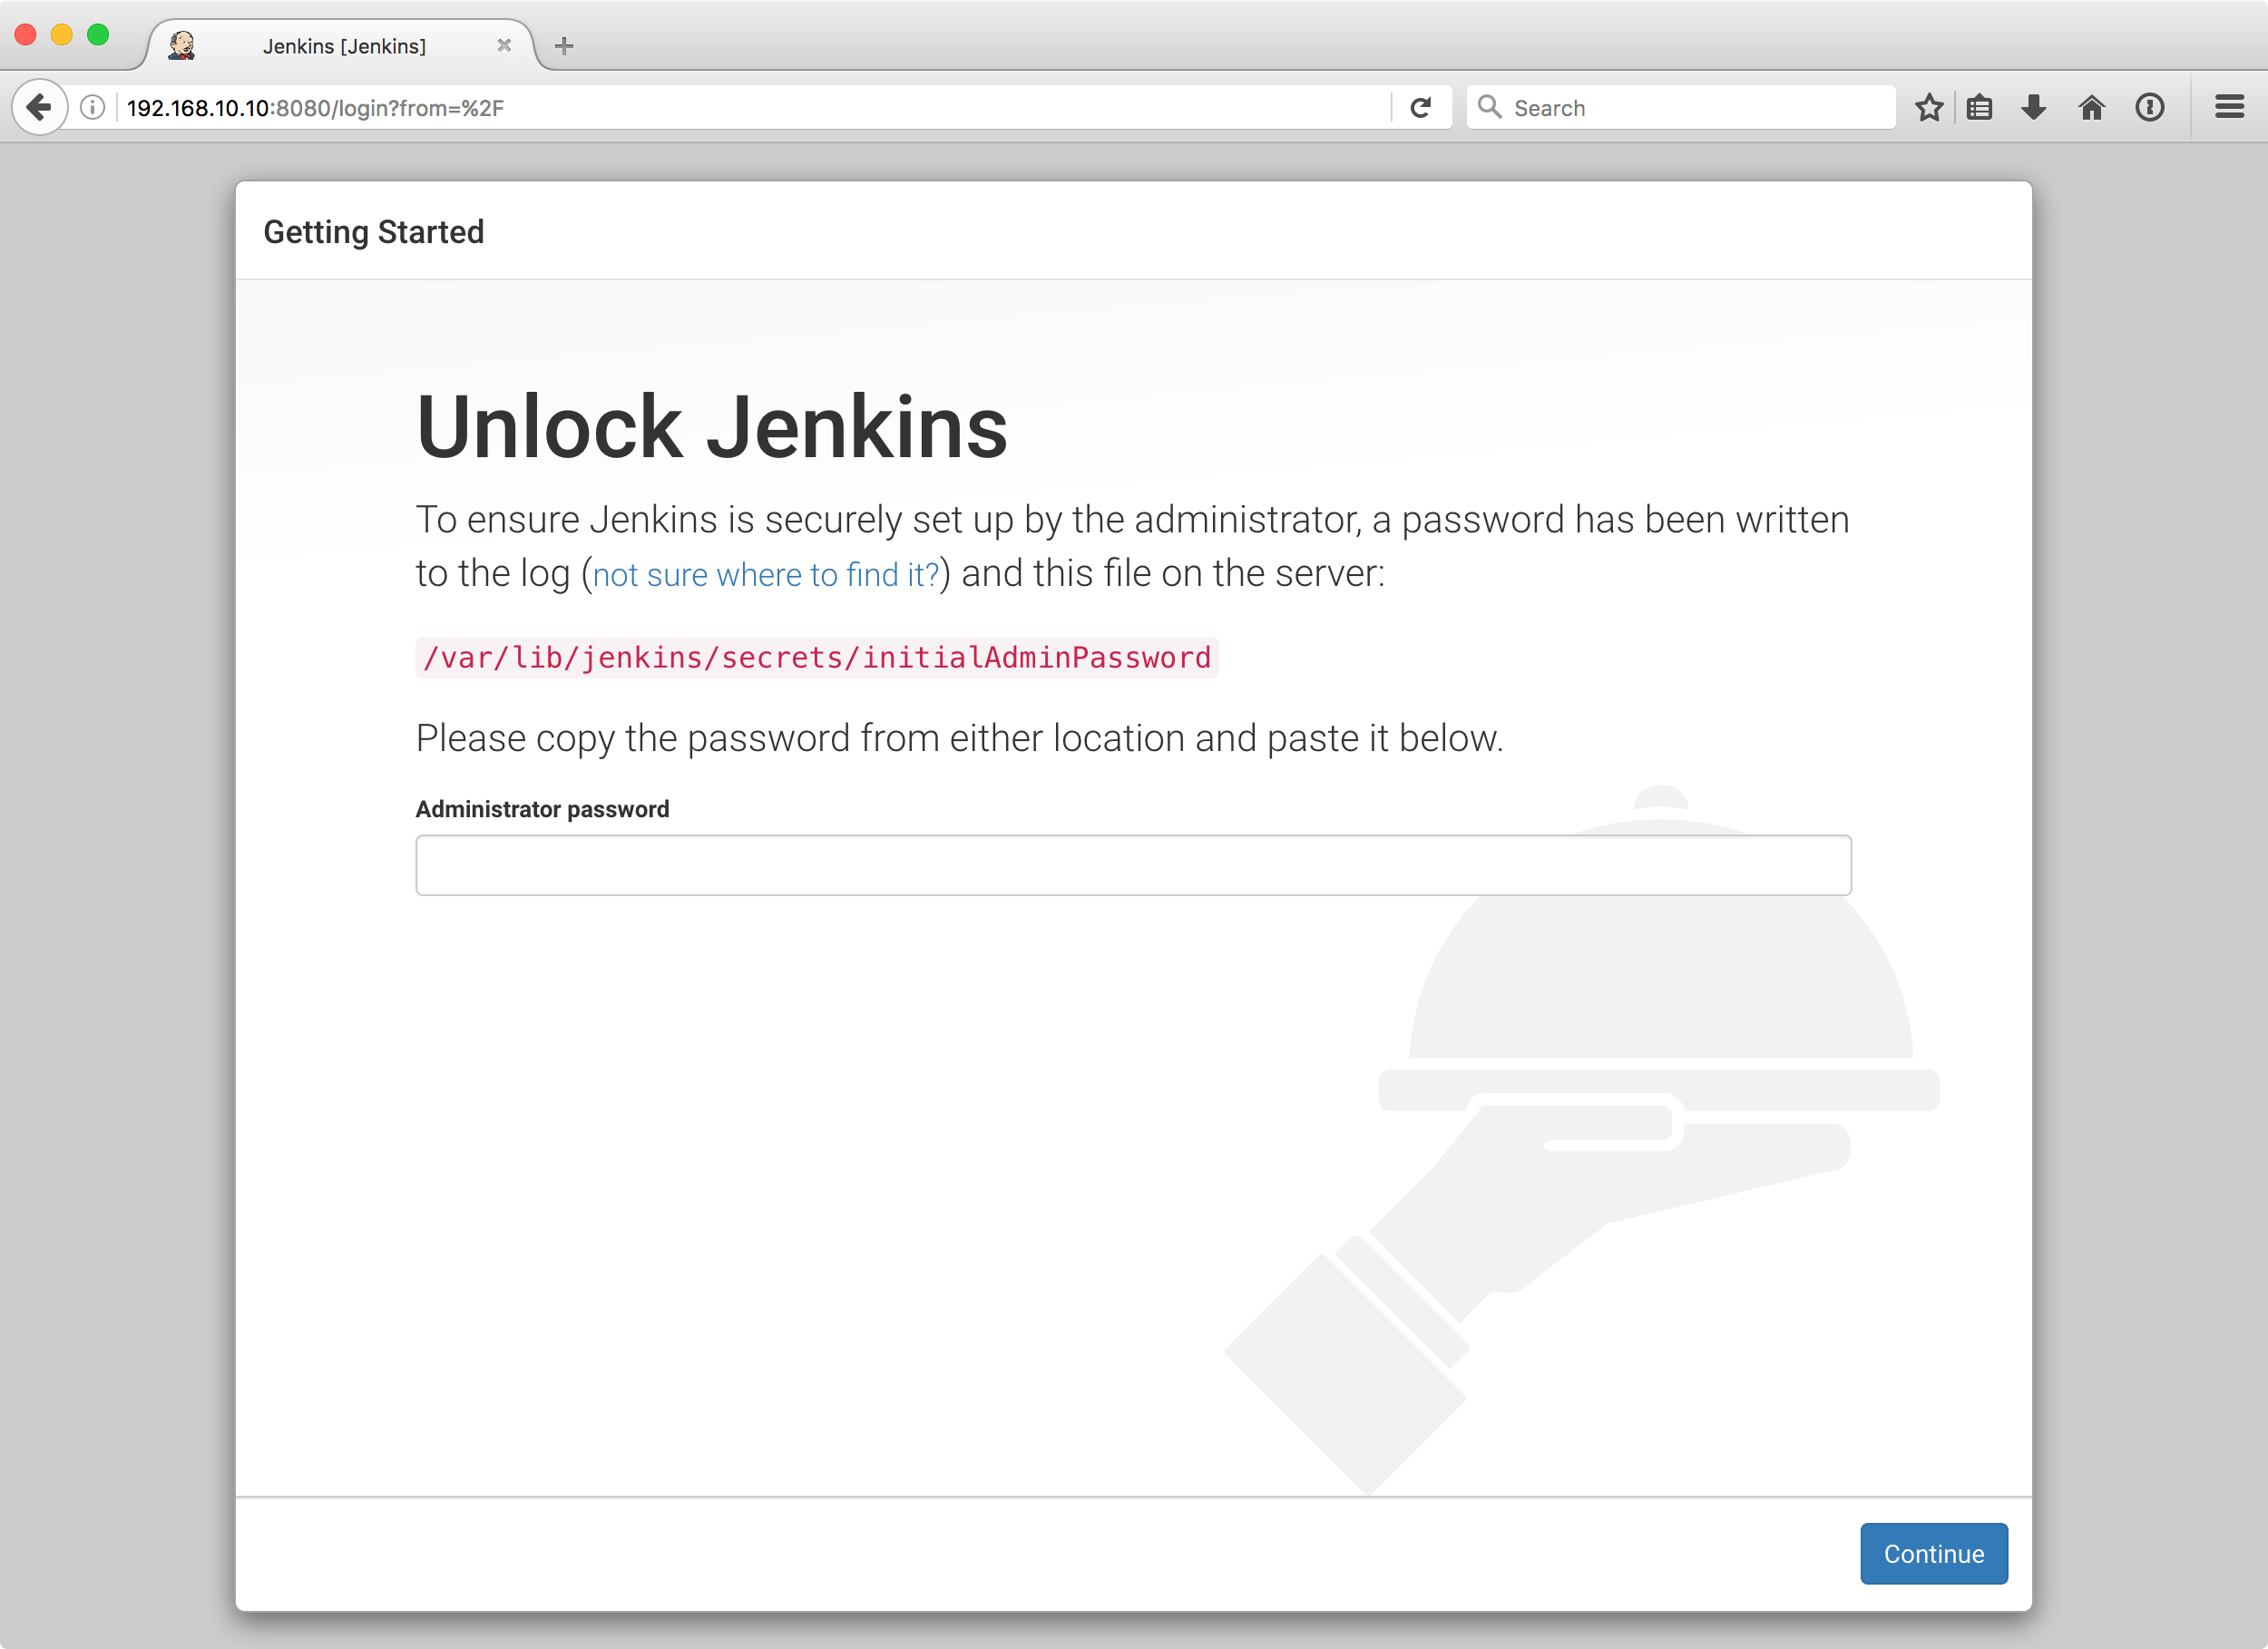
Inside the VM, run the following command – sudo cat /var/lib/jenkins/secrets/initialAdminPassword and a random string of numbers and letters will be printed to the console. Copy and paste that string into the text field in the browser and press “Continue”.
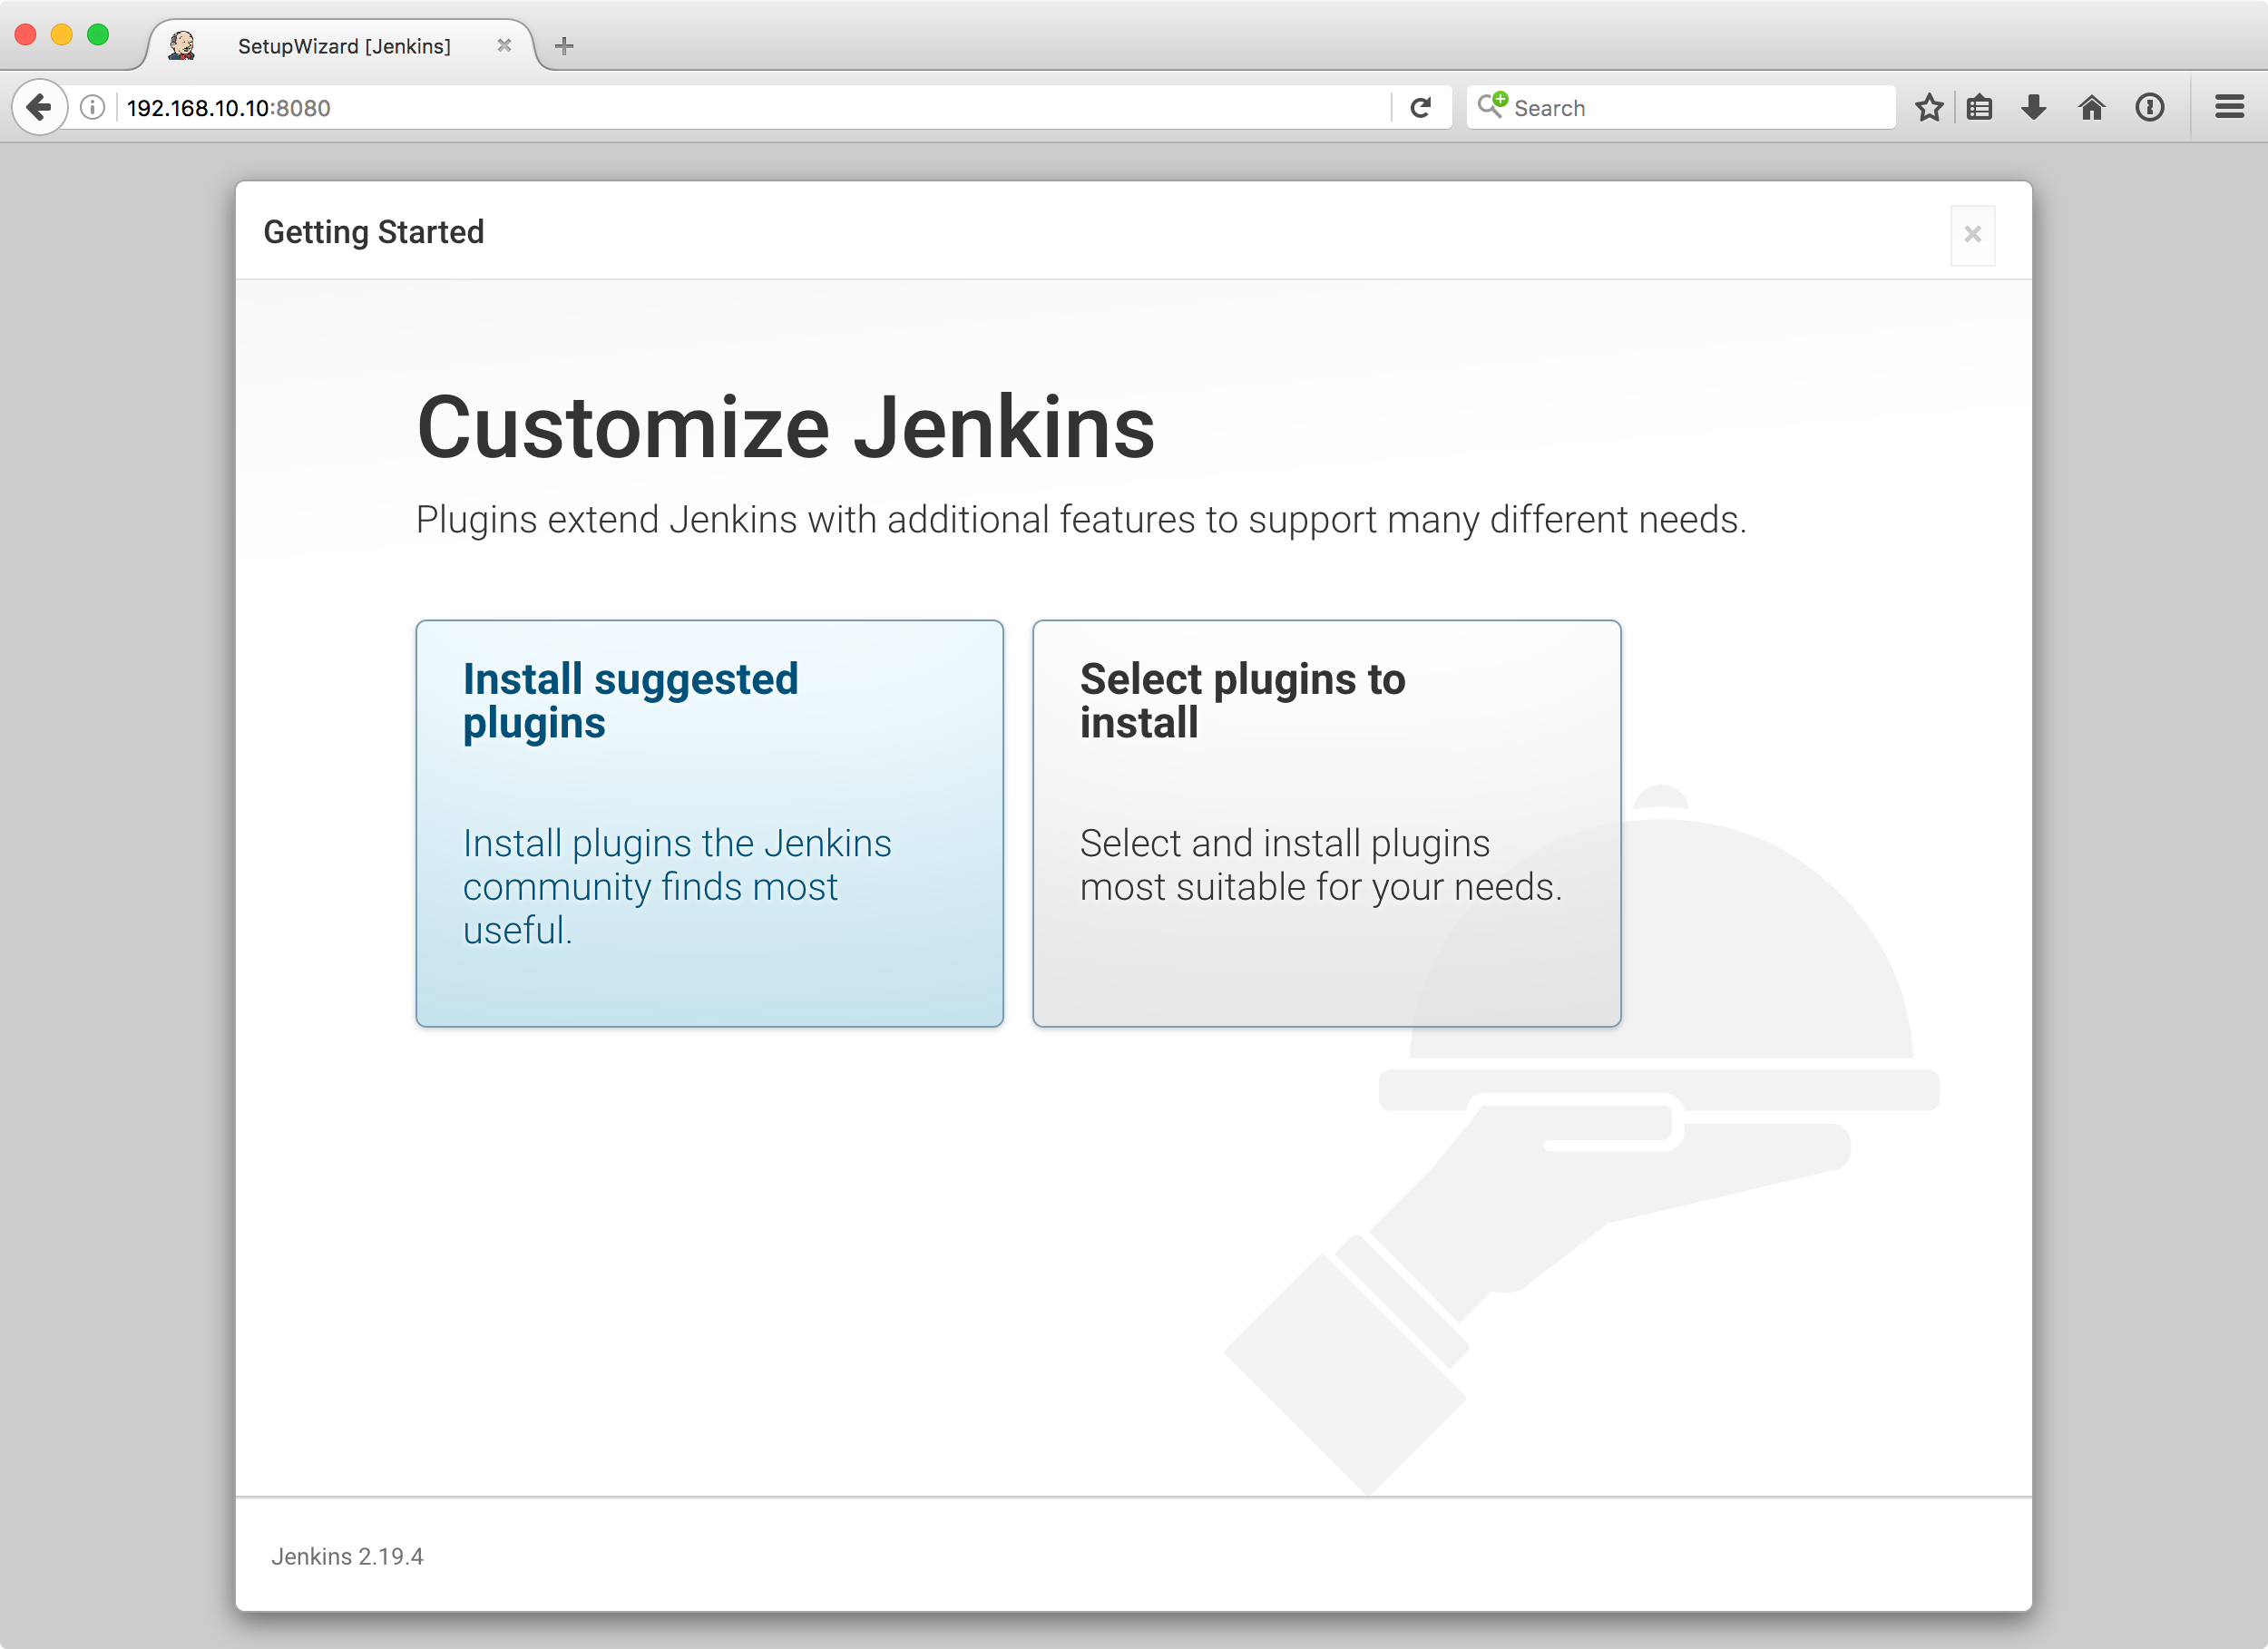
You’ll be presented with two options – choose “Install suggested plugins” and wait a few minutes while the plugins are downloaded and installed.
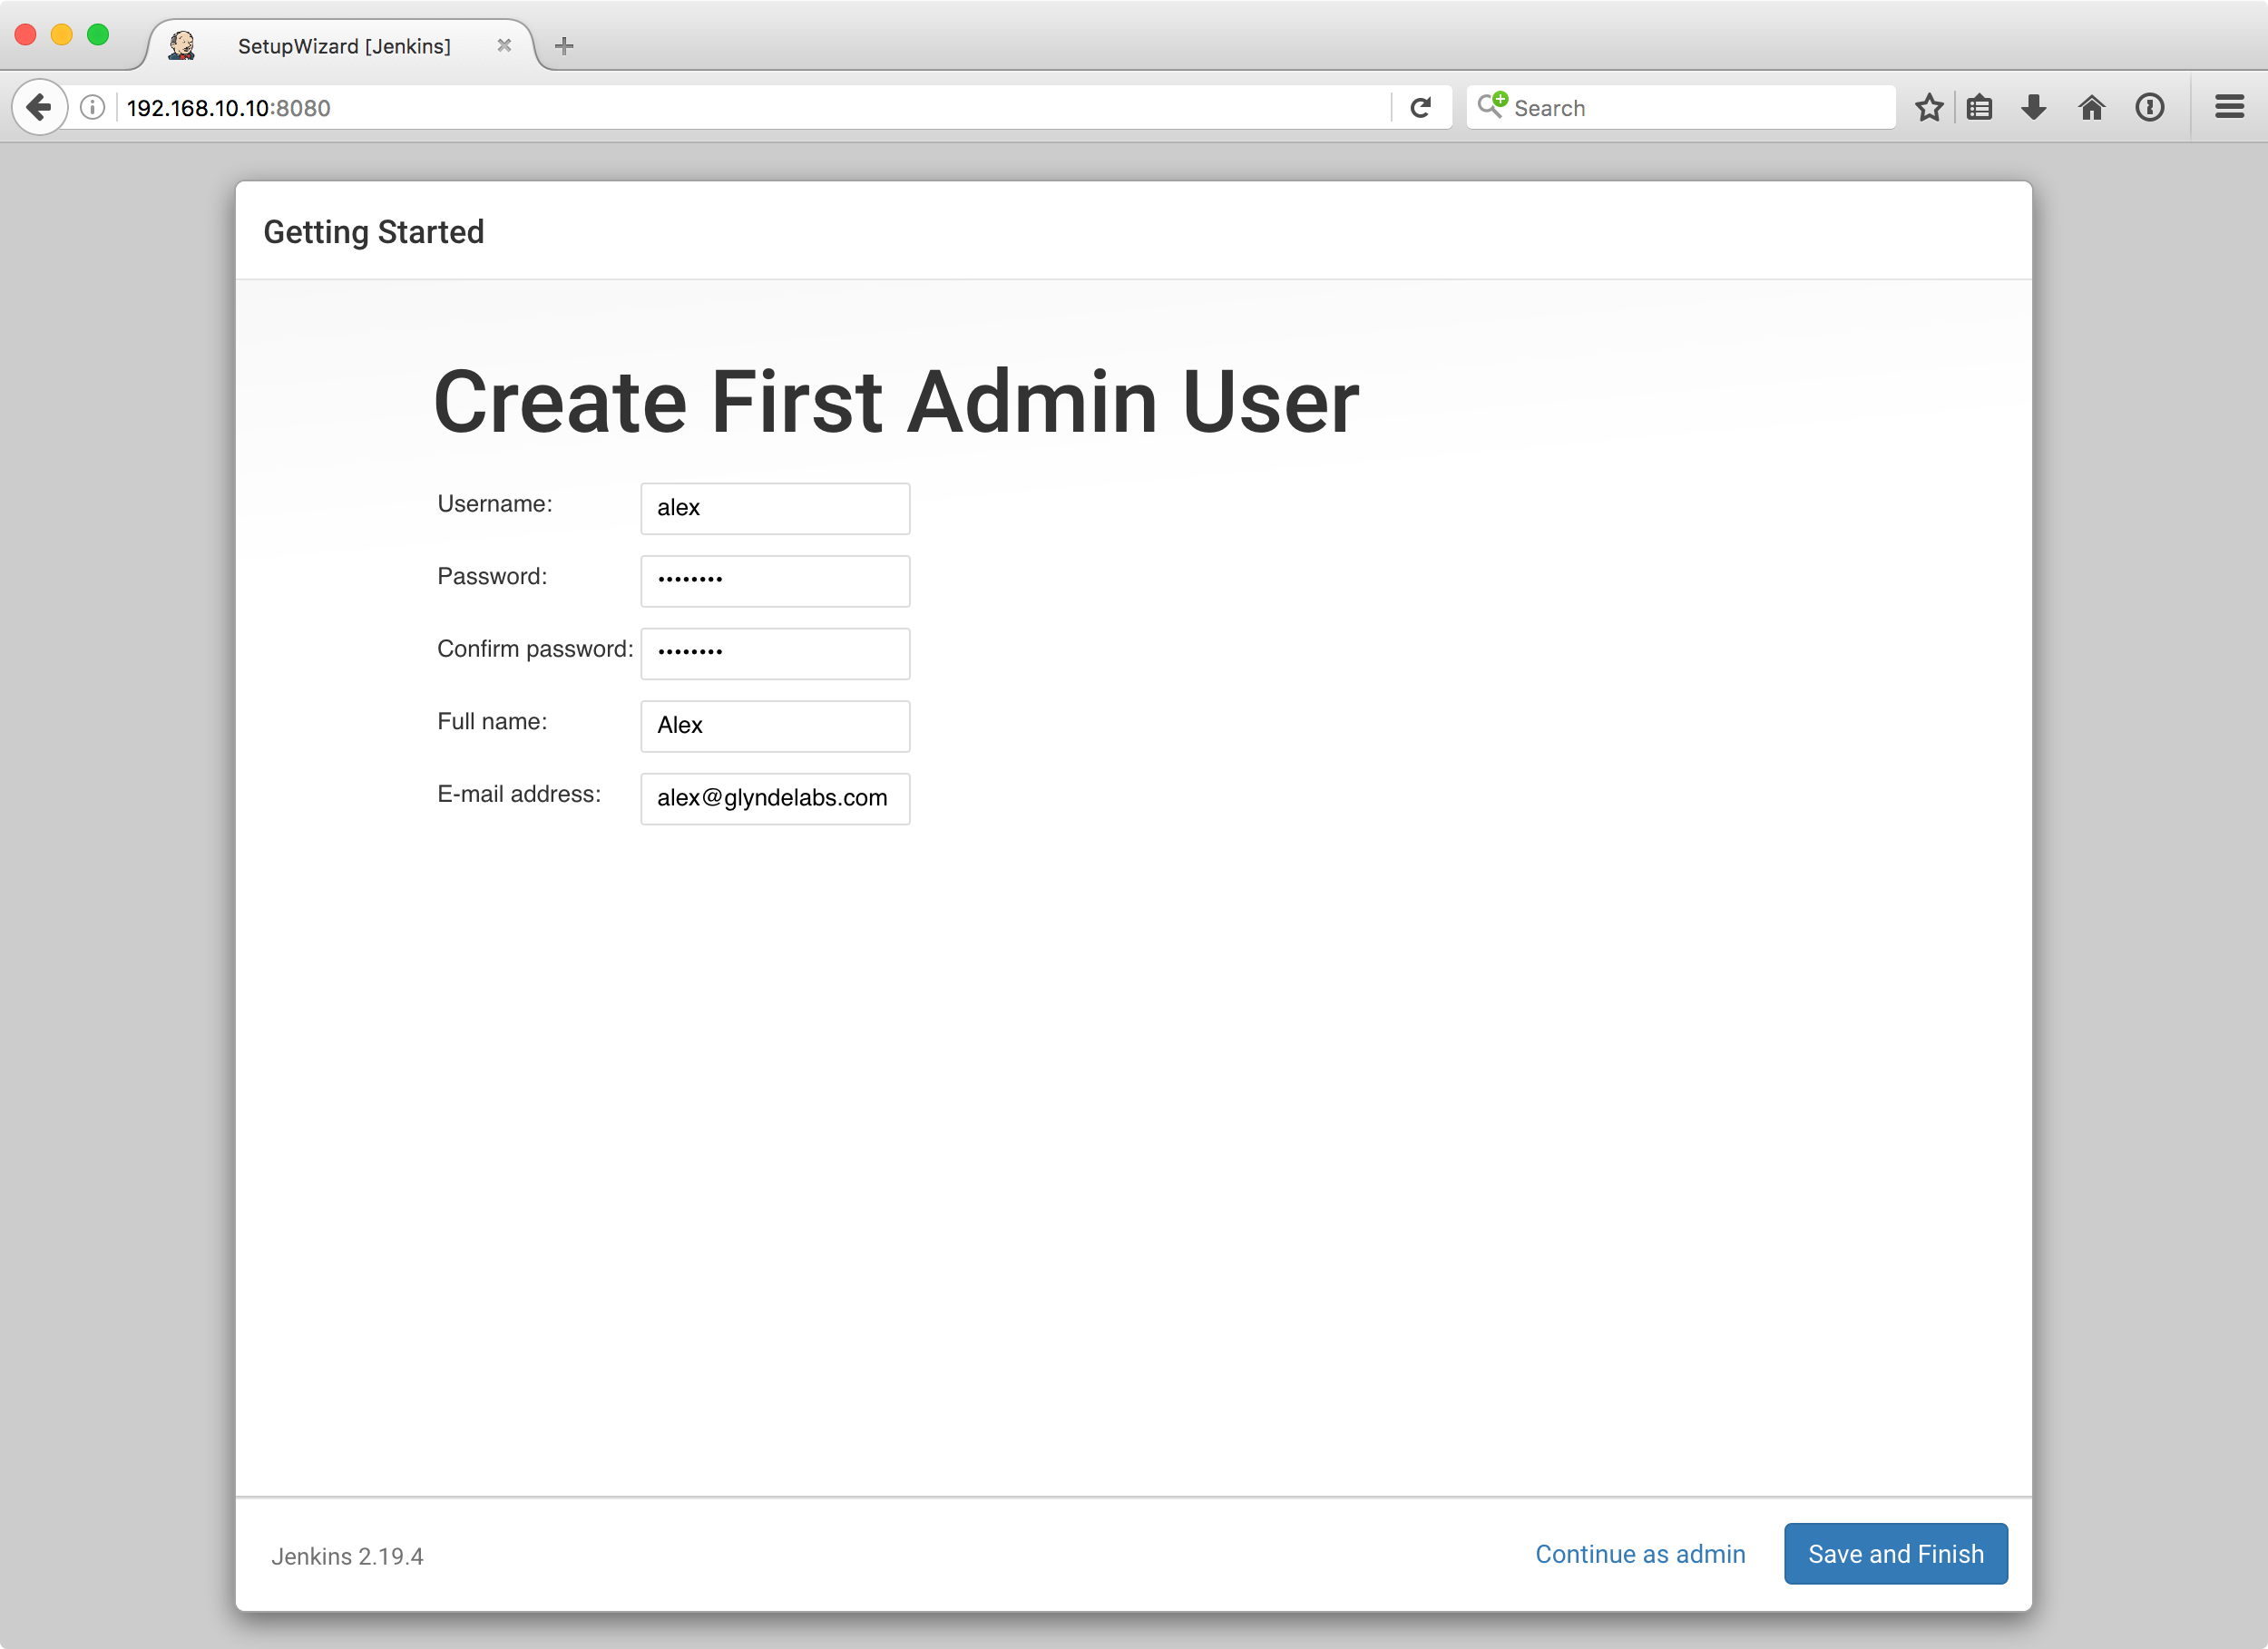
On the next screen, enter the details of an admin user and press “Save and Finish”.
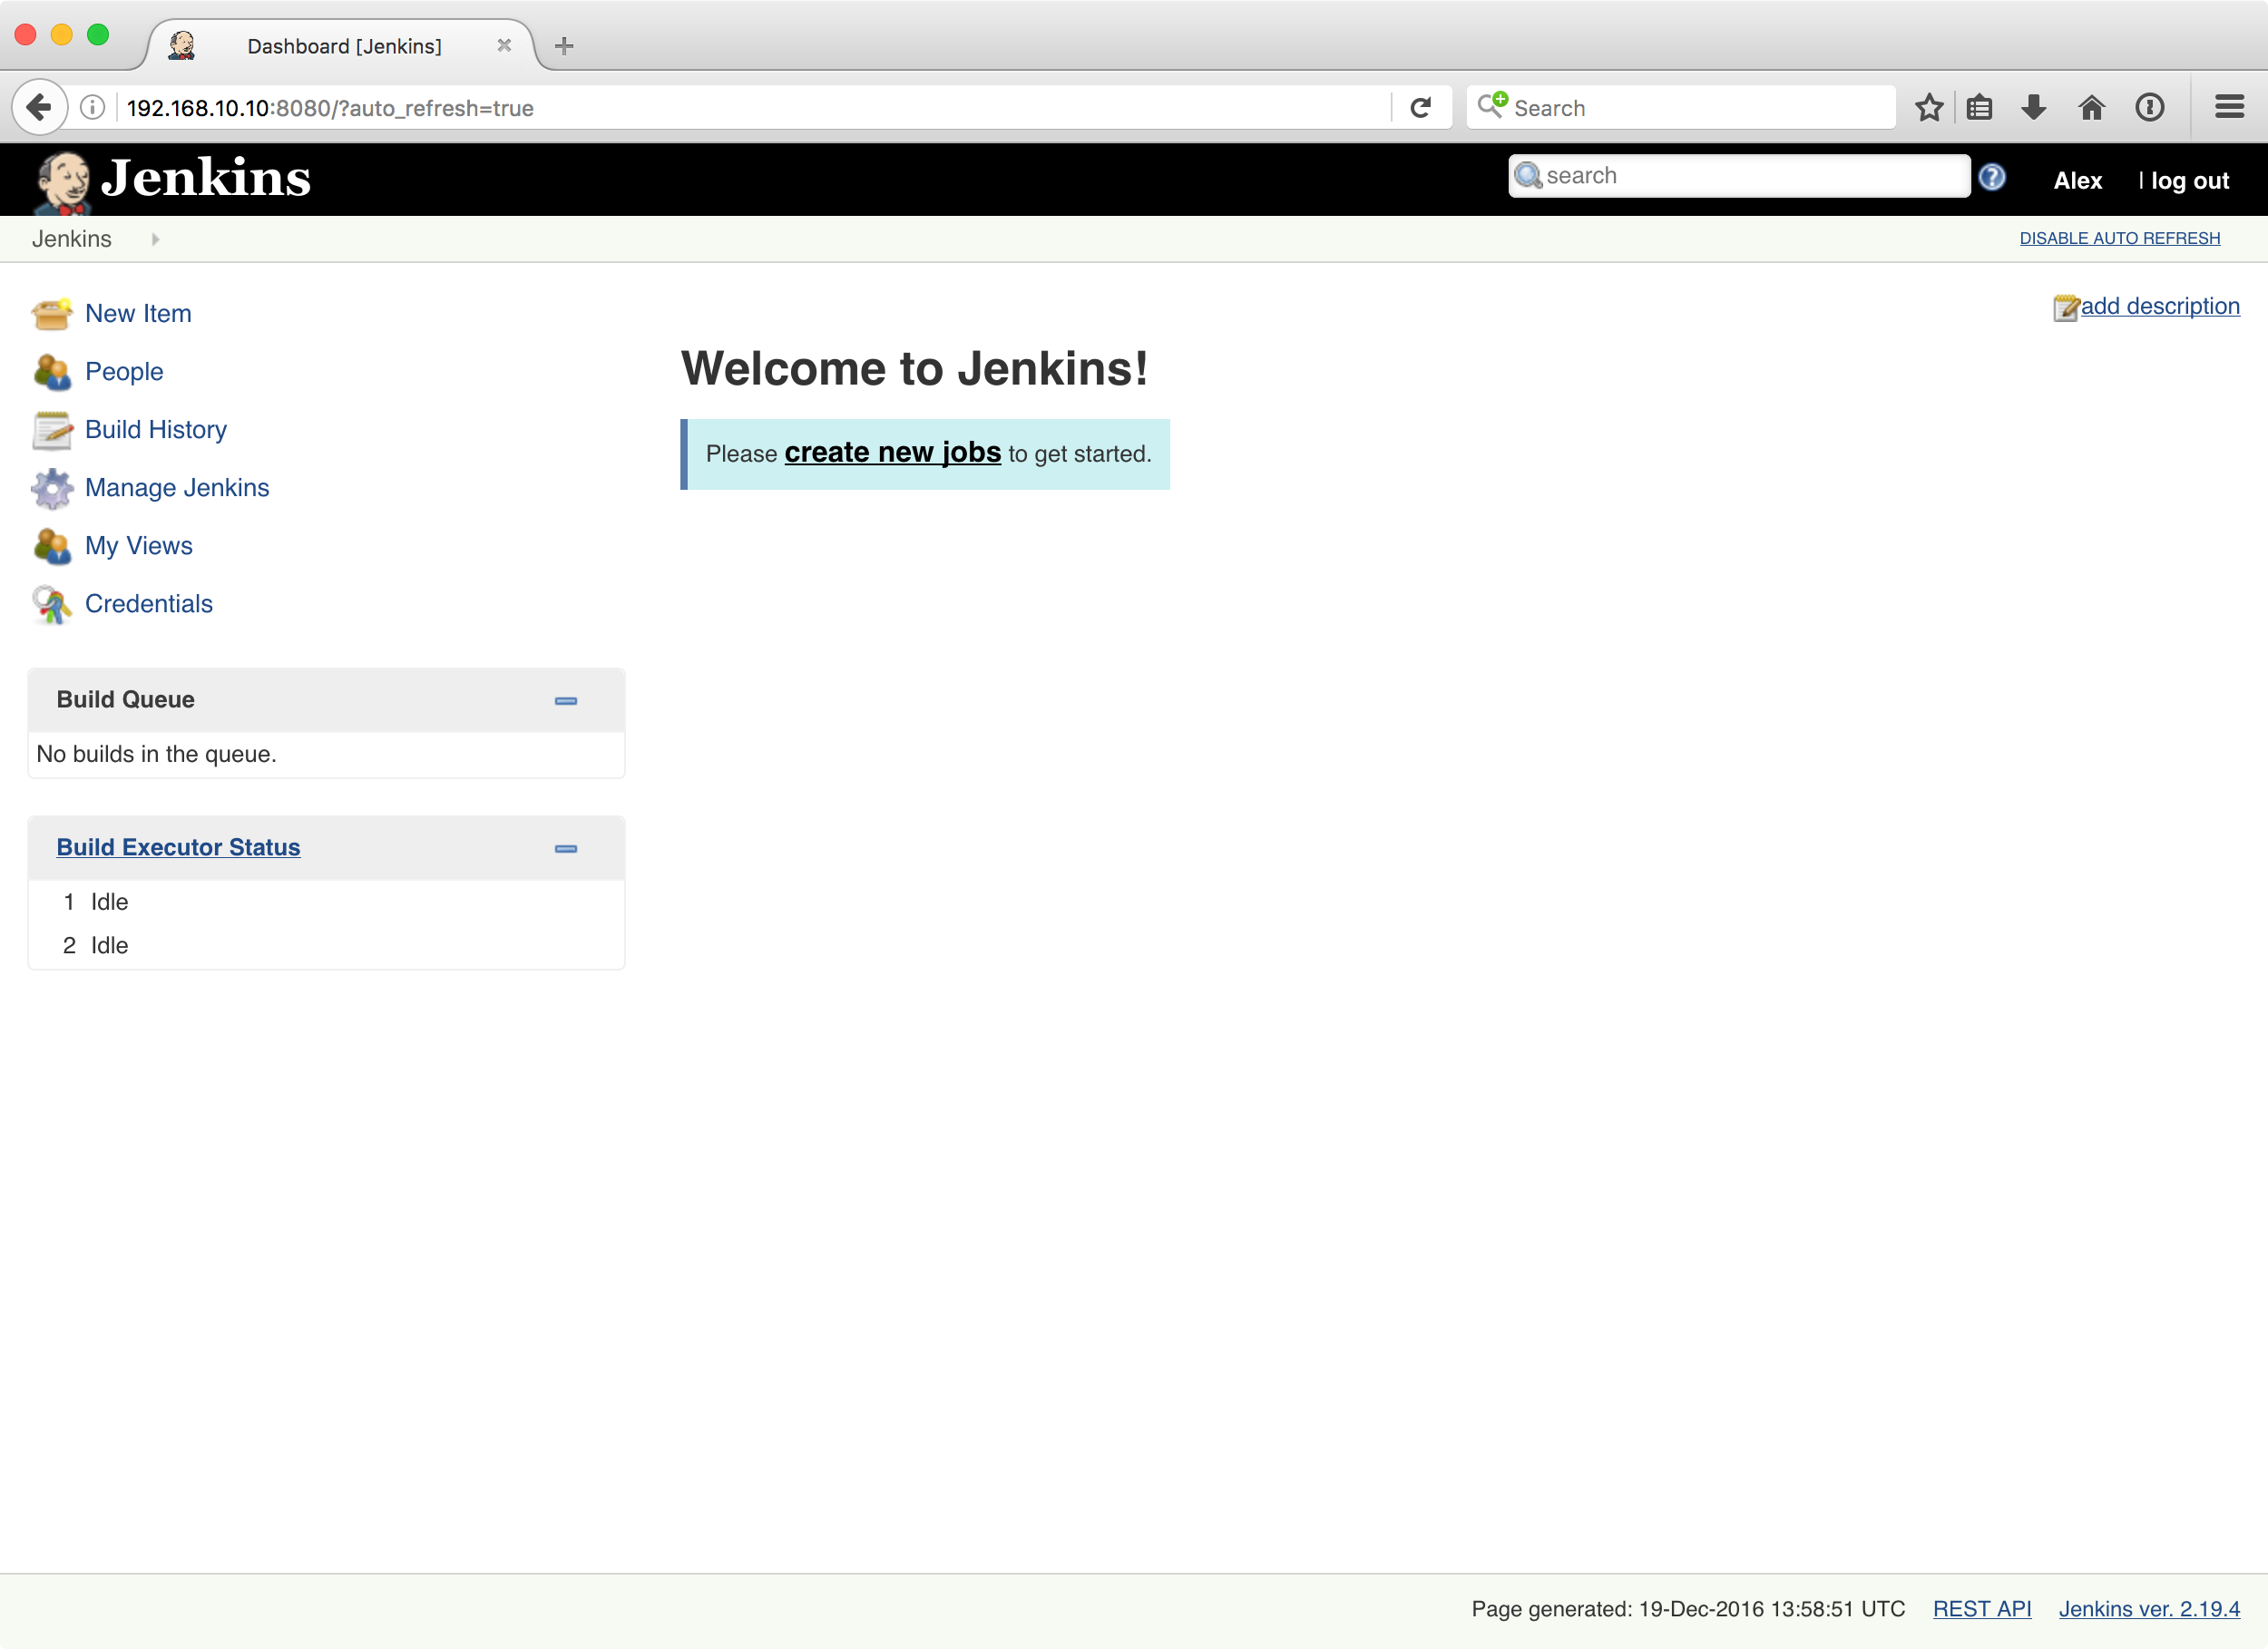
Jenkins is now installed and configured!
Creating Your First Job
With Jenkins set up, we’re going to create a new build job that will do the following:
- Check out the latest build of
laravel/framework - Install Composer dependencies
- Run PHPUnit
Click the “create new jobs” link on the dashboard (or the “new item” link – they both do the same thing).
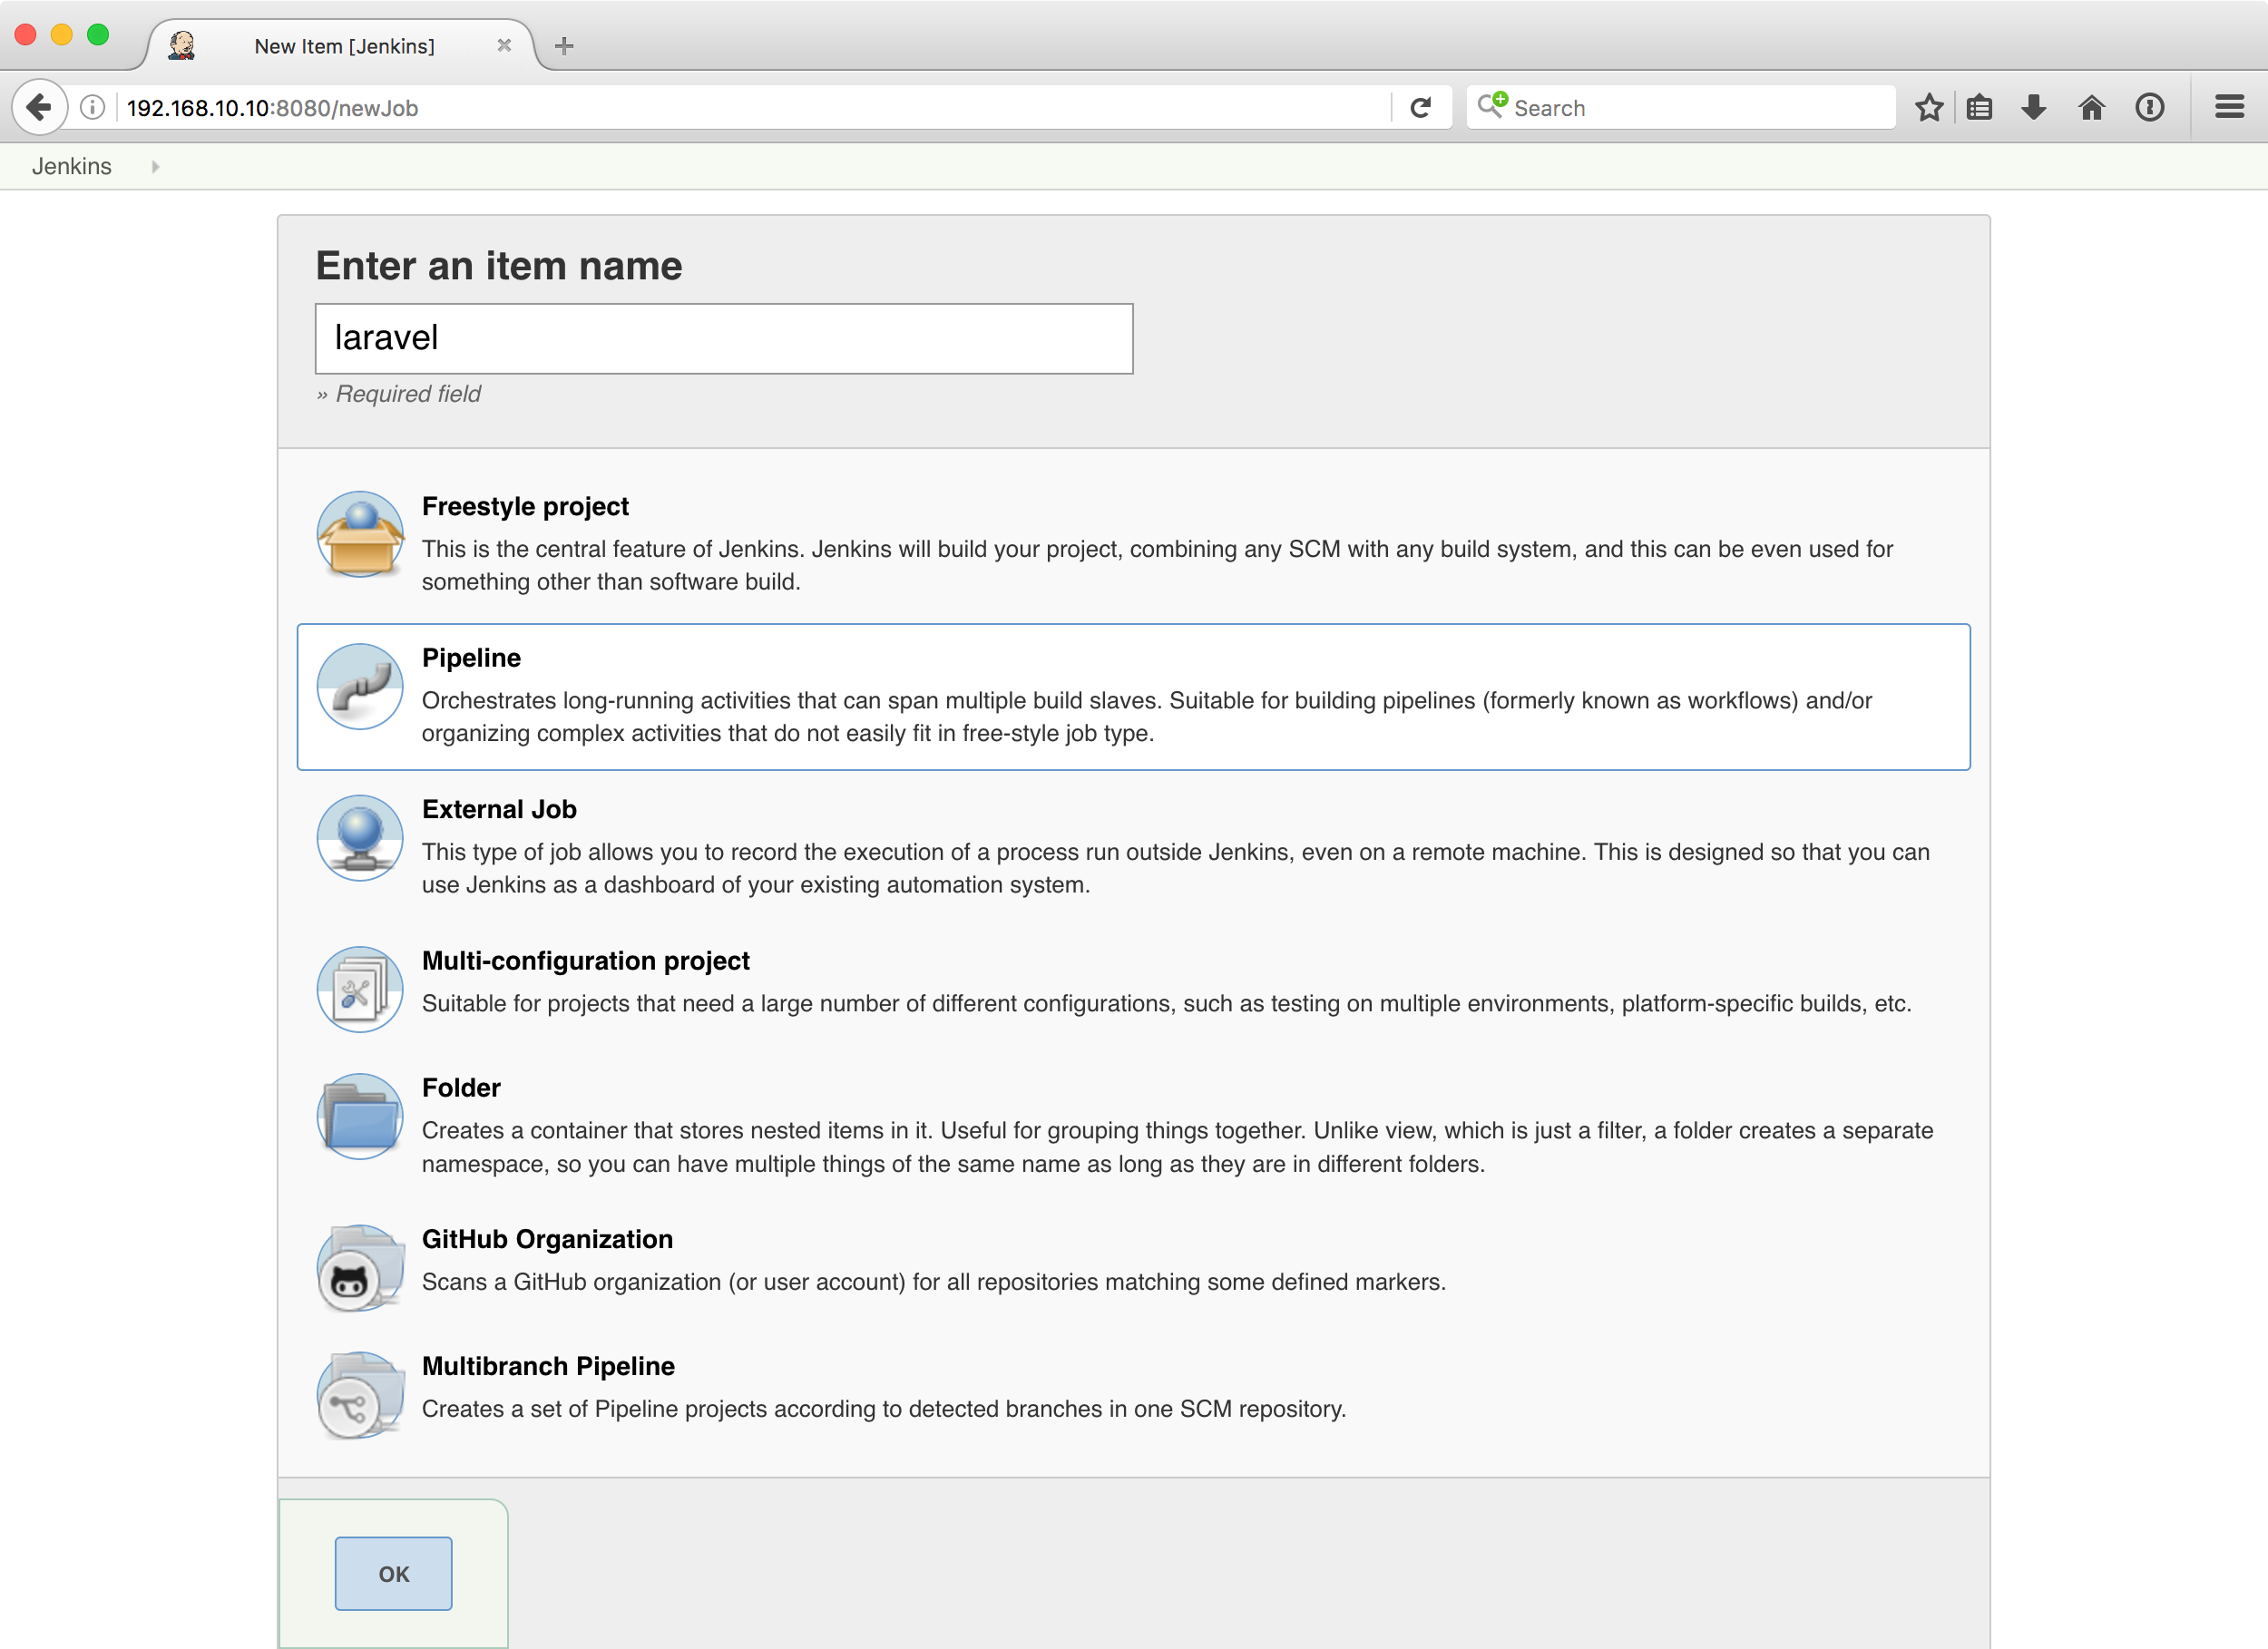
Enter the name laravel, select “Pipeline”, then press “OK”.
You’ll now see a configuration editor for the job. Scroll down to the Pipeline section and enter the following script:
node {
    stage('preparation') {
        // Checkout the master branch of the Laravel framework repository
        git branch: 'master', url: 'https://github.com/laravel/framework.git'
    }
    stage("composer_install") {
        // Run `composer update` as a shell script
        sh 'composer install'
    }
    stage("phpunit") {
        // Run PHPUnit
        sh 'vendor/bin/phpunit'
    }
}
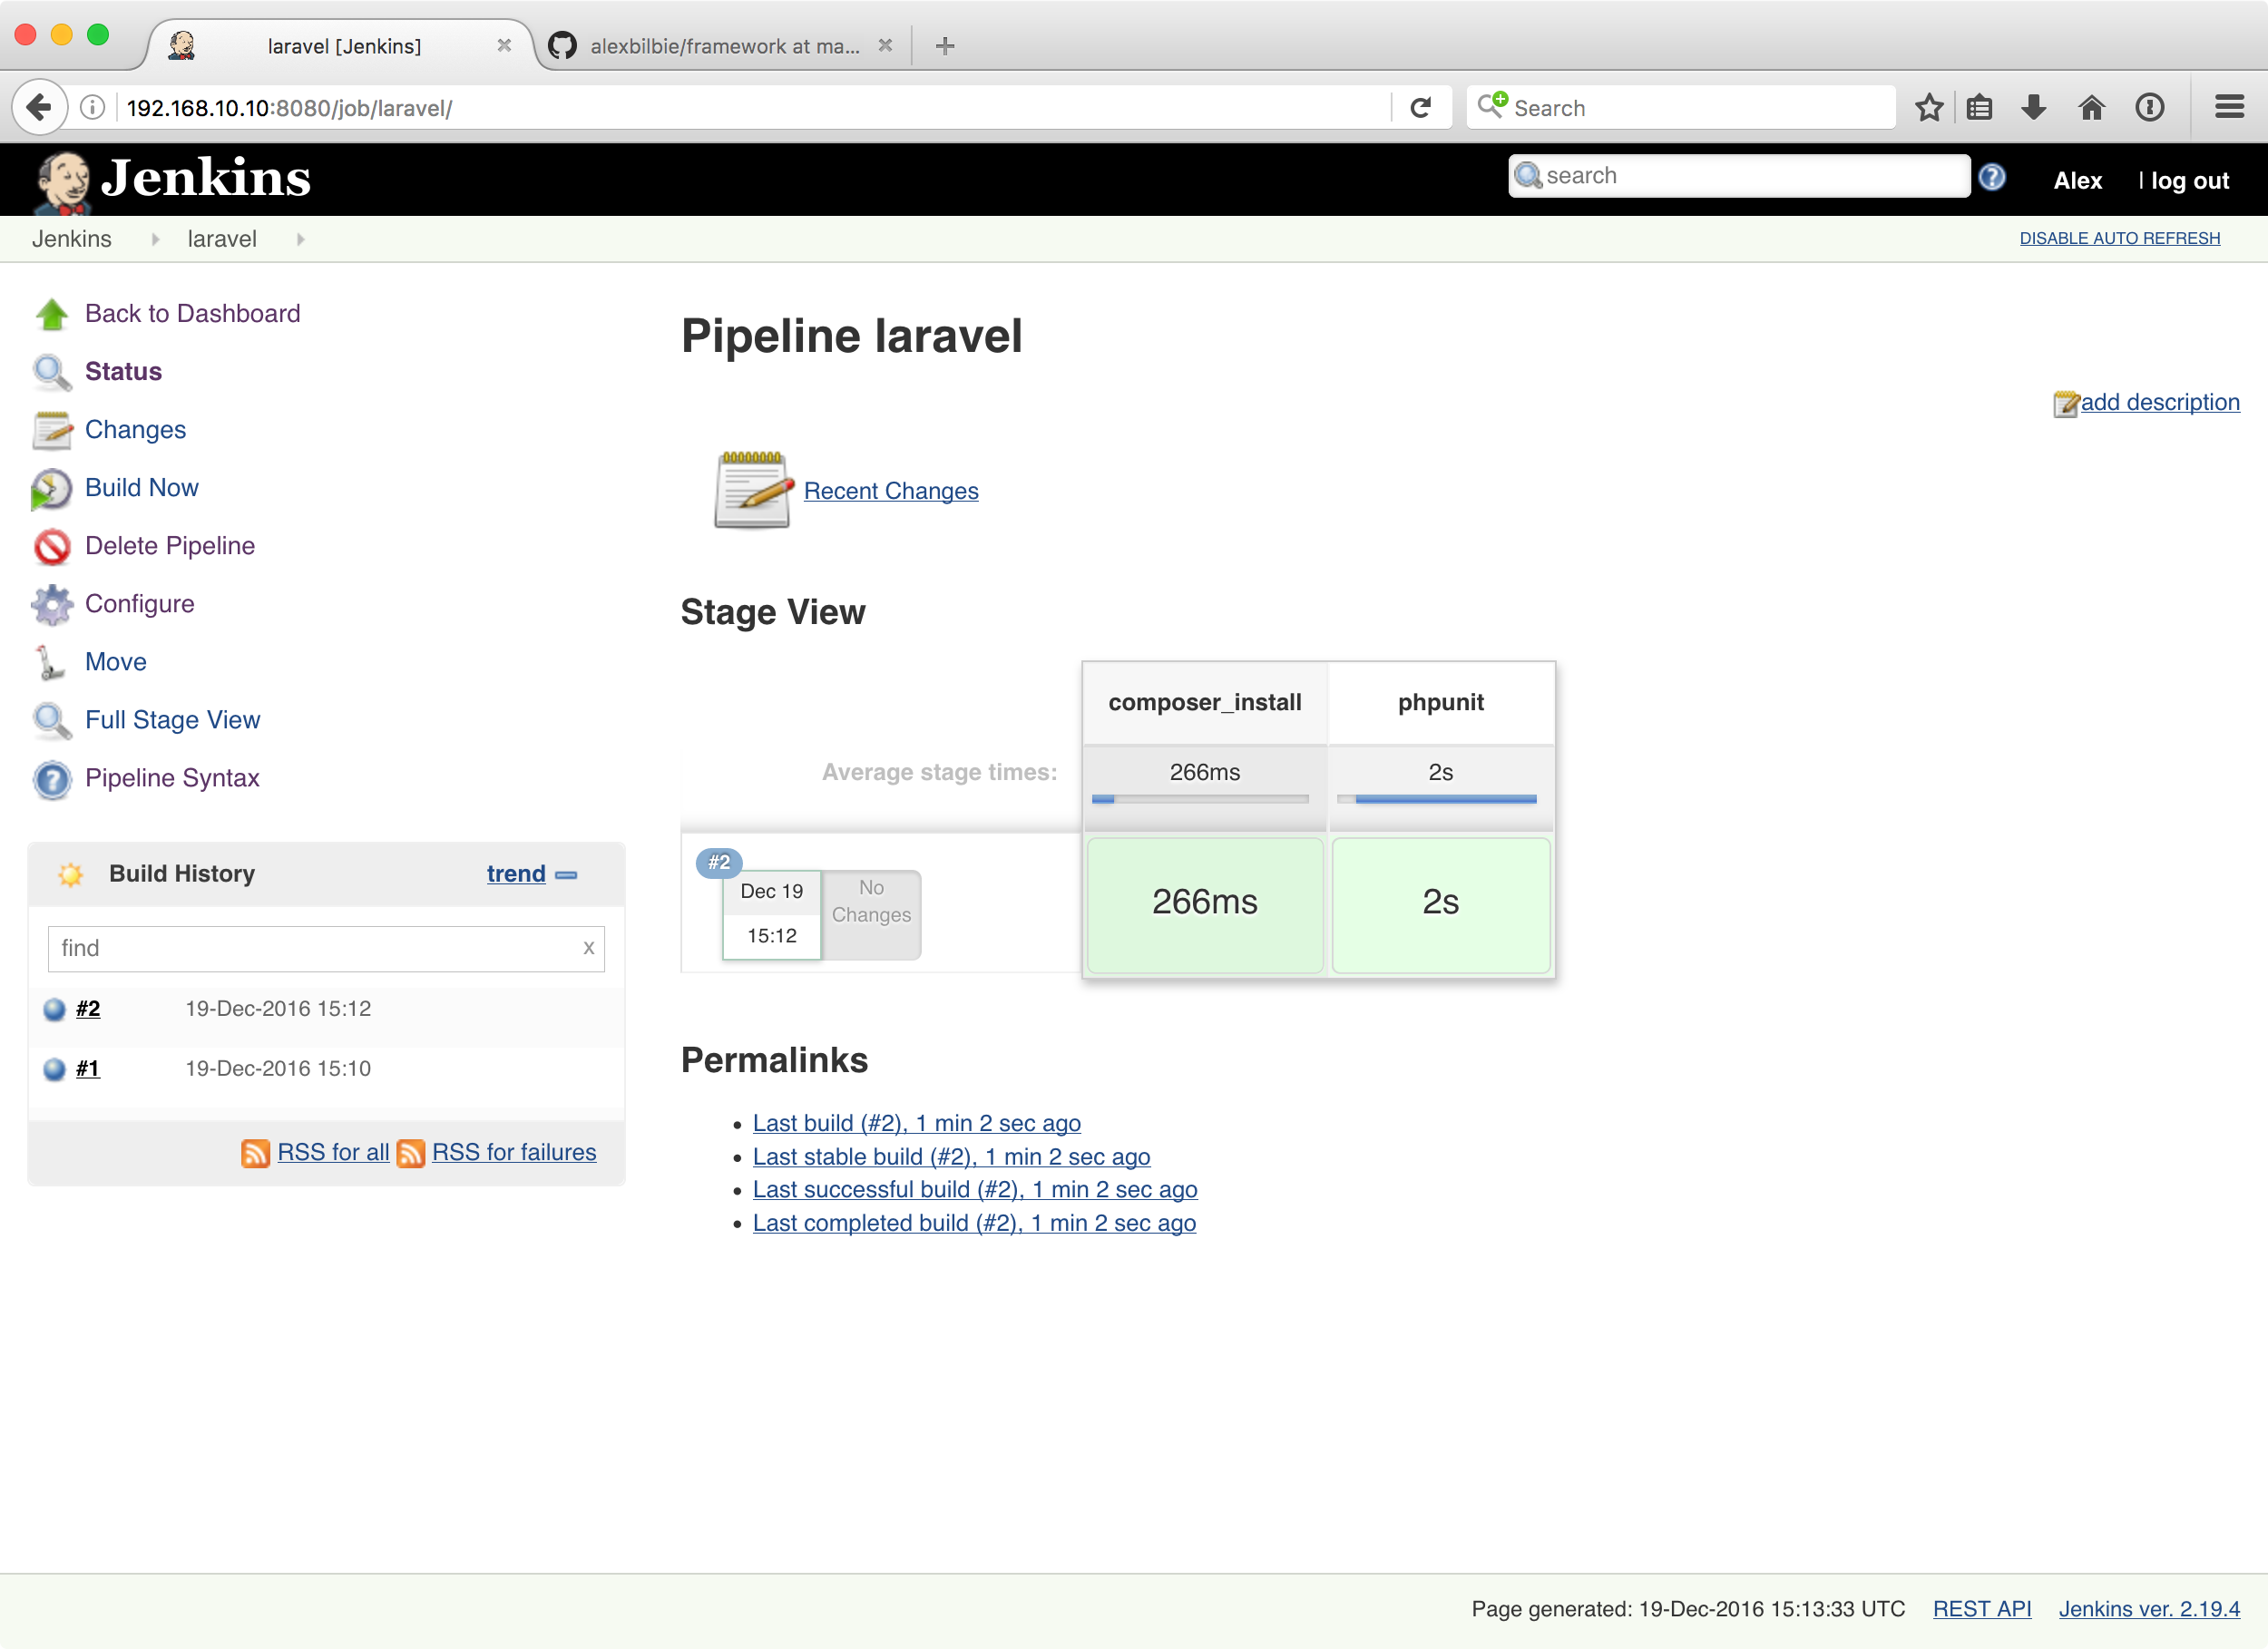
Press “Save”. You will be redirected to the job overview page and after a few seconds you’ll see the job starting. If it doesn’t, just click the “Build Now” link in the left hand menu.
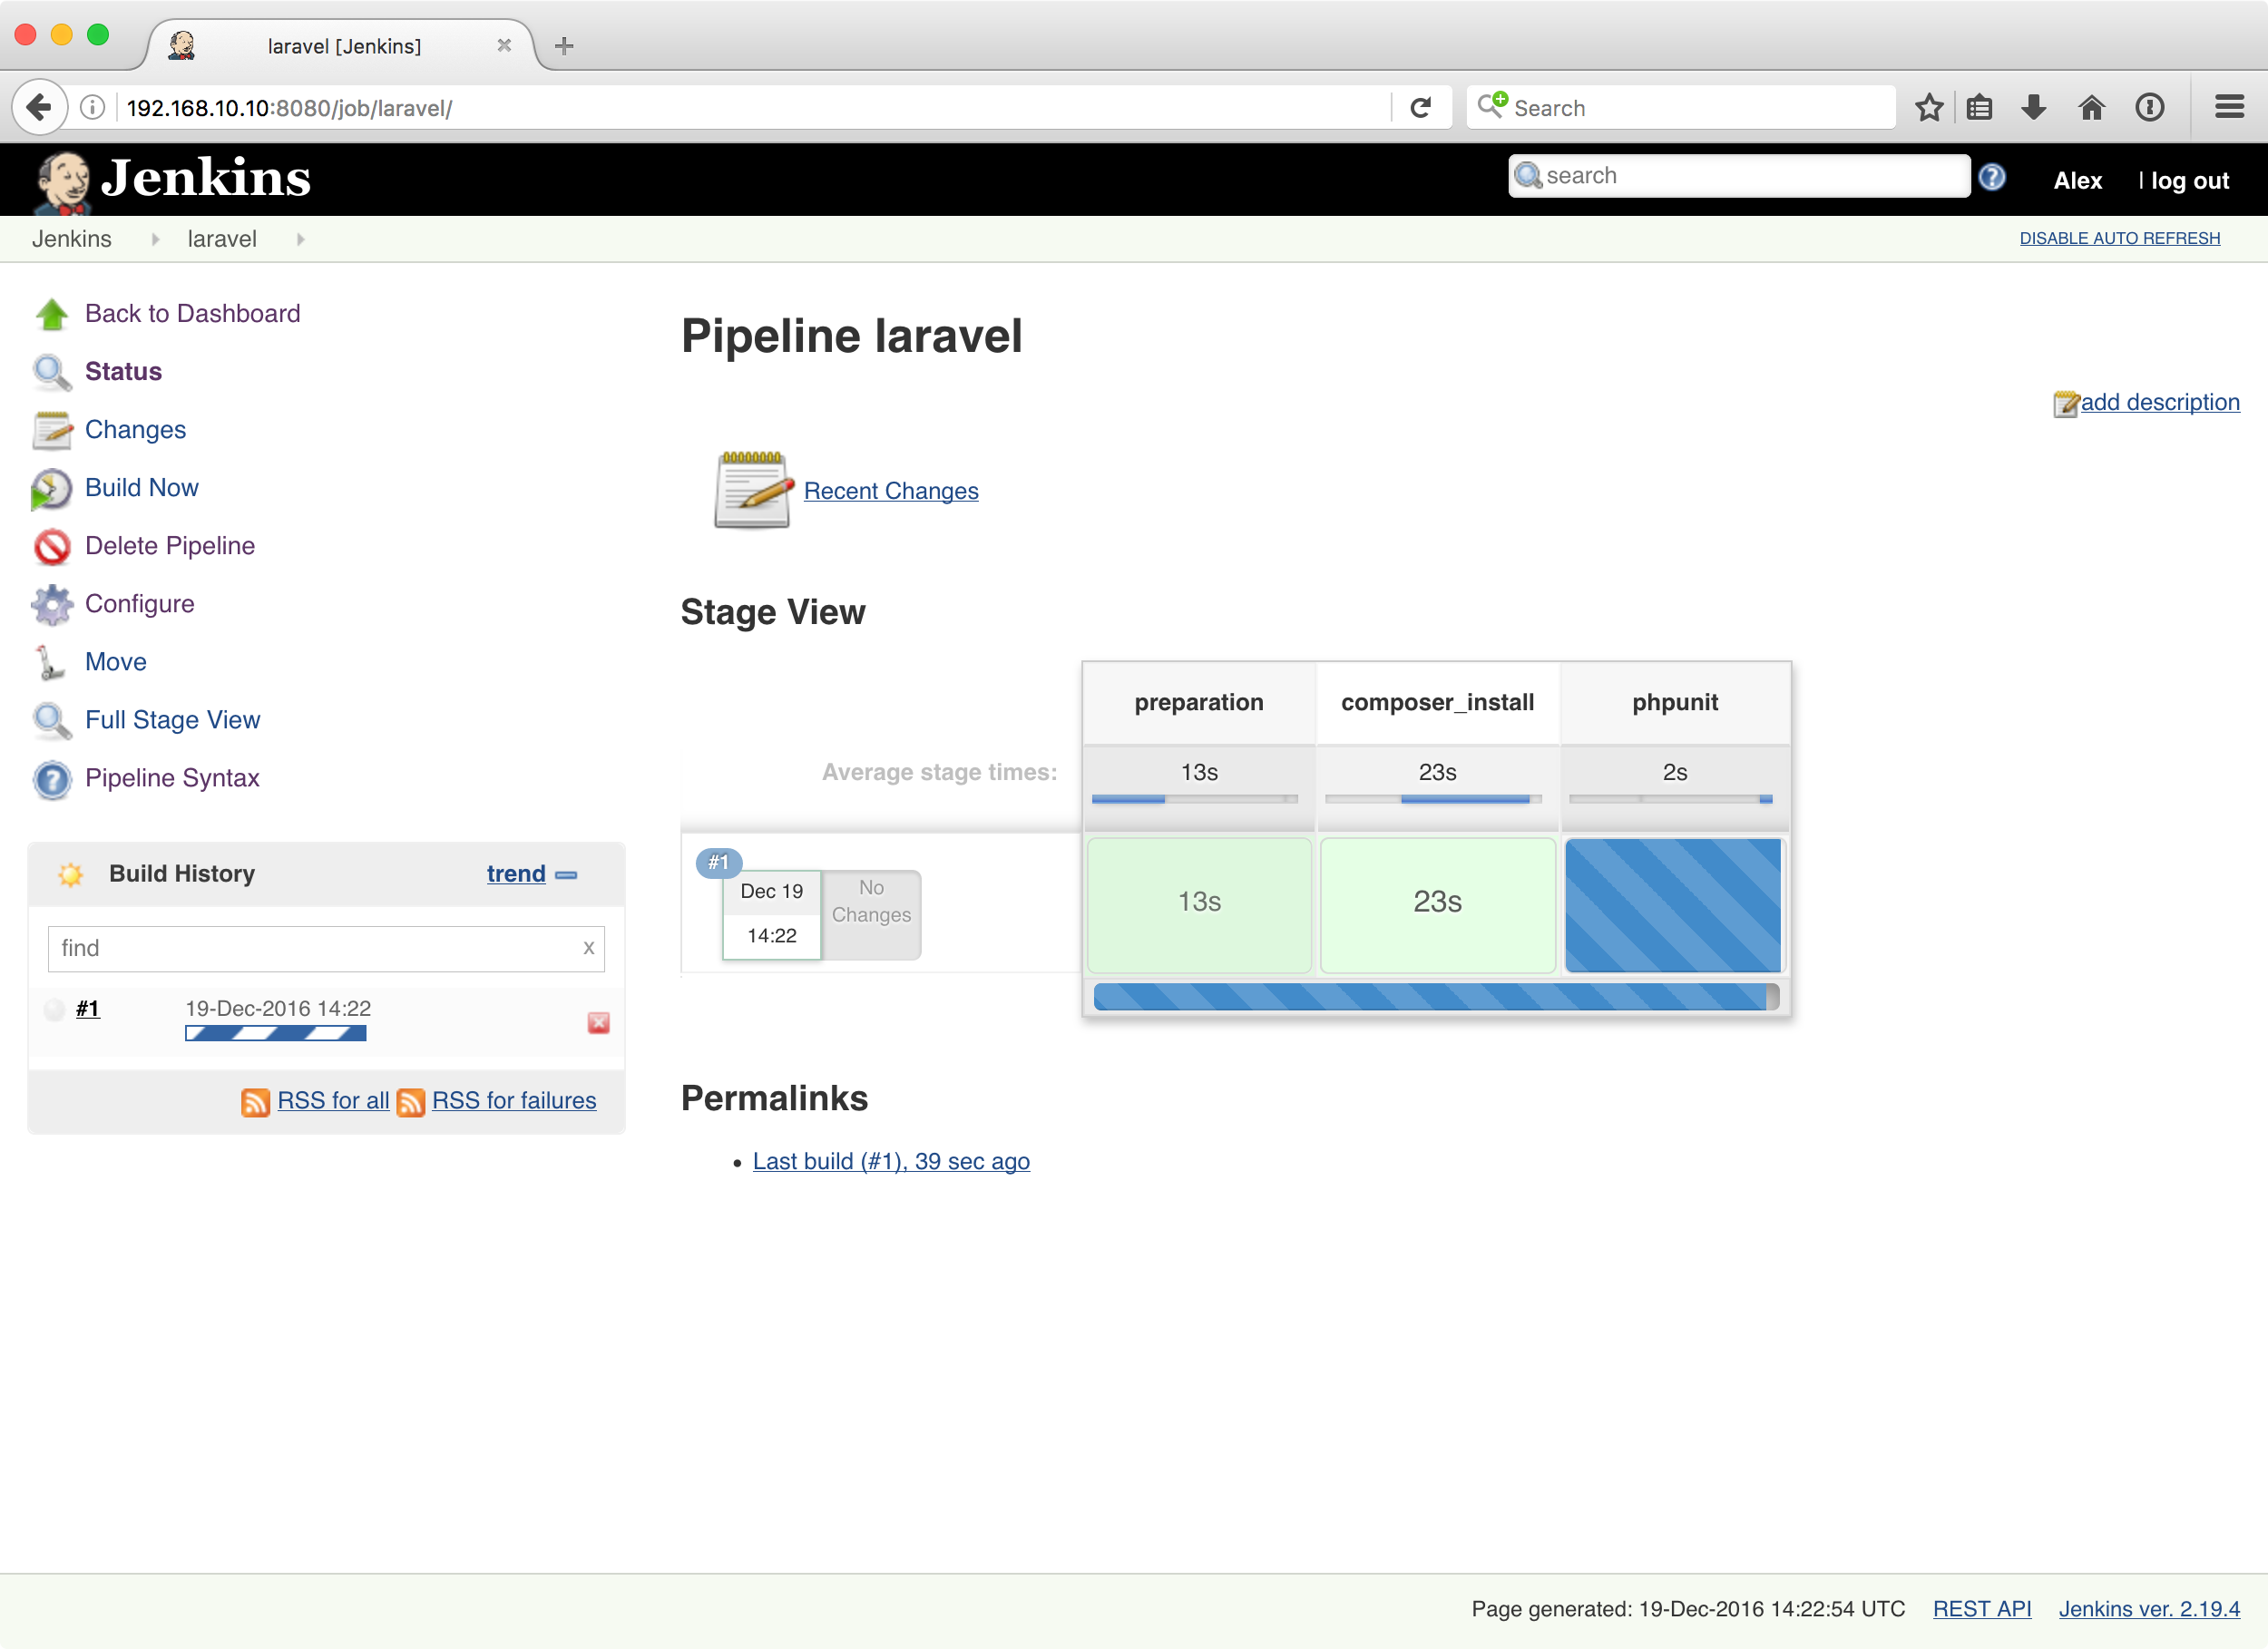
As each stage we defined in the pipeline script begins and finishes, the Stage View will update.
If you click on a stage, an overlay will appear with the log output for that stage which is really useful for debugging. Alternatively, you can click on the job in the left hand menu and click “Console”.
All Jenkins jobs have their own workspace which is an area in which you can safely create any temporary files that you might need as part of your build area. The workspace location for this job can be found in /var/lib/jenkins/workspace/laravel. By default, Jenkins won’t clear out this workspace for each build. If you need to do that, you could add a stage to the beginning of the pipeline script like so:
stage('cleanup') {
    // Recursively delete all files and folders in the workspace
    // using the built-in pipeline command
    deleteDir()
}
The Jenkinsfile
For our first job, we edited the pipeline script in the job settings interface. However, it would be much more useful to keep this script alongside our code in version control.
With Jenkins’ pipelines you can write your pipeline as a Jenkinsfile script in the root of your code’s repository, which will be discovered and run. It is similar in concept to a .travis.yml or .circleci.yml file that you may already be familiar with.
On the laravel/framework Github project page, click the “fork” button in the top right and then click on your profile on the popup.
Create a new branch called jenkinsfile, then create a new file (you can do this directly in Github, you don’t have to clone the repository if you don’t want to).
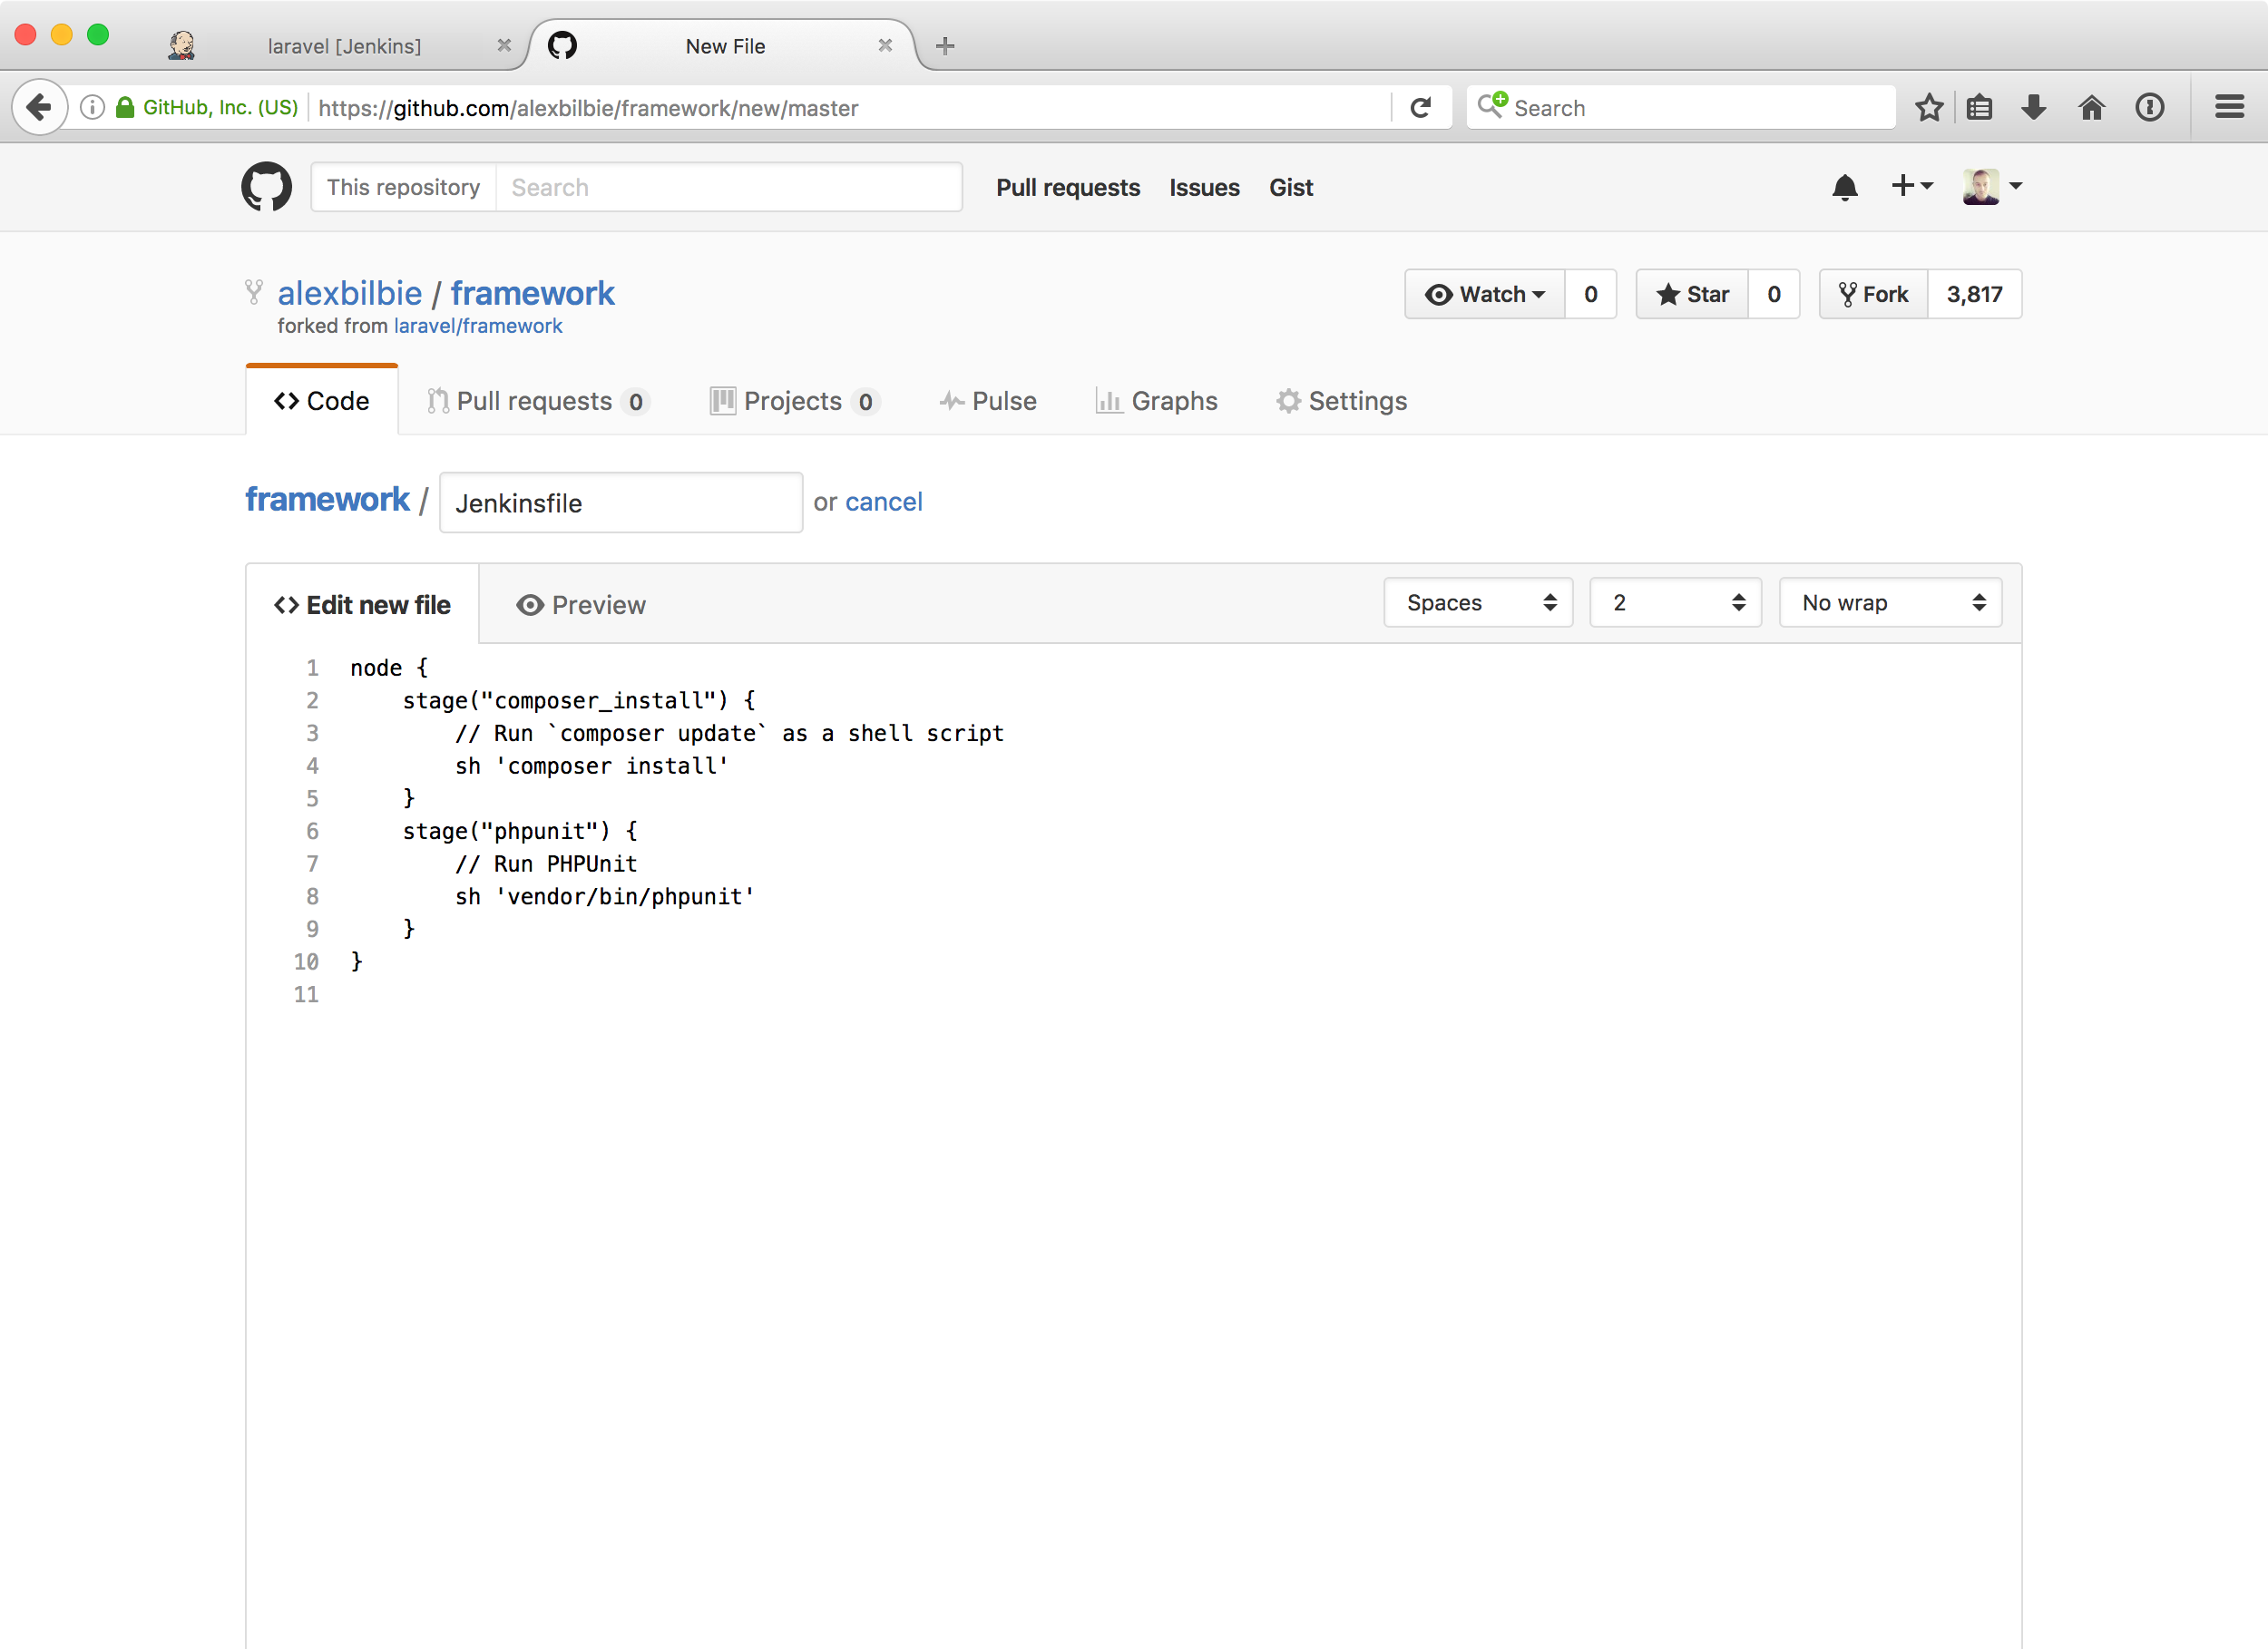
Enter the following script and commit the file:
node {
    stage("composer_install") {
        // Run `composer update` as a shell script
        sh 'composer install'
    }
    stage("phpunit") {
        // Run PHPUnit
        sh 'vendor/bin/phpunit'
    }
}
Now go back to Jenkins and click the “Configure” button in the left hand menu. Scroll down to the Pipeline section and update the “definition” drop down to Pipeline script from SCM.
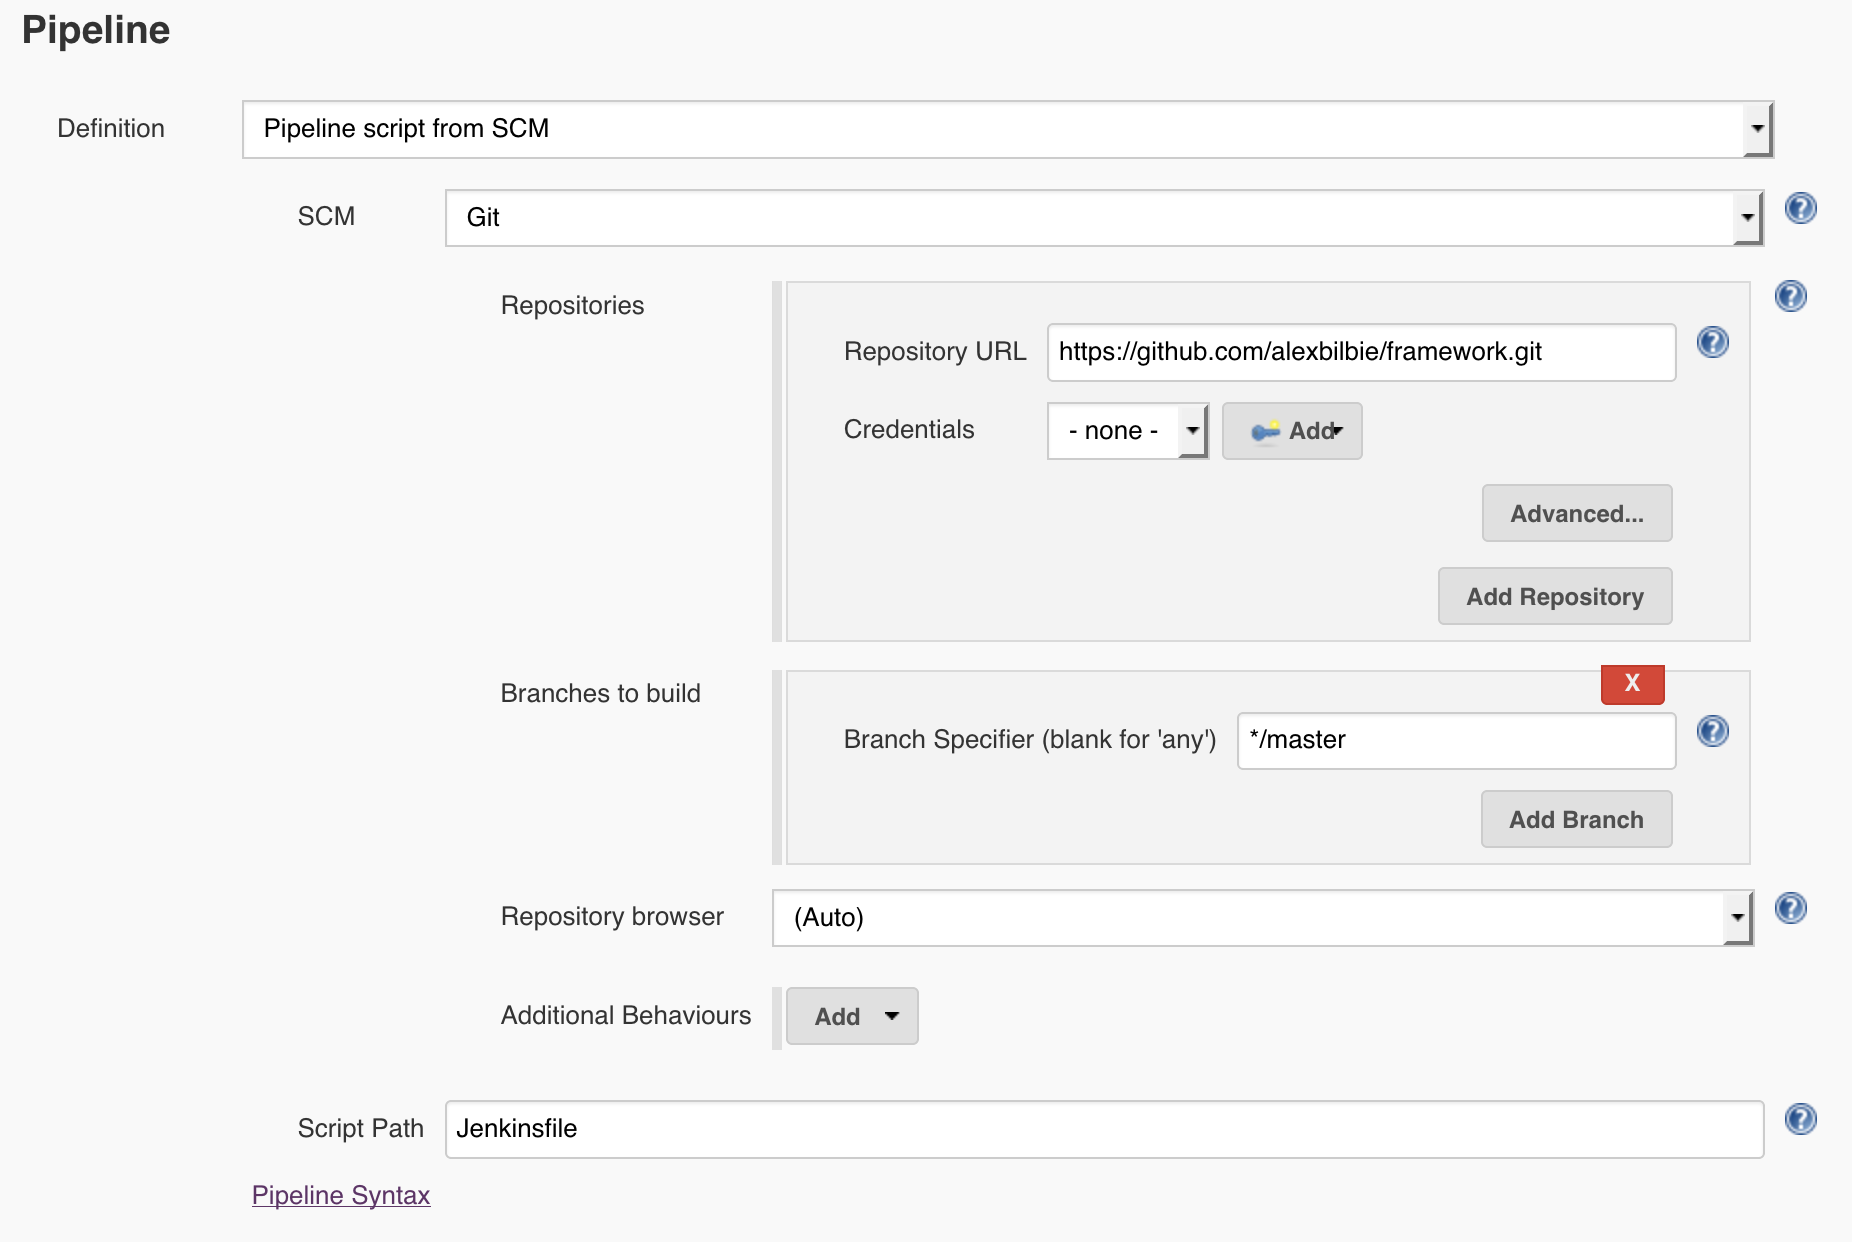
Enter the details for your forked repository, then hit “Save”.
On the job overview screen click “Build now” in the left hand menu. You should have a successful build.
Multibranch Pipeline Projects
Most software projects utilize multiple branches in a repository to define various stages of a project. For example:
- The
masterbranch represents the current production release - The
developbranch represents the current staging release - The
feature/new-profile-pagebranch may represent a work in progress feature.
For each branch, you might want to run a number of custom actions – for example, whenever there is a commit of the master or develop branch, you want a full barrage of unit and integration tests run, whereas on all other branches just unit tests are enough.
The Jenkinsfile is written in the Groovy programming language, meaning we’ve got a full scripting language to play with.
In this example, I’ve added an if statement to check the branch name; if it is master or develop, then Jenkins should run an integration_tests stage.
Following that, there is a switch statement which, depending on the branch name, creates a different deployment archive and registers it with the code deployment service (in this example, I’m demonstrating how this would work with Amazon Web Service’s CodeDeploy service).
node {
    stage("composer_install") {
        // Run `composer update` as a shell script
        sh 'composer update'
    }
    stage("phpunit") {
        // Run PHPUnit
        sh 'vendor/bin/phpunit'
    }

    // If this is the master or develop branch being built then run
    // some additional integration tests
    if (["master", "develop"].contains(env.BRANCH_NAME)) {
        stage("integration_tests") {
            sh 'vendor/bin/behat'
        }
    }

    // Create new deployment assets
    switch (env.BRANCH_NAME) {
        case "master":
            stage("codedeploy") {
                sh "aws deploy push --application-name My_App_Production --s3-location s3://my-app-production/build-${env.BUILD_NUMBER}.zip"
            }
            break
        case "develop":
            stage("codedeploy") {
                sh "aws deploy push --application-name My_App_Staging --s3-location s3://my-app-staging/build-${env.BUILD_NUMBER}.zip"
            }
            break
        default:
            // No deployments for other branches
            break
    }
}
Multibranch pipeline jobs are just as easy to set up – when you create a project, select “Multibranch Pipeline” as the type:

Then, in the configuration screen, set the pipeline definition dropdown to Pipeline script from SCM and enter the repository details.
Whenever the “Branch Indexing” option is run (it replaces the “Build Now” menu item inside the job), Jenkins will recursively iterate over each branch in the repository, and for each branch that has a Jenkinsfile and has changed recently, a new build for that branch will be run.
Taking Things Further
Jenkins owes much of it’s popularity to the extensive ecosystem of plugins.
From the Jenkins home screen, click “Manage Jenkins” in the left hand menu, then click “Plugin Manager”.
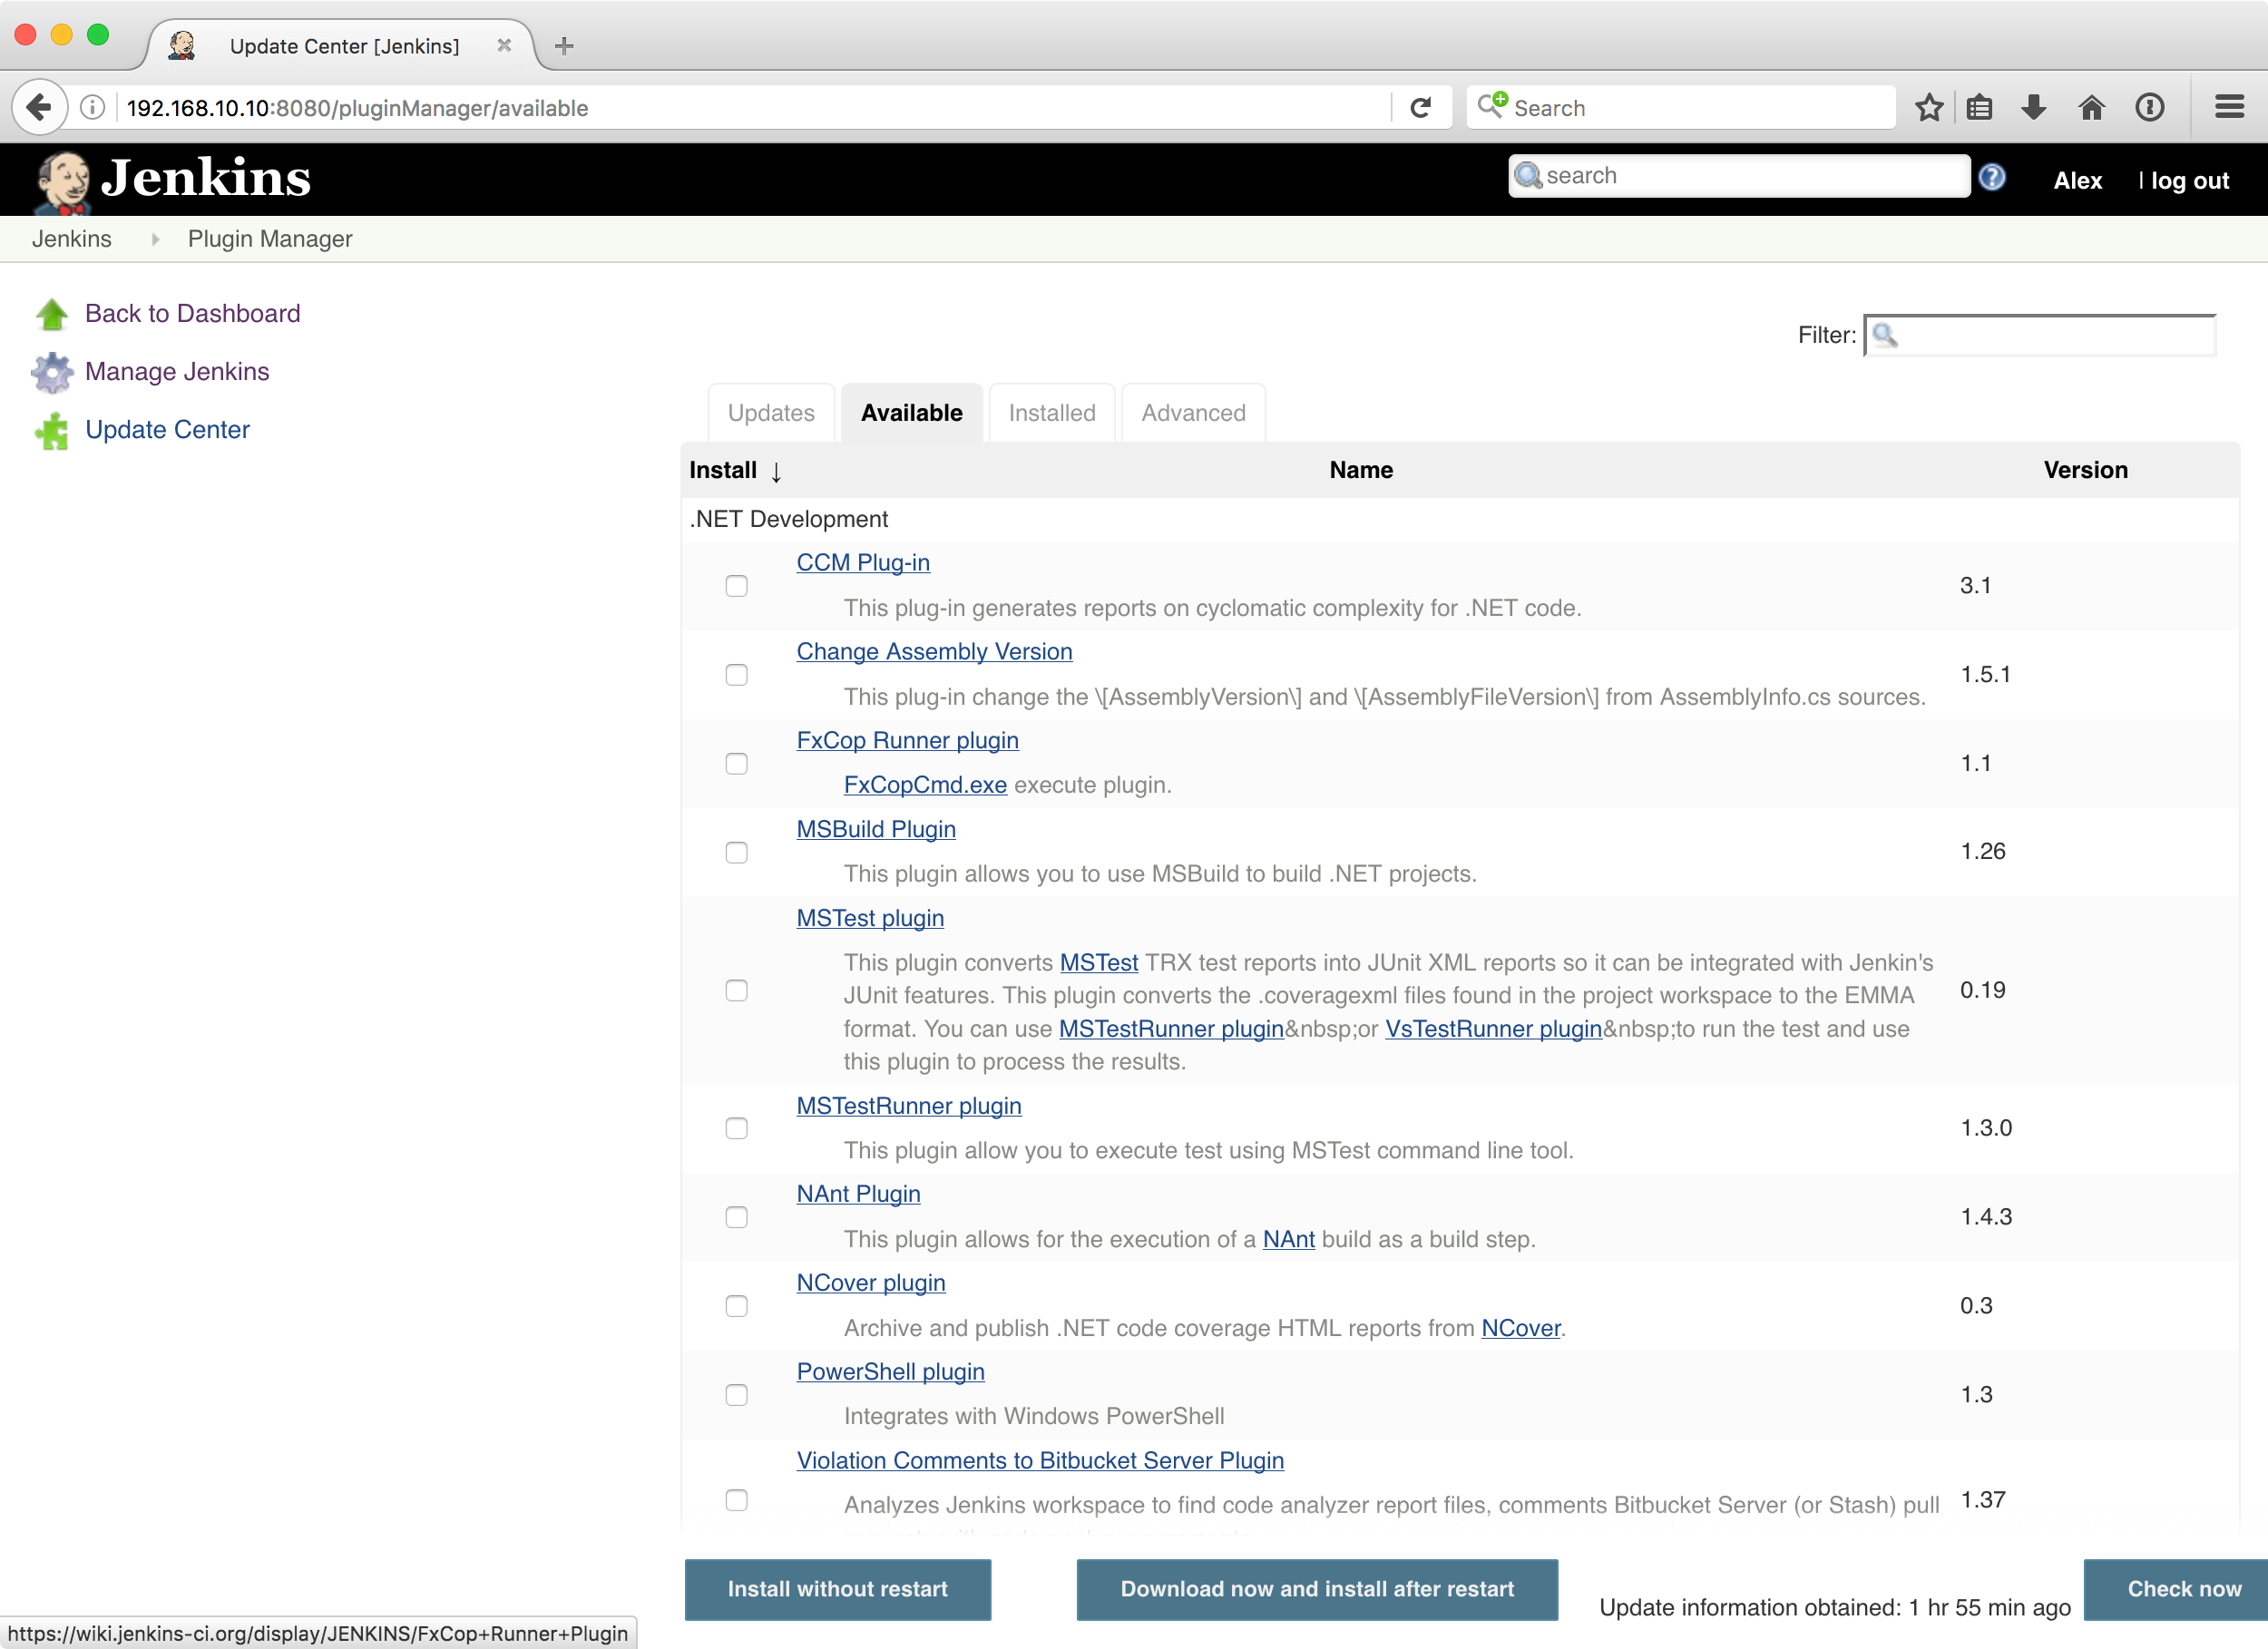
There are dozens of plugins that you can install and configure, ranging from testing plugins to integrations with cloud services.
For example, if your team uses Slack, you can enable the Slack Notification Plugin. Configure it in the main Jenkins settings screen (“Manage Jenkins” -> “Configure System”), then you can send Slack messages as part of your pipeline script:
node {

    slackSend color: '#4CAF50', channel: '#devops', message: "Started ${env.JOB_NAME} (<${env.BUILD_URL}|build ${env.BUILD_NUMBER}>)"

    try {

        stage("composer_install") {
            // Run `composer update` as a shell script
            sh 'composer update'
        }
        stage("phpunit") {
            // Run PHPUnit
            sh 'vendor/bin/phpunit'
        }

        slackSend color: '#4CAF50', channel: '#devops', message: "Completed ${env.JOB_NAME} (<${env.BUILD_URL}|build ${env.BUILD_NUMBER}>) successfully"

    } catch (all) {
        slackSend color: '#f44336', channel: '#devops', message: "Failed ${env.JOB_NAME} (<${env.BUILD_URL}|build ${env.BUILD_NUMBER}>) - <${env.BUILD_URL}console|click here to see the console output>"
    }
}
Once you’ve got Jenkins up and running on a server, you can easily configure a job to automatically build (or branch indexing to run) whenever a commit is pushed to your repository.
For Github projects, ensure the Github Plugin is installed and enabled, then inside your Github repository settings enable service integration with the “Jenkins (Github plugin)” service.
For Bitbucket, this is slightly more complicated and I’ve detailed the steps required on my blog.
You should also ensure your Jenkins server is properly secured – you can either create users manually in Jenkins, delegate authentication to Github or Bitbucket using OAuth, or hook Jenkins into your organization’s LDAP directory. Likewise, you should always run Jenkins over SSL so your access to Jenkins can’t be easily intercepted.
Your Jenkins installation also comes with a “Snippets Generator” which lets you view all of the enabled pipeline functions (such as sh, slackSend, deleteDir() and scm that we ‘ve already used). You can find a link to it in the left hand menu on the job overview screen.
Summary
Jenkins is a very powerful tool which can help make your software more reliable and save you and your team a lot of time. Humans are really bad at performing repetitive tasks over and over again, however, computers excel at it.
If your team is being slowed down by tests which take over five minutes to run, offload that testing to Jenkins.
If you want to automatically produce deployment archives when a new production or staging build has become available, Jenkins can do that.
If you want to keep an eye on code quality and catch regressions before your customers do then Jenkins is ready to help.
Please leave any questions or comments below, and tell us about your most creative Jenkins pipelines!
If you enjoyed this article, you might also find the following useful:
- Cypress Testing: A Guide to Running Web Application Tests
- An Introduction to Python Unit Testing with unittest and pytest
- How to Test React Components Using Jest
- Learn End-to-end Testing with Puppeteer
- 3 Methods for Hands-free Continuous Testing
Frequently Asked Questions (FAQs) about Jenkins Automated Testing with Pipelines
What are the benefits of using Jenkins for automated testing?
Jenkins is a popular open-source tool that provides numerous benefits for automated testing. Firstly, it offers continuous integration and continuous delivery (CI/CD), which allows developers to integrate changes to a project more frequently. This leads to early detection of potential issues and reduces the time to fix them. Secondly, Jenkins supports a wide range of plugins, making it highly customizable and adaptable to different project needs. Thirdly, it provides real-time testing results and detailed reports, which can help in identifying and resolving problems quickly. Lastly, Jenkins supports pipelines, a set of tools that allow for modeling simple-to-complex delivery pipelines “as code” via the Pipeline domain-specific language (DSL).
How do I set up Jenkins for PHP testing?
Setting up Jenkins for PHP testing involves several steps. First, you need to install Jenkins on your server. After installation, you can install the necessary plugins for PHP testing, such as the PHP plugin, PHPUnit plugin, and others. Once the plugins are installed, you can create a new Jenkins job and configure it for your PHP project. This includes setting up the source code management, build triggers, and build steps. In the build steps, you can specify the commands to run your PHP tests. After the configuration, you can run the job and Jenkins will execute the tests and provide a detailed report.
How does Jenkins work with PHPUnit for testing?
Jenkins works with PHPUnit by executing the PHPUnit tests as part of the Jenkins job. You can specify the PHPUnit command in the build steps of the Jenkins job. When the job is run, Jenkins will execute the PHPUnit tests and capture the results. The results are then displayed in the Jenkins dashboard, providing a detailed report of the test execution. This includes the number of tests run, passed, failed, and skipped, as well as the code coverage.
What is the correct workflow for Jenkins PHP app with PHPUnit?
The correct workflow for a Jenkins PHP app with PHPUnit typically involves the following steps: First, the source code is checked out from the version control system. Next, any dependencies are installed, such as via Composer for PHP projects. Then, the PHPUnit tests are run. The results of the tests are then collected and displayed in the Jenkins dashboard. If any tests fail, the build is marked as failed. Otherwise, the build is marked as successful. This workflow can be automated using Jenkins pipelines, allowing for continuous integration and delivery.
How do I parse PHPUnit and JUnit results in Jenkins?
Parsing PHPUnit and JUnit results in Jenkins can be done using the JUnit plugin. After running your PHPUnit tests, you can generate a JUnit XML report. This report can then be parsed by the JUnit plugin in Jenkins. In the post-build actions of your Jenkins job, you can add the “Publish JUnit test result report” action and specify the location of the JUnit XML report. Jenkins will then parse the report and display the results in the dashboard. This includes the number of tests run, passed, failed, and skipped, as well as the test duration and trends.