
Keep up to date on current trends and technologies
Design & UX - Sketch

6 Clever SVG Pattern Generators for Your Next UX Design
Alex Walker
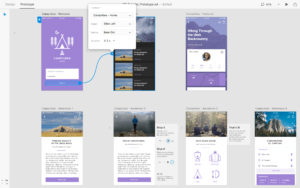
15 Top Prototyping Tools Go Head-to-Head
Dave KearneyDaniel Schwarz

How to Publish Responsive Websites with Sketch and Launchpad
Daniel Schwarz
How to Optimize and Export SVGs in Adobe Illustrator
Ivaylo Gerchev
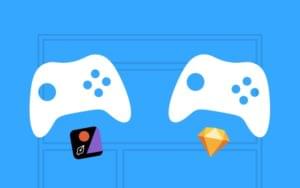
Figma or Sketch: Who Wins the War on Multiplayer Design?
Daniel Schwarz

Why You Need to Know About Sketch’s New File Format
Daniel Schwarz

Responsive Design in Sketch: Group Resizing vs. Auto Layout Plugin
Daniel Schwarz
How to Handoff Designs with Sketch and InVision
Daniel Schwarz

Adobe XD or Sketch: Which Will Result in the Best UX?
Daniel Schwarz

The Best Way to Create Fantastic ‘Invisible Pen’ Effects in SVG
Ivaylo Gerchev

Is Figma a Serious Option for Sketch Designers?
Adam Rasheed

‘Reskinnable’ SVG Symbols: How to Make Them (..and Why)
Massimo Cassandro

5 Hot Logo Design Trends of 2016
Gabrielle Gosha
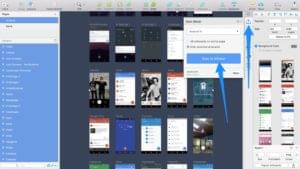
Sketch App: How to Share Artboards with Your Team
Daniel Schwarz
What is Adobe XD (Project Comet) and Should You Care?
Daniel Schwarz
5 Ways to Offer a Better UX to Disabled Users
Daniel Schwarz
Has Sketch App Forced Adobe to Improve Photoshop?
Daniel Schwarz

Getting to Grips with Basic Image Editing in Sketch App 3
Daniel Schwarz
3 Good Reasons To Use Sketch App
Daniel Schwarz
Showing 19 of 19