
In this tutorial I will introduce another development option to consider for your next Android project that’s perfect for teams with legacy code or existing knowledge in C and C++. The Android Native Development Kit (NDK) is part of Google’s official toolset and we will look at when the NDK can be useful and how to use it in an Android app.
Key Takeaways
- The Android Native Development Kit (NDK) allows for the development of Android apps using C, C++ and other native code languages, despite potential performance and compatibility issues.
- The NDK is particularly useful for computationally intensive apps, such as games, signal processing, and physics simulations, or when reusing existing libraries written in C/C++.
- Using the NDK involves downloading Android Studio and the NDK package separately, and then configuring the project to interface with the NDK.
- The strength of the NDK lies in its ability to reuse existing, time-tested and powerful C/C++ libraries, though this feature is at the experimental stage in Android Studio and generally recommended for advanced developers.
What Is the NDK?
The NDK is a toolset that enables the development of Android apps using C, C++ and other native code languages, compiling code into applications that can run on Android devices. Using the NDK is generally not recommended because apps may experience a performance hit, suffer from compatibility issues, be harder to debug, and reduce flexibility. What the NDK guarantees is an increase in app complexity and connectivity from interfacing with native code.
The previous statements may sound discouraging but there are good use cases for the NDK. This includes computationally intensive apps like games, game engines, signal processing and physics simulations. Another good use case is reusing existing libraries written in C/C++. This means you can leverage a large collection of native code libraries available online.
Make sure to balance the pros and cons of using the NDK before deciding if it’s worth the extra complexity. You should never base your decision on your preferred language even if you are an expert in C or C++.
Using the NDK
Android Studio
If you don’t have it already, download Android Studio, the official IDE from Google.
NDK Package
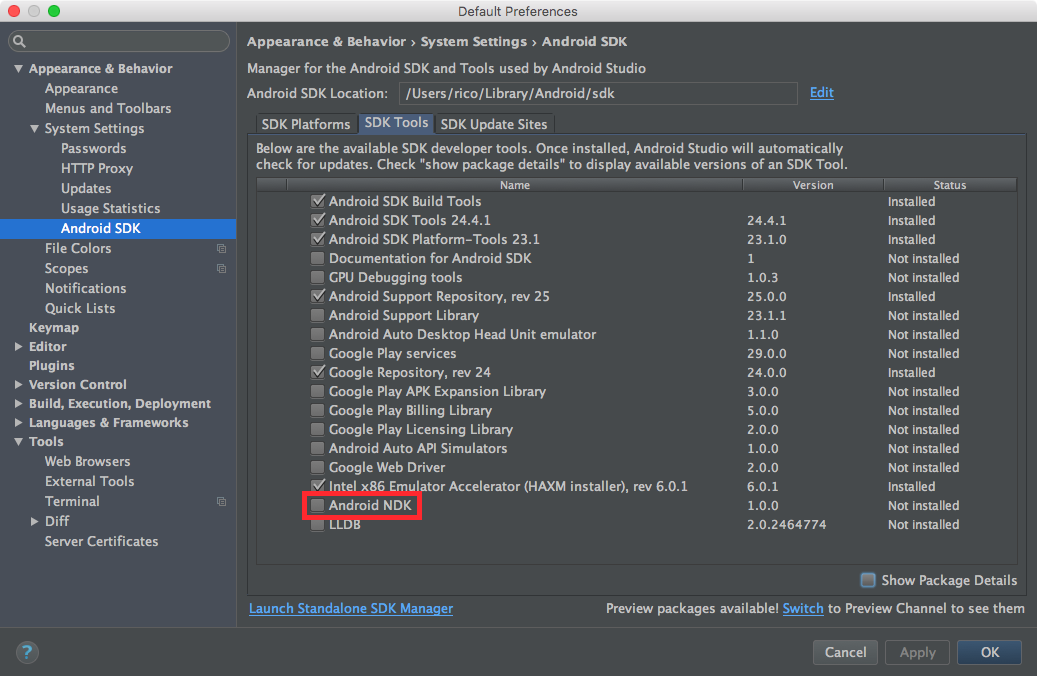
Android Studio only includes the default tools and SDK, so download and install the NDK package separately. There are two ways to do this. The first and easiest is the automatic installation option in the SDK Tools tab. This is a large download (~1GB) so be sure to have a good internet connection and/or patience.
The second way is to download the NDK manually from the NDK Downloads page. This saves some time because of the smaller download size (<.5 GB) but will need some setting up. Download the appropriate NDK package for your platform and follow the installation instructions. You can put the extracted package anywhere you want, but remember this location as you will need it later.

Hello World
Let’s run a test project to see if the NDK installation works. The NDK package folder contains samples but they don’t seem to work out of the box in Android Studio without extra configuration. Instead we’ll import samples that work from the welcome screen. These NDK samples from GitHub can also be downloaded or cloned directly. This collection of samples has better compatibility with the latest version of Android Studio.
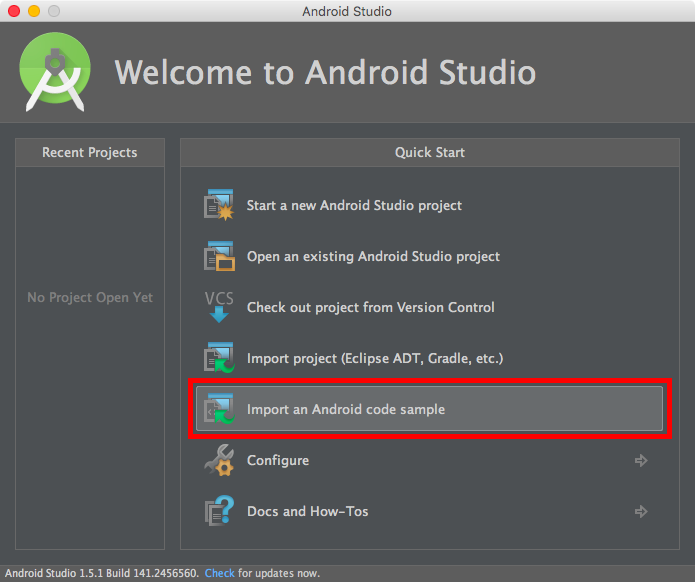
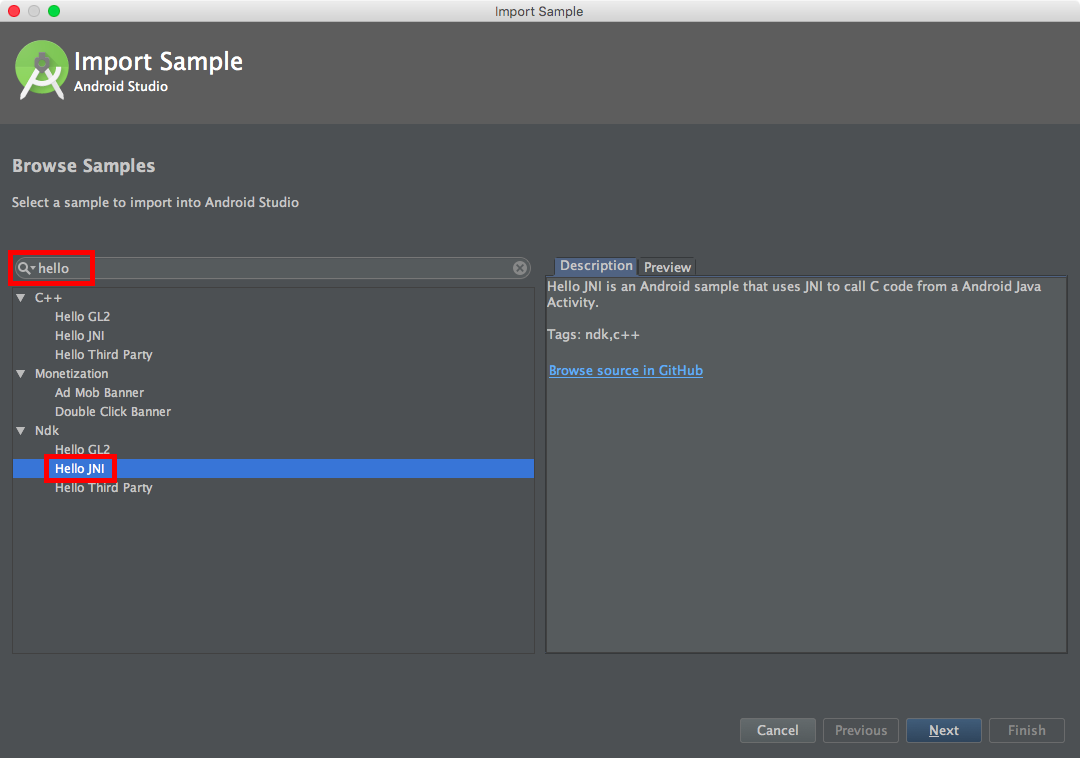
Select Import an Android code sample and type hello in the search box to filter the list. Choose Hello JNI from the filtered list under the Ndk category. Click Next to edit the app name and project location, then click Finish.
The JNI
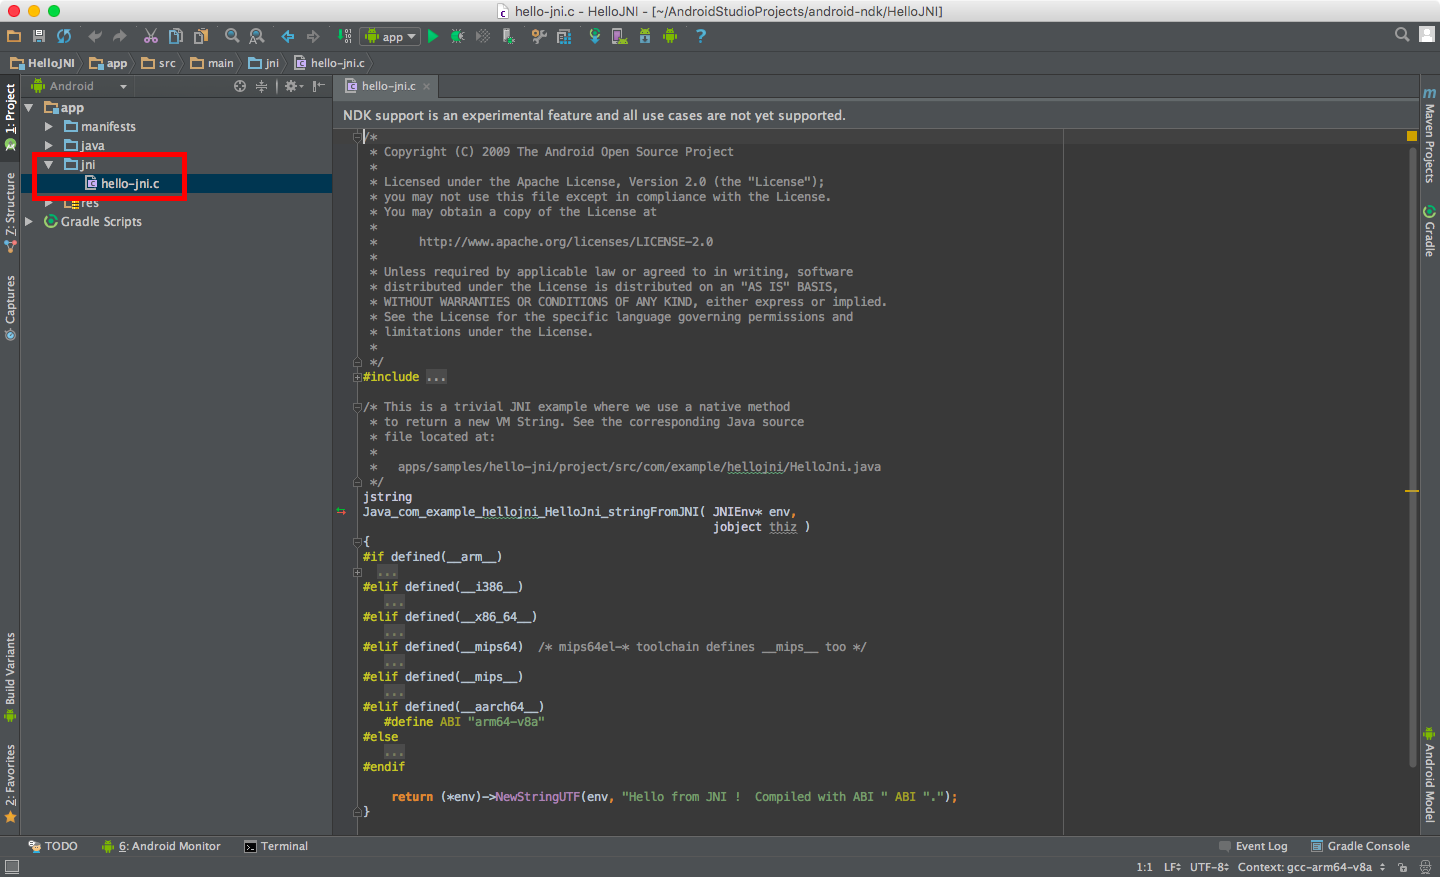
After the code has loaded and Gradle has synced, let’s take a look at the resulting project structure. You might have noticed what appears to be a discrepancy in the project’s name. Why is it called HelloJNI and not HelloNDK? What is ‘JNI’ and how does it differ from the ‘NDK’? The ‘Java Native Interface’ is a framework that enables Java applications to interact with native code. The JNI and the NDK work together to bring native support to Android apps. The NDK is part of the Android framework while the JNI is available to any Java application, not just Android apps.
Inside the project is a folder named jni which will hold all the native C or C++ source code of the app. The JNI provides a two-way interface. The C/C++ code is able to call Java code, including the standard Android libraries, and the Java code is able to call native functions defined in C/C++ code. Native code is governed by the same sandbox and security rules as Java code so the app will not have full unrestricted access to hardware. For a more detailed discussion on the JNI, read the JNI articles from the Android Developer website.
ABI
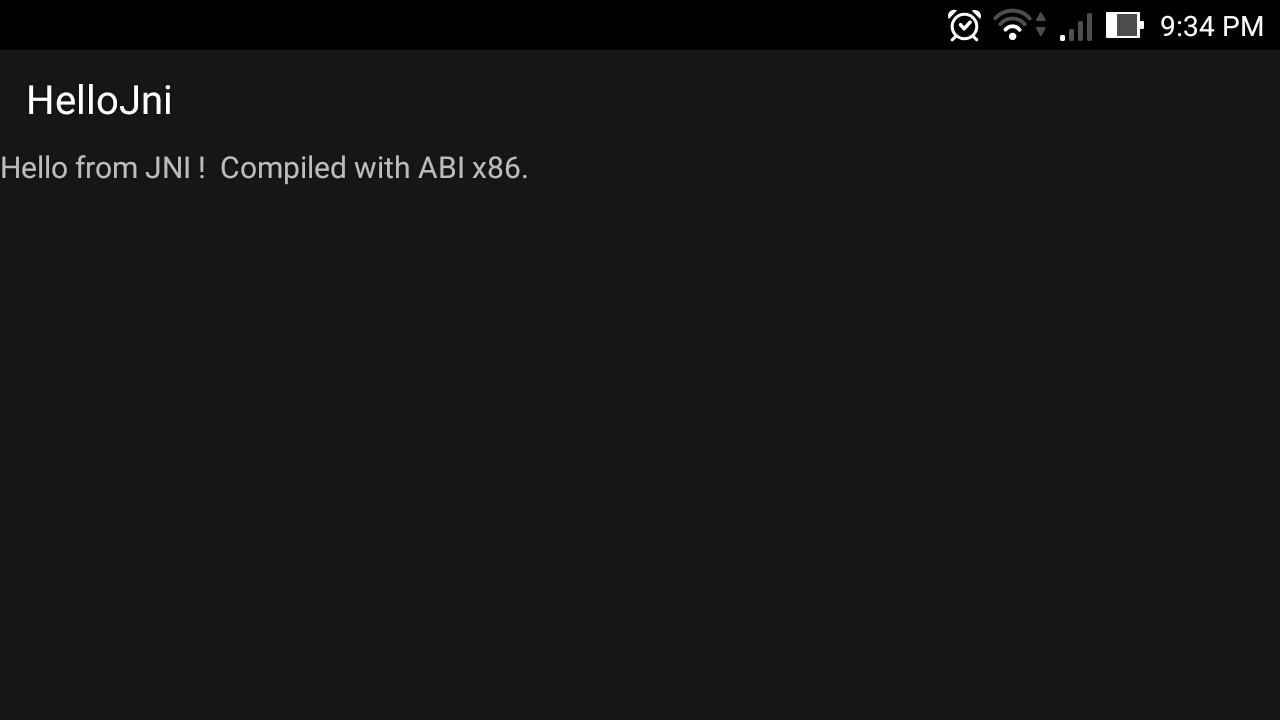
Let’s build and run the project on an emulator or export an APK to test on a device. Here’s hello-jni running on my Asus Zenfone which uses an Intel or x86 Application Binary Interface (ABI). When the app interacts with native code, it must support different CPU architectures. This means it must be compiled for each platform you want it to run on.
Each ABI corresponds to a target architecture, defining how an app’s native code should behave or interact with the system during runtime. Currently, the NDK supports the ARMEABI (default), MIPS, and x86 architectures. Normally the project needs to be setup manually and the native code built for each platform. This is already taken care of in the sample project so just reuse the sample and set it as a starting point for a project. It has all the basic requirements already in place to enable an app to interface with the NDK.
Reusing Libraries
As mentioned earlier, the strength of the NDK lies in its ability to reuse existing, time-tested and powerful C/C++ libraries. This feature is at the experimental stage in Android Studio and generally recommended for advanced developers. Nevertheless, this is something interesting and worthwhile exploring.
SDL
The Simple DirectMedia Layer is an open source hardware abstraction library released 18 years ago. It’s used primarily for games but can be used for anything that involves high-performance graphics. In this section, we’ll set up a basic project that uses the SDL and can be used as a template for more sophisticated projects in the future.

Project Setup
The first step is to download the SDL source from the source code download page or clone the Mercurial repo with:
hg clone http://hg.libsdl.org/SDL
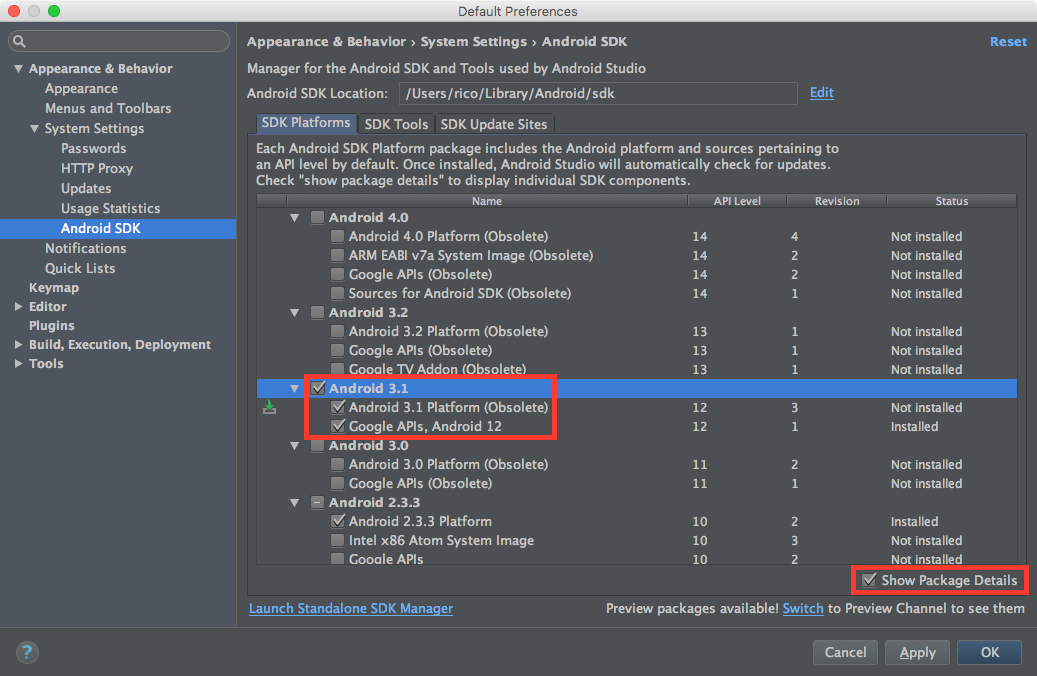
After the download or clone has finished, import the sample Android project (named android-project) from the SDL folder in Android Studio, accepting the default values in the import screens. After the project is created, there may be a sync issue involving a missing SDK version. To resolve this, open the SDK Manager and download the appropriate SDK version for the project. In this case, Android 3.1 (API Level 12). Check the Show Package Details box to reveal this version because it’s marked as obsolete. A more recent version can be used, but for now let’s stick to android-12 to keep things simple.
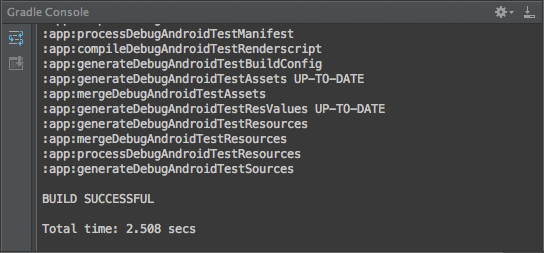
After the SDK is installed, the project should sync without errors, displaying a BUILD SUCCESSFUL
message in the console. If you encounter any other errors, please let me know in the comments.
Gradle
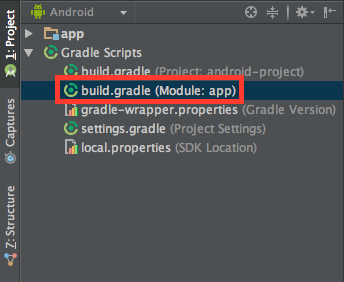
Android Studio uses Gradle, an open source build automation system for managing projects and their output. Most project configuration happens inside gradle files. Let’s add some manual configuration to the project. Open build.gradle (app module) and add the following code below the buildToolsVersion property:
    sourceSets {
        main {
            jni.srcDirs = []
        }
    }
This will hide the native code in the project explorer which helps manually build SDL and the native code using ndk-build, which is inside the ndk-bundle folder. Building native code manually is the more reliable method over automated builds using Android Studio and Gradle. Gradle’s support for NDK is still experimental and not all use cases are handled.
Symbolic Link
Let’s create a symbolic link inside the app/src/main/jni/ folder of the project. Name it SDL and point it to the SDL folder downloaded or cloned earlier. The SDL folder can be directly copied but this method is less efficient and prone to errors. The source files are hidden in Android Studio so they need to be opened manually in an external editor to make the following modifications.
Android.mk
Android.mk is a simple make file that describes project source code and shared libraries for the build system. The project already imported has these make files by default but with minimal required configuration. Let’s make the changes to the Android.mk file of the main app. This file is found inside the app/src/main/jni/src folder. Look for the line that says YourSourceHere.c and replace it with main.c.
Application.mk
The Application.mk make file contains configuration common to all modules and affects how the entire project is built. Add the following line to Application.mk inside the app/src/main/jni/ folder:
APP_PLATFORM := android-12This property setting tells ndk-build that the minimum target version is Android 3.1 and will point the project to the appropriate header files. Another setting to change in Application.mk are additional target platforms using the APP_ABI property. Select platforms from the following or add them all:
- arm64-v8a
- armeabi
- armeabi-v7a
- mips
- mips64
- x86
- x86_64
Adding support for all these platforms gives the app better reach but will result in a bigger APK.
main.c
The last step is to add custom code that initializes the SDL and calls its functions to see if the project works. For convenience, let’s reuse this main.c file, downloading it into the app/src/main/jni/src folder.
Opening main.c, you’ll notice that it attempts to load and display an image named image.bmp. To support this, create a folder named asset inside app/src/main and add a bitmap named image.bmp. I used SitePoint.com’s logo for this test.
Building and Running
Using terminal, open app/src/main/jni/ and run ndk-build NDK_LIBS_OUT=../jniLibs. This command builds the native code and saves the resulting shared object (.so) files to the jniLibs folder. If ndk-build cannot be found, run it with complete a path or add it to the PATH environment variable. After the build has finished, switch to Android Studio and manually invoke the sync using the Tools -> Android -> Sync Project with Gradle Files menu item. An APK can now be created using the Build -> Build APK menu item to test the app on a device or emulator. Here’s my build running on x86 architecture:
Conclusion
As we have seen, using NDK with native code in an Android app requires some work but brings a world of new potential. I hope I have shown enough for you to appreciate whether it’s appropriate for your project or not.
I’d love to hear your experiences and opinions on using C and C++ code with the Android NDK in the comments below.
Frequently Asked Questions (FAQs) about Using C and C++ Code in an Android App with the NDK
What is the Android NDK and why is it important for C/C++ development?
The Android Native Development Kit (NDK) is a set of tools that allows developers to use C and C++ code with Android. It is crucial for C/C++ development because it provides the necessary tools and libraries to compile and run native code. This is particularly useful for CPU-intensive applications that require high performance, such as games or physics simulations. The NDK also provides access to native APIs, which can offer more control and efficiency than Java APIs.
How can I set up the Android NDK for C/C++ development?
Setting up the Android NDK involves several steps. First, you need to download and install the Android Studio, which is the official IDE for Android development. Then, you need to download the NDK and CMake packages from the SDK Manager in Android Studio. Once these packages are installed, you can create a new project and configure it to include native code by adding the necessary CMake and NDK paths in your build.gradle file.
Can I write an entire Android app in C/C++?
While it’s possible to write an entire Android app in C/C++, it’s not typically recommended. Android apps are primarily written in Java or Kotlin, which offer more high-level APIs and a more straightforward development process. However, you can use the NDK to write critical parts of your app in C/C++ for performance reasons. This is known as hybrid development, where you write most of your app in Java or Kotlin and use C/C++ for performance-critical parts.
How can I debug C/C++ code in Android Studio?
Android Studio provides a native debugger that you can use to debug your C/C++ code. To use it, you need to set breakpoints in your native code, then run your app in debug mode. The debugger will stop execution at your breakpoints, allowing you to inspect variables and step through your code.
What are the limitations of using the Android NDK?
While the Android NDK provides powerful tools for C/C++ development, it also has some limitations. For example, not all Android APIs are available through the NDK. Some APIs are only available through Java, which means you may need to use the Java Native Interface (JNI) to access them from your native code. Additionally, writing native code can be more complex and error-prone than writing Java or Kotlin code, and it may require more testing and debugging.
How can I call C/C++ functions from Java using the JNI?
The Java Native Interface (JNI) is a framework that allows Java code to call native functions and vice versa. To call a C/C++ function from Java, you need to declare the function as native in your Java code, then implement the function in your native code using a specific naming convention. You also need to load your native library in your Java code using System.loadLibrary.
Can I use C++ libraries in my Android app?
Yes, you can use C++ libraries in your Android app. The Android NDK supports several standard C++ libraries, including the STL (Standard Template Library). You can also use third-party C++ libraries, but you may need to build them from source for your specific architecture.
How can I optimize my C/C++ code for Android?
There are several ways to optimize your C/C++ code for Android. One way is to use the NDK’s profiling tools to identify performance bottlenecks. You can also use compiler optimizations, such as the -O2 or -O3 flags, to generate more efficient code. Additionally, you can use native APIs to take advantage of specific hardware features.
What is CMake and why is it used in Android NDK development?
CMake is a cross-platform build system that is used to manage the build process of software projects. In the context of Android NDK development, CMake is used to compile and link native code. It provides a more flexible and powerful way to build native code compared to the ndk-build script.
Can I use the Android NDK with other IDEs besides Android Studio?
While Android Studio is the official IDE for Android development and provides the most comprehensive support for the NDK, it’s possible to use the NDK with other IDEs. For example, you can use the NDK with Eclipse, although this requires additional configuration and may not provide the same level of integration as Android Studio.