


Android provides many UI controls to create beautiful UI screens for your apps. One common UI requirement is sliding between multiple screens. For example, a photo slideshow. Android provides a UI control for creating sliding screens called the ViewPager. This tutorial will explain using ViewPager to create a sliding screen UI in your Android apps.
You can find the code for this article on GitHub
Key Takeaways
- Android provides a UI control called ViewPager for creating sliding screens, which can be defined in a layout file and added to an activity.
- Each screen in the ViewPager is defined as a fragment, which can be instances of different Fragment classes or varying instances of the same class with different content.
- A PagerAdapter, which can be extended from FragmentPagerAdapter, is needed to display the fragments as pages. This adapter returns the number of pages to display and the instance of the fragment for each screen.
- ViewPager allows for custom animations on the page slide by setting a ViewPager.PageTransformer, which can be implemented by overriding the transformPage method.
Adding the View Pager to Your Activity
Create a new Blank Activity project and begin by adding a ViewPager to the activity. Like any other UI control, you define the ViewPager in a layout file. Change activity_main.xml to the following:
<?xml version="1.0" encoding="utf-8"?>
<LinearLayout xmlns:android="http://schemas.android.com/apk/res/android"
    android:layout_width="match_parent"
    android:layout_height="match_parent"
    android:orientation="vertical">

    <android.support.v4.view.ViewPager
        android:id="@+id/vpPager"
        android:layout_width="match_parent"
        android:layout_height="wrap_content">

        <android.support.v4.view.PagerTabStrip
            android:id="@+id/pager_header"
            android:layout_width="match_parent"
            android:layout_height="wrap_content"
            android:layout_gravity="top"
            />
    </android.support.v4.view.ViewPager>
</LinearLayout>
In the above layout, there is a LinearLayout containing a ViewPager with an id of “vpPage”. There’s also a nested view called PagerTabStrip which indicates the tabs at the top of the screen depending on the number of pages in the ViewPager. Once you have created the layout, update MainActivity.java to use this layout as follows:
package com.viewpagerandroid; // Update to match your package

import android.support.v4.app.Fragment;
import android.support.v4.app.FragmentManager;
import android.support.v4.app.FragmentPagerAdapter;
import android.support.v4.view.ViewPager;
import android.os.Bundle;
import android.support.v7.app.AppCompatActivity;
import android.view.Menu;
import android.view.MenuItem;

public class MainActivity extends AppCompatActivity {

    @Override
    protected void onCreate(Bundle savedInstanceState) {
        super.onCreate(savedInstanceState);
        setContentView(R.layout.activity_main);
        ViewPager vpPager = (ViewPager) findViewById(R.id.vpPager);
    }
}
In the above code I is a MainActivity which sets the layout created as its content view. Then it queries for a reference of the ViewPager using the function findViewById.
Creating the Fragments for the ViewPager
You need to define each screen in the ViewPager as a fragment. Each screen could be an instance of different Fragment classes, or different instances of the same fragment class with varying content. This app will contain three screens. Two screens with one text field and one image, and one screen with one text field and two images. Based on this, you will need two fragment classes.
The layouts and fragments classes are as follows:
fragment_one_img.xml
<?xml version="1.0" encoding="utf-8"?>
<LinearLayout xmlns:android="http://schemas.android.com/apk/res/android"
    android:orientation="vertical"
    android:layout_width="match_parent"
    android:layout_height="match_parent">

    <TextView
        android:id="@+id/txtMain"
        android:layout_width="match_parent"
        android:layout_height="wrap_content" />

    <ImageView
        android:id="@+id/imgMain"
        android:layout_width="wrap_content"
        android:layout_height="wrap_content" />

</LinearLayout>
FragmentWithOneImage.java
package com.viewpagerandroid;

import android.os.Bundle;
import android.support.v4.app.Fragment;
import android.view.LayoutInflater;
import android.view.View;
import android.view.ViewGroup;
import android.widget.ImageView;
import android.widget.TextView;

public class FragmentWithOneImage extends Fragment {
    private String title;
    private int image;

    public static FragmentWithOneImage newInstance(String title, int resImage) {
        FragmentWithOneImage fragment = new FragmentWithOneImage();
        Bundle args = new Bundle();
        args.putInt("image", resImage);
        args.putString("title", title);
        fragment.setArguments(args);
        return fragment;
    }


    @Override
    public void onCreate(Bundle savedInstanceState) {
        super.onCreate(savedInstanceState);
        image = getArguments().getInt("image", 0);
        title = getArguments().getString("title");
    }

    @Override
    public View onCreateView(LayoutInflater inflater, ViewGroup container,
                             Bundle savedInstanceState) {
        View view = inflater.inflate(R.layout.fragment_one_img, container, false);
        TextView tvLabel = (TextView) view.findViewById(R.id.txtMain);
        tvLabel.setText(title);

        ImageView imageView = (ImageView) view.findViewById(R.id.imgMain);
        imageView.setImageResource(image);
        return view;
    }
}
fragment_two_images.xml
<?xml version="1.0" encoding="utf-8"?>
<LinearLayout xmlns:android="http://schemas.android.com/apk/res/android"
    android:orientation="vertical"
    android:layout_width="match_parent"
    android:layout_height="match_parent">

    <TextView
        android:id="@+id/txtMain"
        android:layout_width="match_parent"
        android:layout_height="wrap_content" />

    <ImageView
        android:id="@+id/imgMain"
        android:layout_width="wrap_content"
        android:layout_height="wrap_content" />

    <ImageView
        android:id="@+id/imgSecondary"
        android:layout_width="wrap_content"
        android:layout_height="wrap_content" />

</LinearLayout>
FragmentWithTwoImages.java
package com.viewpagerandroid;

import android.os.Bundle;
import android.support.v4.app.Fragment;
import android.view.LayoutInflater;
import android.view.View;
import android.view.ViewGroup;
import android.widget.ImageView;
import android.widget.TextView;

public class FragmentWithTwoImages extends Fragment {
    private String title;
    private int imageMain;
    private int imageSecondary;


    public static FragmentWithTwoImages newInstance(String title, int resMainImage, int resSecondaryImage) {
        FragmentWithTwoImages fragment = new FragmentWithTwoImages();
        Bundle args = new Bundle();
        args.putInt("imageMain", resMainImage);
        args.putInt("imageSecondary", resSecondaryImage);
        args.putString("title", title);
        fragment.setArguments(args);
        return fragment;
    }


    @Override
    public void onCreate(Bundle savedInstanceState) {
        super.onCreate(savedInstanceState);
        imageMain = getArguments().getInt("imageMain", 0);
        imageSecondary = getArguments().getInt("imageSecondary", 0);
        title = getArguments().getString("title");
    }

    @Override
    public View onCreateView(LayoutInflater inflater, ViewGroup container,
                             Bundle savedInstanceState) {
        View view = inflater.inflate(R.layout.fragment_two_images, container, false);
        TextView tvLabel = (TextView) view.findViewById(R.id.txtMain);
        tvLabel.setText(title);

        ImageView imageView = (ImageView) view.findViewById(R.id.imgMain);
        imageView.setImageResource(imageMain);

        ImageView imageViewSecondary = (ImageView) view.findViewById(R.id.imgSecondary);
        imageViewSecondary.setImageResource(imageSecondary);
        return view;
    }
}
In the above code FragmentWithOneImage, has a getInstance method which takes the text and the image resource id displayed in the fragment. The fragment inflates the fragment_one_img.xml layout and sets the text and the image resource id. Similarly FragmentWithTwoImages inflates the fragment_two_images.xml layout and sets the text and both the image resource ids.
Implementing the PagerAdapter
Now you’ve created the fragments you need a PagerAdapter which you will set on the ViewPager. Although you can directly extend from PagerAdapter, Android provides another base class FragmentPagerAdapter which implements basic functionality to show the fragments as pages in the PagerAdapter.
Extend the adapter from FragmentPagerAdapter by adding this class to MainActivity.java:
public static class MyPagerAdapter extends FragmentPagerAdapter {
    private static int NUM_ITEMS = 3;

    public MyPagerAdapter(FragmentManager fragmentManager) {
        super(fragmentManager);
    }

    // Returns total number of pages.
    @Override
    public int getCount() {
        return NUM_ITEMS;
    }

    // Returns the fragment to display for a particular page.
    @Override
    public Fragment getItem(int position) {
        switch (position) {
            case 0:
                return FragmentWithOneImage.newInstance("Fragment 1", R.drawable.android_1);
            case 1:
                return FragmentWithOneImage.newInstance("Fragment 2", R.drawable.android_2);
            case 2:
                return FragmentWithTwoImages.newInstance("Fragment 3", R.drawable.android_3, R.drawable.android_4);
            default:
                return null;
        }
    }

    // Returns the page title for the top indicator
    @Override
    public CharSequence getPageTitle(int position) {
        return "Tab " + position;
    }

}
Note: You will need to add the images referenced above. You can find them here.
The MyPagerAdapter class extends from FragmentPagerAdapter and overrides the getCount method which returns how many pages the adapter will display. In this example, you want to show three pages, and it returns three. The getItem method returns the instance of the fragment to display on the screen. The getPageTitle method returns the title of the particular page. Once you have created the MyPagerAdapter you need to set the instance of it on the ViewPager in the onCreate function as below:
FragmentPagerAdapter adapterViewPager;

@Override
protected void onCreate(Bundle savedInstanceState) {
    super.onCreate(savedInstanceState);
    setContentView(R.layout.activity_main);

    ViewPager vpPager = (ViewPager) findViewById(R.id.vpPager);
    adapterViewPager = new MyPagerAdapter(getSupportFragmentManager());
    vpPager.setAdapter(adapterViewPager);
  }
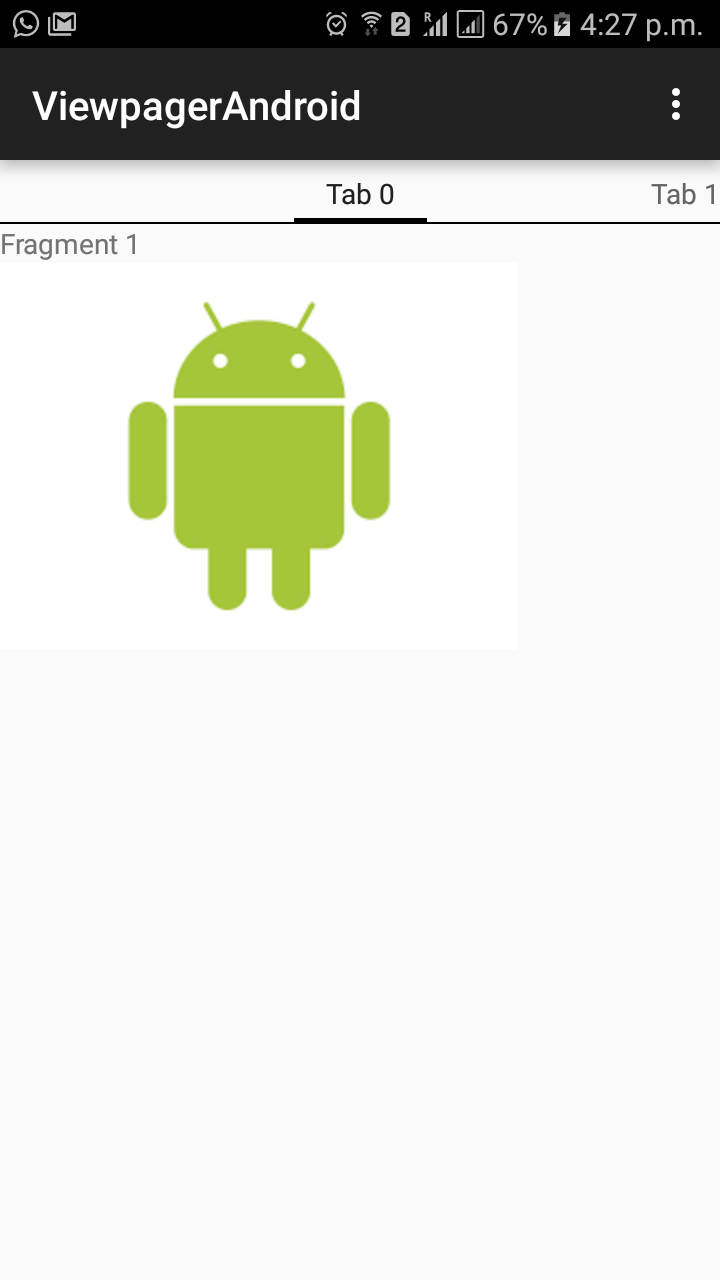
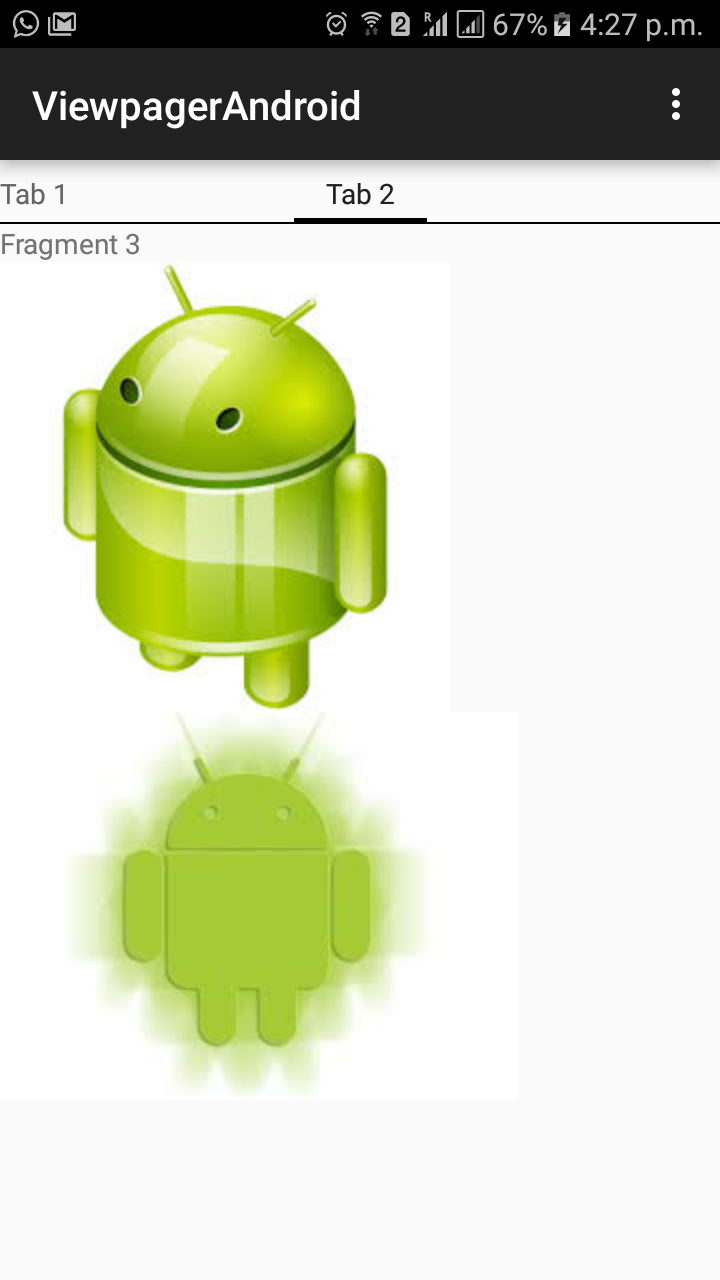
If you run the app you will see the three screens which you can be slide between as shown below.

Adding Animation to the Screen Slide
You can implement different animations on the page slide by setting a ViewPager.PageTransformer. To implement this you have to override the transformPage method. In this function you provide custom animations based on the position on the screen, there are a lot of transforms available as open source libraries which you can use, for example the ToxicBakery.ViewPagerTransforms.
To use a custom animation, add it to your dependencies in build.gradle (Module: App) as follows:
dependencies {
  ...
  compile 'com.ToxicBakery.viewpager.transforms:view-pager-transforms:1.2.32@aar'
}
Now you can add the PageTransformer on the ViewPager in the onCreate method as shown:
@Override
protected void onCreate(Bundle savedInstanceState) {
   super.onCreate(savedInstanceState);
   setContentView(R.layout.activity_main);

   ViewPager vpPager = (ViewPager) findViewById(R.id.vpPager);
   adapterViewPager = new MyPagerAdapter(getSupportFragmentManager());
   vpPager.setAdapter(adapterViewPager);
   vpPager.setPageTransformer(true, new RotateUpTransformer());
}
Now if you run the app and slide the screens, they will rotate up while sliding.
The next Page
The ViewPager control provided by Android makes it easy to add flexible sliding screens to your app and gives you the power to add the same or different types of pages to your sliding screens.
Let me know if you have any comments or questions.
Frequently Asked Questions (FAQs) about Using ViewPager to Create a Sliding Screen UI in Android
How can I implement a ViewPager with a custom adapter?
Implementing a ViewPager with a custom adapter involves creating a new class that extends PagerAdapter or FragmentPagerAdapter. The custom adapter is responsible for supplying views to the ViewPager. It does this by overriding methods like getCount(), which returns the number of views, and instantiateItem(), which returns an instance of a view. You can then set the adapter to your ViewPager using the setAdapter() method. Remember to import the necessary Android libraries before starting.
How can I add animations to my ViewPager transitions?
ViewPager comes with a built-in page transformer that you can use to animate transitions between pages. You can set the page transformer using the setPageTransformer() method and passing in an instance of your custom PageTransformer class. In your PageTransformer class, override the transformPage() method to define your animation. You can manipulate almost any property of the page view, including its size, rotation, and opacity.
How can I add tabs to my ViewPager?
To add tabs to your ViewPager, you can use the TabLayout widget provided by the Android Design Support Library. First, add a TabLayout to your layout file. Then, in your activity or fragment, set up the TabLayout with the ViewPager using the setupWithViewPager() method. This will automatically populate the tabs with the page titles provided by your ViewPager’s adapter.
How can I handle click events in a ViewPager?
Handling click events in a ViewPager can be a bit tricky because the ViewPager consumes all touch events. One way to handle click events is to set an OnClickListener on the individual views inside your ViewPager’s adapter. Another way is to use a GestureDetector to distinguish between single taps and swipes.
How can I dynamically add or remove pages in a ViewPager?
To dynamically add or remove pages in a ViewPager, you need to update the data set that your adapter uses, and then call notifyDataSetChanged() on the adapter. This will cause the ViewPager to refresh its views. If you’re using a FragmentPagerAdapter, you also need to override the getItemPosition() method in your adapter to return POSITION_NONE for the items that have changed.
How can I save the state of a ViewPager?
The ViewPager automatically saves its state when the activity or fragment is destroyed and restored. However, if you want to save the state manually, you can do so by calling onSaveInstanceState() on the ViewPager and storing the resulting Bundle. To restore the state, call onRestoreInstanceState() and pass in the saved Bundle.
How can I prevent a ViewPager from swiping to certain pages?
To prevent a ViewPager from swiping to certain pages, you can override the onTouchEvent() and onInterceptTouchEvent() methods in your ViewPager class. In these methods, check the current page position and decide whether to allow the touch event to proceed.
How can I use a ViewPager in a RecyclerView?
Using a ViewPager in a RecyclerView involves adding the ViewPager as a view type in your RecyclerView’s adapter. In the onCreateViewHolder() method, inflate a layout that contains the ViewPager. Then, in onBindViewHolder(), set up the ViewPager with its adapter.
How can I nest a ViewPager inside another ViewPager?
Nesting a ViewPager inside another ViewPager can be done, but it requires careful handling of touch events to ensure that the inner ViewPager doesn’t interfere with the outer ViewPager’s swiping. One way to do this is to subclass ViewPager and override the onInterceptTouchEvent() and onTouchEvent() methods to properly delegate touch events.
How can I use a ViewPager with a BottomNavigationView?
To use a ViewPager with a BottomNavigationView, you need to synchronize the selected item in the BottomNavigationView with the current page in the ViewPager. You can do this by adding an OnNavigationItemSelectedListener to the BottomNavigationView and an OnPageChangeListener to the ViewPager. In the navigation listener, call setCurrentItem() on the ViewPager when a navigation item is selected. In the page change listener, call setSelectedItemId() on the BottomNavigationView when a page is selected.