

Key Takeaways
- Hoodie simplifies web app development by allowing developers to focus on front-end technologies (HTML, CSS, JavaScript) while it handles backend processes like user authentication and data storage.
- Installation of Hoodie is straightforward across major platforms (OSX, Linux, Windows) with dependencies such as Homebrew, NodeJS, git, and CouchDB.
- The tutorial guides through creating a basic Todo app with Hoodie, demonstrating essential features like signup, login, and data synchronization.
- Hoodie utilizes a noBackend and Offline First approach, enhancing app performance by using local storage for data operations before syncing with a server.
- Additional functionalities of Hoodie include user registration forms, updating user information, and handling data objects, making it versatile for various application needs.
JavaScript has come a long way and Hoodie takes it further. It is one of the coolest web development tools that I have come across in recent times. It helps with building web apps without worrying about backend development, databases and servers. Imagine that! Looks like someone has seriously made our lives easier.
With Hoodie, you create web applications built purely with front end technologies like HTML, CSS and JavaScript while allowing for data manipulation without worrying about server side coding. It gives you features such as user signup, sign-in, reset password, data storing and retrieval and email support. All can be used by writing a few lines of code.
Hoodie is best suited for creating mobile apps using the front end technologies mentioned above. It utilises Offline First and noBackend architecture that enhances the app’s performance. Hoodie follows Document-Based storage using CouchDB for storing data. Whenever data needs to be updated, Hoodie stores it locally first and then syncs with a central server on a best effort basis.
In this article, we will install and run Hoodie on our local computer. We will create and analyze a simple Hoodie application. Finally, we will create a functional web app using Hoodie’s important features.
Installing Hoodie
Hoodie supports all major platforms like OSX, Linux and Windows. In this tutorial, I will show how to install Hoodie on a Mac. For other platforms you can follow the installation documentation.
To install Hoodie on OSX, you need a few tools pre-installed namely Homebrew, NodeJS, git and CouchDB. Let’s get them one by one.
Start the terminal and type the following command.
$ brew updateThis command will update the Homebrew to its latest version. Next, we will install git using the following command.
$ brew install gitNow we will download and install NodeJS using the following command:
$ brew install nodeIt’s time to download and install CouchDb, the database which Hoodie uses for data handling.
$ brew install couchdbAfter installing all the above tools, we will use Node’s Package Manager to download and install Hoodie.
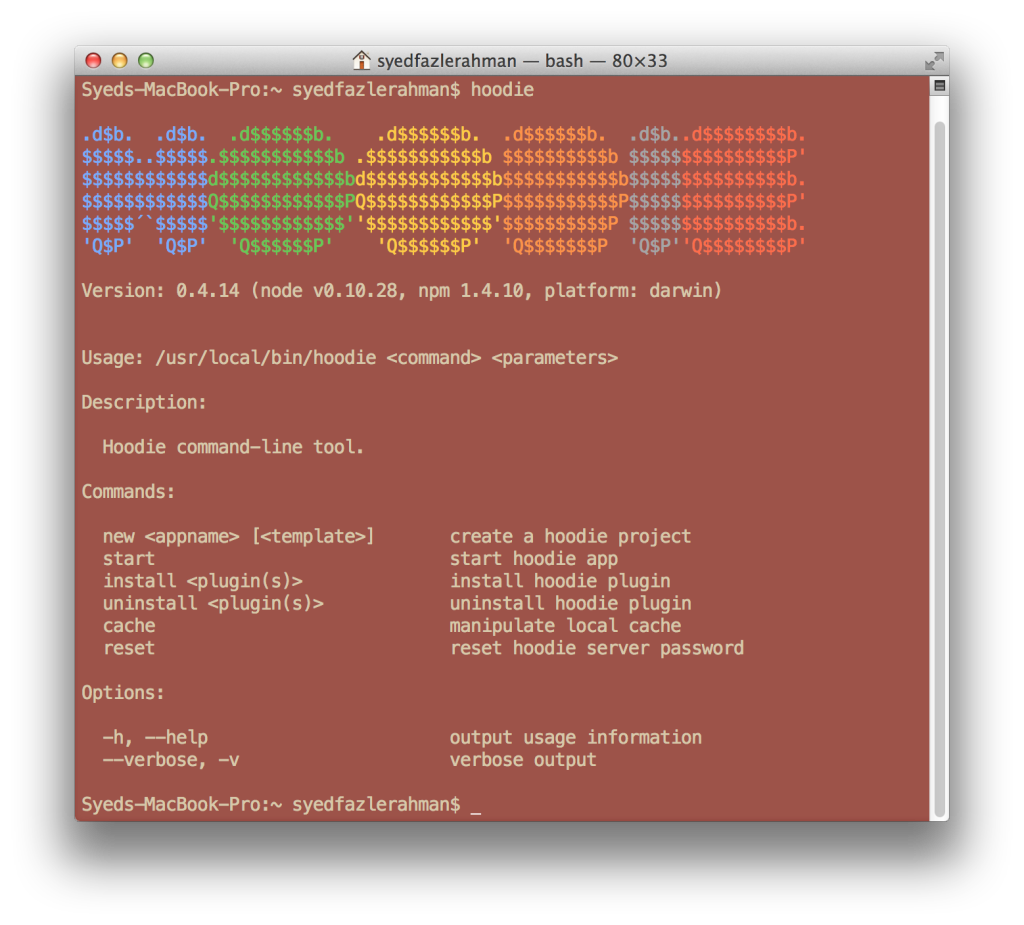
$ npm install -g hoodie-cliYou can now verify your hoodie installation by typing hoodie in the terminal. A graphical Hoodie logo along with other help options will be displayed.
Creating A Simple Hoodie App
Hoodie provides many handy commands to perform important tasks. One of the most important is:
$ hoodie new <appname>The above commands creates a new default Hoodie app. This app is generally a Todo app created by the Hoodie team. It gives an overview of the many Hoodie methods and showcases some of the important features like Sign up/login, reset password, etc.
Let’s proceed and create a new Hoodie app called SitePointTodosApp.
$ hoodie new SitePointTodosApp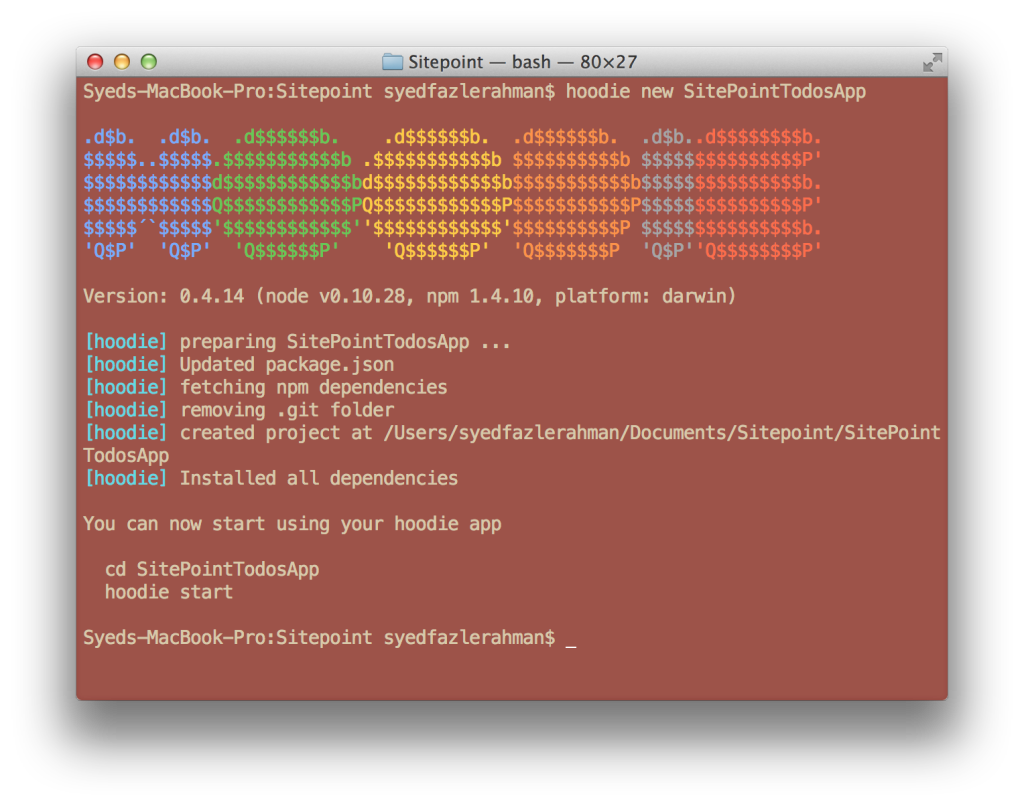
As seen in the above image, Hoodie will prompt you to navigate inside the newly created “SitePointTodosApp” folder and then start the Hoodie server. So let’s do it and run the application.
$ cd SitePointTodosApp
$ hoodie start
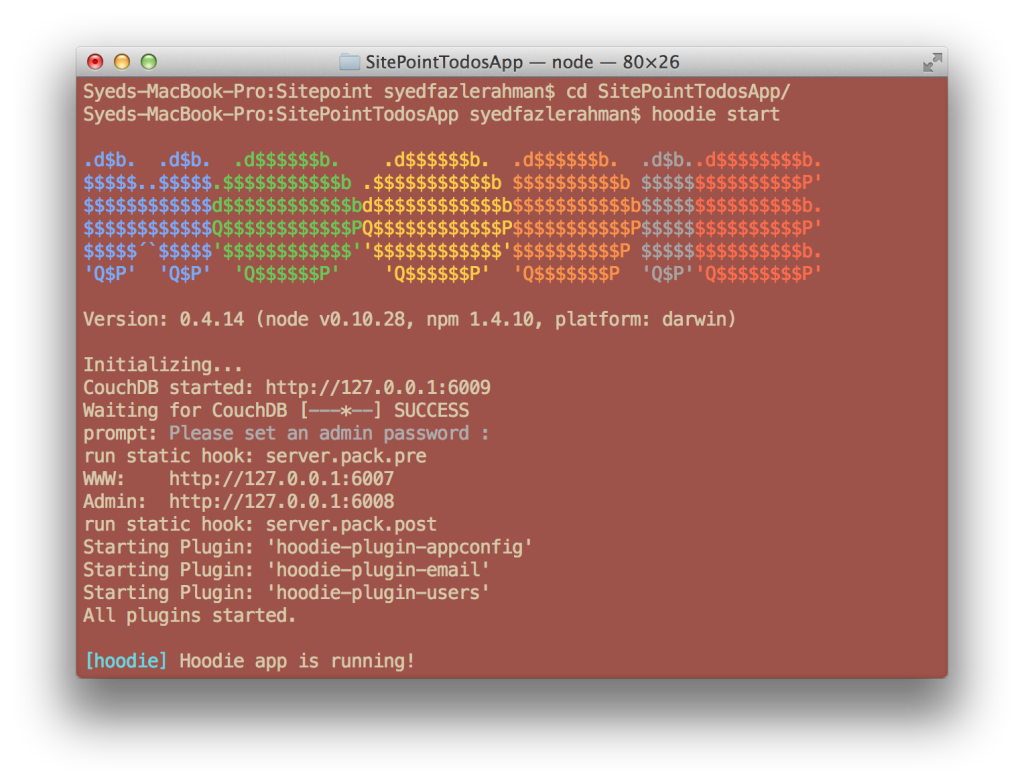
You will be asked to create an admin password for the application. Hoodie will then start the application in localhost on port 6007. (This may be a different port for you)
http://127.0.0.1:6007/
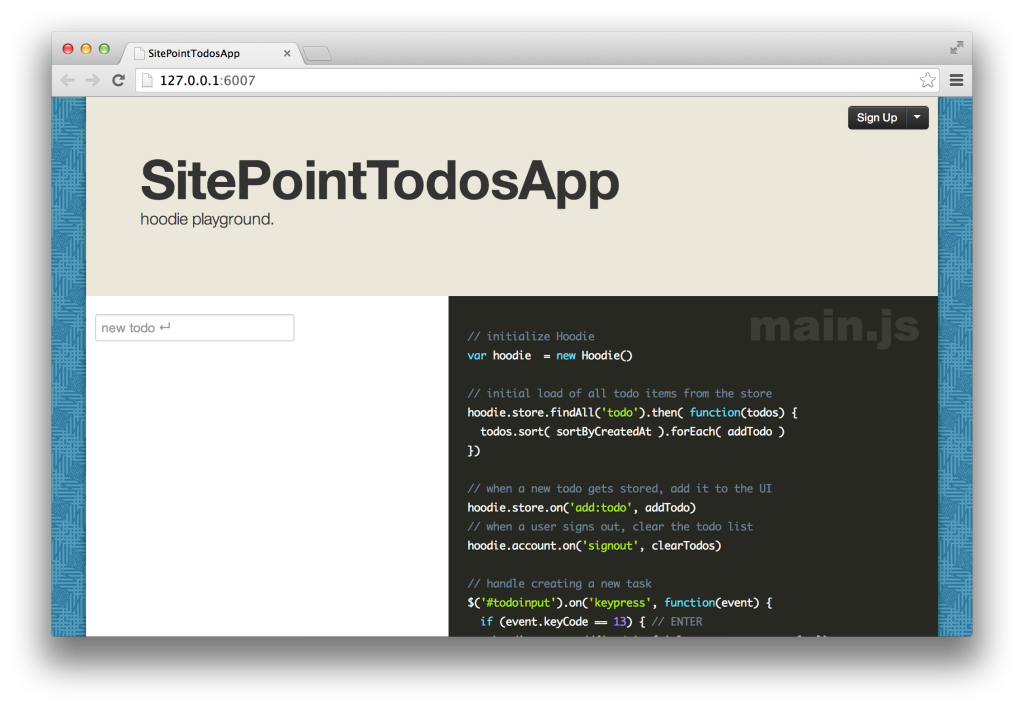
You will see a web app called “SitePointTodosApp”, it has all the basic features of a Todo app. I would suggest you to play with all the features showcased in this app. Try registering yourself, create some Todos and logout. Switch the browser, login with your credentials and you can see same Todos popping up in the screen.
To stop the app, hit Ctrl-c in your terminal.
It’s time to move inside the app folder and analyze what makes a hoodie app. Inside the /SitePointTodosApp folder, you will find many sub-folders and files.
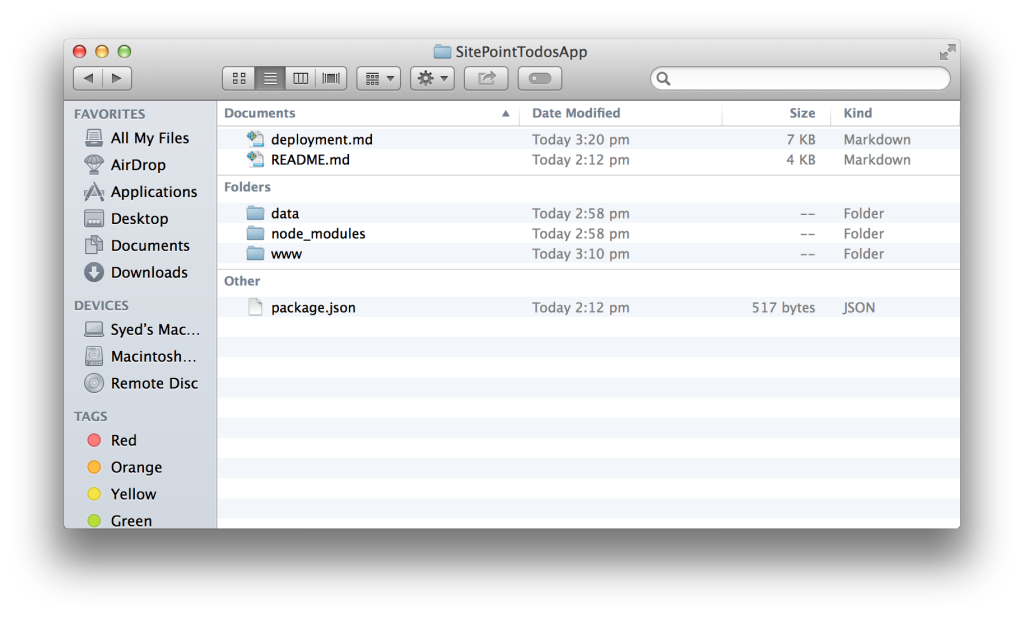
- /www
This is the App’s main folder containing the front end files of our app. We will work in this folder while creating our next app. This folder contains an/assetsfolder which holds the CSS, JS, Images and other Vendor files. It also contains the mainindex.htmlfile. - /node_modules
If you have worked with NodeJS before, then you will know that this folder contains all the dependencies required by the app. NodeJS has downloaded hoodie-server, hoodie-plugin-appconfig, hoodie-plugin-email, hoodie-plugin-users. These dependencies are mentioned in the filepackage.jsonpresent in the root folder. - /data
This folder contains files related to CouchDB. We won’t spend much time in this folder. - deployment.md
This is a deployment guide. It contains the names of Installation dependency tools, Set up instructions for Hoodie, Running Hoodie app instructions, etc. - README.md
This is a brief friendly read me on Hoodie. You can read it to find out more about Hoodie.
Let’s open the /www/index.html file and start analyzing some of the lines.
Here’s a code snippet present in the tag.
<link rel="stylesheet" href="assets/vendor/bootstrap/bootstrap.min.css">

<link rel="stylesheet" href="assets/vendor/prism/prism.css">

<link rel="stylesheet" href="assets/css/main.css">
To our surprise, Hoodie has already downloaded Bootstrap for us. It is using Bootstrap v2.1.1. You can always manually change the file to update it to the latest version. Hoodie is also using a plugin called “PrismJS” to highlight the code snippets in the default homepage. We won’t be using PrismJS, so will remove it once we start building our app. main.css is the main application level CSS file. You can change the name if you want to.
The default Hoodie app also loads many JS scripts. They are as follows:
<script src="assets/vendor/jquery-2.1.0.min.js"></script>

<script src="assets/vendor/bootstrap/bootstrap.js"></script>

<script src="assets/vendor/prism/prism.js"></script>

<!-- Load the dynamic version of hoodie.js that includes all the plugin code-->

<script src="/_api/_files/hoodie.js"></script>

<script src="assets/vendor/hoodie.accountbar.bootstrap.js"></script>

<script src="assets/vendor/bootstrap.modalform.js"></script>

<script src="assets/js/main.js"></script>
Hoodie has included the JS files of jQuery, Bootstap and Prism in the above scripts. Then it has included a dynamically generated hoodie.js file. This file is a combination of all the plugin code served as a single .js file. It is done by the node module hoodie-server present inside /node_modules. We then have 2 other plugins called “Bootstrap ModalForm” and “Hoodie AccountBar”. We won’t be using these scripts in our next application. Finally, we have a main.js file which is the application level JS file.
Creating a User Registration Form Using Hoodie
Downloadable final project from GitHub
In this section, we will create a simple user registration form and see how to write a new user to the database through jQuery. We will also upgrade our application to Bootstrap 3.
I am using the same Hoodie application, SitePointTodosApp, that was created in the above section. Let’s modify the index.html and remove all those plugins which are not needed. Here’s the modified index.html:
HTML
<!DOCTYPE html>

<html class="no-js">

<head>

<meta charset="utf-8">

<meta http-equiv="X-UA-Compatible" content="IE=edge,chrome=1">

<title>User Registration</title>

<meta name="description" content="">

<meta name="viewport" content="width=device-width">
<link rel="stylesheet" href="//netdna.bootstrapcdn.com/bootstrap/3.1.1/css/bootstrap.min.css">

<link rel="stylesheet" href="//netdna.bootstrapcdn.com/bootstrap/3.1.1/css/bootstrap-theme.min.css">

<link href='http://fonts.googleapis.com/css?family=Handlee' rel='stylesheet' type='text/css'>

<link rel="stylesheet" href="assets/css/main.css">

</head>

<body>
<script src="assets/vendor/jquery-2.1.0.min.js"></script>

<script src="//netdna.bootstrapcdn.com/bootstrap/3.1.1/js/bootstrap.min.js"></script>

<!-- Load the dynamic version of hoodie.js that includes all the plugin code-->

<script src="/_api/_files/hoodie.js"></script>

<script src="assets/js/main.js"></script>

</body>

</html>
As you can see, I have removed all the HTML contents from tag except the scripts. I have also replaced the source files of Bootstrap in both and in from Bootstrap v2 to v3. If you compare this with the old index.html, I have also removed the “Prism”, “Hoodie Accountbar” and “Bootstrap Modalform” plugins which came by default.
Let’s proceed and fill the HTML page with new form markup.
HTML
<div class="container-fluid">
<!--Markup for pre-registration-->
<div class="col-xs-6 col-xs-offset-3" id="registrationPage">
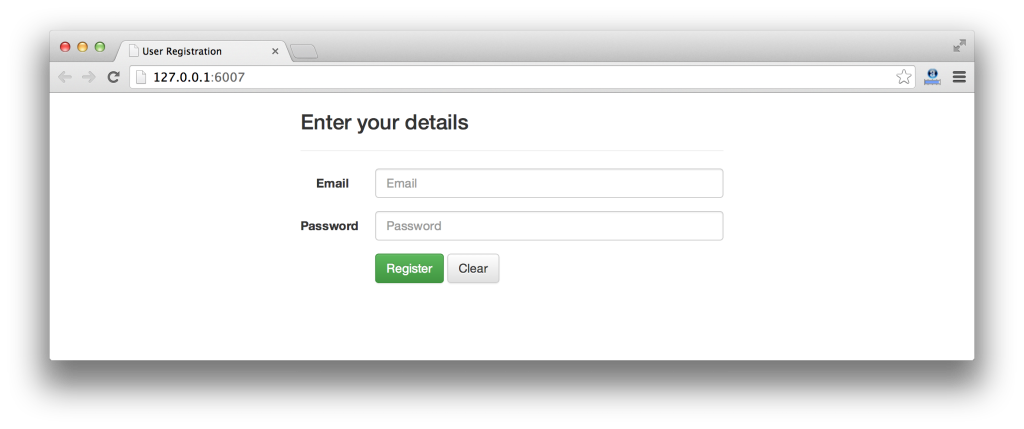
<h3>Enter your details</h3>
<hr>
<form class="form-horizontal" id="registerForm">
<div class="form-group">
<label for="username" class="col-sm-2 control-label">Email</label>
<div class="col-sm-10">
<input type="email" class="form-control" id="username" placeholder="Email">
</div>
</div>
<div class="form-group">
<label for="password" class="col-sm-2 control-label">Password</label>
<div class="col-sm-10">
<input type="password" class="form-control" id="password" placeholder="Password">
</div>
</div>
<div class="form-group">
<div class="col-sm-offset-2 col-sm-10">
<button type="submit" class="btn btn-success">Register</button>
<button type="reset" class="btn btn-default">Clear</button>
</div>
</div>
</form>
</div>
<!--Markup for post-registration-->
<div class="col-xs-6 col-xs-offset-3" id="userPage">
<h2></h2>
<a href="#" id="signout" class="btn btn-sm btn-default">Sign out</a>
</div>
</div>
I have used Bootstrap’s classes to style the form. If you are not aware of Bootstrap 3, I would suggest you take a look at this awesome framework. Read “Jump Start Bootstrap” by SitePoint to learn more.
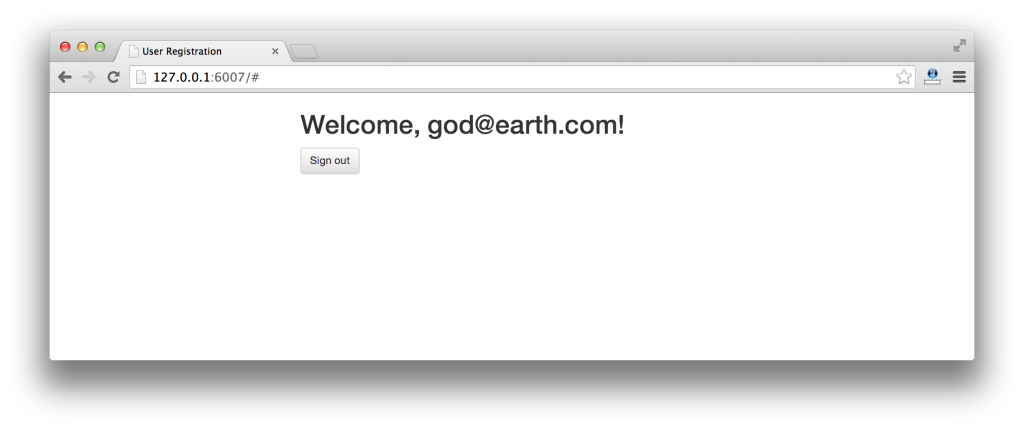
I have divided the above markup into 2 parts: pre-registration markup and post-registration markup. The pre-registration markup contains form fields to accept a username and password. The post-registration markup contains an h2 element and a “Sign out” button. The h2 element will be used to populate the username after registration.
It’s time to update the CSS file, main.css, to hide the post-registration markup which is contained inside a div element with id as “userPage”.
Open main.css and remove all the previously written CSS properties and rules. Add the following into it:
CSS (main.css)
#userPage{

display: none;

}
It’s time to write some jQuery. Open main.js and clear all the previously written JavaScript code.
JS
"use strict";

var hoodie = new Hoodie();
Insert the above snippet in main.js. It is mandatory to instantiate a new Hoodie object. This should be done in all the apps you create. This Hoodie() method comes from the file hoodie.js.
Next, declare the jQuery’s ready method.
JS
$(document).ready(function () {

// all codes goes here

});
We have to write jQuery to capture the registration page’s username and password on a submit event.
JS
$("#registerForm").submit(function(e){

e.preventDefault();

var username = $("#username").val();

var password = $("#password").val();

hoodie.account.signUp(username, password).done(function (user) {

checkuser();

});

});
The above code captures data and then passes it to Hoodie’s signUp() method to register a new user. This is the only line that you have to write to register a new user! You can use the .done() method to perform some other activities after a user is registered. I am calling a checkuser() method which we will define next.
Let’s write a reusable JavaScript method that will check if a user is logged in.
JS
function checkuser() {

if(hoodie.account.username){

$("#registrationPage").hide();

$("#userPage").show();

$("#userPage h2").text("Welcome, "+hoodie.account.username+"!");

}else{

$("#registrationPage").show();

$("#userPage").hide();

$("#userPage h2").text("");

}

}
The above method checks if a user is logged-in by fetching the value of the hoodie.account.username object. It results in undefined when a user is not logged-in. If it is set we are display the #userPage and update the welcome message. We have also hidden the registration page on a successful login.
Let’s bind a Hoodie function to the sign out button using jQuery.
JS
$("#signout").click(function () {

hoodie.account.signOut().done(function (user) {

checkuser();

});

});
We have used’s Hoodie’s signOut() method to expire a user’s session.
Here’s the full version of main.js file:
JS (main.js)
"use strict";

var hoodie = new Hoodie();
$(document).ready(function () {
checkuser();
$("#registerForm").submit(function(e){

e.preventDefault();

var username = $("#username").val();

var password = $("#password").val();

hoodie.account.signUp(username, password).done(function (user) {

checkuser();

});

});
$("#signout").click(function () {

hoodie.account.signOut().done(function (user) {

checkuser();

});

});

});
function checkuser() {

if(hoodie.account.username){

$("#registrationPage").hide();

$("#userPage").show();

$("#userPage h2").text("Welcome, "+hoodie.account.username+"!");

}else{

$("#registrationPage").show();

$("#userPage").hide();

$("#userPage h2").text("");

}

}
As you can see, Hoodie provides extremely simple methods to perform user registration and logout. The above app was just a demo app showcasing how to use them in your code.
Other Hoodie Methods
There are many simple Hoodie methods that let you accomplish complex tasks. Here are few of them:
SignIn Method
Sign into your application, by grabbing a username and password and passing it to the signIn() method.
hoodie.account.signIn('larry@google.com', 'secret');
Change Password
To change a password, you need to pass both the old and new password values to the changePassword() method.
hoodie.account.changePassword('currentpassword', 'newpassword');
Change Username
To change a username, pass both the old and new username values to changeUsername() method.
hoodie.account.changeUsername('currentpassword', 'newusername');
Adding a new object
You can store objects related to a user using the store object in Hoodie.
var type = 'notes';

var attributes = {

title: 'History Class 1',

desc: 'Lorem ipsum donor. Lorem ipsum donor.'

};

hoodie.store.add(type, attributes).done(function (newObject) {

console.log("New note created. Object ID:"+newObject.id);

});
The store object has a method called add() which takes 2 parameters, type and attributes. The type here behaves as a class of objects and the attributes object is JSON data. You can add many objects of the same type. If a user has logged in, these objects will be stored in the database or they will be stored locally.
Updating an object
To update an object in the database, you need to know it’s ID which is auto-generated.
var type = 'notes';

var id = 'Ngh123';

var updatedAttributes = {

title: 'History Class 1',

desc: 'Lorem ipsum donor. Lorem ipsum donor. More lorem ipsum donors.'

};

hoodie.store.update(type, id, updatedAttributes).done(function (updatedObject) {

console.log("Note Updated!");

});
The update() method takes 3 parameters: type, id and updated JSON object.
Where to go from here?
Hoodie comes with many more methods that help in achieving complex processes. You can find the whole list of methods here.
Hoodie gets even better when you use it alongside MVC frameworks like AngularJS, EmberJS, etc. In my next tutorial, I will showcase how to use Hoodie with AngularJS, stay tuned!
I hope this tutorial was helpful to you. If you have any queries, please feel free to leave them in the comments section below.
Frequently Asked Questions (FAQs) about Getting Started with Hoodie
What is Hoodie and how does it work?
Hoodie is an open-source, offline-first JavaScript backend for web applications. It provides a simple API for data storage, user authentication, and other common web application features, allowing developers to focus on creating unique features for their applications. Hoodie works by storing data locally on the user’s device, then syncing it with a server when an internet connection is available. This makes it ideal for applications that need to work offline.
How do I install Hoodie?
To install Hoodie, you need to have Node.js and npm (Node Package Manager) installed on your computer. Once you have these, you can install Hoodie by running the command ‘npm install -g hoodie’ in your terminal or command prompt. This will install Hoodie globally on your computer, allowing you to use it in any project.
How do I create a new Hoodie project?
To create a new Hoodie project, navigate to the directory where you want to create the project in your terminal or command prompt, then run the command ‘hoodie new
How do I start the Hoodie server?
To start the Hoodie server, navigate to your project directory in your terminal or command prompt, then run the command ‘hoodie’. This will start the Hoodie server, and you should see a message saying ‘Your Hoodie app has started on: http://localhost:8080‘.
How do I use Hoodie’s data storage API?
Hoodie’s data storage API allows you to store and retrieve data in your application. To store data, you can use the ‘hoodie.store.add’ method, passing in an object with the data you want to store. To retrieve data, you can use the ‘hoodie.store.find’ method, passing in the id of the object you want to retrieve.
How does Hoodie handle user authentication?
Hoodie provides a simple API for user authentication. You can create a new user with the ‘hoodie.account.signUp’ method, passing in an object with the user’s username and password. To log in a user, you can use the ‘hoodie.account.signIn’ method, passing in the user’s username and password.
Can I use Hoodie with other JavaScript frameworks?
Yes, Hoodie is designed to be framework-agnostic, meaning it can be used with any JavaScript framework. You can use Hoodie’s API in your application just like you would use any other JavaScript library or framework.
How do I deploy a Hoodie application?
To deploy a Hoodie application, you can use any hosting service that supports Node.js applications. You will need to set up your hosting environment to start the Hoodie server when the application is deployed, and to restart the server if it crashes.
How do I contribute to the Hoodie project?
As an open-source project, Hoodie welcomes contributions from the community. You can contribute by reporting bugs, suggesting new features, improving the documentation, or submitting pull requests with code changes. To get started, check out the contributing guide on the Hoodie GitHub page.
Where can I get help if I’m having trouble with Hoodie?
If you’re having trouble with Hoodie, you can get help from the community by posting a question on the Hoodie GitHub page, or by joining the Hoodie community on Gitter. You can also check out the Hoodie documentation for guides and tutorials on using Hoodie.

