
Key Takeaways
- WordPress was created in 2003, and plugins were introduced in 2004 to extend its core functionality. As of 2016, there are over 42,697 plugins available in the WordPress Plugin Directory.
- All plugins in the WordPress Plugin Directory are free to use, distribute and licensed under the General Public License (GPL). Publishing a plugin in this directory can be motivated by various reasons, such as seeing a need for certain functionality, market opportunity, or wanting to contribute to the WordPress community.
- Before creating and submitting a plugin, it is crucial to read WordPress’s detailed guidelines to ensure compliance. These rules include ensuring the plugin is GPL compatible, requiring user consent before storing user information, and not including obfuscated code among others.
- The WordPress plugin submission process involves checking the plugin name in the WordPress Directory, creating a functional plugin, validating the Readme file, submitting the plugin for review, waiting for approval, and storing the plugin in the WordPress Subversion Repository.
- The WordPress Plugin Directory offers a manual review process. Once approved, the plugin is stored in the WordPress Subversion Repository. Instructions on how to do this are provided for both Mac and Windows users.
In 2001, a blog tool called b2/cafelog was launched by Michel Valdrighi. Matt Mullenweg and Mike Little forked b2/cafelog and created WordPress in 2003. According to WordPress.org, “WordPress was born out of a desire for an elegant, well-architectured personal publishing system built on PHP and MySQL and licensed under the GPL”. In 2004, plugins were introduced to extend WordPress’ core functionality. Here’s what the WordPress Plugin Directory looked like in November 2004:

Source: http://web.archive.org/web/20041129215547/http://wp-plugins.net/
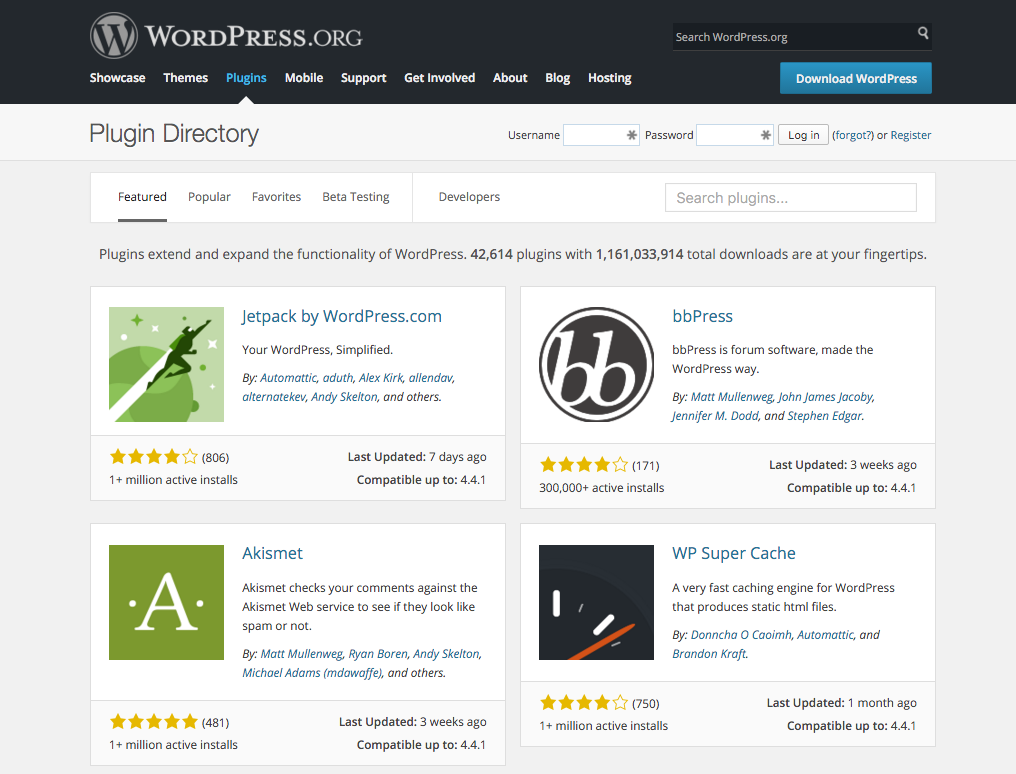
At that point in 2004, there were 46 plugins available for WordPress. In just under eleven years, there are now over 42,697 plugins available in the WordPress Plugin Directory and there have been over 1,161,033,914 plugin downloads. Here’s what the WordPress Plugin Directory looks like in January 2016:
All of the plugins that appear in the WordPress Plugin Directory are free to use and distribute. They are licensed under the General Public License (GPL). Many pioneers have published plugins in the WordPress Plugin Directory and my brother and I wanted to be a part of this exclusive club. We’ll give you an inside look at the WordPress Plugin Directory submission process by sharing our experience on deciding to create, creating, and publishing a plugin in the WordPress Plugin Directory. We’ll also provide step-by-step instructions on how to add your plugin to WordPress’ central Subversion repository for both Mac and Windows users.
Why Publish Your WordPress Plugin?
The reasons people publish plugins in the WordPress Plugin Directory are obviously varied. A couple of examples are explained below:
- You see a need for functionality that doesn’t exist in a plugin in the directory
- You see a market opportunity
- You want to build a community around your plugin
- Your favorite plugin doesn’t offer additional functionality that you want
- You’re frustrated by how much some plugins charge for extra extensions and you think you could build those features at a lower cost
- You want to simplify functionality in a way that doesn’t exist
- You want to contribute to the WordPress Plugin Directory in order to be a part of the community
Our Reasoning
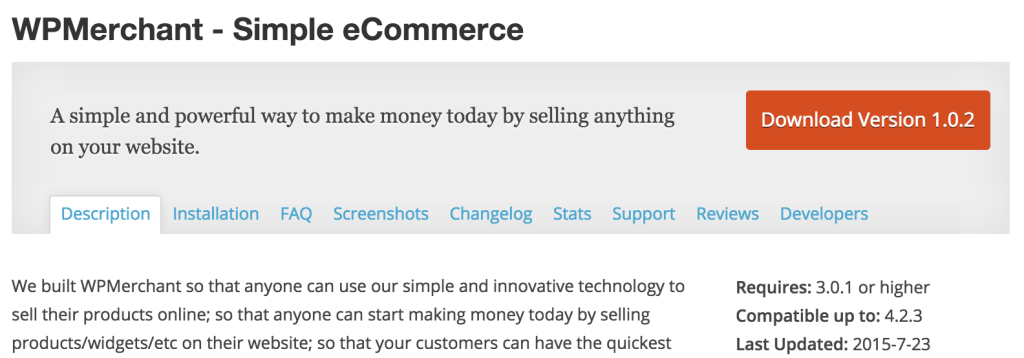
Having done loads of client work with WordPress, both ourselves and our clients were really unhappy with the complexity and cost of plugins in the eCommerce space. These two factors prevented some clients from exploring new opportunities with WordPress and taking steps forward to changing their lives. We wanted to simplify the whole eCommerce process as well as offer lower cost options so that anyone could partake. We also believed that we could do a better job with user on-boarding, innovating, creating new functionality and customer service requests. So, we decided to build our WPMerchant eCommerce plugin.
The WordPress Plugin Submission Process
Below, we break the process down into its most simple parts so that anyone can partake in this plugin creation adventure. We also present these steps in the order that we wish we had taken when we decided to create our plugin!
1. Read the Guidelines.
Save yourself time and money by reading the detailed guidelines before creating and submitting your plugin. Make sure that you’re in compliance with all of these rules. Some of these rules include:
- Making sure your plugin is GPL compatible
- Requiring user consent before storing user information
- Not spamming users
- Not including obfuscated code
- Not doing anything that is illegal or morally offensive
- Not embedding external links on the public site
2. Check the Plugin Name in the WordPress Directory.
Go to wordpress.org/plugins and enter your desired plugin name into the “Search plugins…” input.

If no plugins exist with that name, there’s still a chance that a plugin has been submitted under that name and the user just hasn’t submitted their first Subversion commit; so don’t get too excited. You’ll want to submit your plugin as soon as possible in order to guarantee that you get the name. If the plugin name does exist, we are really sorry; that downright sucks. You’ll need to brainstorm to get a new one.
3. Create a Plugin That Works.
We created our plugin using the WordPress Plugin BoilerPlate framework (http://wppb.io/). It’s a great way to get up and running fast with a solid foundation.
SitePoint has a series of articles that explore the plugin development process with the WordPress Plugin Boilerplate.
1. Speed up Development Using the WordPress Plugin Boilerplate is the first in the series and it gives you a good understanding of the purpose behind the different files in WPPB.
2. The second article in the series walks you through creating a plugin with WPPB and creating an options page with different fields that you can use throughout your plugin.
3. Part Three walks you through implementing the public facing functionality of the demo plugin.
After creating our plugin, we had to update the code and test through all of the functionality countless times so that all of the different pieces and parts worked in the exact way that we wanted it to.
4. Validate the Readme file.
The ReadMe file is used to populate your plugin’s WordPress Plugin Directory page. If you really want to make your plugin page stand out, Jérémy Heleine wrote a great article on Creating Awesome WordPress.org Pages for your Plugin. To give you a general overview, you should enter in your plugin name, contributors (WordPress author IDs), donate link, tags, the WordPress version that is required and the WordPress version the plugin has been tested on, license (it must be GPL) and a short description of your plugin. For the tags, we suggest choosing tags based on those listed in a competing plugin and popular tags that are relevant to your plugin. You can find tags from competing plugins by looking at their directory page and scrolling to the bottom of their page or by checking out their readme.txt file.
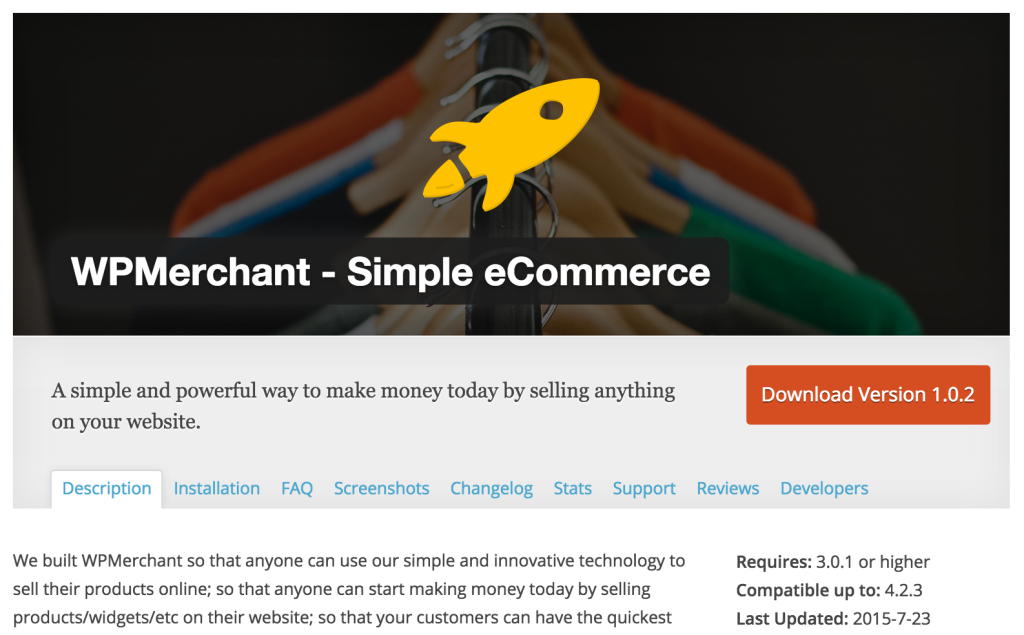
After adding that information, you should add a main description, installation instructions, frequently asked questions and screenshots of your plugin. Make sure to include the screenshots, banner and icon in your plugin’s assets directory. The more screenshots the better. Once you’re happy with your readme file, run it through the ReadMe Validator. Our readme.txt passed with flying colors (aren’t we special!):

5. Submit Your Plugin for Review.
Once you’ve done all of the above, it’s time to submit your plugin for manual review.
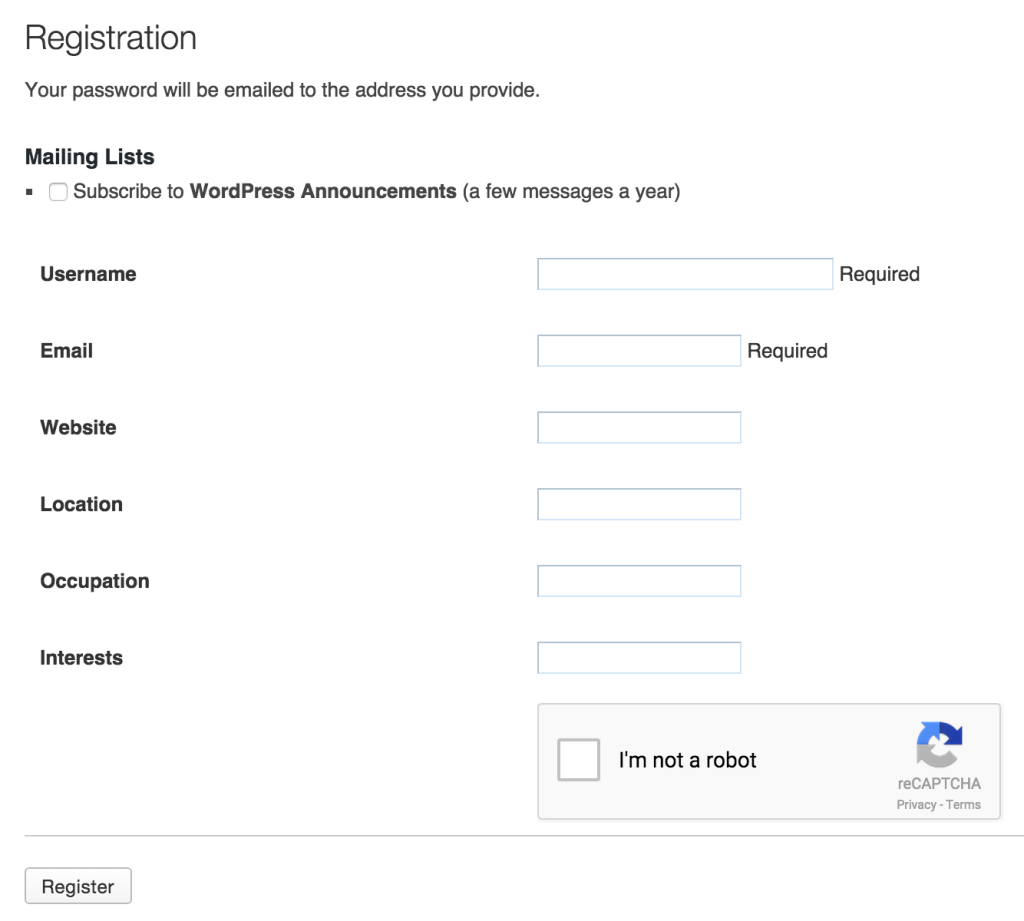
You need to create a WordPress account first.
Then, go to https://wordpress.org/plugins/add/
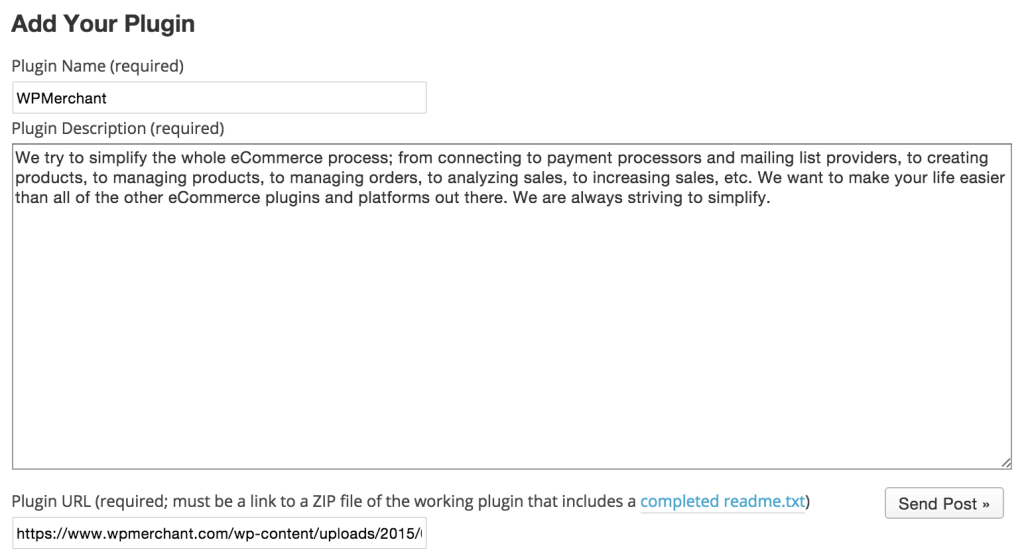
Add your plugin name as well as a description of your plugin. For the plugin URL, you need to compress your plugin files and upload your plugin.zip file to your website or to a website that you have access to. You should be able to upload the compressed file to Dropbox or Google Drive and add a public link to the plugin zip file.
Alternatively, you can add it to a website of your choice.
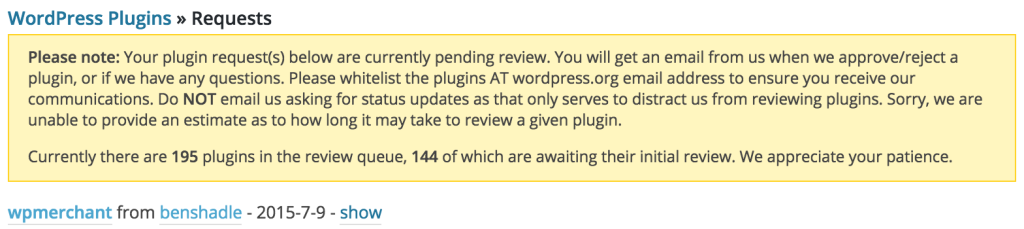
6. Waiting for Approval.
All WordPress Plugin Directory plugins are manually reviewed, and according to WordPress, you should hear back “within some vaguely defined amount of time”. This isn’t very helpful. However, it took about 8 hours for WPMerchant to be reviewed and approved.
7. Approval.
You just heard back from WordPress and they let you know that your plugin was approved (woot woot!). We did a little dance after getting this email!

8. Store Your Plugin in the WordPress Subversion Repository.
Subversion is a version control tool that allows you to track all of the “changes [made to your plugin] so that you can go back and look at old versions or revisions later if you ever need to”. If you’re familiar with Git (another version control system), you’ll pick this up very quickly.
Now that your plugin has been approved, it’s time to store a copy in your WordPress Subversion repository. This repository is where your plugin files are stored. Anyone can get a copy of your plugin files from the repository, but the contributors listed in your readme file are the only ones that can make changes to your plugin’s repository.
We have two sets of instructions for storing your plugin in the WordPress Subversion repository; one for those using a Mac and another for those using a Windows. We start with the Mac instructions below.
On a Mac:
We’re going to be storing your plugin in the WordPress Subversion repository using the command line. Open up your Terminal application. Find the parent directory where you want your plugin to live.
- Use the cd ‘directory name’ command to open a directory.
- Use the cd .. command to move out of the current directory and into its parent directory.
- Use the ls -a command to list all of the files and directories in the current directory.
When you’ve navigated to the parent directory, run the command below in your terminal window (svn is short for Subversion and co is short for checkout).

This command adds all of your central WordPress Subversion repository’s files into your local repository. An important note, make sure to replace https://plugins.svn.wordpress.org/wpmerchant with the URL that is provided in your plugin approval email (you can see our repository’s URL in the email above); it should be in the format of https://plugins.svn.wordpress.org/your-plugin-name. And, replace wpmerchant at the end of the command with what you would like to name the directory (we just went with the name of our plugin).
You’ll get a response asking the following:
(R)eject, accept (t)emporarily or accept (p)ermanently?
Type in t or p and hit Enter. Then, you’ll receive the message below. This indicates that the wpmerchant directory was created on your computer and the tags, assets, trunk and branches directories were added within the wpmerchant Subversion repository directory.
A    wpmerchant/tags
A    wpmerchant/assets
A    wpmerchant/trunk
A    wpmerchant/branches
Checked out revision 111111.
Place all of your plugin files in the trunk directory. Now that you have your plugin files in the trunk directory, you need to add those files to your Subversion repository so that they can be tracked. You can do this by running the terminal command below.

You then need to push the changes made to your local repository to the central WordPress repository by running the following command in your terminal window.

You’ll need to enter your computer’s logged in username and password.
Then, you will be asked for your WordPress username and password.
Once those are credentials are provided, your plugin’s files will be transferred to the WordPress central repository. A Transmitting File Data message will be displayed and when complete, a Committed revision message will be displayed.
![]()
DONE! You should get an email from WordPress explaining the new commit. Now, let’s go checkout our WordPress Plugin Directory Page.
As you can see, ours doesn’t include the banner at the top. It also doesn’t contain the screenshots that we wanted to be shown in the screenshots section. We really want that banner and those screenshots – what did we do wrong? We didn’t add our images to the assets directory (that is a sibling of the trunk directory). Make sure that you place your assets images in that directory. Then, run the following terminal command:

Now, you need to commit the change to the central repository.

Check out your WordPress Plugin Directory page now and you should see images. Yay, we do!!
If you are developing your plugin on multiple computers or with multiple contributors, make sure to run the update command (visible below) before committing any changes. This pulls the changes that exist in the central WordPress repository into your local plugin repository.

On a PC:
In order to publish your plugin on a Windows machine, you need to start off by downloading a compatible version of the Subversion client, Tortoise SVN is a popular choice. Once the download is complete, double click and you should be shown the first step of the Setup Wizard.
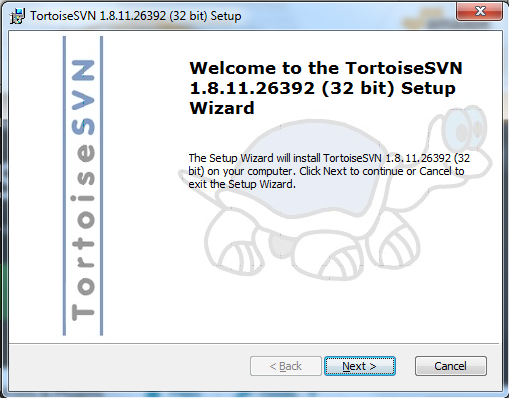
Click the Next button.
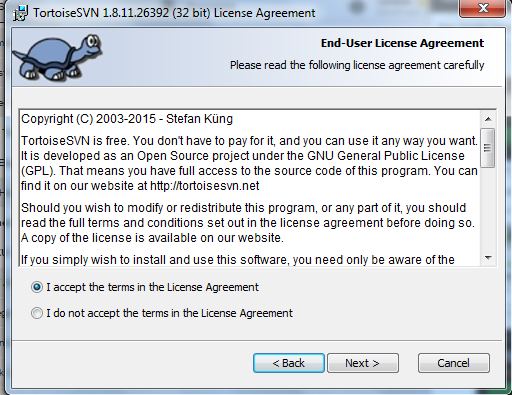
Agree to the Terms and Conditions and then click the Next button.
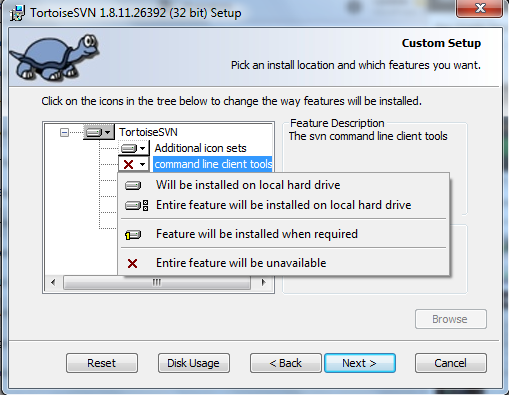
If you want to install the command line tools, click on command line client tools and select ‘Will be installed on local hard drive.’ Either way though, click the Next button.
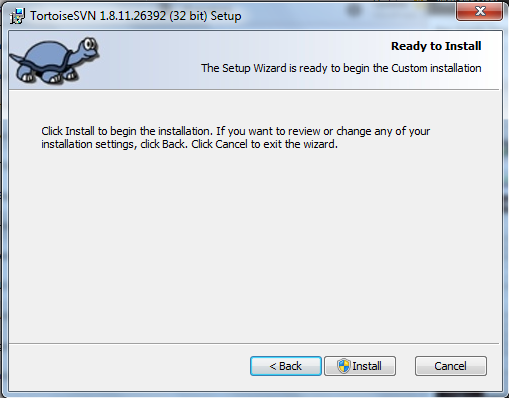
Click the Install button.
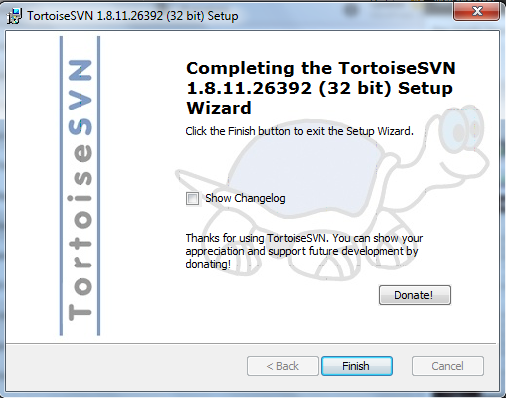
Click the Finish button to complete the install. Awesome! Since that junk is all done, we get to the fun part of actually working with Subversion (SVN). Open up Windows Explorer. Navigate to the directory you want your WordPress SVN repository to live in, click on that directory and then right click on that directory icon.
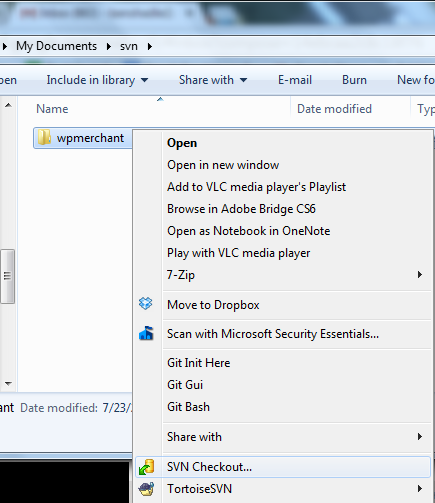
Click on the SVN Checkout drop down menu option.
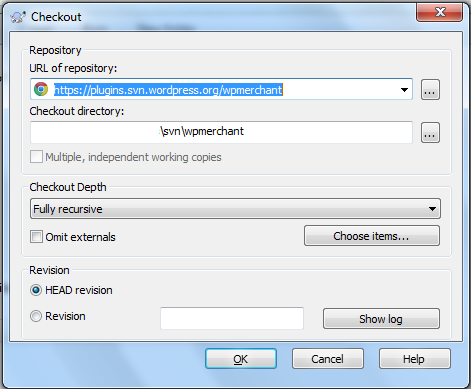
Enter the URL of the repository into the field; look at your WordPress approval email to find that URL. Yours will likely be in the format of https://plugins.svn.wordpress.org/your-plugin-name. Click the OK button.
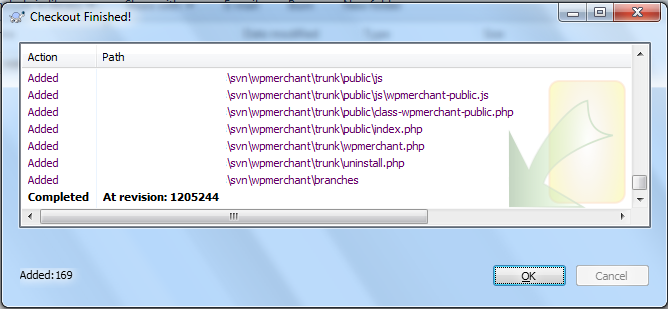
The screenshot above confirms that your checkout was completed. This means that all of the files and directories that exist in the WordPress central repository have been downloaded onto your computer, into the directory that you specified.
The directory that you chose should now hold assets, trunk, branches and tags directories. You need to add all of your plugin’s files to the newly added trunk directory. Then, you need to open up Windows Explorer, click on your SVN repository directory icon, and right click on that directory icon.

Click on the SVN Commit option. This next screenshot shows the different files that have been added and modified in your SVN repository. Make sure to only check boxes next to the files that you want to be tracked in the repository. You should likely check all of the checkboxes in order for all of your plugin files to be added to the WordPress central repository.
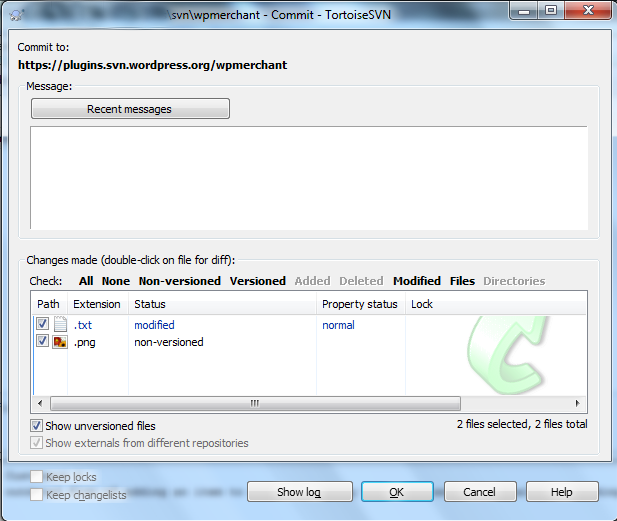
Click on the OK button. Now, all of your modified and newly added files should exist in the central WordPress SVN repository, as well as on your local machine. If you’re working on multiple computers, make sure to run the SVN Update function to sync your local repository with the WordPress central repository. Do this by using Windows Explorer to find your SVN repository directory, click on that directory, and then right click on that directory icon.
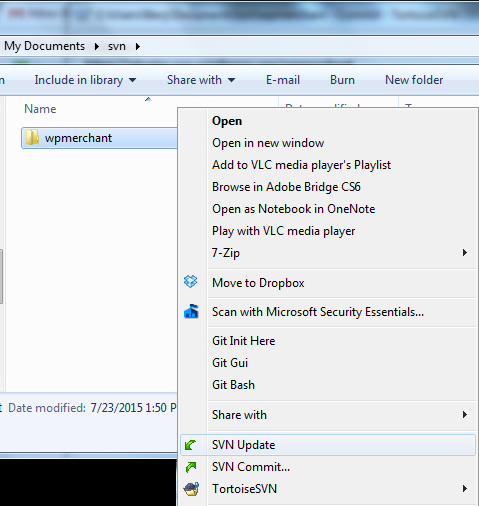
Click on the SVN Update option. As described previously, this makes sure that your copy of the repository is up to date with the central WordPress repository.
Questions?
That’s all she (or he in this case) wrote! Let us know if you have any questions/improvements that we can make, we would love to hear from you!
Frequently Asked Questions (FAQs) about Publishing a Plugin to the WordPress Plugin Directory
What are the prerequisites for publishing a plugin to the WordPress Plugin Directory?
Before you can publish a plugin to the WordPress Plugin Directory, you need to have a WordPress.org account. You also need to ensure that your plugin meets the guidelines set by WordPress. This includes ensuring that your plugin is GPL compatible, does not violate trademarks or copyrights, and does not include any illegal or unethical content.
How do I submit my plugin for review?
Once you have created your plugin and ensured it meets the WordPress guidelines, you can submit it for review. To do this, you need to upload your plugin to the WordPress Plugin Directory using SVN. After uploading, your plugin will be placed in a queue for review by the WordPress team.
How long does the review process take?
The review process can vary in length, depending on the complexity of your plugin and the current queue of plugins waiting for review. However, you can generally expect the process to take a few weeks.
What happens if my plugin is rejected?
If your plugin is rejected, you will receive feedback from the WordPress team explaining why it was not accepted. You can then make the necessary changes and resubmit your plugin for review.
Can I update my plugin after it has been published?
Yes, you can update your plugin after it has been published. To do this, you need to use SVN to upload the updated version of your plugin to the WordPress Plugin Directory.
How can I increase the visibility of my plugin?
There are several ways to increase the visibility of your plugin. This includes optimizing your plugin’s description and tags for search, providing regular updates, and responding to user feedback and reviews.
Can I charge for my plugin?
While the WordPress Plugin Directory is primarily for free plugins, you can offer premium features or services through your plugin. However, all the features included in the free version of your plugin must be functional and useful.
How can I get support if I encounter issues while publishing my plugin?
If you encounter issues while publishing your plugin, you can seek support from the WordPress community through the WordPress.org forums. You can also refer to the WordPress Plugin Developer Handbook for guidance.
What are the best practices for developing a WordPress plugin?
Some of the best practices for developing a WordPress plugin include using proper coding standards, ensuring compatibility with the latest version of WordPress, testing your plugin thoroughly before submission, and providing clear and detailed documentation.
How can I ensure my plugin provides a good user experience?
To ensure your plugin provides a good user experience, you should focus on creating a clean and intuitive interface, providing clear instructions and documentation, and offering prompt and helpful support.