Last time, I began telling you the story of how I wanted to make a game. I described how I set up the async PHP server, the Laravel Mix build chain, the React front end, and WebSockets connecting all this together. Now, let me tell you about what happened when I starting building the game mechanics with this mix of React, PHP, and WebSockets…
The code for this part can be found at github.com/assertchris-tutorials/sitepoint-making-games/tree/part-2. I’ve tested it with PHP 7.1, in a recent version of Google Chrome.

Making a Farm
“Let’s start simple. We have a 10 by 10 grid of tiles, filled with randomly generated stuff.”
I decided to represent the farm as a Farm, and each tile as a Patch. From app/Model/FarmModel.pre:
namespace App\Model;

class Farm
{
  private $width
  {
    get { return $this->width; }
  }

  private $height
  {
    get { return $this->height; }
  }

  public function __construct(int $width = 10,
    int $height = 10)
  {
    $this->width = $width;
    $this->height = $height;
  }
}
I thought it would be a fun time to try out the class accessors macro by declaring private properties with public getters. For this I had to install pre/class-accessors (via composer require).
I then changed the socket code to allow for new farms to be created on request. From app/Socket/GameSocket.pre:
namespace App\Socket;

use Aerys\Request;
use Aerys\Response;
use Aerys\Websocket;
use Aerys\Websocket\Endpoint;
use Aerys\Websocket\Message;
use App\Model\FarmModel;

class GameSocket implements Websocket
{
  private $farms = [];

  public function onData(int $clientId,
    Message $message)
  {
    $body = yield $message;

    if ($body === "new-farm") {
      $farm = new FarmModel();

      $payload = json_encode([
        "farm" => [
          "width" => $farm->width,
          "height" => $farm->height,
        ],
      ]);

      yield $this->endpoint->send(
        $payload, $clientId
      );

      $this->farms[$clientId] = $farm;
    }
  }

  public function onClose(int $clientId,
    int $code, string $reason)
  {
    unset($this->connections[$clientId]);
    unset($this->farms[$clientId]);
  }

  // …
}
I noticed how similar this GameSocket was to the previous one I had — except, instead of broadcasting an echo, I was checking for new-farm and sending a message back only to the client that had asked.
“Perhaps it’s a good time to get less generic with the React code. I’m going to rename component.jsx to farm.jsx.”
From assets/js/farm.jsx:
import React from "react"

class Farm extends React.Component
{
  componentWillMount()
  {
    this.socket = new WebSocket(
      "ws://127.0.0.1:8080/ws"
    )

    this.socket.addEventListener(
      "message", this.onMessage
    )

    // DEBUG

    this.socket.addEventListener("open", () => {
      this.socket.send("new-farm")
    })
  }
}

export default Farm
In fact, the only other thing I changed was sending new-farm instead of hello world. Everything else was the same. I did have to change the app.jsx code though. From assets/js/app.jsx:
import React from "react"
import ReactDOM from "react-dom"
import Farm from "./farm"

ReactDOM.render(
  <Farm />,
  document.querySelector(".app")
)
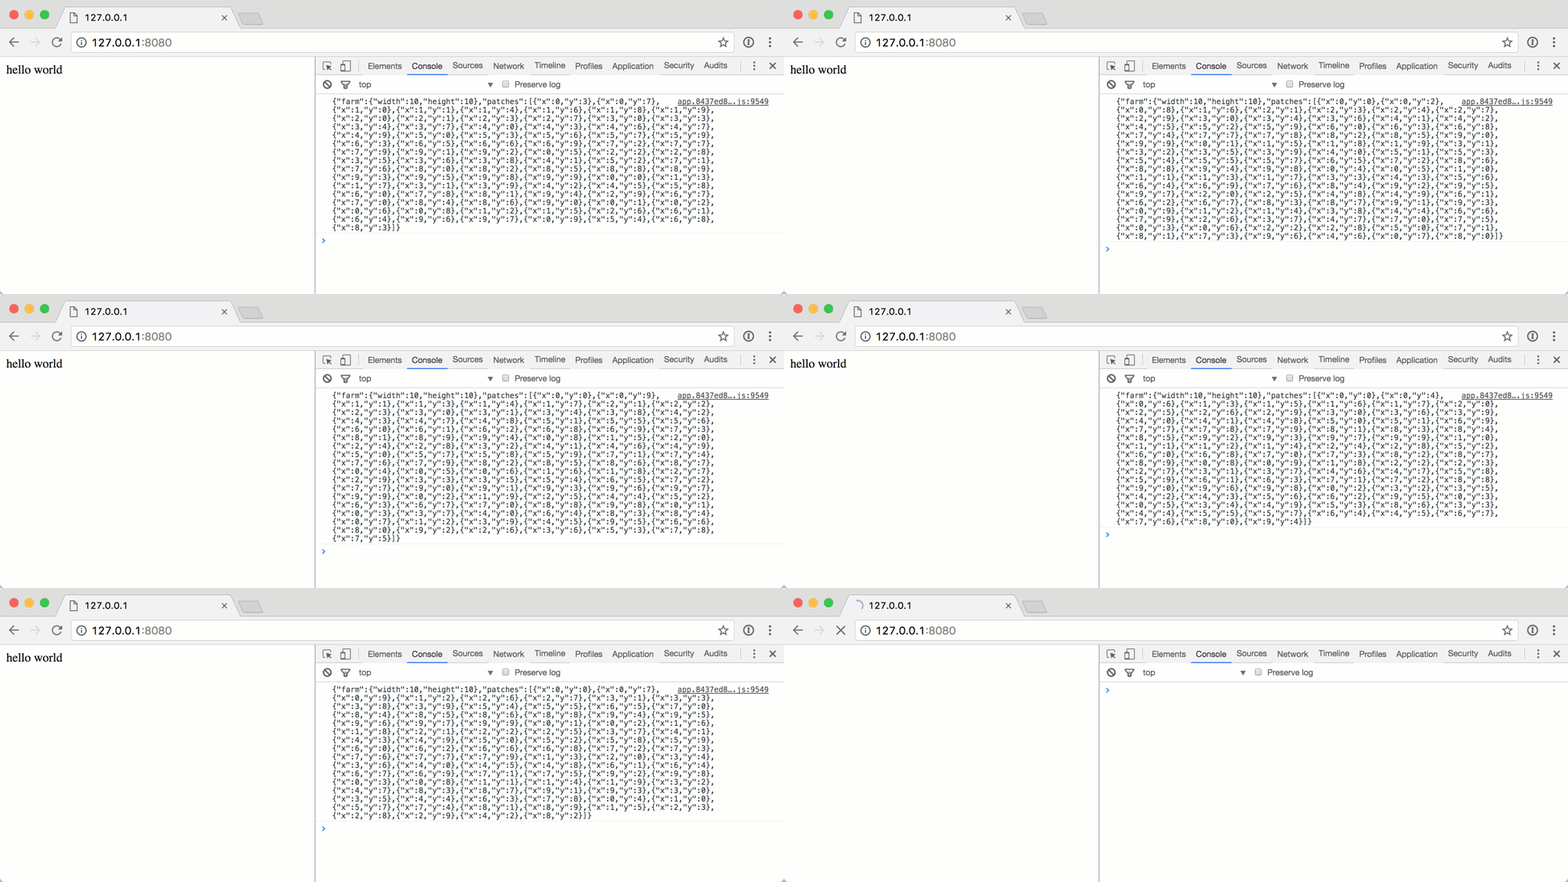
It was far from where I needed to be, but using these changes I could see the class accessors in action, as well as prototype a kind of request/response pattern for future WebSocket interactions. I opened the console, and saw {"farm":{"width":10,"height":10}}.
“Great!”
Then I created a Patch class to represent each tile. I figured this was where a lot of the game’s logic would happen. From app/Model/PatchModel.pre:
namespace App\Model;

class PatchModel
{
  private $x
  {
    get { return $this->x; }
  }

  private $y
  {
    get { return $this->y; }
  }

  public function __construct(int $x, int $y)
  {
    $this->x = $x;
    $this->y = $y;
  }
}
I’d need to create as many patches as there are spaces in a new Farm. I could do this as part of FarmModel construction. From app/Model/FarmModel.pre:
namespace App\Model;

class FarmModel
{
  private $width
  {
    get { return $this->width; }
  }

  private $height
  {
    get { return $this->height; }
  }

  private $patches
  {
    get { return $this->patches; }
  }

  public function __construct($width = 10, $height = 10)
  {
    $this->width = $width;
    $this->height = $height;

    $this->createPatches();
  }

  private function createPatches()
  {
    for ($i = 0; $i < $this->width; $i++) {
      $this->patches[$i] = [];

      for ($j = 0; $j < $this->height; $j++) {
        $this->patches[$i][$j] =
        new PatchModel($i, $j);
      }
    }
  }
}
For each cell, I created a new PatchModel object. These were pretty simple to begin with, but they needed an element of randomness — a way to grow trees, weeds, flowers … at least to begin with. From app/Model/PatchModel.pre:
public function start(int $width, int $height,
array $patches)
{
  if (!$this->started && random_int(0, 10) > 7) {
    $this->started = true;
    return true;
  }

  return false;
}
I thought I’d begin just by randomly growing a patch. This didn’t change the external state of the patch, but it did give me a way to test how they were started by the farm. From app/Model/FarmModel.pre:
namespace App\Model;

use Amp;
use Amp\Coroutine;
use Closure;

class FarmModel
{
  private $onGrowth
  {
    get { return $this->onGrowth; }
  }

  private $patches
  {
    get { return $this->patches; }
  }

  public function __construct(int $width = 10,
  int $height = 10, Closure $onGrowth)
  {
    $this->width = $width;
    $this->height = $height;
    $this->onGrowth = $onGrowth;
  }

  public async function createPatches()
  {
    $patches = [];

    for ($i = 0; $i < $this->width; $i++) {
      $this->patches[$i] = [];

      for ($j = 0; $j < $this->height; $j++) {
        $this->patches[$i][$j] = $patches[] =
        new PatchModel($i, $j);
      }
    }

    foreach ($patches as $patch) {
      $growth = $patch->start(
        $this->width,
        $this->height,
        $this->patches
      );

      if ($growth) {
        $closure = $this->onGrowth;
        $result = $closure($patch);

        if ($result instanceof Coroutine) {
          yield $result;
        }
      }
    }
  }

  // …
}
There was a lot going on here. For starters, I introduced an async function keyword using a macro. You see, Amp handles the yield keyword by resolving Promises. More to the point: when Amp sees the yield keyword, it assumes what is being yielded is a Coroutine (in most cases).
I could have made the createPatches function a normal function, and just returned a Coroutine from it, but that was such a common piece of code that I might as well have created a special macro for it. At the same time, I could replace code I had made in the previous part. From helpers.pre:
async function mix($path) {
  $manifest = yield Amp\File\get(
    .."/public/mix-manifest.json"
  );

  $manifest = json_decode($manifest, true);

  if (isset($manifest[$path])) {
    return $manifest[$path];
  }

  throw new Exception("{$path} not found");
}
Previously, I had to make a generator, and then wrap it in a new Coroutine:
use Amp\Coroutine;

function mix($path) {
  $generator = () => {
    $manifest = yield Amp\File\get(
      .."/public/mix-manifest.json"
    );

    $manifest = json_decode($manifest, true);

    if (isset($manifest[$path])) {
      return $manifest[$path];
    }

    throw new Exception("{$path} not found");
  };

  return new Coroutine($generator());
}
I began the createPatches method as before, creating new PatchModel objects for each x and y in the grid. Then I started another loop, to call the start method on each patch. I would have done these in the same step, but I wanted my start method to be able to inspect the surrounding patches. That meant I would have to create all of them first, before working out which patches were around each other.
I also changed FarmModel to accept an onGrowth closure. The idea was that I could call that closure if a patch grew (even during the bootstrapping phase).
Each time a patch grew, I reset the $changes variable. This ensured the patches would keep growing until an entire pass of the farm yielded no changes. I also invoked the onGrowth closure. I wanted to allow onGrowth to be a normal closure, or even to return a Coroutine. That’s why I needed to make createPatches an async function.
Note: Admittedly, allowing onGrowth coroutines complicated things a bit, but I saw it as essential for allowing other async actions when a patch grew. Perhaps later I’d want to send a socket message, and I could only do that if yield worked inside onGrowth. I could only yield onGrowth if createPatches was an async function. And because createPatches was an async function, I would need to yield it inside GameSocket.
“It’s easy to get turned off by all the things that need learning when making one’s first async PHP application. Don’t give up too soon!”
The last bit of code I needed to write to check that this was all working was in GameSocket. From app/Socket/GameSocket.pre:
if ($body === "new-farm") {
  $patches = [];

  $farm = new FarmModel(10, 10,
  function (PatchModel $patch) use (&$patches) {
    array_push($patches, [
      "x" => $patch->x,
      "y" => $patch->y,
    ]);
  }
);

yield $farm->createPatches();

$payload = json_encode([
  "farm" => [
    "width" => $farm->width,
    "height" => $farm->height,
  ],
  "patches" => $patches,
]);

yield $this->endpoint->send(
  $payload, $clientId
);

$this->farms[$clientId] = $farm;
}
This was only slightly more complex than the previous code I had. I needed to provide a third parameter to the FarmModel constructor, and yield $farm->createPatches() so that each could have a chance to randomize. After that, I just needed to pass a snapshot of the patches to the socket payload.

Random patches for each farm
“What if I start each patch as dry dirt? Then I could make some patches have weeds, and others have trees …”
I set about customizing the patches. From app/Model/PatchModel.pre:
private $started = false;

private $wet {
  get { return $this->wet ?: false; }
};

private $type {
  get { return $this->type ?: "dirt"; }
};

public function start(int $width, int $height,
array $patches)
{
  if ($this->started) {
    return false;
  }

  if (random_int(0, 100) < 90) {
    return false;
  }

  $this->started = true;
  $this->type = "weed";

  return true;
}
I changed the order of logic around a bit, exiting early if the patch had already been started. I also reduced the chance of growth. If neither of these early exits happened, the patch type would be changed to weed.
I could then use this type as part of the socket message payload. From app/Socket/GameSocket.pre:
$farm = new FarmModel(10, 10,
function (PatchModel $patch) use (&$patches) {
  array_push($patches, [
    "x" => $patch->x,
    "y" => $patch->y,
    "wet" => $patch->wet,
    "type" => $patch->type,
  ]);
}
);
Rendering the Farm
It was time to show the farm, using the React workflow I had setup previously. I was already getting the width and height of the farm, so I could make every block dry dirt (unless it was supposed to grow a weed). From assets/js/app.jsx:
import React from "react"

class Farm extends React.Component
{
  constructor()
  {
    super()

    this.onMessage = this.onMessage.bind(this)

    this.state = {
      "farm": {
        "width": 0,
        "height": 0,
      },
      "patches": [],
    };
  }

  componentWillMount()
  {
    this.socket = new WebSocket(
      "ws://127.0.0.1:8080/ws"
    )

    this.socket.addEventListener(
      "message", this.onMessage
    )

    // DEBUG

    this.socket.addEventListener("open", () => {
      this.socket.send("new-farm")
    })
  }

  onMessage(e)
  {
    let data = JSON.parse(e.data);

    if (data.farm) {
      this.setState({"farm": data.farm})
    }

    if (data.patches) {
      this.setState({"patches": data.patches})
    }
  }

  componentWillUnmount()
  {
    this.socket.removeEventListener(this.onMessage)
    this.socket = null
  }

  render() {
    let rows = []
    let farm = this.state.farm
    let statePatches = this.state.patches

    for (let y = 0; y < farm.height; y++) {
      let patches = []

      for (let x = 0; x < farm.width; x++) {
        let className = "patch"

        statePatches.forEach((patch) => {
          if (patch.x === x && patch.y === y) {
            className += " " + patch.type

            if (patch.wet) {
              className += " " + wet
            }
          }
        })

        patches.push(
          <div className={className}
          key={x + "x" + y} />
        )
      }

      rows.push(
        <div className="row" key={y}>
        {patches}
        </div>
      )
    }

    return (
      <div className="farm">{rows}</div>
    )
  }
}

export default Farm
I had forgotten to explain much of what the previous Farm component was doing. React components were a different way of thinking about how to build interfaces. They changed one’s thought process from “How do I interact with the DOM when I want to change something?” to “What should the DOM look like with any given context?”
I was meant to think about the render method as only executing once, and that everything it produced would be dumped into the DOM. I could use methods like componentWillMount and componentWillUnmount as ways to hook into other data points (like WebSockets). And as I received updates through the WebSocket, I could update the component’s state, so long as I had set the initial state in the constructor.
This resulted in an ugly, albeit functional set of divs. I set about adding some styling. From app/Action/HomeAction.pre:
namespace App\Action;

use Aerys\Request;
use Aerys\Response;

class HomeAction
{
  public function __invoke(Request $request,
  Response $response)
  {
    $js = yield mix("/js/app.js");
    $css = yield mix("/css/app.css");

    $response->end("
    <link rel='stylesheet' href='{$css}' />
    <div class='app'></div>
    <script src='{$js}'></script>
    ");
  }
}
From assets/scss/app.scss:
.row {
  width: 100%;
  height: 50px;

  .patch {
    width: 50px;
    height: 50px;
    display: inline-block;
    background-color: sandybrown;

    &.weed {
      background-color: green;
    }
  }
}
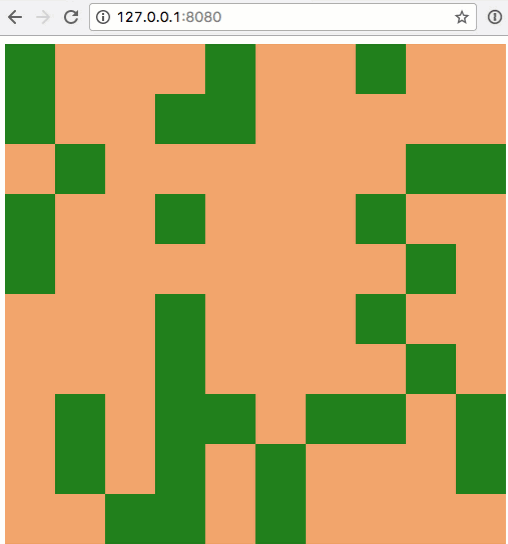
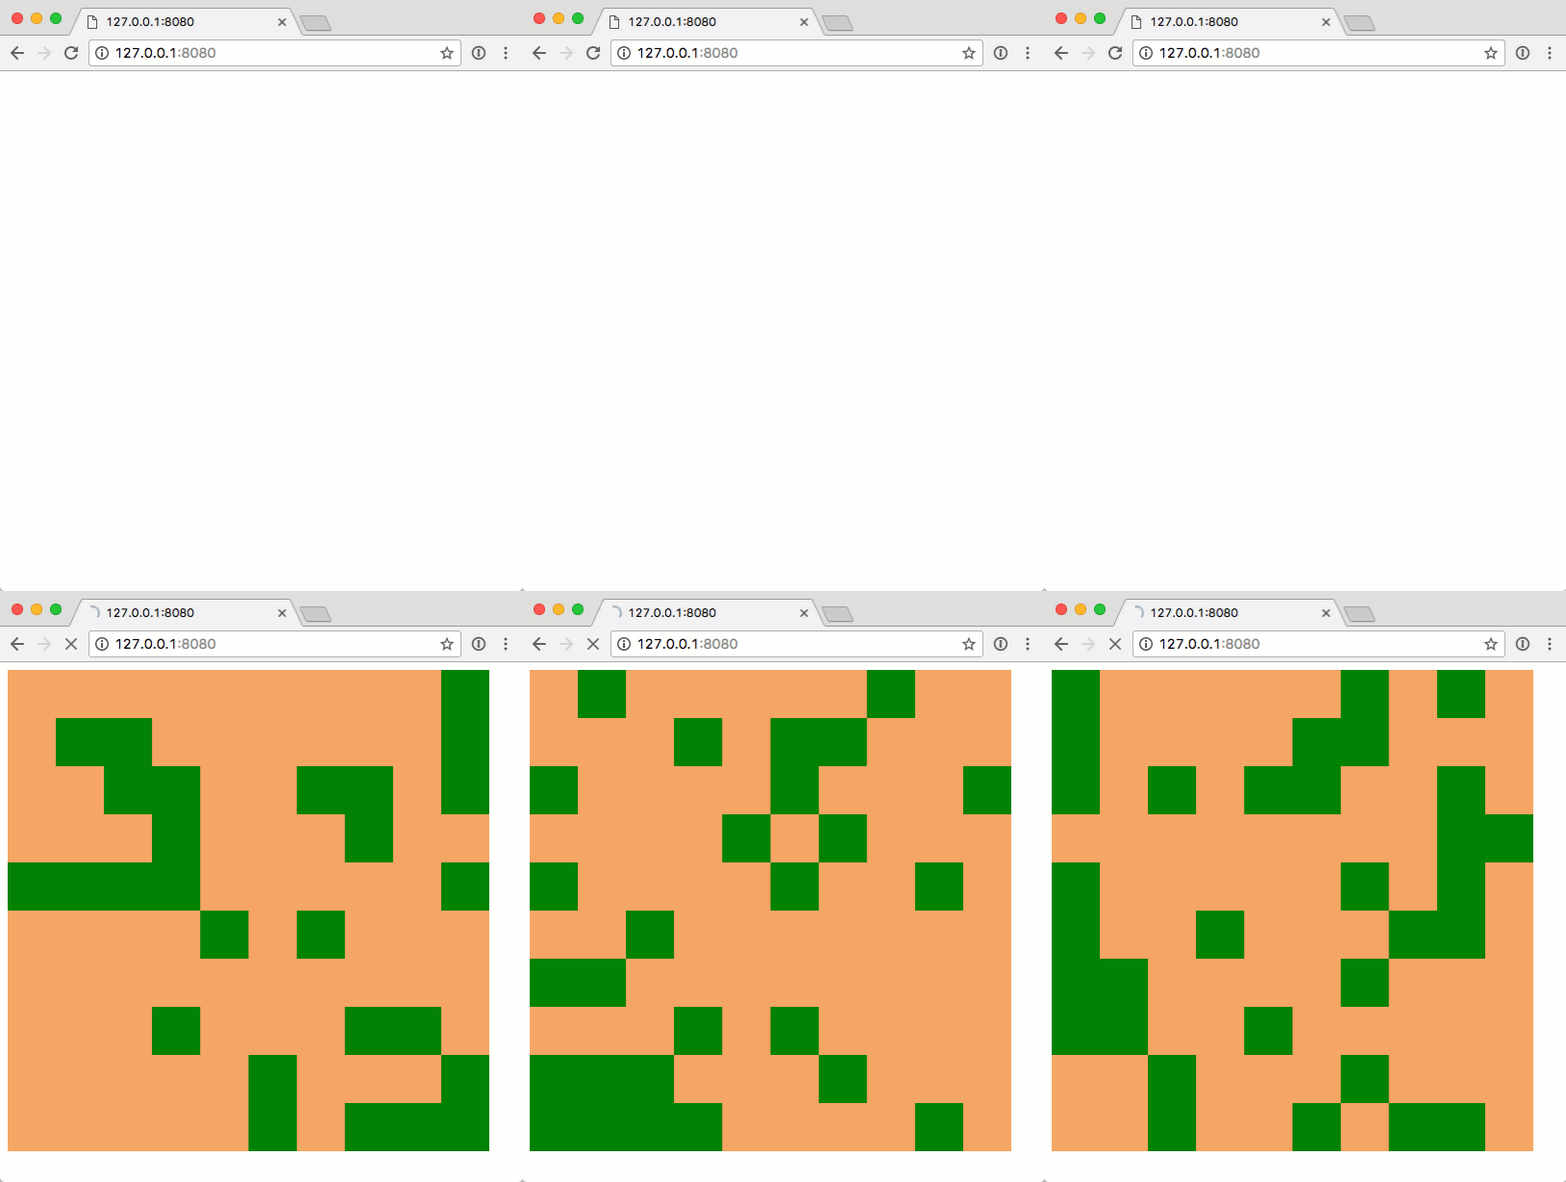
The generated farms now had a bit of color to them:

You get a farm, you get a farm …
Summary
This was by no means a complete game. It lacked vital things like player input and player characters. It wasn’t very multiplayer. But this session resulted in a deeper understanding of React components, WebSocket communication, and preprocessor macros.
I was looking forward to the next part, wherein I could start taking player input, and changing the farm. Perhaps I’d even start on the player login system. Maybe one day!
Frequently Asked Questions (FAQs) about Procedurally Generated Game Terrain with ReactJS, PHP, and WebSockets
How Can I Implement WebSockets in ReactJS?
WebSockets provide a persistent connection between a client and a server that both parties can use to start sending data at any time. In ReactJS, you can use the native WebSocket API to establish a WebSocket connection. First, create a new WebSocket object, passing the URL of the endpoint you want to connect to as an argument. Then, define the event handlers for the ‘open’, ‘message’, ‘error’, and ‘close’ events. You can send data through the WebSocket using the ‘send’ method and receive data in the ‘message’ event handler.
What is Procedural Generation in Game Development?
Procedural generation is a method of creating data algorithmically as opposed to manually. In game development, it’s used to automatically create large amounts of content like levels and maps. This method can help to reduce the amount of memory game uses and create a unique experience for each player.
How Can I Use PHP with ReactJS?
ReactJS is a JavaScript library for building user interfaces, while PHP is a server-side scripting language. They can work together to build dynamic web applications. You can use PHP to build the backend of your application, handling things like database operations, authentication, and server-side rendering. ReactJS can then be used to build the frontend, fetching data from the PHP backend and updating the UI.
How Can I Use WebSockets with PHP?
PHP is not traditionally used for real-time applications, but with the help of Ratchet library, you can handle WebSocket connections in PHP. Ratchet is a PHP library that provides an event-driven and object-oriented approach to handle real-time bi-directional messages between clients and a server.
What are the Benefits of Using WebSockets?
WebSockets provide a full-duplex communication channel over a single TCP connection. This means that the server and client can send messages to each other at any time, without having to wait for a response from the other party. This makes WebSockets ideal for real-time applications like chat apps, live updates, and multiplayer games.
How Can I Handle Errors in WebSockets?
You can handle errors in WebSockets by defining an ‘onerror’ event handler. This function will be called whenever an error occurs on the WebSocket. The event object passed to the handler will contain information about the error.
How Can I Close a WebSocket Connection?
You can close a WebSocket connection by calling the ‘close’ method on the WebSocket object. This will terminate the connection and trigger the ‘onclose’ event handler.
How Can I Test a WebSocket Connection?
You can test a WebSocket connection by sending a message to the server and waiting for a response. If the server responds correctly, the connection is working. You can also use tools like WebSocket King or Simple WebSocket Client to test WebSocket connections.
How Can I Secure a WebSocket Connection?
You can secure a WebSocket connection by using the WebSocket Secure (WSS) protocol. This is the WebSocket equivalent of HTTPS, and it encrypts the data sent over the WebSocket to prevent eavesdropping and tampering.
How Can I Use WebSockets in a Multiplayer Game?
In a multiplayer game, you can use WebSockets to send real-time updates to all connected players. When a player performs an action, you can send a message to the server over the WebSocket. The server can then broadcast this message to all other players, updating their game state.
Christopher is a writer and coder, working at Over. He usually works on application architecture, though sometimes you'll find him building compilers or robots.


