
Key Takeaways
- React and PHP can be used together to develop games, with React handling the frontend user interface and PHP managing the backend and game logic.
- The setup process for game development includes setting up an async PHP server, using Laravel Mix in a non-Laravel project, and connecting the backend and frontend with WebSockets.
- The Aerys library can be used for the HTTP and WebSocket portions of the application, supporting high concurrency and WebSockets.
- Laravel Mix can be used to build ReactJS files, even in non-Laravel projects, offering an easy way to configure and extend the build chain.
- WebSockets can be used to connect the backend and frontend, allowing for real-time communication between the server and clients.
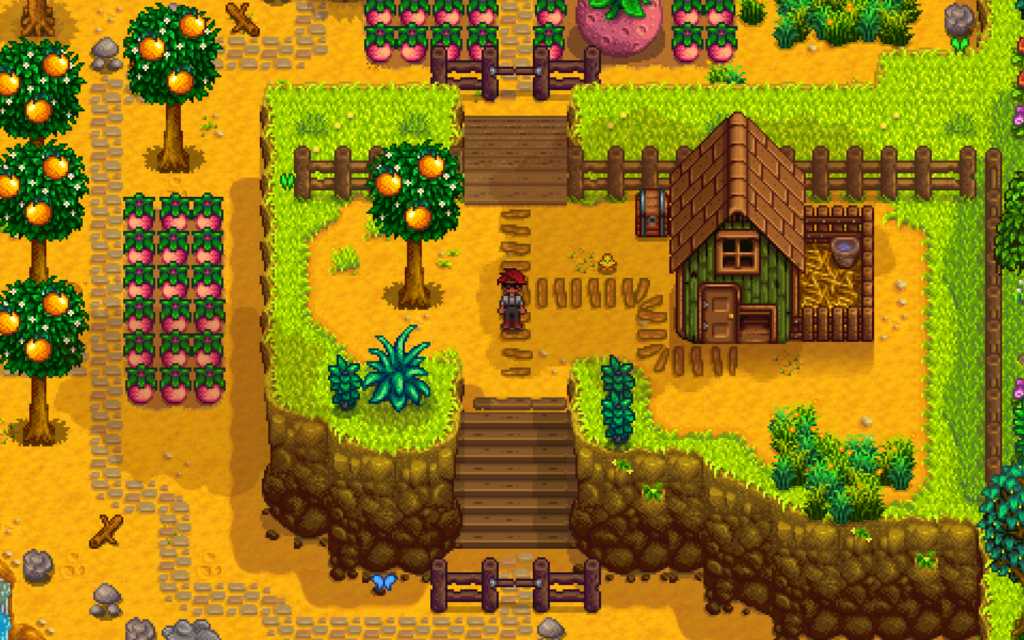
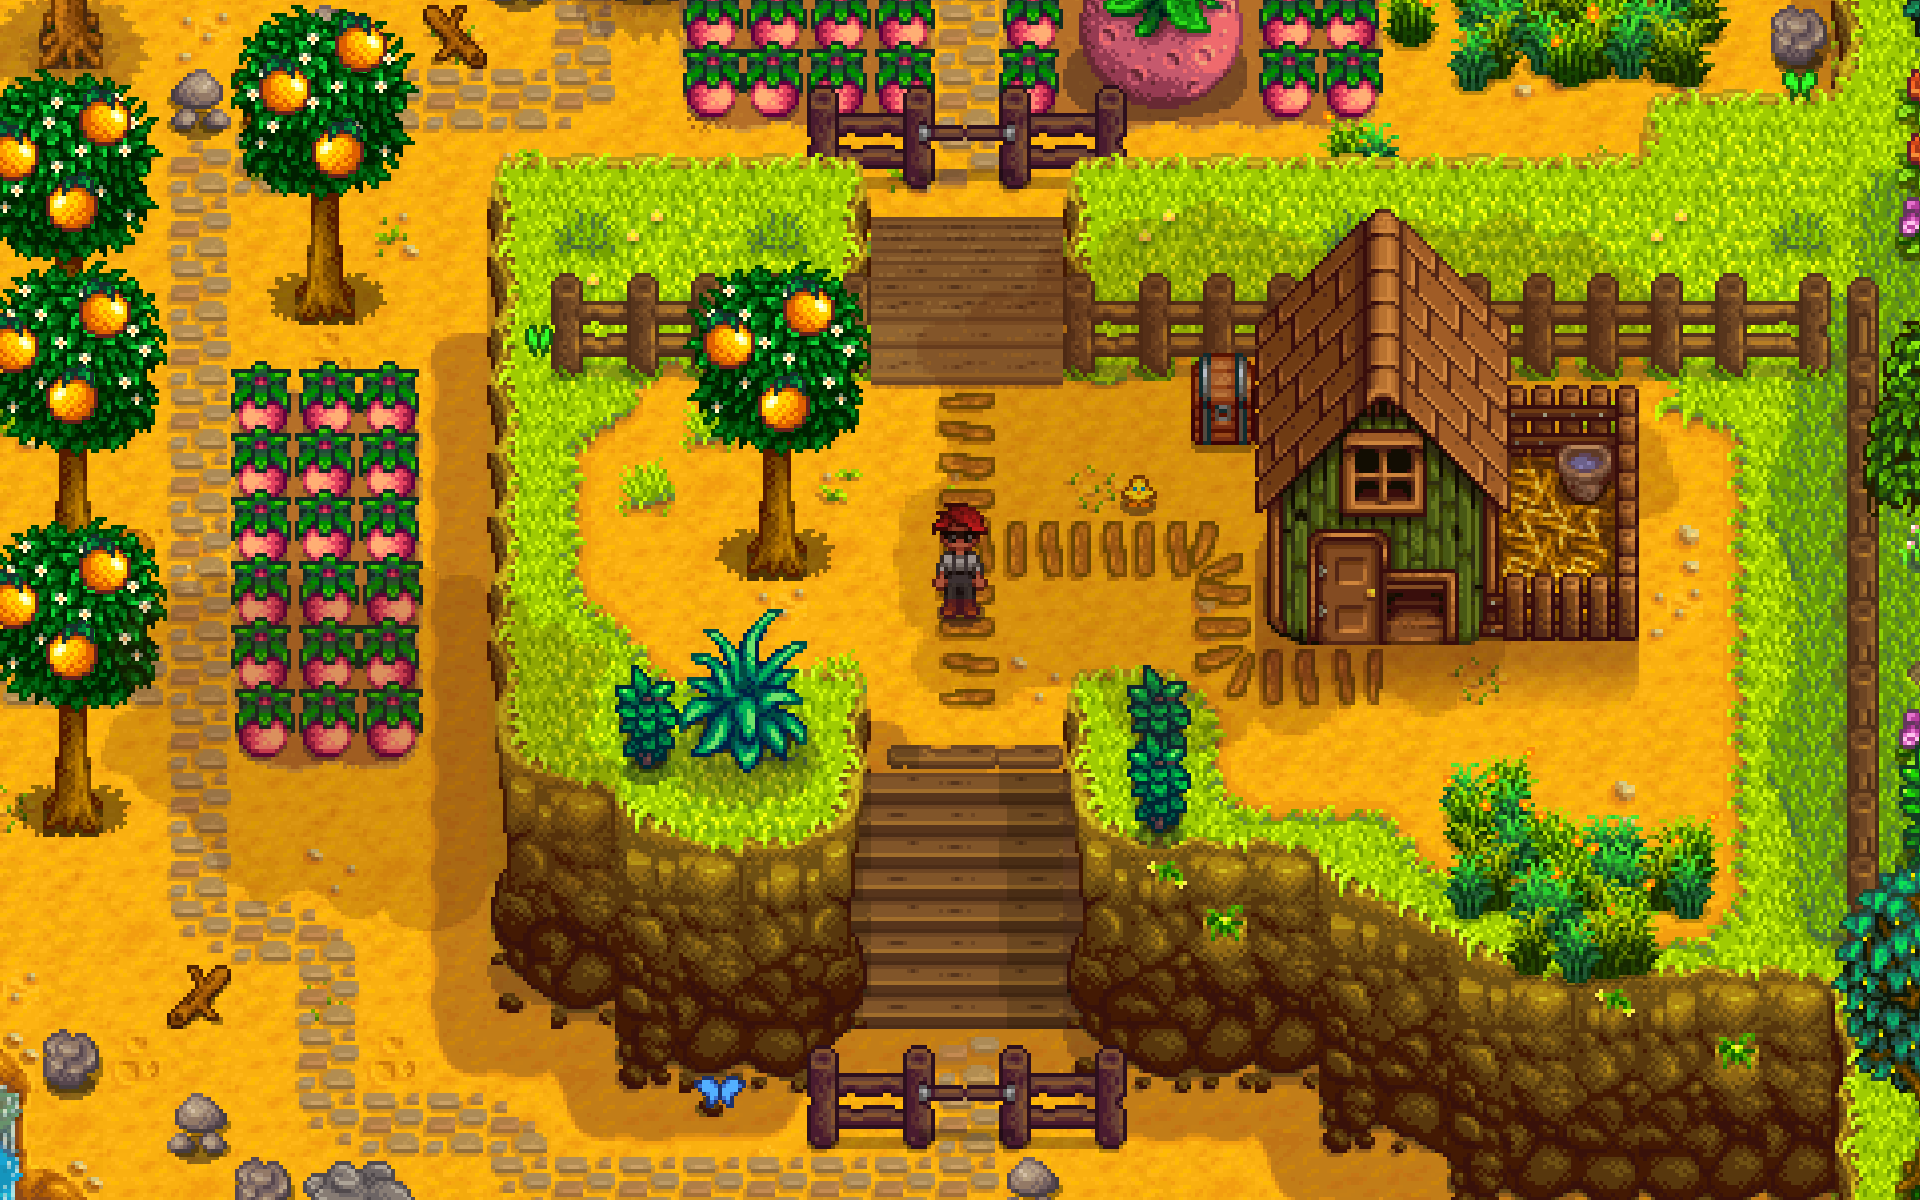
“I’d like to make a multiplayer, economy-based game. Something like Stardew Valley, but with none of the befriending aspects and a player-based economy.”
I started thinking about this the moment I decided to try and build a game using PHP and React. The trouble is, I knew nothing about the dynamics of multiplayer games, or how to think about and implement player-based economies.
I wasn’t even sure I knew enough about React to justify using it. I mean, the initial interface — where I focus heavily on the server and economic aspects of the game — is perfectly suited for React. But what about when I start to make the farming /interaction aspects? I love the idea of building an isometric interface around the economic system.
I once watched a talk by dead_lugosi, where she described building a medieval game in PHP. Margaret inspired me, and that talk was one of the things that led to me writing a book about JS game development. I became determined to write about my experience. Perhaps others could learn from my mistakes in this case, too.
The code for this part can be found at: github.com/assertchris-tutorials/sitepoint-making-games/tree/part-1. I’ve tested it with PHP 7.1 and in a recent version of Google Chrome.
Setting Up the Back End
The first thing I searched for was guidance on building multiplayer economies. I found an excellent Stack Overflow thread in which folks explained various things to think about. I got about halfway through it before realizing I may have been starting from the wrong place.
“First things first: I need a PHP server. I’m going to have a bunch of React clients, so I want something capable of high-concurrency (perhaps even WebSockets). And it needs to be persistent: things must happen even when players aren’t around.”
I went to work setting up an async PHP server — to handle high concurrency and support WebSockets. I added my recent work with PHP preprocessors to make things cleaner, and made the first couple of endpoints.
From config.pre:
$host = new Aerys\Host();
$host->expose("*", 8080);

$host->use($router = Aerys\router());
$host->use($root = Aerys\root(.."/public"));

$web = process .."/routes/web.pre";
$web($router);

$api = process .."/routes/api.pre";
$api($router);
I decided to use Aerys for the HTTP and WebSocket portions of the application. This code looked very different from the Aerys docs, but that’s because I had a good idea about what I needed.
The usual process for running an Aerys app was to use a command like this:
vendor/bin/aerys -d -c config.php
That’s a lot of code to keep repeating, and it didn’t handle the fact that I wanted to use PHP preprocessing. I created a loader file.
From loader.php:
return Pre\processAndRequire(__DIR__ . "/config.pre");
I then installed my dependencies. This is from composer.json:
"require": {
  "amphp/aerys": "dev-amp_v2",
  "amphp/parallel": "dev-master",
  "league/container": "^2.2",
  "league/plates": "^3.3",
  "pre/short-closures": "^0.4.0"
},
"require-dev": {
  "phpunit/phpunit": "^6.0"
},
I wanted to use amphp/parallel, to move blocking code out of the async server, but it wouldn’t install with a stable tag of amphp/aerys. That’s why I went with the dev-amp_v2 branch.
I thought it would be a good idea to include some sort of template engine and service locator. I opted for PHP League versions of each. Finally I added pre/short-closures, both to handle the custom syntax in config.pre and the short closures I planned on using after…
Then I set about creating routes files. From routes/web.pre:
use Aerys\Router;
use App\Action\HomeAction;

return (Router $router) => {
  $router->route(
    "GET", "/", new HomeAction
  );
};
And, from routes/api.pre:
use Aerys\Router;
use App\Action\Api\HomeAction;

return (Router $router) => {
  $router->route(
    "GET", "/api", new HomeAction
  );
};
Though simple routes, these helped me to test the code in config.pre. I decided to make these routes files return closures, so I could pass them a typed $router, to which they could add their own routes. Finally, I created two (similar) actions.
From app/Actions/HomeAction.pre:
namespace App\Action;

use Aerys\Request;
use Aerys\Response;

class HomeAction
{
  public function __invoke(Request $request,
    Response $response)
  {
    $response->end("hello world");
  }
}
One final touch was to add shortcut scripts, to launch dev and prod versions of the Aerys server.
From composer.json:
"scripts": {
  "dev": "vendor/bin/aerys -d -c loader.php",
  "prod": "vendor/bin/aerys -c loader.php"
},
"config": {
  "process-timeout": 0
},
With all of this done, I could spin up a new server, and visit http://127.0.0.1:8080 just by typing:
composer dev
Setting Up the Front End
“Ok, now that I’ve got the PHP side of things relatively stable; how am I going to build the ReactJS files? Perhaps I can use Laravel Mix…?”
I wasn’t keen on creating a whole new build chain, and Mix had been rebuilt to work well on non-Laravel projects too. Although it was relatively easy to configure and extend, it favored VueJS by default.
The first thing I had to do was install a few NPM dependencies. From package.json:
"devDependencies": {
  "babel-preset-react": "^6.23.0",
  "bootstrap-sass": "^3.3.7",
  "jquery": "^3.1.1",
  "laravel-mix": "^0.7.5",
  "react": "^15.4.2",
  "react-dom": "^15.4.2",
  "webpack": "^2.2.1"
},
Mix used Webpack to preprocess and bundle JS and CSS files. I also needed to install the React and related Babel libraries to build jsx files. Finally, I added the Bootstrap files, for a bit of default styling.
Mix automatically loaded a custom configuration file, so I added the following. From webpack.mix.js:
let mix = require("laravel-mix")

// load babel presets for jsx files

mix.webpackConfig({
  "module": {
    "rules": [
      {
        "test": /jsx$/,
        "exclude": /(node_modules)/,
        "loader": "babel-loader" + mix.config.babelConfig(),
        "query": {
          "presets": [
            "react",
            "es2015",
          ],
        },
      },
    ],
  },
})

// set up front-end assets

mix.setPublicPath("public")

mix.js("assets/js/app.jsx", "public/js/app.js")
mix.sass("assets/scss/app.scss", "public/css/app.css")
mix.version()
I needed to tell Mix what to do with jsx files, so I added the same kind of configuration one might normally put in .babelrc. I planned to have single JS and CSS entry-points into the application’s various bits and bobs.
Note: Future versions of Mix will ship with built-in support for building ReactJS assets. When that happens, the mix.webpackConfig code can be removed.
Once again, I created a few shortcut scripts, to save on serious typing. From package.json:
"scripts": {
  "dev": "$npm_package_config_webpack",
  "watch": "$npm_package_config_webpack -w",
  "prod": "$npm_package_config_webpack -p"
},
"config": {
  "webpack": "webpack --progress --hide-modules --config=node_modules/laravel-mix/setup/webpack.config.js"
},
All three scripts used the Webpack variable command, but they differed in what they did beyond that. dev built a debug version of the JS and CSS files. The -w switch started the Webpack watcher (so that bundles could be partially rebuilt). The -p switch enabled a lean production version of the bundles.
Since I was using bundle versioning, I needed a way to reference files like /js/app.60795d5b3951178abba1.js without knowing the hash. I noticed Mix liked to create a manifest file, so I made a helper function to query it. From helpers.pre:
use Amp\Coroutine;

function mix($path) {
  $generator = () => {
    $manifest = yield Amp\File\get(.."/public/mix-manifest.json");
    $manifest = json_decode($manifest, true);

    if (isset($manifest[$path])) {
        return $manifest[$path];
    }

    throw new Exception("{$path} not found");
  };

  return new Coroutine($generator());
}
Aerys knew how to handle promises when they came in the form of $val = yield $promise, so I used Amp’s Promise implementation. When the file was read and decoded, I could look for the matching file path. I adjusted HomeAction. From app/Actions/HomeAction.pre:
public function __invoke(Request $request,
  Response $response)
{
  $path = yield mix("/js/app.js");

  $response->end("
    <div class='app'></div>
    <script src='{$path}'></script>
  ");
}
I realized I could keep creating functions that returned promises, and use them in this way to keep my code asynchronous. Here’s my JS code, from assets/js/component.jsx:
import React from "react"

class Component extends React.Component
{
  render() {
    return <div>hello world</div>
  }
}

export default Component
… and, from assets/js/app.jsx:
import React from "react"
import ReactDOM from "react-dom"
import Component from "./component"

ReactDOM.render(
  <Component />,
  document.querySelector(".app")
)
After all, I just wanted to see whether Mix would compile my jsx files, and if I could find them again using the async mix function. Turns out it worked!
Note: Using the mix function every time is expensive, especially if we’re loading the same files. Instead, we could load all the templates in the server bootstrapping phase, and reference them from inside our actions when needed. The configuration file we start Aerys with can return a promise (like the kind Amp\all gives us), so we could resolve all the templates before the server starts up.
Connecting with WebSockets
I was almost set up. The last thing to do was to connect the back end and the front end, via WebSockets. I found this relatively straightforward, with a new class. From app/Socket/GameSocket.pre:
namespace App\Socket;

use Aerys\Request;
use Aerys\Response;
use Aerys\Websocket;
use Aerys\Websocket\Endpoint;
use Aerys\Websocket\Message;

class GameSocket implements Websocket
{
  private $endpoint;
  private $connections = [];

  public function onStart(Endpoint $endpoint)
  {
    $this->endpoint = $endpoint;
  }

  public function onHandshake(Request $request,
    Response $response)
  {
    $origin = $request->getHeader("origin");

    if ($origin !== "http://127.0.0.1:8080") {
      $response->setStatus(403);
      $response->end("<h1>origin not allowed</h1>");
      return null;
    }

    $info = $request->getConnectionInfo();

    return $info["client_addr"];
  }

  public function onOpen(int $clientId, $address)
  {
    $this->connections[$clientId] = $address;
  }

  public function onData(int $clientId,
    Message $message)
  {
    $body = yield $message;

    yield $this->endpoint->broadcast($body);
  }

  public function onClose(int $clientId,
    int $code, string $reason)
  {
    unset($this->connections[$clientId]);
  }

  public function onStop()
  {
    // nothing to see here…
  }
}
… and a slight modification to the web routes (from routes/web.pre):
use Aerys\Router;
use App\Action\HomeAction;
use App\Socket\GameSocket;

return (Router $router) => {
  $router->route(
    "GET", "/", new HomeAction
  );

  $router->route(
    "GET", "/ws", Aerys\websocket(new GameSocket)
  );
};
Now, I could alter the JS to connect to this WebSocket, and send a message to everyone connected to it. From assets/js/component.jsx:
import React from "react"

class Component extends React.Component
{
  constructor()
  {
    super()
    this.onMessage = this.onMessage.bind(this)
  }

  componentWillMount()
  {
    this.socket = new WebSocket(
      "ws://127.0.0.1:8080/ws"
    )

    this.socket.addEventListener(
      "message", this.onMessage
    )

    // DEBUG

    this.socket.addEventListener("open", () => {
      this.socket.send("hello world")
    })
  }

  onMessage(e)
  {
    console.log("message: " + e.data)
  }

  componentWillUnmount()
  {
    this.socket.removeEventListener(this.onMessage)
    this.socket = null
  }

  render() {
    return <div>hello world</div>
  }
}

export default Component
When I created a new Component object, it would connect to the WebSocket server, and add an event listener for new messages. I added a bit of debugging code — to make sure it was connecting properly, and sending new messages back.
We’ll get to the nitty-gritty of PHP and WebSockets later, don’t worry.
Summary
In this part, we looked at how to set up a simple async PHP web server, how to use Laravel Mix in a non-Laravel project, and even how to connect the back end and front end together with WebSockets.
Phew! That’s a lot of ground covered, and we haven’t written a single line of game code. Join me in part two, when we start to build game logic and a React interface.
This article was peer reviewed by Niklas Keller. Thanks to all of SitePoint’s peer reviewers for making SitePoint content the best it can be!
Frequently Asked Questions (FAQs) on Game Development with ReactJS and PHP
How compatible are ReactJS and PHP for game development?
ReactJS and PHP are highly compatible for game development. ReactJS, a JavaScript library, is excellent for building user interfaces, especially for single-page applications. It allows for a fast, responsive web design. PHP, on the other hand, is a server-side scripting language that is great for backend development. It can handle databases, user authentication, and server-side logic. When used together, ReactJS can handle the frontend, creating a dynamic and interactive user interface, while PHP manages the backend.
Can I use PHP for game logic in a ReactJS game?
Yes, you can use PHP for game logic in a ReactJS game. While ReactJS handles the user interface, PHP can manage the game logic on the server-side. This includes handling data, managing user sessions, and controlling game rules. This separation of concerns allows for a more organized and efficient development process.
What are the benefits of using ReactJS for game development?
ReactJS offers several benefits for game development. Its virtual DOM allows for efficient updates and rendering, making games run smoother. It also supports reusable components, which can significantly speed up development time. Additionally, ReactJS has a large community and plenty of resources, making it easier to find solutions to problems or learn new techniques.
What are the advantages of using PHP in game development?
PHP has several advantages in game development. It’s a server-side language, which means it can handle data management, user authentication, and server-side game logic. PHP is also easy to learn, with a straightforward syntax and a large community of developers. It’s also highly scalable, making it suitable for games that may need to handle a large number of users.
How can I start developing games with ReactJS and PHP?
To start developing games with ReactJS and PHP, you’ll first need to learn the basics of both languages. There are plenty of online resources and tutorials available. Once you’re comfortable with the languages, you can start by building a simple game. This could be a basic text-based game or a simple puzzle game. As you gain more experience, you can start building more complex games.
Are there any resources or libraries that can help with game development in ReactJS and PHP?
Yes, there are several resources and libraries that can help with game development in ReactJS and PHP. For ReactJS, libraries like React Game Kit and React Game Engine can be very helpful. For PHP, you might find libraries like PHP-SDL or Wyvern useful. Additionally, there are plenty of tutorials, guides, and forums online where you can learn more and get help.
Can I build multiplayer games with ReactJS and PHP?
Yes, you can build multiplayer games with ReactJS and PHP. ReactJS can handle the user interface, while PHP can manage the server-side logic, including managing player sessions and synchronizing game state across multiple clients.
What kind of games can I build with ReactJS and PHP?
With ReactJS and PHP, you can build a wide variety of games. This includes simple text-based games, puzzle games, platformers, RPGs, and even multiplayer online games. The possibilities are vast, and the limit is really your imagination and skill level.
How do I handle data in a game developed with ReactJS and PHP?
In a game developed with ReactJS and PHP, data can be handled using PHP on the server-side. This can include player data, game state, scores, and more. This data can be stored in a database, and PHP can be used to interact with this database, retrieving and updating data as needed.
How do I handle user input in a game developed with ReactJS?
In a game developed with ReactJS, user input can be handled using React’s event handling system. This can include mouse clicks, keyboard presses, and touch events. React’s event handling system is powerful and flexible, allowing you to easily control how your game responds to user input.