


Key Takeaways
- WordPress widgets are blocks of code that can be added to any specific area of a WordPress site. This tutorial guides you through creating a dynamic widget in WordPress, even with limited knowledge of coding.
- To create a dynamic widget, you need to extend the WP_Widget class and define a list of functions such as the constructor function, the widget function to display the widget contents, the form function if you need to define a form that takes input, and the update function if you need to update the settings of the widget.
- The tutorial walks through creating a widget with dynamic content in the form of real time data of cricket matches using the CricAPI. The widget is associated with a plugin, registered on WP Admin, and displayed on the home page.
- The widget can be packaged and shared by creating a zip file of the plugin directory and uploading the zip file to Plugins > Add New > Upload Plugin.
Have you tried to find functionality for a specific purpose in WordPress but failed to find a plugin or widget that does your work? This post walks through how you can create a WordPress widget, even if you have limited knowledge of coding.
WordPress Widgets are blocks of code — static, dynamic, or a combination of both — which can be added to any specific area of your WordPress site. There are many built-in widgets in WordPress — such as tag cloud and categories — but this post helps you create a widget from scratch in a short time. It will probably take you longer to finish reading this article than to create the widget after you gain the knowledge!
For illustration purposes, we’re looking at creating a widget with dynamic content in the form of real time data of cricket matches. The purpose of creating dynamic content is to familiarize you with various functions that are associated with WordPress Widgets.
Pre Requisites
Before you start any code, please make sure you back up your WordPress code, as you may end up with a white screen of death. Alternately, you may want to explore version control for WordPress with Git.
Further, it’s recommended that you have some knowledge of OOP in PHP before attempting to create a widget.
This tutorial has been created on WordPress version 4.9.8.
Where to Put the Code?
Before we discuss the nuances of developing a WordPress Widget, let’s consider where to keep the code. The answer to that lies in the purpose for developing the widget. In case you want the widget to appear in a specific theme only, you can put the code in the theme’s functions.php file. However, this makes the widget accessible only if the theme is active.
This tutorial focuses on creating a widget which can be accessed throughout themes on your website. Hence, we would create a new plugin, which houses the widget that shows a list of live cricket matches from an API.
Widget Development Basics
To create a widget in WordPress, you need to extend the WP_Widget class. Within your widget class, you can create a list of functions:
- the constructor function
- the
widgetfunction to display the widget contents - the
formfunction if you need to define a form that takes input - the
updatefunction if you need to update the settings of the widget.
In the example of displaying cricket feeds, we need to define only the first two functions. Further, once we’ve created the widget class, we need to register it with the register_widget function.
Let’s now move on to creating a basic plugin in WordPress and then use an API to generate dynamic content.
The Basics: Hello World Widget
Before you create the widget, an empty plugin needs to be created. Head on to the /wp-content/plugins/ and create a new directory with the slug of the name of your plugin. Within this directory, create an index.php file with the following content.
Define an Empty Plugin
<?php
/*
Plugin Name: Live Score Custom
Plugin URI: https://www.sitepoint.com/
Description: Get and display sports feeds
Version: 1.0
Author: Shaumik
Author URI: https://www.sitepoint.com/
License: GPL2
*/
?>
This is essentially a blank PHP file with comments, as suggested on the WordPress Codex page on creating a new plugin. These comments are read by WordPress when displaying information about the plugin on WP Admin.
Once you’ve created the empty plugin with comments, you can see that your plugin is active on the list of plugins on WP Admin. Activate the plugin before proceeding further.
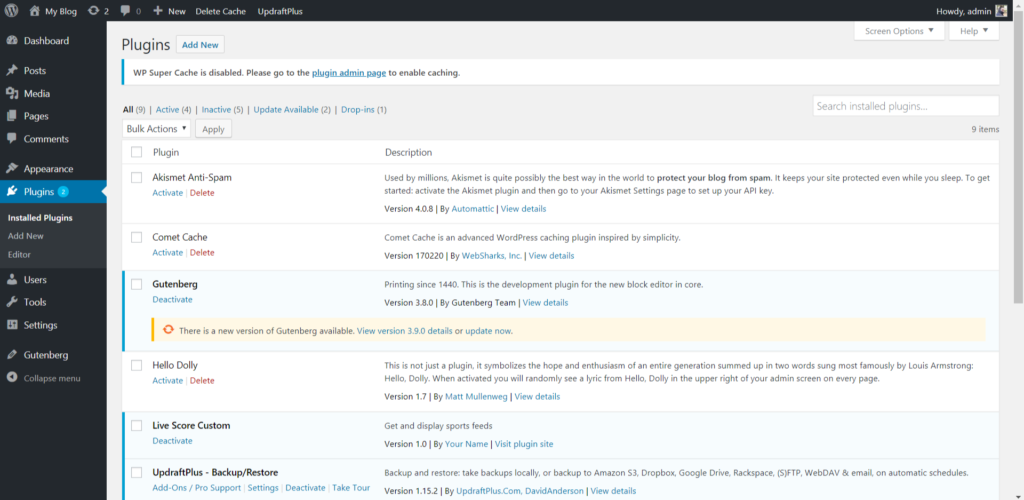 Plugin list on WP Admin after creating empty plugin
Define a Widget within the Plugin
The next step is to create a sample widget code. As discussed earlier, we would be extending the WP_Widget class. After defining the class, we’ll register the widget using the register_widget method:
class My_Custom_Widget extends WP_Widget {

    public function __construct() {
    }

    public function widget( $args, $instance ) {
        // Define the widget
    }
}
// Register the widget
function my_register_custom_widget() {
    register_widget( 'My_Custom_Widget' );
}
add_action( 'widgets_init', 'my_register_custom_widget' );
Now that our skeleton code is ready, let’s fill in the constructor and widget functions:
public function __construct() {
    // Define the constructor

    $options = array(
        'classname' => 'custom_livescore_widget',
        'description' => 'A live score widget',
    );

    parent::__construct(
        'live_score_widget', 'Live Score Widget', $options
    );
}
The constructor can be extended from the parent constructor. In the options, we can also provide a CSS class that’s added to the entire widget element in the HTML DOM when being displayed. Next, let’s define the widget display options:
public function widget( $args, $instance ) {
    // Keep this line
    echo $args['before_widget'];

    echo $args['before_title'] . apply_filters( 'widget_title', 'Live Criket Matches' ) . $args['after_title'];
    echo 'Hello, World!';

    // Keep this line
    echo $args['after_widget'];
}
In the widget class, we define what needs to be displayed in the widget. First, we add a widget title, “Live Cricket Matches”, and then a simple “Hello, World!”
Once the code has been saved, let’s head back to Appearance > Widgets in WP Admin and add the newly created widget to a part of the page.
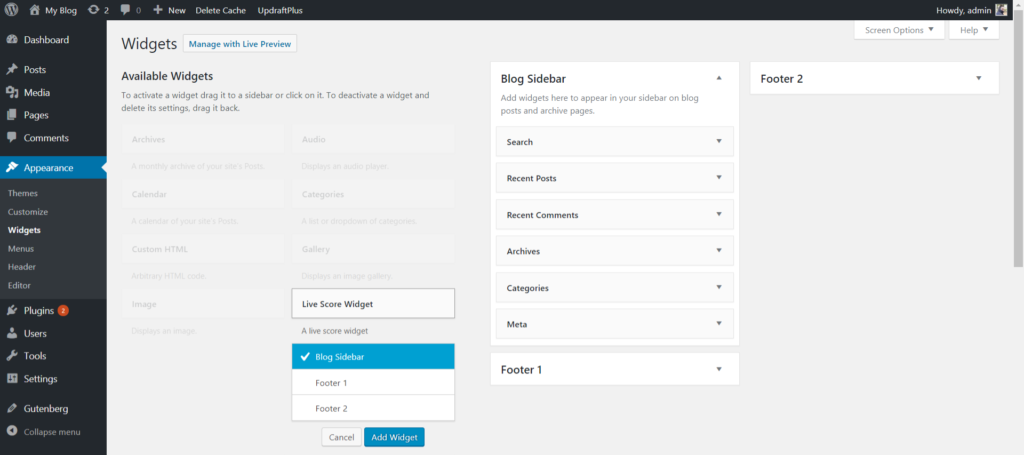 Adding Widget in WP Admin
Once you’ve added the widget, you can refresh your home page and check if the widget has appeared.
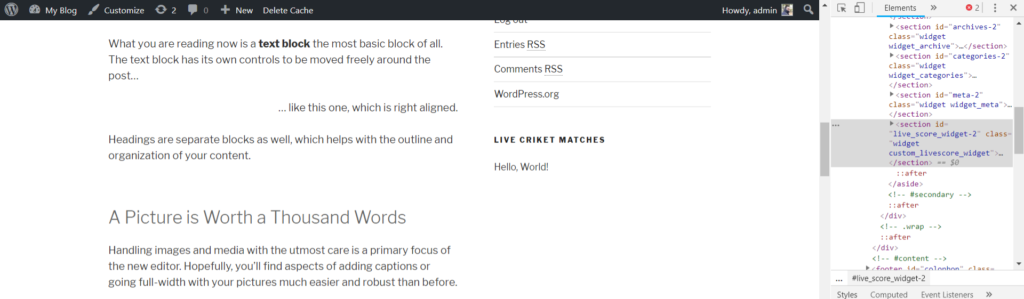 Hello World widget in the home page
You may notice that the class in which we defined the widget has been added to the widget element. You can change the style of the widget if required. If you’re interested, check out this tutorial on how to customize the style of a WordPress theme.
Adding a Live Score Option
So far, we’ve successfully created a widget associated with a plugin, registered it on WP Admin and displayed it on our home page. The next step is to get the live score feed from an API.
As a demonstration, we’ll use the API by CricAPI. You can make 100 API requests per day under the free plan. After registering, you’re provided with an API key, which is needed when you make requests to the site. We’ll use the “New match API” option to get the data for our widget.
A GET request needs to be sent to the Match API with the apikey parameter to get a list of matches. Once you have your API key you can verify that the API is working properly by going to the following URL on your browser:
http://cricapi.com/api/matches?apikey=api_key
The response is a JSON string, with the list of matches and some metadata. We can emulate the request and extract the data in PHP by modifying our widget function:
public function widget( $args, $instance ) {

// before and after widget arguments are defined by themes
echo $args['before_widget'];

echo $args['before_title'] . apply_filters( 'widget_title', 'Live Criket Matches' ) . $args['after_title'];

// This is where you run the code and display the output
$api_key = 'ONkuR4grRDFyUzOEYoSzeUQolbx2'
$api_url  = "http://cricapi.com/api/matches?apikey=" . $api_key;

//  Initiate curl
$ch = curl_init();
curl_setopt($ch, CURLOPT_SSL_VERIFYPEER, false);

// Will return the response, if false it print the response
curl_setopt($ch, CURLOPT_RETURNTRANSFER, true);
// Set the url
curl_setopt($ch, CURLOPT_URL, $api_url);
// Execute
$result = curl_exec($ch);
// Closing
curl_close($ch);

// Will dump a json - you can save in variable and use the json
$cricketMatches = json_decode($result);

foreach($cricketMatches->matches as $item) {
    if ($item->matchStarted == true) {
        echo $item->{'team-1'}, ' vs ', $item->{'team-2'}, '<br />';
    }
}

echo $args['after_widget'];

}
Here are the steps we follow in the code:
- we send a request to the URL through cURL, disabling the secure option (notice that the cricAPI URL is
http) - we save the JSON response after decoding in the variable
$cricketMatches - we get a list of matches and display those which have started already.
Let’s now have a look at the home page to see whether the desired data is shown.
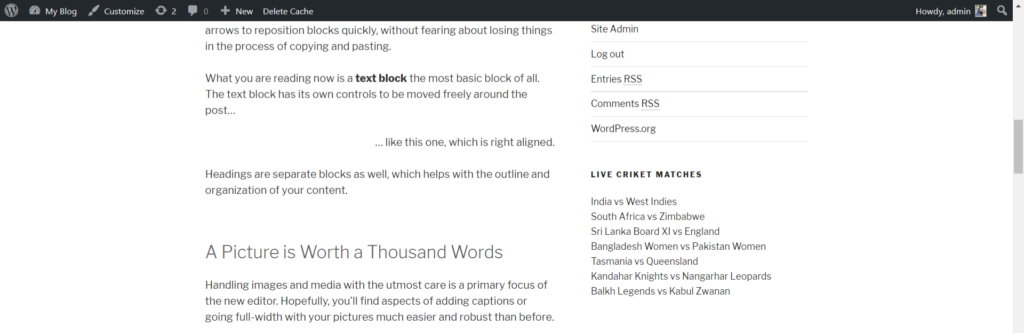 Widget displaying list of cricket matches in home page
The data can be explored further to display specific options. For instance, you can get the score by sending a request to the cricket score API with your API key and match ID.
Packaging and Sharing the Plugin
There you go. You’ve successfully created the widget that lists live cricket matches! You can pack the plugin by creating a zip file of the live-score-custom-plugin directory, and uploading the zip file to Plugins > Add New > Upload Plugin.
Final Thoughts
In this tutorial, we went through the basics of creating a widget in WordPress through a plugin and extracted live sports feeds to display data.
Frequently Asked Questions (FAQs) about Creating WordPress Widgets
What are the basic steps to create a WordPress widget?
Creating a WordPress widget involves a few steps. First, you need to open your theme’s functions.php file and add a new function to register your widget. This function will tell WordPress about your new widget and its name. Next, you need to create a new class for your widget, which will define what it does and how it behaves. This class should extend the WP_Widget class, which is part of WordPress’s core code. Finally, you need to add functions within your class to display the widget on the front-end and to handle any options the widget might have.
How can I add custom functionality to my WordPress widget?
To add custom functionality to your WordPress widget, you need to add methods to your widget’s class. These methods can do things like display custom content, handle form submissions, or even interact with the WordPress database. The exact code you’ll need will depend on what you want your widget to do, but the WordPress Codex and various online tutorials can provide examples and guidance.
Can I use JavaScript in my WordPress widget?
Yes, you can use JavaScript in your WordPress widget. You can either include the JavaScript code directly in your widget’s output function, or you can enqueue a separate JavaScript file using the wp_enqueue_script function. If you choose to enqueue a script, make sure to do so in the right place in your code to ensure it loads correctly.
How can I style my WordPress widget?
You can style your WordPress widget using CSS. You can either include the CSS rules directly in your widget’s output function, or you can enqueue a separate CSS file using the wp_enqueue_style function. If you choose to enqueue a style, make sure to do so in the right place in your code to ensure it loads correctly.
How can I make my WordPress widget responsive?
To make your WordPress widget responsive, you need to use responsive design techniques in your CSS. This might involve using media queries to adjust the widget’s layout or appearance at different screen sizes, or using flexible layouts that adapt to the available space.
Can I create a WordPress widget without coding?
Yes, there are several plugins available that allow you to create custom WordPress widgets without writing any code. These plugins provide a user-friendly interface where you can design your widget and add content, and then they generate the necessary code for you.
How can I add an image to my WordPress widget?
To add an image to your WordPress widget, you can use the wp_get_attachment_image function. This function retrieves an image from your WordPress media library and outputs the necessary HTML to display it. You’ll need to know the ID of the image you want to display, which you can find in the media library.
How can I add a form to my WordPress widget?
To add a form to your WordPress widget, you can use the form method in your widget’s class. This method should output the HTML for your form, and it can also handle form submissions if necessary. You’ll need to use the $_POST superglobal to access the submitted form data.
Can I use shortcodes in my WordPress widget?
Yes, you can use shortcodes in your WordPress widget. To do this, you can use the do_shortcode function in your widget’s output function. This function will process any shortcodes in your widget’s content and replace them with the appropriate output.
How can I make my WordPress widget accessible?
To make your WordPress widget accessible, you should follow the Web Content Accessibility Guidelines (WCAG) when designing and coding your widget. This might involve things like using appropriate HTML elements, providing alternative text for images, and ensuring your widget can be used with a keyboard.