
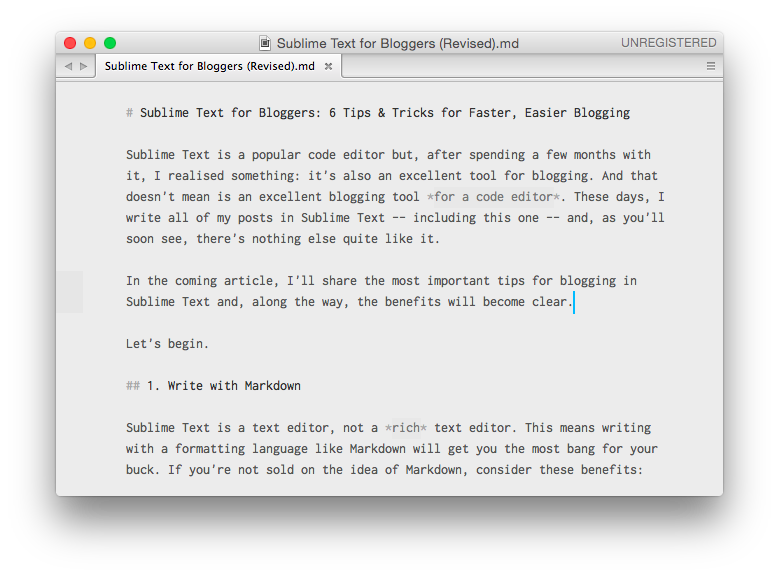
Sublime Text is a popular code editor but, after spending a few months with it, I realised something: it’s also an excellent tool for blogging. I don’t mean it’s just an excellent blogging tool for a code editor, I mean it’s an excellent blogging tool period. These days, I write all of my posts in Sublime Text – including this one – and, as you’ll soon see, there’s nothing else like it.
In this article, I’ll share the most important tips for blogging in Sublime Text and, along the way, the benefits will become clear.
Let’s begin.
Key Takeaways
- Sublime Text, a popular code editor, can also be an excellent tool for blogging, offering unique features that enhance the writing process.
- Formatting language Markdown is recommended for writing in Sublime Text, offering benefits like portability between platforms, easy backups, and format flexibility.
- Sublime Text’s ecosystem of third-party packages further enhances its functionality for blogging, including MarkdownEditing for syntax highlighting, SmartMarkdown for creating lists, and WordCount for word count functionality.
- Sublime Text offers features like distraction-free mode, project organization, window splitting, and easy export of writing, making it a versatile and efficient tool for bloggers.
1. Write with Markdown
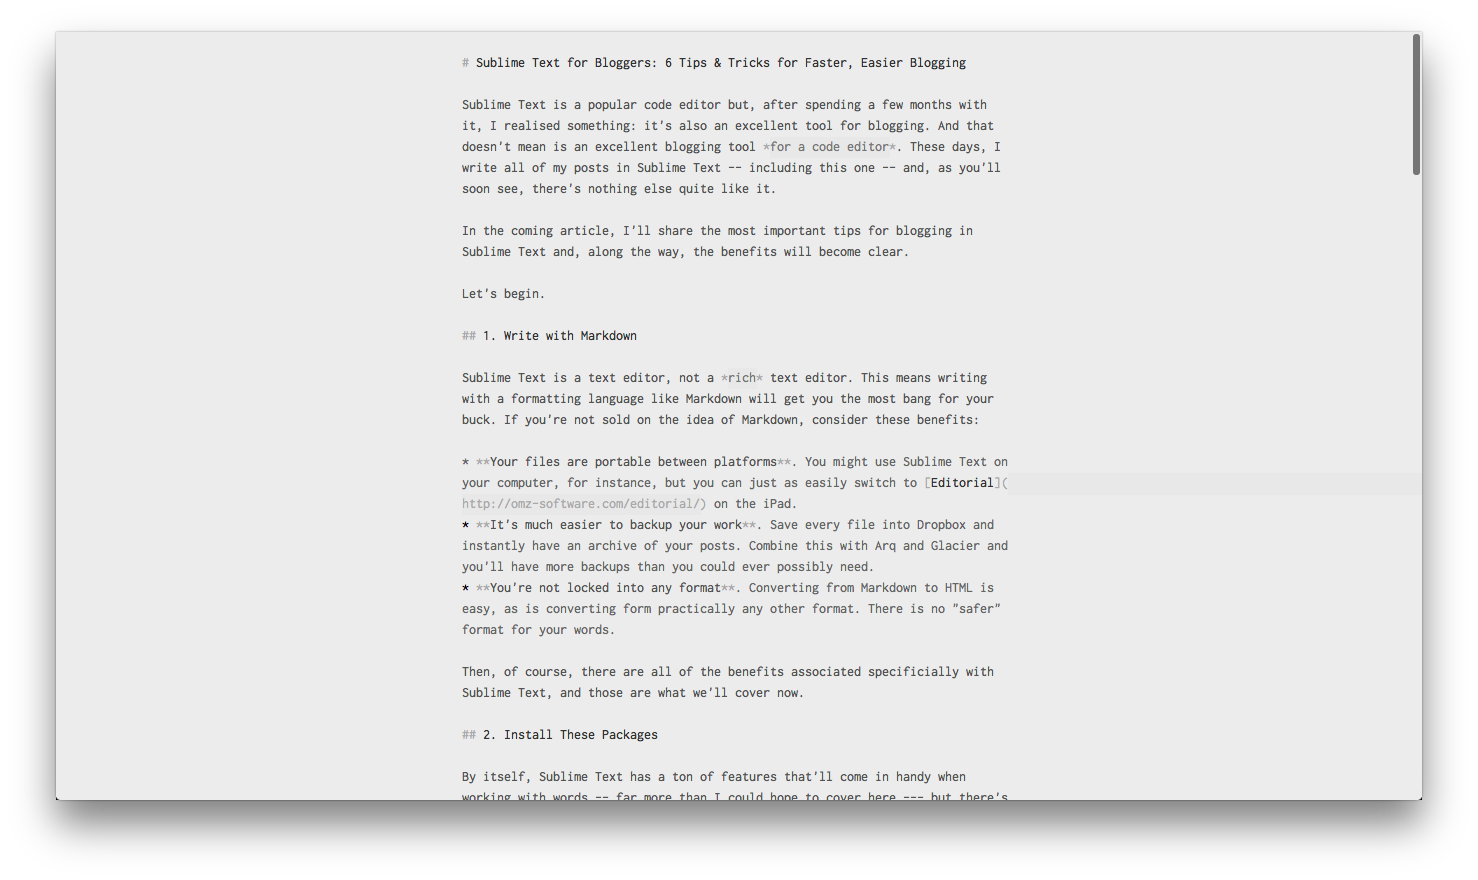
Sublime Text is a text editor, not a rich text editor. This means writing with a formatting language like Markdown will get you the most bang for your buck. If you’re not sold on the idea of Markdown, consider these benefits:
- Your files are portable between platforms. You might use Sublime Text on your computer, for instance, but you can just as easily switch to Editorial on the iPad.
- It’s much easier to backup your work. Save every file into Dropbox and instantly have an archive of your posts. Combine this with Arq and Glacier and you’ll have more backups than you could ever possibly need.
- You’re not locked into any format. Converting from Markdown to HTML is easy, as is converting form practically any other format. There is no safer format for your words.
Then, on top of all of this, there are the benefits associated specificially with Sublime Text, and those are what we’ll cover now.
2. Install These Packages
By itself, Sublime Text has a ton of features that’ll come in handy when working with words, but there’s also an ecosystem of third-party packages that take it to a whole other level. Here’s the ones I’ve found the most helpful:
- MarkdownEditing (above) adds the best syntax highlighting to Markdown files that I’ve ever seen – yes, even better than dedicated writing apps like Byword. It also simplifies the interface by removing line numbers, etc.
- SmartMarkdown adds a range of other useful features, like the ability to fold headlines (which is great for larger documents) and create Markdown lists more easily (by automatically creating the bullet points when you tap the “Return” key).
- WordCount adds word count functionality to the Sublime Text status bar. It isn’t an inherently remarkable package but, either way, it works well.
But these are still just the tip of the iceberg. There are thousands of packages available, many of which are specific to writers.
To find packages (and to learn how to install them), visit Package Control. You can also click here to find the packages related to writing.
3. Enter Distraction Free Mode
Like I said, the MarkdownEditing package simplifies the interface so you’re able to focus on your words, but Sublime Text itself has a mode for blocking out distractions (and these modes complement each other, rather than step on each other’s toes).
To enable the distraction free mode, select the option from the “View” menu or press Shift + CTRL + CMD + F on your keyboard (if you’re a Mac user).
In this mode, the word-wrap length shortens, interface elements disappear (but everything is still accessible with shortcuts), and there’s nothing left to distract you. This alone won’t make you a great writer, but:
- It does help to have nothing but your words in front of you.
- Although I’m sure it’ll become standard, not all code editors have this feature. (And to be clear, this mode is not the same as full-screen mode.)
You also have a lot of customization available, so if the distraction free settings aren’t quite to your liking, almost everything can be changed with a little bit of tweaking (but that’ll require some Googling on your part).
4. Organise with Projects
If you open a folder (or multiple folders) inside of Sublime Text, you can save that collection of folders as a project. Here’s an example:
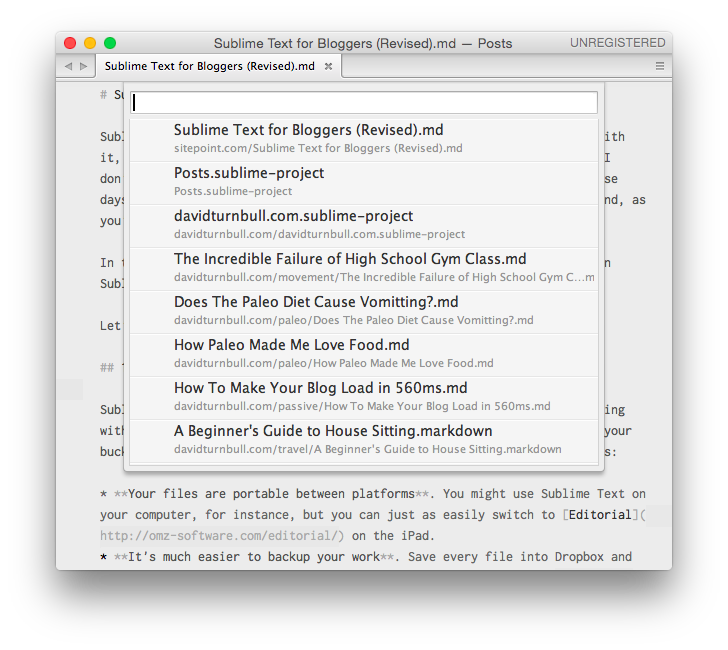
Currently, I’m writing this post inside a “Posts” project that contains the following three folders:
- davidturnbull.com
- meteortips.com
- sitepoint.com
These are the sites I’m actively writing for and, therefore, when I want to write something, I can open this project and have instant access to all of my blog posts (even if these folders aren’t in the same place on my computer).
Why is this different from navigating the file system?
Well, by pressing the CMD + P combination on my keyboard, I can switch between all of the files in my project without ever touching the mouse. This might not be a game-changing feature but:
- It becomes one of those unconcious habits that allows you to switch between writing blog posts without interrupting your flow.
- There’s a huge amount of shortcuts and features like this that are designed for programmers but translate well to writing tasks.
Precisely how you use projects will depend on your preferences – maybe it makes sense to have one project per blog, for instance – but in either case, it’s a handy feature for organising a large output of writing. Perhaps the best point of comparison would be the projects feature in Scrivener.
5. Split Your Window
After I finish a draft for a blog post, I have a strict process for editing that’s served me well for the last few years:
- I leave the post alone for at least 24 hours. This distance allows me to return to the post with a fresh perspective.
- I open the first draft on one half of the screen and a blank document on the other half of the screen.
- I rewrite the entire thing from scratch, only using the original draft as a reference.
Editing will sometimes take more steps, but never fewer, and I think this rigidness has made it easier to draw people into my blog, and also to snag writing gigs on larger sites like SitePoint.
Within Sublime Text, editing like this is seamless by using the “Layouts” feature to split the window into multiple quadrants. I’ll usually split the window into two vertical panes, but horizontal panes are available, as are options for a higher number of panes (useful if you have a large monitor and want to have another pane that contains research, for instance).
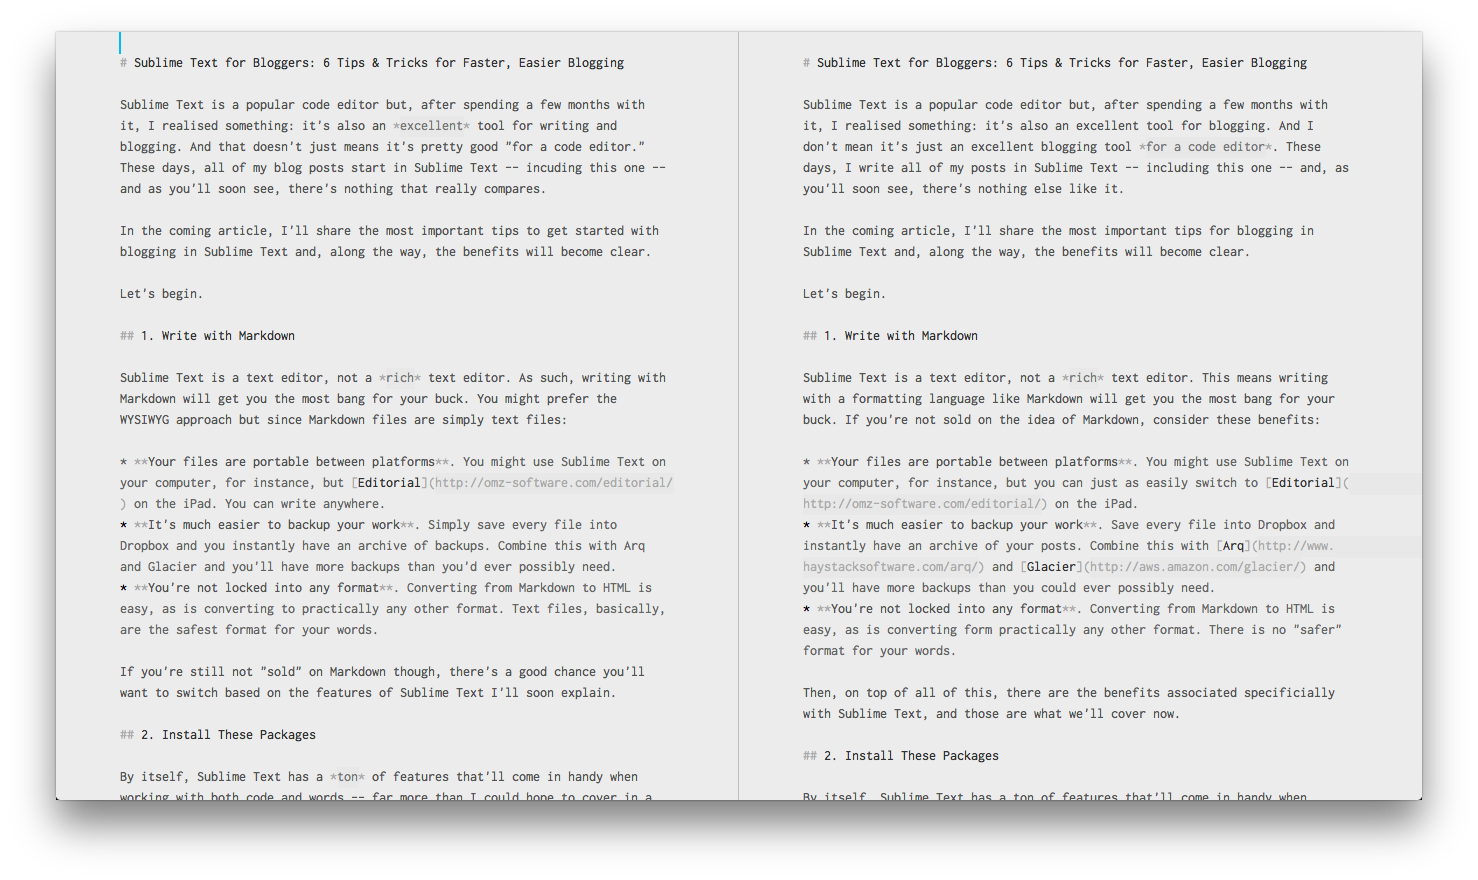
When combined with the distraction free mode, splitting the window into multiple panes makes editing almost as simple as it could possibly be.
6. Export Your Writing
It’s all well and good to write blog posts inside Sublime Text. But how do you actually get these posts onto your blog? Here’s a few options to considder:
- If you’re a WordPress user, install the Jetpack Markdown plugin. This will add support for Markdown when writing posts.
- Using an application like Marked will make it easy to export Markdown files to HTML (but there’s also packages available for this).
- Switch to a static blogging platform like Jekyll. This is a bigger transition but the writing experience can’t be beat.
Then, for future reference, look into Pandoc. It’s overkill for blog posts but this command line tool allows you to convert Markdown files into almost any format, which will be useful if you were to ever collect together your blog posts and convert them into a book.
Conclusion
There’s a lot to love about Sublime Text and what we’ve covered here is just the beginning. If you’re already using a text editor on a regular basis though and like the idea of a more compact workflow, then it’s worth diving into the program and learning more about its packages, customization, and the endless amount of shortcuts for making your writing that little bit more seamless.
Frequently Asked Questions (FAQs) about Sublime Text for Blogging
How can I use Sublime Text to format or beautify my code?
Sublime Text has a built-in feature that allows you to format or beautify your code. To do this, you need to install a package called ‘Pretty JSON’. Once installed, you can use the shortcut Ctrl+Alt+J (on Windows) or Cmd+Ctrl+J (on Mac) to format your JSON code. For other types of code, you may need to install different packages. For instance, ‘HTML-CSS-JS Prettify’ can be used to format HTML, CSS, and JavaScript code.
How can I convert selected lines to an HTML bulleted list in Sublime Text?
Sublime Text doesn’t have a built-in feature to convert selected lines to an HTML bulleted list. However, you can achieve this by using a package called ‘Emmet’. Once installed, you can select the lines you want to convert, press Ctrl+Shift+L to split the selection into lines, and then type ‘ul>li*’ and press Tab. This will wrap each line in an HTML list item tag, inside an unordered list.
How can I reformat HTML code using Sublime Text?
To reformat HTML code in Sublime Text, you can use the ‘Tag’ package. After installing it, you can use the shortcut Ctrl+Alt+F to reformat your HTML code. This will automatically indent your code and make it more readable.
How can I auto-add bullets in Markdown lists in Sublime Text?
Sublime Text doesn’t have a built-in feature to auto-add bullets in Markdown lists. However, you can use the ‘MarkdownEditing’ package to achieve this. Once installed, when you press Enter after a list item, a new bullet will be automatically added on the next line.
How can I use Sublime Text for blogging?
Sublime Text is a versatile text editor that can be used for blogging. It supports Markdown, which is a popular formatting syntax for bloggers. You can write your blog posts in Markdown and then convert them to HTML using a package like ‘Markdown Preview’. Sublime Text also has features like multi-cursor editing and distraction-free writing mode, which can make your blogging process more efficient.
Can I use Sublime Text to write and preview my blog posts?
Yes, you can write and preview your blog posts in Sublime Text. You can write your posts in Markdown and then use the ‘Markdown Preview’ package to preview them in your browser. This allows you to see how your post will look like before you publish it.
How can I customize the look and feel of Sublime Text?
Sublime Text is highly customizable. You can change the color scheme, font, and other aspects of the interface by going to Preferences > Settings. You can also install themes to change the overall look of the editor.
Can I use Sublime Text to write in languages other than English?
Yes, Sublime Text supports Unicode and can be used to write in any language. However, the interface and documentation are only available in English.
How can I use Sublime Text to write code snippets for my blog?
Sublime Text has a feature called ‘Snippets’ that allows you to save and reuse code snippets. You can create a snippet by going to Tools > Developer > New Snippet. Then, you can insert the snippet in your blog post by typing the snippet’s trigger and pressing Tab.
Can I use Sublime Text on multiple devices?
Yes, Sublime Text is cross-platform and can be used on Windows, Mac, and Linux. You can also sync your settings and packages across devices using a service like Dropbox or Google Drive.