
This article was peer reviewed by Christopher Thomas. Thanks to all of SitePoint’s peer reviewers for making SitePoint content the best it can be!
While everyone is concerned about their application’s security, few take it seriously and take the plunge. The first thing you’ll notice when learning about this is that two factor authentication (2FA) is the go-to solution as a first step.
Although there have been some serious problems with using text messages as a second factor, it’s definitely safer than a plain username and password combination, given that many users tend to use popular and easy to guess passwords for critical services such as payments, chat, emails, etc. In this article, we’re going to build two factor authentication into a Laravel application using Twilio SMS as the second factor.

Key Takeaways
- Implementing 2FA in Laravel enhances security by requiring both a password and a verification code sent via SMS, making unauthorized access harder.
- Utilize Twilio’s SMS services to send real-time verification codes to users, which they must enter to complete the login process.
- The application involves modifying Laravel’s authentication scaffolding, creating migrations for user and token storage, and updating models to handle phone numbers and codes.
- Error handling and user experience improvements are crucial; ensure clear feedback is given during the registration and login process, particularly if issues arise with SMS delivery.
- Explore further security measures like allowing users to enable or disable 2FA and providing alternative verification methods such as calls instead of SMS.
What We’re Building
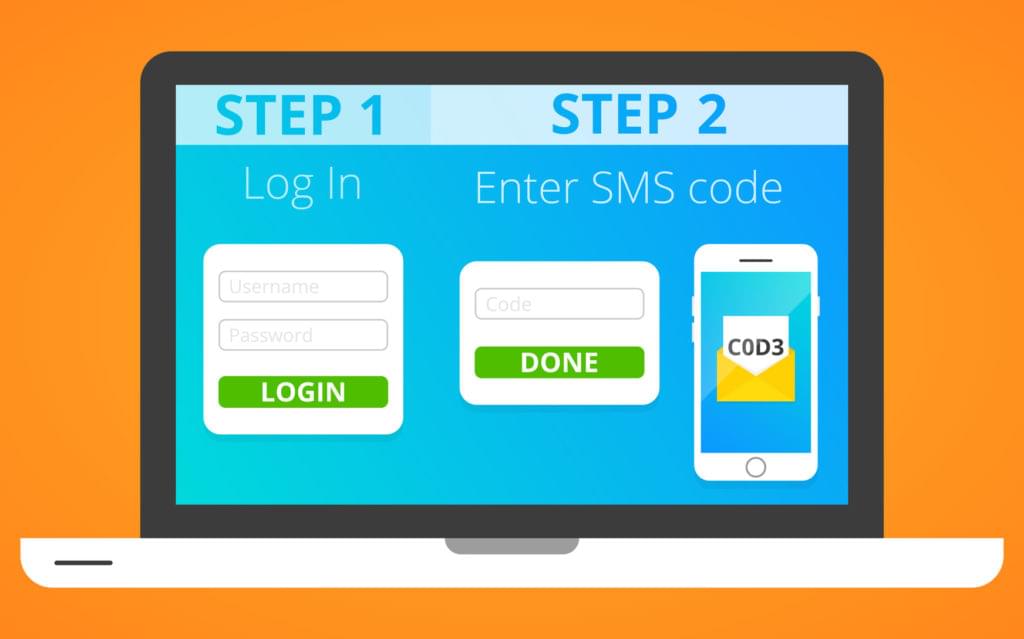
There’s a great chance that you’re already familiar with the 2FA flow:
-
User visits the login page.
-
He types in an email and a password.
-
We send a verification code using the phone number.
-
User must type in the received code.
-
If the code is correct, we log them in. Otherwise, we give them another chance to try logging in.
The final demo application is up on GitHub.
Installation
I assume you have your development environment already set up. If not, we recommend Homestead Improved for an easy start.
Go ahead and create a new Laravel project using the Laravel installer or via Composer.
laravel new demo
Or
composer create-project --prefer-dist laravel/laravel demo
Edit the .env file and add your database credentials.
DB_CONNECTION=mysql
DB_HOST=127.0.0.1
DB_PORT=3306
DB_DATABASE=homestead
DB_USERNAME=root
DB_PASSWORD=root
Scaffolding Authentication
Before creating our migrations, keep in mind that Laravel has a command to help us scaffold our authentication flow. It generates the following:
- Login, register and reset password views and controllers.
- The necessary routes.
Go ahead and run php artisan make:auth from the command line.
Creating Migrations
Update the users migration class and add a country_code and phone fields.
// database/migrations/2014_10_12_000000_create_users_table.php

class CreateUsersTable extends Migration
{
    /**
     * Run the migrations.
     *
     * @return void
     */
    public function up()
    {
        Schema::create('users', function (Blueprint $table) {
            $table->increments('id');
            $table->string('name');
            $table->string('email')->unique();
            $table->string('password');
            $table->string('country_code', 4)->nullable();
            $table->string('phone')->nullable();
            $table->rememberToken();
            $table->timestamps();
        });
    }

    /**
     * Reverse the migrations.
     *
     * @return void
     */
    public function down()
    {
        Schema::dropIfExists('users');
    }
}
Every user has a list of tokens (verification codes) that they generated. Run the php artisan make:model Token -m command to generate the model and migration file. The table schema will look like this:
// database/migrations/2016_12_14_105000_create_tokens_table.php

class CreateTokensTable extends Migration
{
    /**
     * Run the migrations.
     *
     * @return void
     */
    public function up()
    {
        Schema::create('tokens', function (Blueprint $table) {
            $table->increments('id');
            $table->string('code', 4);
            $table->integer('user_id')->unsigned();
            $table->boolean('used')->default(false);
            $table->timestamps();
        });
    }

    /**
     * Reverse the migrations.
     *
     * @return void
     */
    public function down()
    {
        Schema::dropIfExists('tokens');
    }
}
I limited the verification code to four digits, but you can make it harder to guess by increasing it. We will get back to this point later. Let’s run php artisan migrate to create our database.
Updating Models
The models are already there and should only be updated accordingly:
// app/User.php

class User extends Authenticatable
{
    use Notifiable;

    /**
     * The attributes that are mass assignable.
     *
     * @var array
     */
    protected $fillable = [
        'name',
        'email',
        'password',
        'country_code',
        'phone'
    ];

    /**
     * The attributes that should be hidden for arrays.
     *
     * @var array
     */
    protected $hidden = [
        'password',
        'remember_token',
    ];

    /**
     * User tokens relation
     *
     * @return \Illuminate\Database\Eloquent\Relations\HasMany
     */
    public function tokens()
    {
        return $this->hasMany(Token::class);
    }

    /**
     * Return the country code and phone number concatenated
     *
     * @return string
     */
    public function getPhoneNumber()
    {
        return $this->country_code.$this->phone;
    }
}
There’s nothing special here, we just added the users -> tokens relation and added the getPhoneNumber helper method to get the full phone number of a user.
// app/Token.php

class Token extends Model
{
    const EXPIRATION_TIME = 15; // minutes

    protected $fillable = [
        'code',
        'user_id',
        'used'
    ];

    public function __construct(array $attributes = [])
    {
        if (! isset($attributes['code'])) {
            $attributes['code'] = $this->generateCode();
        }

        parent::__construct($attributes);
    }

    /**
     * Generate a six digits code
     *
     * @param int $codeLength
     * @return string
     */
    public function generateCode($codeLength = 4)
    {
        $min = pow(10, $codeLength);
        $max = $min * 10 - 1;
        $code = mt_rand($min, $max);

        return $code;
    }

    /**
     * User tokens relation
     *
     * @return \Illuminate\Database\Eloquent\Relations\BelongsTo
     */
    public function user()
    {
        return $this->belongsTo(User::class);
    }

    /**
     * True if the token is not used nor expired
     *
     * @return bool
     */
    public function isValid()
    {
        return ! $this->isUsed() && ! $this->isExpired();
    }

    /**
     * Is the current token used
     *
     * @return bool
     */
    public function isUsed()
    {
        return $this->used;
    }

    /**
     * Is the current token expired
     *
     * @return bool
     */
    public function isExpired()
    {
        return $this->created_at->diffInMinutes(Carbon::now()) > static::EXPIRATION_TIME;
    }
}
Besides setting the relations methods and updating the fillable attributes, we’ve added:
- a constructor to set the code property on creation.
- a
generateCodemethod to generate random digits depending on the code length parameter. - the
isExpiredmethod to see if the link has expired using theEXPIRATION_TIMEconstant. - the
isValidmethod to see if the link is neither expired nor used.
Creating Views
The register view file should be updated to include a country code and a phone field.
// resources/views/auth/register.blade.php

@extends('layouts.app')

@section('content')
<div class="container">
    <div class="row">
        <div class="col-md-8 col-md-offset-2">
            <div class="panel panel-default">
                <div class="panel-heading">Register</div>
                <div class="panel-body">
                    @include("partials.errors")

                    <form class="form-horizontal" role="form" method="POST" action="{{ url('/register') }}">
                        // ...

                        <div class="form-group">
                            <label for="phone" class="col-md-4 control-label">Phone</label>

                            <div class="col-md-6">

                                <div class="input-group">
                                    <div class="input-group-addon">
                                        <select name="country_code" style="width: 150px;">
                                            <option value="+1">(+1) US</option>
                                            <option value="+212">(+212) Morocco</option>
                                        </select>
                                    </div>
                                    <input id="phone" type="text" class="form-control" name="phone" required>

                                    @if ($errors->has('country_code'))
                                        <span class="help-block">
                                        <strong>{{ $errors->first('country_code') }}</strong>
                                    </span>
                                    @endif
                                    @if ($errors->has('phone'))
                                        <span class="help-block">
                                        <strong>{{ $errors->first('phone') }}</strong>
                                    </span>
                                    @endif
                                </div>
                            </div>
                        </div>

                        // ...
                    </form>
                </div>
            </div>
        </div>
    </div>
</div>
@endsection
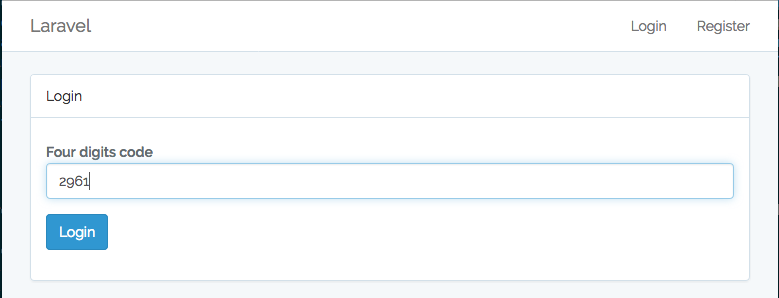
Then, we create a new view for the user to type the verification code in.
// resources/views/auth/code.blade.php

@extends('layouts.app')

@section('content')
    <div class="container">
        <div class="row">
            <div class="col-md-8 col-md-offset-2">
                <div class="panel panel-default">
                    <div class="panel-heading">Login</div>
                    <div class="panel-body">
                        @include("partials.errors")

                        <form class="form-horizontal" role="form" method="POST" action="{{ url('/code') }}">
                            {{ csrf_field() }}

                            <div class="form-group">
                                <label for="code" class="col-md-4 control-label">Four digits code</label>

                                <div class="col-md-6">
                                    <input id="code" type="text" class="form-control" name="code" value="{{ old('code') }}" required autofocus>

                                    @if ($errors->has('code'))
                                        <span class="help-block">
                                        <strong>{{ $errors->first('code') }}</strong>
                                    </span>
                                    @endif
                                </div>
                            </div>

                            <div class="form-group">
                                <div class="col-md-8 col-md-offset-4">
                                    <button type="submit" class="btn btn-primary">
                                        Login
                                    </button>
                                </div>
                            </div>
                        </form>
                    </div>
                </div>
            </div>
        </div>
    </div>
@endsection
The errors.blade.php partial will print the list of validation errors.
// resources/views/errors.blade.php

@if (count($errors) > 0)
    <div class="alert alert-danger ">
        <button type="button" class="close" data-dismiss="alert" aria-label="Close">
            <span aria-hidden="true">×</span></button>
        <ul>
            @foreach ($errors->all() as $error)
                <li>{{ $error }}</li>
            @endforeach
        </ul>
    </div>
@endif
Creating Controllers
Instead of creating new controllers, why not reuse the auth controllers? There isn’t much to add, after all!
The RegisterController@register method is called when the user posts the form, and if you open the file you’ll find that it calls a registered method after the user has been created.
// app/Http/Controllers/RegisterController.php

class RegisterController extends Controller
{

    // ...
    protected function registered(Request $request, $user)
    {
        $user->country_code = $request->country_code;
        $user->phone = $request->phone;
        $user->save();
    }
}
We also need to update the request validation and make the country code and phone fields required.
// app/Http/Controllers/RegisterController.php

class RegisterController extends Controller
{

    // ...
    protected function validator(array $data)
    {
        return Validator::make($data, [
            'name'         => 'required|max:255',
            'email'        => 'required|email|max:255|unique:users',
            'password'     => 'required|min:6|confirmed',
            'country_code' => 'required',
            'phone'        => 'required'
        ]);
    }
}
Now we need to update the LoginController and override the login method.
// app/Http/Controllers/LoginController.php

class LoginController extends Controller
{

    // ...
    public function login(Request $request)
    {
        $this->validateLogin($request);

        //retrieveByCredentials
        if ($user = app('auth')->getProvider()->retrieveByCredentials($request->only('email', 'password'))) {
            $token = Token::create([
                'user_id' => $user->id
            ]);

            if ($token->sendCode()) {
                session()->set("token_id", $token->id);
                session()->set("user_id", $user->id);
                session()->set("remember", $request->get('remember'));

                return redirect("code");
            }

            $token->delete();// delete token because it can't be sent
            return redirect('/login')->withErrors([
                "Unable to send verification code"
            ]);
        }

        return redirect()->back()
            ->withInputs()
            ->withErrors([
                $this->username() => Lang::get('auth.failed')
            ]);
    }
}
After validating the request, we try to retrieve a user using the email and password. If the user exists, we create a new token for this user, then we send the code, set the necessary session details, and redirect to the code page.
Ooh wait! We didn’t define a sendCode method inside the Token model?
Adding Twilio
Before sending the code to the user via SMS, we need to configure Twilio for the job. We need to create a new trial account.
After that, go to the Twilio Console page and copy your account ID and auth token. The last part is to create a new phone number for sending SMSes. Go to the Console’s Phone Numbers Page and create a new one.
TWILIO_SID=XXXXXXXXXXX
TWILIO_TOKEN=XXXXXXXXXXXX
TWILIO_NUMBER=+XXXXXXXXXX
Twilio has an official PHP package that we can use.
composer require twilio/sdk
To use the Twilio package, we’re going to create a new provider and bind it to the container:
pgp artisan make:provider TwilioProvider
// app/Providers/TwilioProvider.php

use Illuminate\Support\ServiceProvider;
use Twilio\Rest\Client;

class TwilioProvider extends ServiceProvider
{
    /**
     * Bootstrap the application services.
     *
     * @return void
     */
    public function boot()
    {}

    /**
     * Register the application services.
     *
     * @return void
     */
    public function register()
    {
        $this->app->bind('twilio', function() {
            return new Client(env('TWILIO_SID'), env('TWILIO_TOKEN'));
        });
    }
}
Now, we can finally go back to our sendCode method:
// app/Token.php
class Token extends Model
{
//...
public function sendCode()
{
if (! $this->user) {
throw new \Exception("No user attached to this token.");
}
if (! $this->code) {
$this->code = $this->generateCode();
}
try {
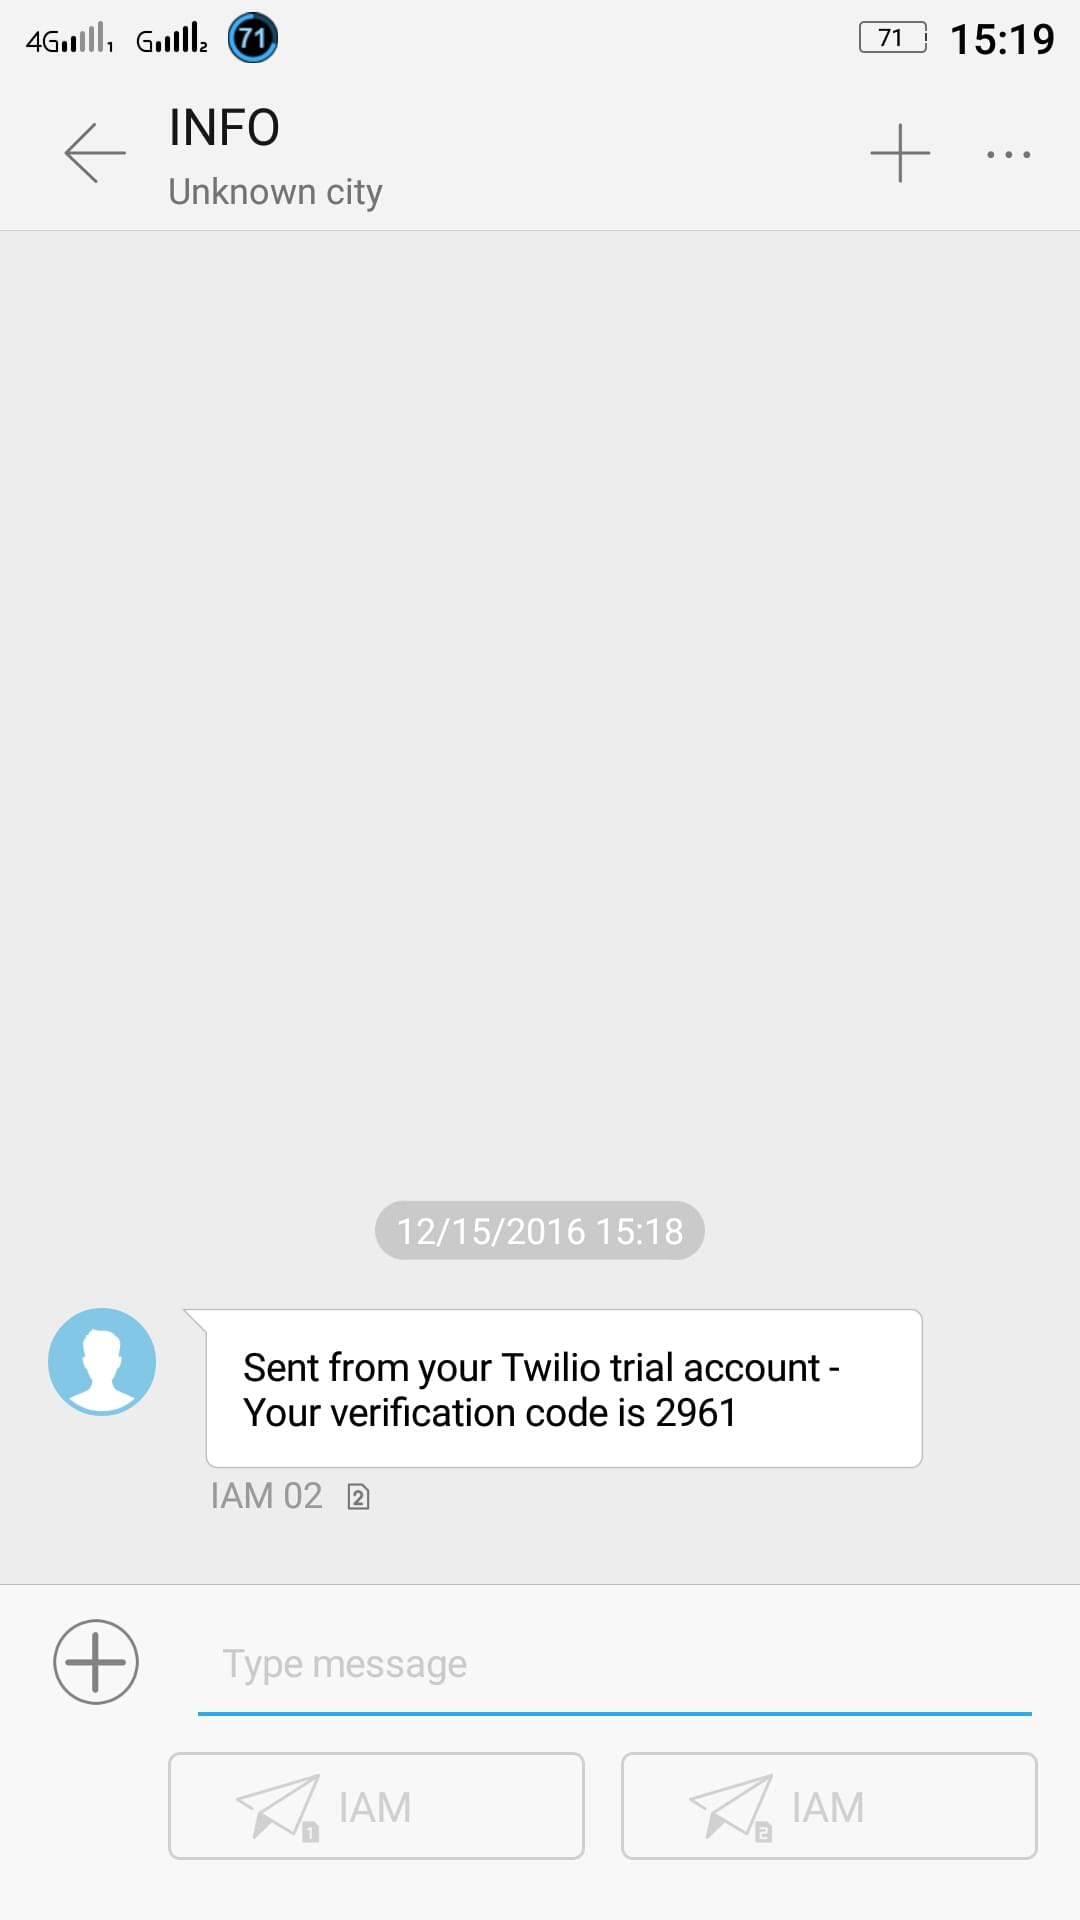
app('twilio')->messages->create($this->user->getPhoneNumber(),
['from' => env('TWILIO_NUMBER'), 'body' => "Your verification code is {$this->code}"]);
} catch (\Exception $ex) {
return false; //enable to send SMS
}
return true;
}
}
If the current token is not attached to a user, the function will throw an exception. Otherwise, it will try to send them an SMS.
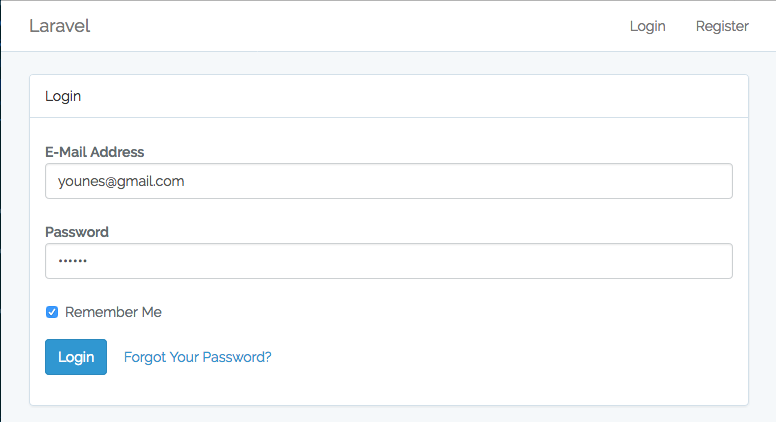
Finally, the application is ready. We test things out by registering a new user and trying to log in. Here is a quick demo:
Useful 2FA-related Links
- https://www.wired.com/2016/06/hey-stop-using-texts-two-factor-authentication/
- https://techcrunch.com/2016/06/10/how-activist-deray-mckessons-twitter-account-was-hacked/
- https://www.twilio.com/blog/2015/01/mobile-passwordless-sms-authentication-part-1-building-the-api-with-laravel-and-twilio.html
- https://www.twilio.com/docs/libraries/php
- https://www.twilio.com/docs/quickstart/php/sms
- https://www.sitepoint.com/2fa-in-laravel-with-google-authenticator-get-secure/
Conclusion
This article was a quick introduction to integrating two factor authentication with Twilio with a Laravel application. You can also take this demo further by giving the users the ability to enable and disable two factor authentication, and you may also want to offer a call instead of an SMS!
Have you ever implemented 2FA for an application? What are the challenges you’ve faced? Was it a good experience for your users?
If you have any question or comments about 2FA or Laravel, you can post them below!
Frequently Asked Questions on Securing Laravel Apps with 2FA via SMS
How can I set up two-factor authentication (2FA) in Laravel?
Setting up 2FA in Laravel involves several steps. First, you need to install the necessary packages using Composer. These packages include Laravel, Twilio SDK, and Google2FA. Once installed, you can create a new Laravel project and set up the necessary routes, controllers, and views. You will also need to set up a Twilio account and configure it with your Laravel app. Finally, you can implement the 2FA process, which involves generating a QR code, scanning it with a 2FA app, and verifying the code.
What is the role of Twilio in Laravel 2FA via SMS?
Twilio is a cloud communications platform that allows developers to programmatically send and receive text messages using its web service APIs. In the context of Laravel 2FA via SMS, Twilio is used to send the authentication code to the user’s mobile phone. When a user tries to log in, a unique code is generated and sent to their phone via SMS. The user then enters this code into the app to verify their identity.
How secure is 2FA via SMS in Laravel?
2FA via SMS in Laravel is quite secure as it adds an extra layer of security to the authentication process. In addition to entering their password, users are required to enter a unique code that is sent to their mobile phone. This means that even if someone knows the user’s password, they would also need access to the user’s phone to log in. However, it’s worth noting that while 2FA via SMS is more secure than password-only authentication, it is not as secure as other forms of 2FA, such as token-based or biometric authentication.
Can I use other services besides Twilio for 2FA via SMS in Laravel?
Yes, you can use other services besides Twilio for 2FA via SMS in Laravel. There are several other cloud communications platforms that offer similar functionality, such as Nexmo and Plivo. However, the implementation process may vary depending on the service you choose.
How can I troubleshoot issues with 2FA via SMS in Laravel?
Troubleshooting issues with 2FA via SMS in Laravel can involve several steps. First, check your Twilio account to ensure it is properly configured and that you have sufficient funds to send SMS messages. Next, check your Laravel app’s error logs for any issues. If you’re still having trouble, you may need to debug your code or reach out to Twilio’s support team for assistance.
How can I test 2FA via SMS in Laravel?
You can test 2FA via SMS in Laravel by creating a test user account and going through the authentication process. This will allow you to verify that the SMS messages are being sent and received correctly, and that the authentication code is being properly validated.
Can I customize the SMS message sent during the 2FA process in Laravel?
Yes, you can customize the SMS message sent during the 2FA process in Laravel. This can be done in the Twilio configuration settings in your Laravel app. You can change the message content, sender ID, and other parameters as needed.
What happens if a user loses their phone or can’t receive SMS messages?
If a user loses their phone or can’t receive SMS messages, they won’t be able to complete the 2FA process and log in to your Laravel app. To address this, you can implement a backup authentication method, such as email verification or security questions. This will allow users to verify their identity and access their account even if they can’t receive SMS messages.
Can I implement 2FA via SMS in Laravel without using a third-party service?
Implementing 2FA via SMS in Laravel without using a third-party service is technically possible, but it would require a significant amount of additional work. You would need to set up your own SMS gateway, which involves dealing with telecom providers and complying with various regulations. Therefore, using a third-party service like Twilio is generally the more practical and efficient option.
How can I improve the user experience of 2FA via SMS in Laravel?
There are several ways to improve the user experience of 2FA via SMS in Laravel. One way is to provide clear instructions and feedback during the authentication process. For example, you can display a message telling the user to expect an SMS with a code, and then confirm when the code has been successfully verified. Another way is to allow users to remember their device, so they don’t have to go through the 2FA process every time they log in.