30+ Time-Saving Photoshop Keyboard Shortcuts for Faster Work

Key Takeaways
- Keyboard shortcuts in Photoshop can significantly enhance time efficiency, especially for professionals who are paid by the hour. This is particularly noticeable when working on large batches of images and files.
- Some common and practical Photoshop shortcuts include ⌘/Ctrl + alt/option+ I for Image Size dialog box, ⌘/Ctrl + I to invert an image, and M, B, I, W, C, E, P, T for Marquee, Brush, Eyedropper, Magic Wand/Quick Selection, Crop, Eraser, Pen, and Type tools respectively.
- Other useful shortcuts include holding the spacebar to use Photoshop’s Hand tool, [ Square Brackets ] to resize a brush, and ⌘/Ctrl + T for Transform. For text and layers, there are also specific keyboard shortcuts that can be handy.
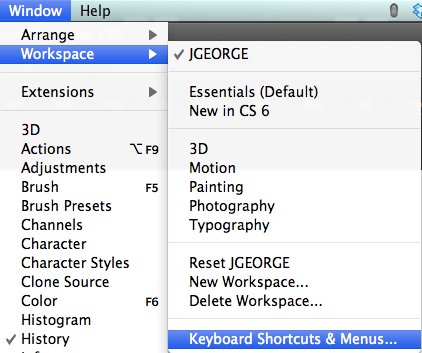
- Photoshop allows the creation of custom keyboard shortcuts for frequent tasks. This can be done by going to “Window” > “Workspace” > “Keyboard Shortcuts & Menus.” This can further enhance workflow and save time and effort.
Photoshop is the tool of choice for a wide variety of creative professionals. Web designers use it to mock up their sites before slicing and coding them, photographers and image retouching specialists use it to enhance and improve photos, and graphic designers use it to create work for print and other mediums.
Usually, all of these professions are paid an hourly rate, especially if they are freelancers. This makes time efficiency important for all Photoshop users, regardless of profession. One easy way to save time is to use keyboard shortcuts instead of flipping through dozens of different menus. If you are working on a single image, then you may not see much improvement. But, when you have to work on dozens and dozens of images and files, each keystroke can add up to minutes before you know it. Instead of taking 2 hours to work on a batch of files, you could end up finishing in an hour and a half. Here is a list of common, practical Photoshop shortcuts for everyday use.
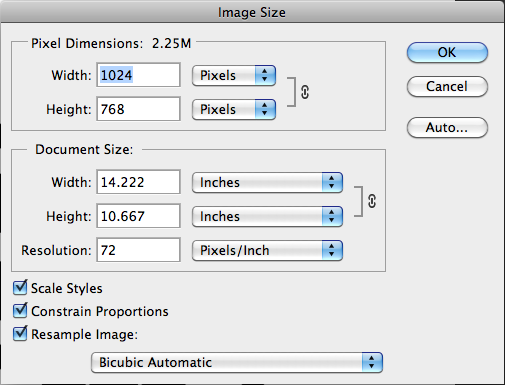
⌘/Ctrl + alt/option+ I brings up the Image Size dialog box, where you can control resolution, image size in pixels, inches, etc.
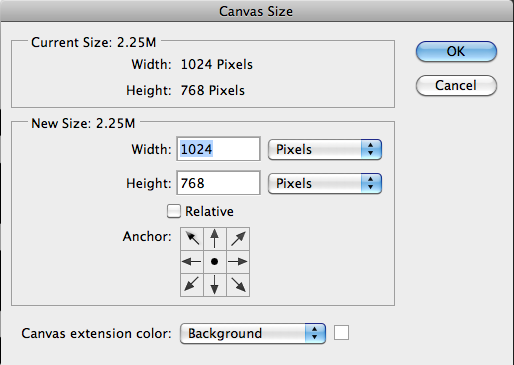
⌘/Ctrl + alt/option+ C brings up your canvas size, so you can add more to your canvas (or take some away) without having to create a new document and move everything over.
⌘/Ctrl + I inverts your image. This is nice when you use a masking or selection tool, but you mistakenly make it backwards. This will flip black to white and if your image is colored, it will instantly invert the colors.
Before:

After:

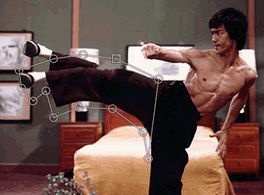
⌘/Ctrl + shift + I inverts your selection. Sometimes it is easier to select an object that you want to keep instead of everything that you want to get rid of. If you want to remove the background, you can use this shortcut by first selecting the object to keep, and then then pressing this shortcut to invert your selection. After that, you simply hit the delete key or make a mask by hitting the layer mask icon, and you are done.
Normal Selection
Inverse Selection

Knowing Your Keyboard Shortcuts for Photoshop Tools
You wouldn’t believe how much time you can save by being able to flip through keys for each tool. Many people don’t realize that each tool is set to a hotkey. Here are a few examples that I use dozens of times per day without even thinking about it:
M – The Marquee Tool
B – The Brush Tool
I – The Eyedropper Tool
W – The Magic Wand/Quick Selection Tool
C – The Crop Tool
E – The Eraser Tool
P – The Pen Tool
T – The Type Tool
Other Not-So-Straightforward Keyboard Shortcuts
Hold the spacebar down to use Photoshop’s Hand Tool. This is a big one, because I work zoomed into the Photoshop document most of the time, especially when I am retouching a model. Instead of zooming in and out repeatedly and using cumbersome scrollbars, I use the hand tool, click and grab and pull my view to where I want to go. This shortcut doesn’t make the hand tool active, so you can use this at any time without switching tools.
[ Square Brackets ] – These are tools that I used in conjunction with the brush tool. I can instantly resize a brush with these keys. [ makes the brush smaller and ] makes the brush larger.
⌘/Ctrl + T is Transform. I use this keyboard shortcut every day. Holding shift while in transform mode will let you resize proportionally. Adding alt/option to this will allow you to resize from the center, while constraining the proportions.

⌘/Ctrl + A is Select All. This selects everything on the active layer.
⌘/Ctrl + D is Deselect. This is great, because I can deactivate a selection without having to go through a menu.
Typing “D” resets your foreground and background color to the default black and white.
⌘/Ctrl + R hides and shows the rulers for your document. This makes it easy to align items and measure the spacing between objects.

Keyboard Shortcuts for Text
With your text layer active and the text highlighted, you can use keyboard shortcuts do some very handy things.
With your text highlighted, go up to the font selection menu in the options bar and double-click it to highlight it, and you can use the up and down arrow keys to cycle through each font. This is handy, because you can preview different font selections quickly and easily.
Also with your text highlighted, hold down ⌘/Ctrl + Option/alt + Shift together, and while holding those down, you can use < to shrink your text by 10pt or you can use > to increase its size by 10pt.
Keyboard Shortcuts for Layers
I use shortcuts to work with layers every day. Knowing these shortcuts will save you from spending extra time clicking and scrolling through menus.
⌘/Ctrl + J – This duplicates the layer that you currently have selected. Also, if you have an active selection, this duplicates just the selected portion and puts it on its own layer.
⌘/Ctrl + E merges down. This works if you have multiple layers. If you have a layer other than the bottom layer selected, this shortcut merges this layer with the one below.
⌘/Ctrl +Shift + E Merges all visible layers. This is useful to merge all visible layers into one flattened layer.
⌘/Ctrl-click on a layer’s preview icon makes an active selection from the contents of that layer.
Alt/Option-clicking on a layer mask icon makes the black and white mask visible. Clicking back on the layer icon makes your work visible again.
Holding shift and hitting the + key repeatedly cycles through blend modes for the active layer. Shift + “+” cycles down the list of blend modes, and shift + “-“ cycles back up through the blend modes.
Typing any number from 0-10 changes the opacity for that layer. For example, simply typing 5 changes the opacity of the active layer to 50%. If you quickly type double digits, then the opacity is set to that amount.
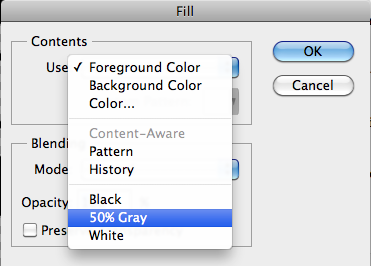
Shift + Delete brings up a dialog box where you can choose to fill your layer with different options, such as a solid color, a gradient, 50% gray, and the foreground or background color.
Alt/option + Delete fills the current layer of selection with the active foreground color.
⌘/Ctrl + Delete fills the current layer or selection with the active background color.
⌘/Ctrl + F repeats the filter that you last used. For example, if you used a Gaussian Blur at 10px and it wasn’t enough, you could hit ⌘/Ctrl + F and repeat the same filter again.

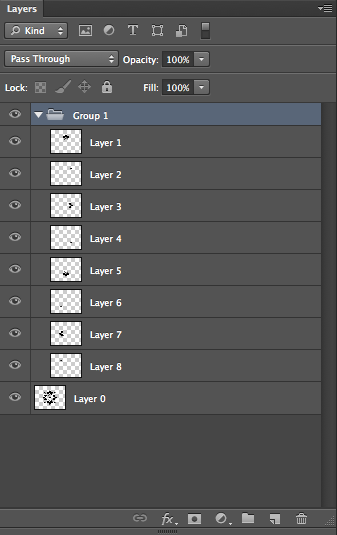
⌘/Ctrl + G groups all of the layers that you have selected into one group, and places them inside of a folder.
Menu Keyboard Shortcuts
⌘/Ctrl + Shift + S saves the current document as a different name than the original file. A dialog comes up and you can name the new file.
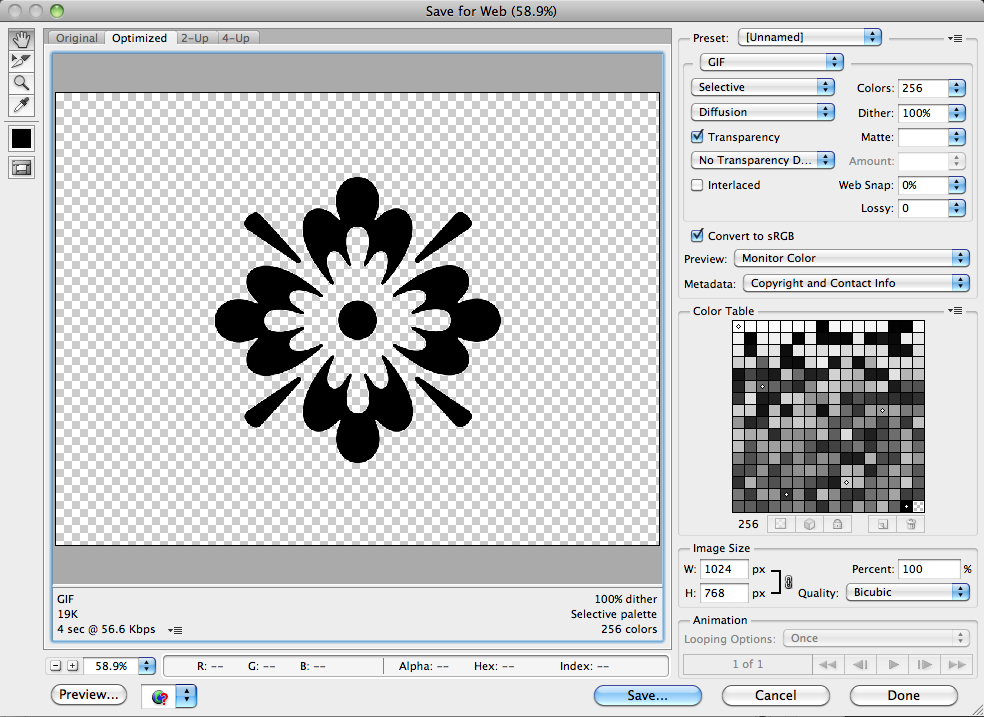
Alt/Option + ⌘/Ctrl + Shift + S (also affectionately known as “the claw — try it) saves the file for the web. Here, a dialog box comes up and you can choose which type of format you want to save the file as, and you can even optimize it and choose its quality.
⌘/Ctrl + L brings up the levels dialog box, where you can adjust the levels of your image.

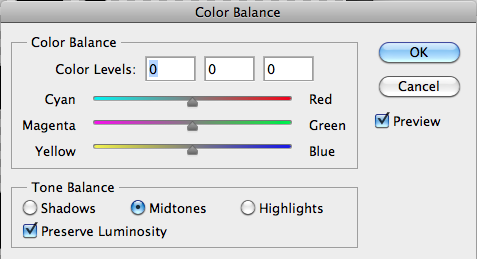
⌘/Ctrl + B brings up the color balance dialog box, where you can adjust the color balance of your image.
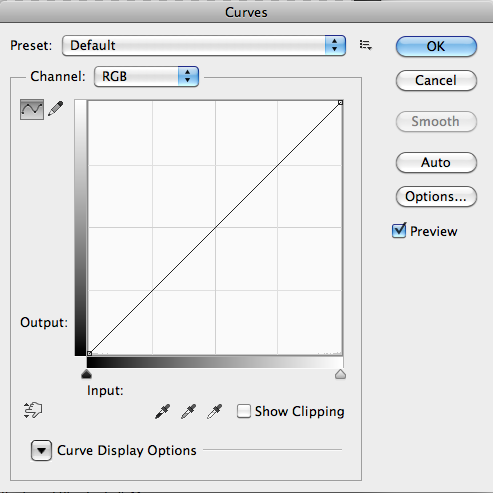
⌘/Ctrl + M brings up the curves dialog box, where you can adjust the curves of your image.
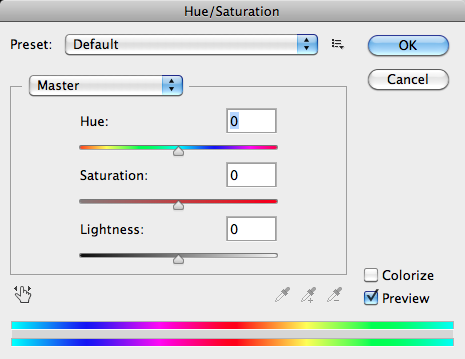
⌘/Ctrl + U brings up the hue/saturation dialog box, where you can adjust the hue/saturation of your image.
Making Your Own Shortcut!
There isn’t a keyboard shortcuts for everything that you can do in Photoshop, but if there is a Photoshop task that you perform frequently, it might be a good idea to make your own custom keyboard shortcuts. You’d be amazed at how easy it is. Simply go to “Window” > “Workspace” > “Keyboard Shortcuts & Menus.”
Click on the keyboard shortcuts tab, and find the menu item or action that you would like to assign a keyboard shortcut to. Click on that item, use the keys that you would like to assign the shortcut to, and click “Accept” when you are finished. If one already exists, Photoshop will tell you and you can even overwrite existing ones.

Conclusion
After looking at the extensive list of common keyboard shortcuts, it may seem daunting to learn at first, but after you learn the ones that are straightforward, you will start to pick up the ones that will help make your workflow faster, allowing you to focus more on the work itself and less on how to use the software. If one doesn’t exist for your most common tasks, make your own. You will be amazed at how much time and effort you will save.
Do you have favorite (or least favorite) keyboard shortcuts? Do you think they’re a serious time-saver, or can you be just as quick by using the menus?
Frequently Asked Questions (FAQs) about Photoshop Keyboard Shortcuts
What are the most essential Photoshop keyboard shortcuts for beginners?
For beginners, the most essential Photoshop keyboard shortcuts include Ctrl/Cmd + Z for undoing actions, Ctrl/Cmd + S for saving your work, and Ctrl/Cmd + T for transforming your selection. These shortcuts can significantly speed up your workflow and make the learning process easier. Additionally, learning the shortcuts for basic tools like the Brush Tool (B), the Eraser Tool (E), and the Move Tool (V) can be very beneficial.
How can I customize my own keyboard shortcuts in Photoshop?
Photoshop allows you to customize your own keyboard shortcuts. To do this, go to Edit > Keyboard Shortcuts. A dialog box will appear where you can assign new shortcuts to virtually any tool, command, or panel. Remember to save your new set of shortcuts and give it a name, so you can easily switch between sets.
Are there any shortcuts to quickly adjust the brush size and hardness in Photoshop?
Yes, you can quickly adjust the brush size and hardness in Photoshop using keyboard shortcuts. Pressing the [ and ] keys will decrease and increase the brush size respectively. To adjust the hardness, hold down Shift while pressing the [ or ] keys.
What are some useful keyboard shortcuts for working with layers in Photoshop?
Working with layers is a fundamental part of Photoshop, and there are several keyboard shortcuts that can make this process faster. For example, Ctrl/Cmd + J can be used to duplicate a layer, while Ctrl/Cmd + [ or ] can be used to move a layer up or down in the layer stack. Additionally, Ctrl/Cmd + Shift + [ or ] can be used to bring a layer to the front or send it to the back.
How can I use keyboard shortcuts to zoom in and out in Photoshop?
To zoom in and out in Photoshop, you can use the Ctrl/Cmd + + and Ctrl/Cmd + – shortcuts respectively. If you want to fit the image to your screen, you can use the Ctrl/Cmd + 0 shortcut.
Are there any shortcuts for rotating the canvas in Photoshop?
Yes, you can rotate the canvas in Photoshop using the R key. This will activate the Rotate View Tool, which allows you to freely rotate the canvas. To reset the rotation, simply press the Esc key.
What are some keyboard shortcuts for selecting and deselecting in Photoshop?
The Ctrl/Cmd + A shortcut can be used to select everything on your canvas, while Ctrl/Cmd + D can be used to deselect. If you want to reselect the last selection you made, you can use the Ctrl/Cmd + Shift + D shortcut.
How can I use keyboard shortcuts to switch between different tools in Photoshop?
Each tool in Photoshop has a corresponding letter on the keyboard. For example, the Brush Tool can be selected by pressing B, the Clone Stamp Tool by pressing S, and the Pen Tool by pressing P. Simply pressing these keys will allow you to quickly switch between tools.
Are there any shortcuts for adjusting the opacity and flow of brushes in Photoshop?
Yes, you can adjust the opacity of brushes in Photoshop by pressing the number keys. For example, pressing 1 will set the opacity to 10%, while pressing 0 will set it to 100%. To adjust the flow, hold down Shift while pressing the number keys.
How can I use keyboard shortcuts to quickly save and export my work in Photoshop?
The Ctrl/Cmd + S shortcut can be used to quickly save your work. If you want to export your work, you can use the Ctrl/Cmd + Shift + S or Ctrl/Cmd + Alt + S shortcuts to bring up the Save As and Save for Web dialog boxes respectively.
James George is a professional web developer and graphic designer. James is an expert in design, and a professional web developer, with a special interest in WordPress. Founder of Design Crawl, James has been a professional designer since 2005.