

At the end of a design project, it’s common to hear your client say: “I need this as an editable letterhead template in Microsoft Word.”
Generally they don’t own or know how to use advanced graphics-editing programs like Adobe Illustrator, InDesign or Photoshop — and it simply doesn’t make sense for them to purchase those expensive programs.
Microsoft Word is pretty low-tech compared to Illustrator or InDesign; however, that’s what your clients are using and your letterhead design is useless to them if they can’t edit and add content to it. So knowing how to create a Microsoft Word letterhead template is key.
Let’s get started.
1. Create your letterhead design
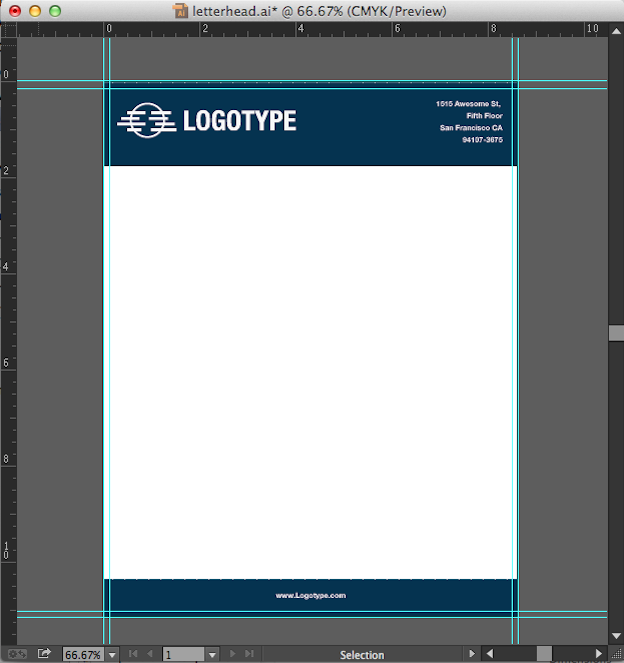
We’ve created this example in Illustrator, but Photoshop and InDesign can be used to create letterhead designs too. We’re using a full bleed design in this example with a 1/8″ bleed, which will give s us a document that is about 8.63 x 11.13 inches. Create your design in CMYK color mode, and if you’re using photos or complex graphics make sure that they 300ppi or higher, because Microsoft Word compresses all images that you place into it. There’s a great full-bleed letterhead template that you can download here.
2. Export your letterhead design as a high res PNG file
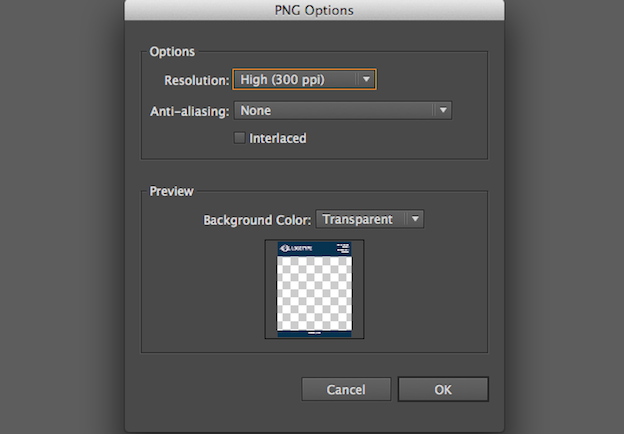
To do this, click File > Export > PNG. Make sure you select 300 ppi as the resolution. You can also save your design as a JPG and even as a TIFF; however TIFF files will dramatically increase files size and loading times in Microsoft Word for your client.
3. Set up your Microsoft Word document
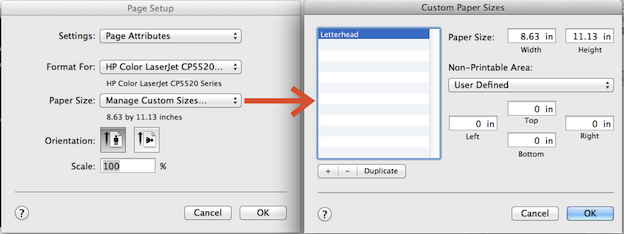
Next, set up a Word document to insert your letterhead design into. Click File > New Blank Document. While the document opens, click File > Page Setup > Paper Size > Manage Custom Sizes. Set the paper size to 8.75 x 11.13 to accommodate your full bleed design, set all the margins to “0″, and set the Non-Printable Areas to “User Defined.” Doing this lets you set up your letterhead as a full bleed instead of conforming to Word’s default margins.
4) Place your letterhead design into your Microsoft Word document
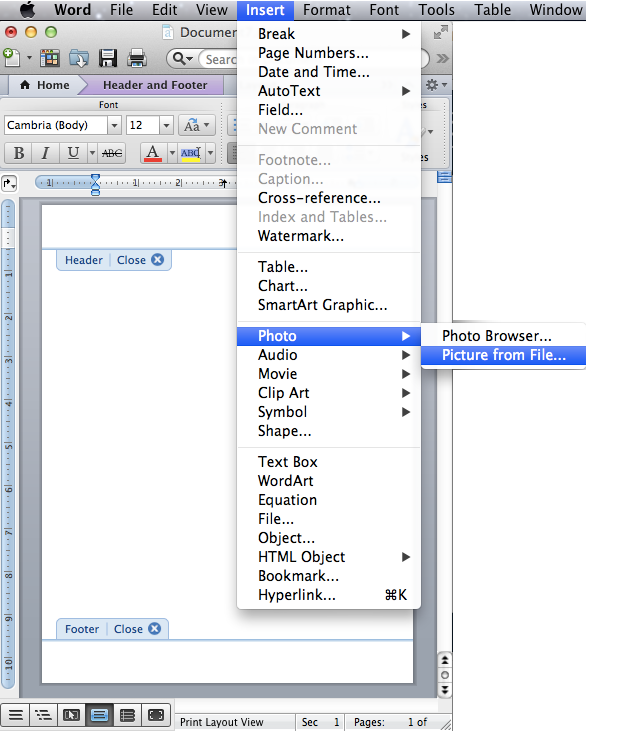
Your letterhead design is going to be placed into the Header and Footer section of your Word document, which will automatically repeat on all additional pages. Go to View > Header and Footer. Now some guidelines for headers and footers will show up on the document. Click Insert > Photo > Picture from File. Select your PNG file. Now your .png file will appear centered in the middle of the page. Select the png image, clickFormat > Picture.
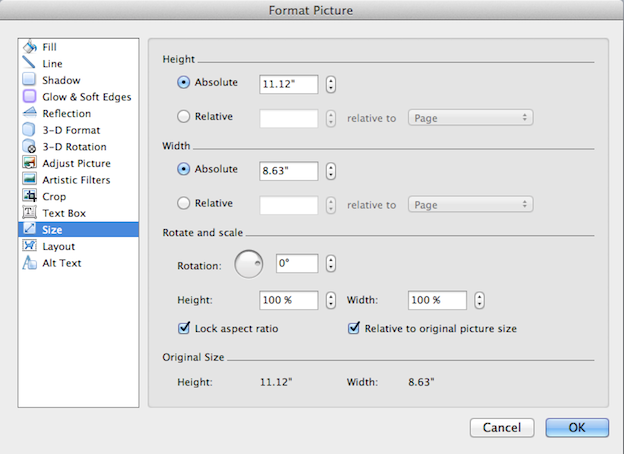
A “Format Picture” menu will pop up. First, go to Size. Word automatically scales down your artwork, but you can fix that by setting the height and width to 100%.
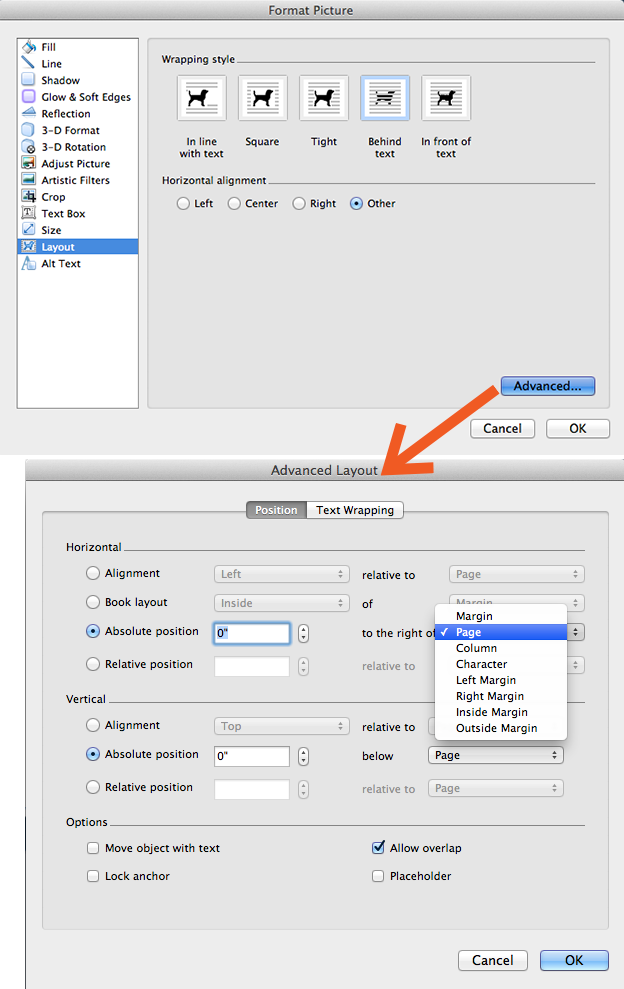
Next, click on the Layout tab, and select the “Behind the text” option. Click the “Advanced” button and make sure the Horizontal and Vertical Absolute positions are set to Page. Now hit ok to apply all these picture formatting adjustments. Your letterhead design should now appear at 100%. Adjust the positioning if needed.
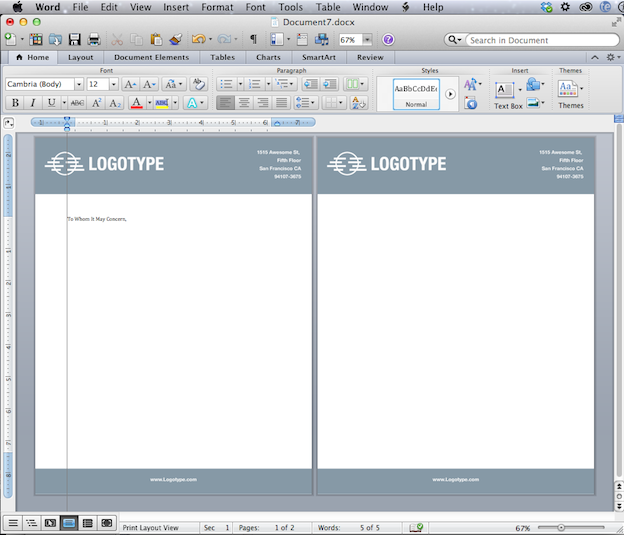
Go to View, and uncheck Header and Footer so that you can leave the Header and Footer area and start editing your text area. Now that you’re not in header and footer editing mode the letterhead design will appear to be faded, but it won’t actually print that way so let your client know that. Adjust your margins and paragraph styles as desired. If you hit return until word creates a new page for you, you’ll notice that the same design has appeared on the next page. This is because you inserted your design into the header and footer section of the document, and the design will automatically repeat on every additional page.
4. Save it as a template
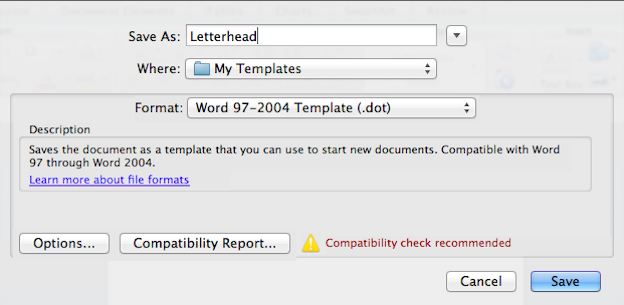
Go to File > Save As. Choose .dot as your format and Save. Now you can send your editable Microsoft Word letterhead template to your client!
5. Prepare the Microsoft Word letterhead template for printing
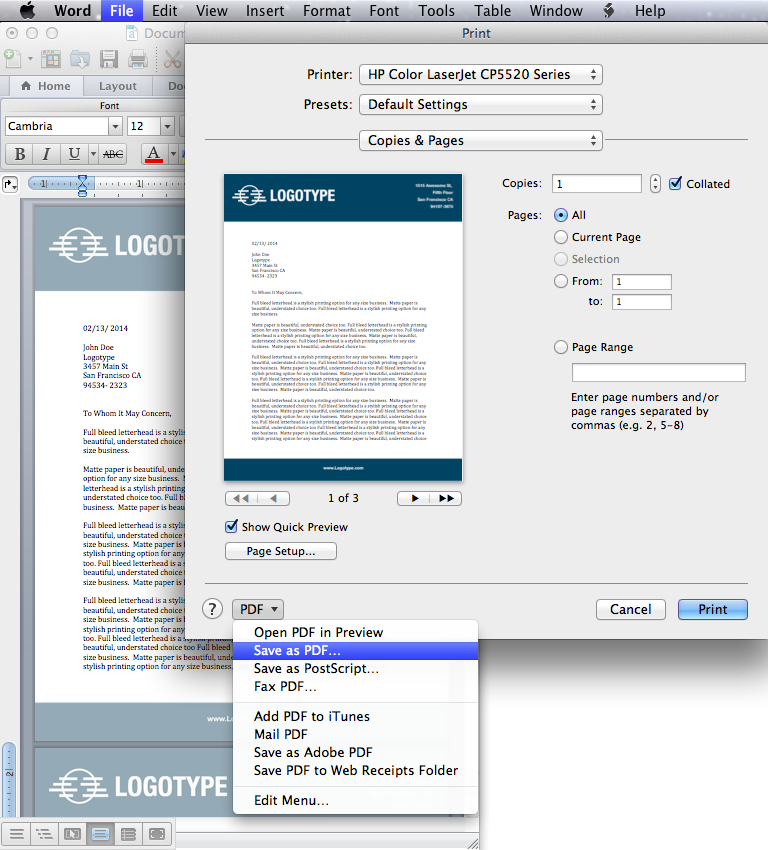
If your client is printing the Microsoft Word letterhead template at a printer who is able to print full-bleed pages, tell your client to save the finished file as a PDF file for better printing results. Printing directly from a Microsoft Word document can have mixed results. To save the template as a PDF, go to File > Print > Save to PDF. Now the file is ready to print :)
It’s important to let your client know the colors in your Microsoft Word letterhead template will display the colors slightly differently than the original design. In creating the template, the trick is to get its colors as close to the original design as possible – they simply won’t display the exact same way no matter what, and are bound to look different when printed. On the chance that your client hasAdobe Acrobat orAdobe Reader, you should recommend they edit their letterheads in those programs instead because the print quality will be higher than in Microsoft Word.
Additionally, if the design is full bleed and your client wants it as a Microsoft Word letterhead template, make sure to inform them that it cannot be printed properly on a typical home or office printer, as this will result in a white margin around the edges. They need to take the full-bleed design to a professional printer who can print full-bleed designs.
Microsoft Word has a lot of disadvantages and is simply not on par with other more advanced graphics-editing programs, but it’s likely what your clients know and you have to work with that.
Do you know other Microsoft Word template-creating techniques? Share in the comments below!
Originally published on the 99designs Designer Blog
Frequently Asked Questions (FAQs) on Converting Original Design to Microsoft Word Letterhead Template
How can I create a unique letterhead design in Microsoft Word?
Creating a unique letterhead design in Microsoft Word is quite simple. Start by opening a new document and go to the ‘Insert’ tab. Choose ‘Header’ and select a style that suits your needs. You can then customize this header by adding your company logo, name, and contact details. You can also change the font, color, and size to match your brand identity. Remember to save your design as a template for future use.
What is the standard size for a letterhead in Microsoft Word?
The standard size for a letterhead in Microsoft Word is 8.5 x 11 inches, which is the same as a standard sheet of paper. However, you can customize the size according to your needs by going to the ‘Page Layout’ tab and selecting ‘Size’. From there, you can choose a pre-set size or enter your own dimensions.
Can I use images in my letterhead design?
Yes, you can use images in your letterhead design. To do this, go to the ‘Insert’ tab and select ‘Pictures’. You can then choose an image from your computer to add to your design. Remember to use high-quality images that represent your brand well.
How can I save my letterhead design as a template?
To save your letterhead design as a template, go to the ‘File’ tab and select ‘Save As’. Choose ‘Word Template’ from the drop-down menu and give your template a name. You can then use this template for future documents.
Can I add a footer to my letterhead design?
Yes, you can add a footer to your letterhead design. To do this, go to the ‘Insert’ tab and select ‘Footer’. You can then customize your footer in the same way as your header.
How can I ensure my letterhead design is professional and effective?
To ensure your letterhead design is professional and effective, keep it simple and clean. Use a consistent color scheme and font that matches your brand identity. Also, make sure your company logo and contact details are clearly visible.
Can I print my letterhead design directly from Microsoft Word?
Yes, you can print your letterhead design directly from Microsoft Word. Simply go to the ‘File’ tab and select ‘Print’. You can then choose your print settings and print your design.
How can I add a background color to my letterhead design?
To add a background color to your letterhead design, go to the ‘Page Layout’ tab and select ‘Page Color’. You can then choose a color from the palette or customize your own color.
Can I use shapes in my letterhead design?
Yes, you can use shapes in your letterhead design. To do this, go to the ‘Insert’ tab and select ‘Shapes’. You can then choose a shape and customize it to fit your design.
How can I align my text and images in my letterhead design?
To align your text and images in your letterhead design, select the text or image and go to the ‘Format’ tab. You can then choose an alignment option from the ‘Align’ menu.