
It’s relatively easy to enable SSL (HTTPS) on a WordPress website. Once you’ve purchased or enabled your SSL certificate on your web server, in theory all you need to do is update the home and site URL (in Dashboard > Settings, or using wp-config.php) and you’re done! In practice however, there can be a few stumbling blocks depending on how your site has been built and configured.
Using SSL secures communication on your website using encryption, keeping traffic between web browser and web server private. Aside from the security benefits, it’s also strongly encouraged by search engines. SSL has even been a ranking factor since 2014.
For many years, web browsers have displayed padlocks and various icons to help users identify secure sites, these are now becoming more noticeable. SSL is an important trust factor, however if you need further convincing on why you should be using HTTPS rather than HTTP, check out a recent article on WP Tavern that reports that more than 50% of web traffic is now encrypted. They also dig into some of the current usage statistics.
In this article, I’ll cover some of the popular plugins that I’ve come across, and been recommended by others in the WordPress community. I’ll also list a few useful testing tools that have helped me when troubleshooting both client and server SSL related issues.
It’s worth noting that all modern web browsers are equipped with “Developer Tools”, including several that can assist with SSL and certificate problems.
SSL Plugins for WordPress
All of these plugins require you to have an SSL certificate successfully installed on hosting environment. They can help with fixing mixed content issues, however I’ve found there isn’t a silver bullet, which is why I’ve listed several for you to research and test.
WP Force SSL
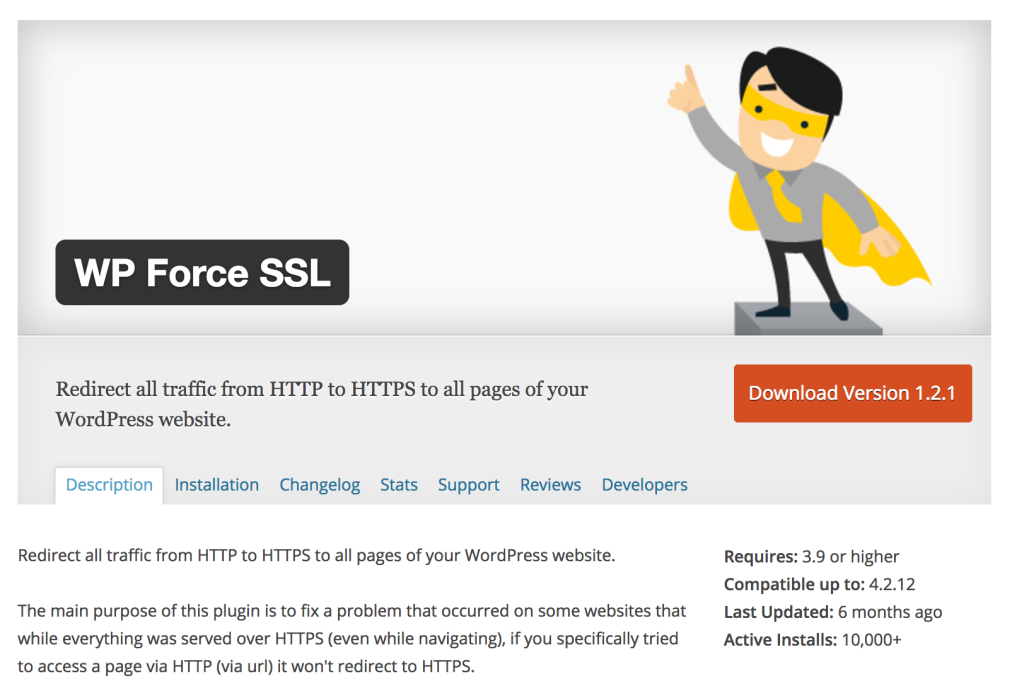
Active Installs: 20,000+
Rating: 4.8 out of 5 stars
Last Updated: 6 months ago
Link: https://en-au.wordpress.org/plugins/wp-force-ssl/
Easy HTTPS Redirection
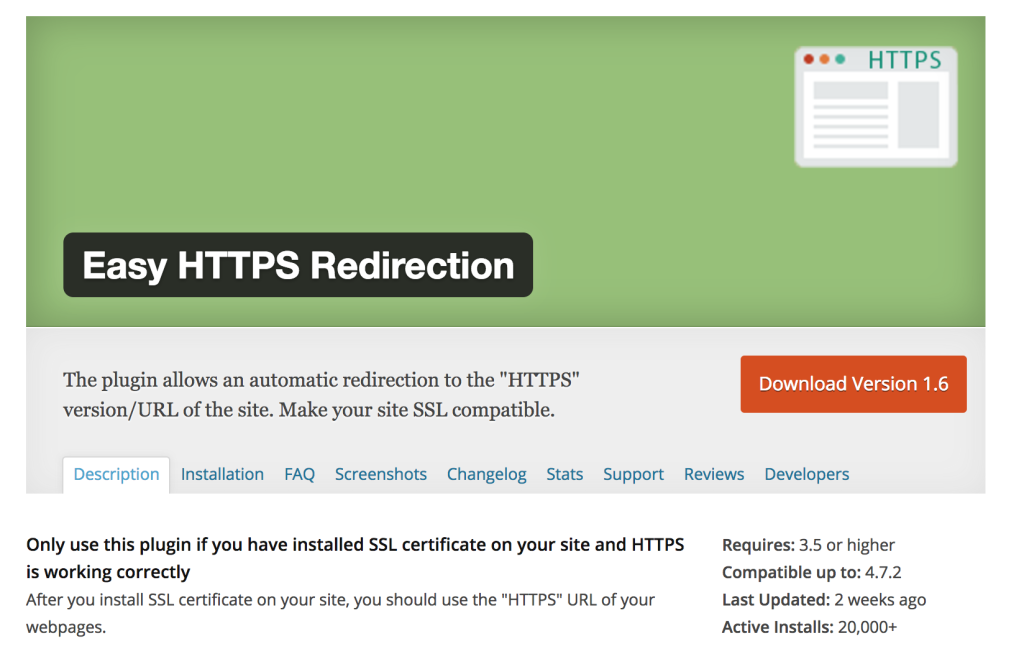
Active Installs: 20,000+
Rating: 3.8 out of 5 stars
Last Updated: 2 weeks ago
Link: https://en-au.wordpress.org/plugins/https-redirection/
Really Simple SSL

Active Installs: 100,000+
Rating: 4.8 out of 5 stars
Last Updated: 6 days ago
Link: https://en-au.wordpress.org/plugins/really-simple-ssl/
SSL Insecure Content Fixer
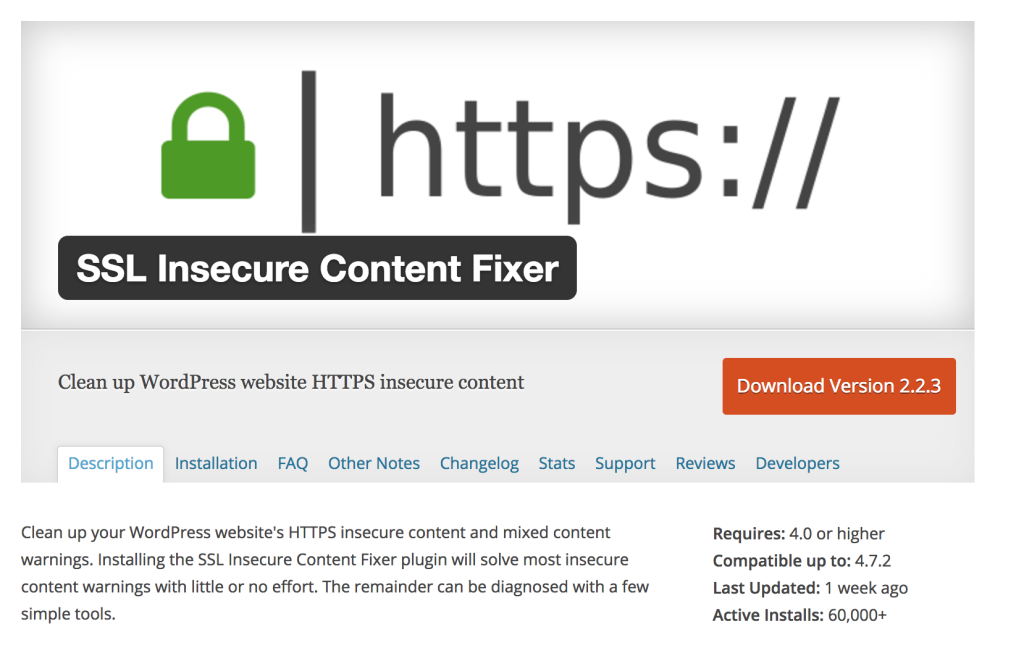
Active Installs: 60,000+
Rating: 4.9 out of 5 stars
Last Updated: 1 week ago
Link: https://wordpress.org/plugins/ssl-insecure-content-fixer/
SSL Troubleshooting Tools
SSL problems can stem from either your website itself, or the web server. Using the tools below should help point you in the right direction and give you more information on what to look at next.
Qualys SSL Labs
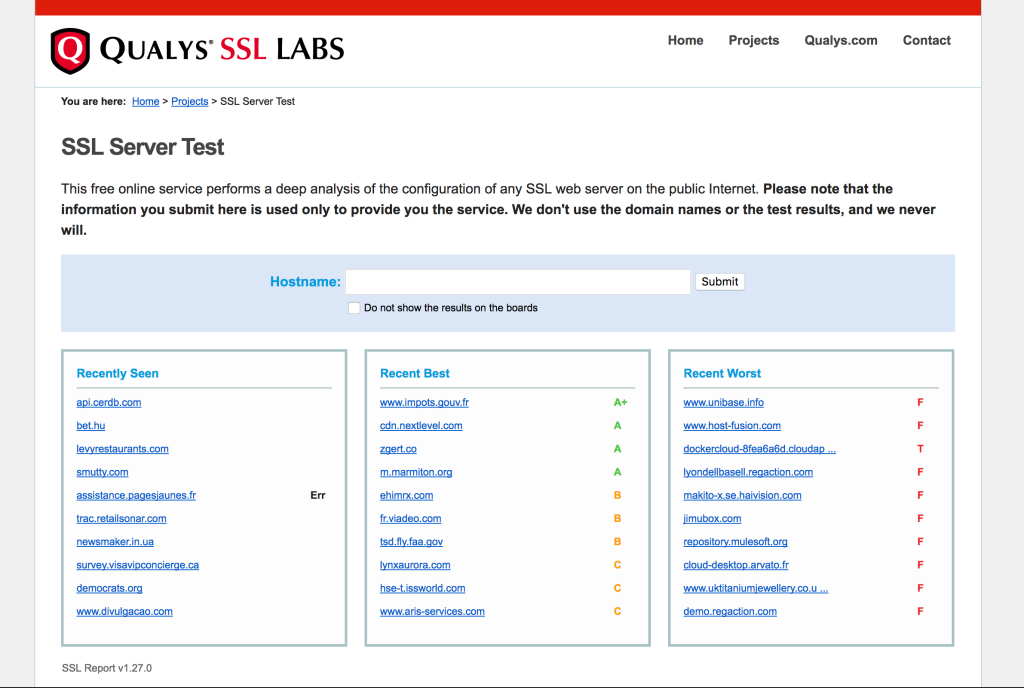
Qualys have several SSL tools available, their SSL Server Test is one of the most popular. This tool checks your web server and SSL configuration for any issues. It also gives a score based on the configuration of your web server and SSL implementation.
They also offer a client testing tool (https://www.ssllabs.com/ssltest/viewMyClient.html) which reports on the security capabilities of your web browser. This can be useful, especially if you’re working with older browsers, which can be problematic when it comes to SSL.
Link: https://www.ssllabs.com/ssltest/
Why No Padlock
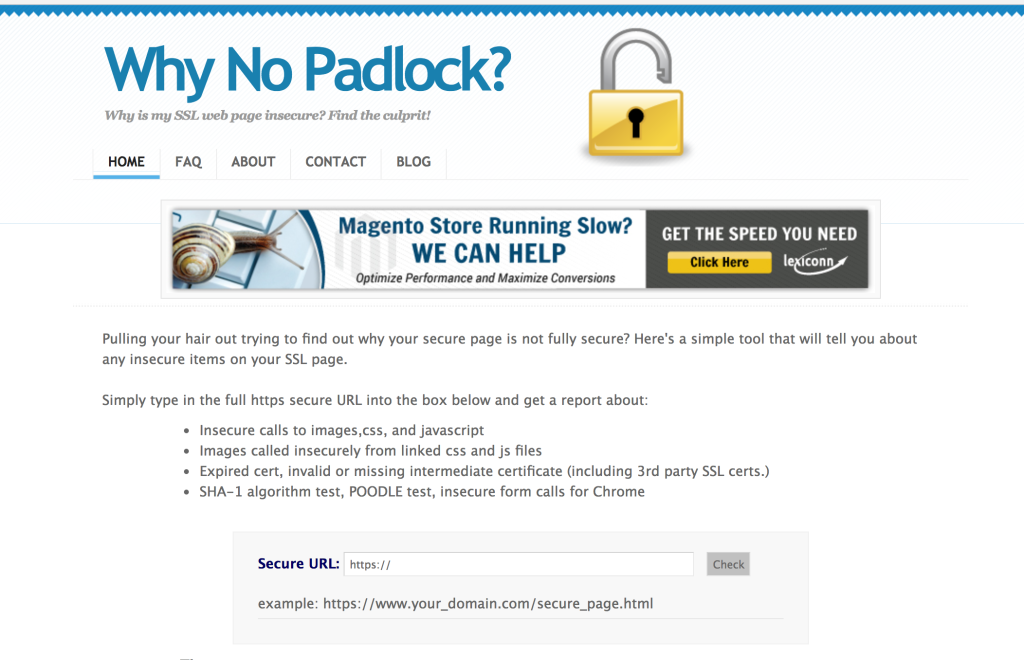
Why No Padlock is a quick and easy way to check for assets referenced using HTTP causing mixed content issues. Your web browser can give you the same information, but this can be handy when working with colleagues or clients, since it’s remotely hosted and provides a simple report.
Mixed content issues are some of the most common SSL problems you’ll run into. Even if you’ve done everything correctly, using a poorly developed plugin, or embedding code from the third party can sometimes introduce elements with hard coded assets served over HTTP.
Link: https://www.whynopadlock.com/
SSL Shopper
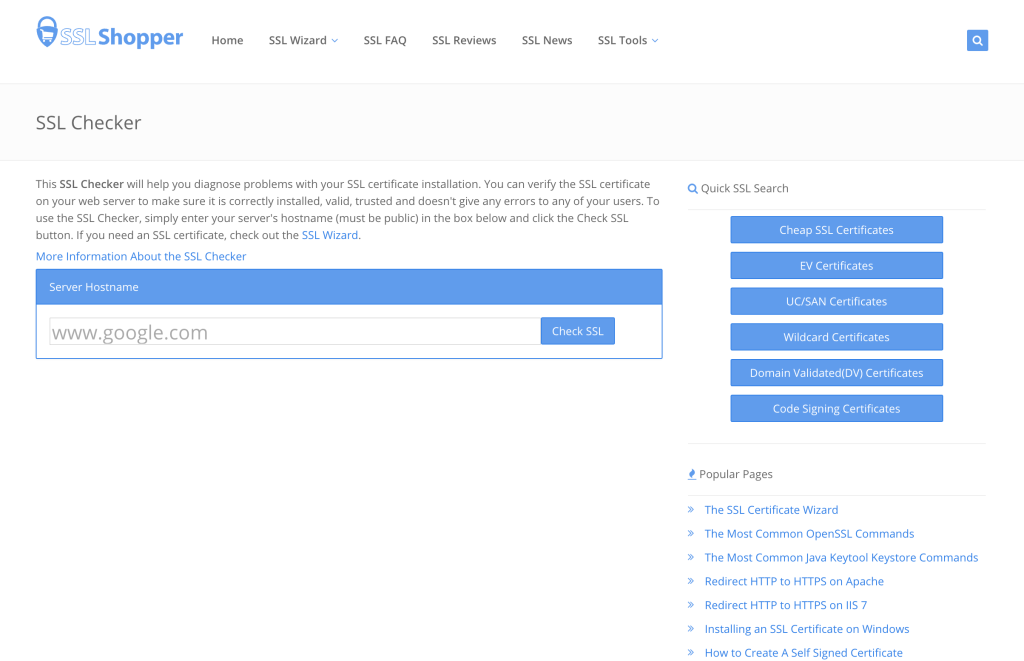
This tool is great for reporting on SSL certificate configuration and installation problems. It’s a simple check, but quite often it’s exactly the information you need to highlight the root cause of an SSL related problem.
Link: https://www.sslshopper.com/
Conclusion
SSL/HTTPS can be a complex topic, but luckily you don’t need to get your hands too dirty to start using it. There’s a wealth of plugins, guides and troubleshooting tools on the web to help get you up and running.
If you have any other useful tools or plugins you’d recommend, please let us know in the comments below.
Frequently Asked Questions about WordPress SSL Plugins
What are the benefits of using SSL plugins for WordPress?
SSL plugins for WordPress provide a secure connection between the user’s browser and the server, ensuring that all data transmitted is encrypted and safe from interception. This is particularly important for websites that handle sensitive information such as credit card details, personal data, and login credentials. SSL plugins also help improve your website’s SEO ranking as search engines like Google prioritize secure websites.
How do I install an SSL plugin on my WordPress site?
Installing an SSL plugin on your WordPress site is a straightforward process. First, you need to choose a suitable SSL plugin. Once you’ve made your choice, you can download it from the WordPress plugin directory or the plugin’s official website. After downloading, go to your WordPress dashboard, click on ‘Plugins’, then ‘Add New’, and upload the plugin file. Once uploaded, click ‘Install Now’ and then ‘Activate’ to start using the plugin.
What is the difference between free and premium SSL plugins?
Free SSL plugins offer basic features such as enabling HTTPS and redirecting HTTP to HTTPS. On the other hand, premium SSL plugins offer advanced features such as HTTP Strict Transport Security (HSTS), mixed content fixer, extensive scan for URLs, and premium support. The choice between free and premium depends on your website’s needs and budget.
Can I switch from one SSL plugin to another?
Yes, you can switch from one SSL plugin to another. However, it’s important to deactivate and uninstall the current plugin before installing a new one to avoid conflicts. Always remember to backup your website before making any changes to avoid losing any data.
What is Really Simple SSL and how does it work?
Really Simple SSL is a popular WordPress plugin that automatically detects your settings and configures your website to run over HTTPS. It handles most issues that WordPress has with SSL, such as the ‘insecure content’ warning. Once activated, it will enable the SSL certificate on your site and change all URLs to HTTPS.
How do I troubleshoot issues with my SSL plugin?
If you’re experiencing issues with your SSL plugin, first check if the plugin is compatible with your version of WordPress. If it is, try deactivating and reactivating the plugin. If the problem persists, contact the plugin’s support team for assistance.
Do I need technical knowledge to use an SSL plugin?
Most SSL plugins are designed to be user-friendly and do not require technical knowledge. They come with easy-to-follow instructions and automatic features that handle most of the work. However, if you encounter any difficulties, it’s advisable to seek help from a professional.
Can an SSL plugin slow down my website?
Generally, SSL plugins do not significantly slow down websites. However, the encryption and decryption process can add a slight overhead. To minimize this, ensure your web host supports HTTP/2, which is faster and more efficient than the older HTTP/1.1.
What is an SSL certificate and how do I get one?
An SSL certificate is a digital certificate that authenticates the identity of a website and enables an encrypted connection. You can get an SSL certificate from a Certificate Authority (CA). Some web hosts also offer free SSL certificates as part of their hosting packages.
What happens if I don’t use an SSL plugin on my WordPress site?
If you don’t use an SSL plugin on your WordPress site, your website will not have an encrypted connection, making it vulnerable to data interception and hacking. Additionally, search engines may rank your site lower, and browsers may display a ‘Not Secure’ warning to your visitors, which can harm your website’s credibility.