
Key Takeaways
- Adobe Comp CC is a free iPad app that allows designers to create rapid prototypes of designs, with options for mobile, print, or web layouts. It offers easy-to-use gestures for drawing and editing layouts, and a variety of pre-made document sizes for convenience.
- The app provides a range of features including basic shapes, text presets, image placeholders, and the ability to import custom shapes and images from the Creative Cloud. It also allows for fine-tuning of design elements, including opacity and cropping, and manipulating the stacking order of elements.
- Despite Adobe ending support for Adobe Comp CC, the app remains a powerful tool for quick prototyping, particularly for designers on the go. Alternatives for continued support include Adobe XD, Sketch, Figma, and InVision, which offer similar features and additional functionalities like interactive prototyping and design systems.
Everything is moving towards speed and mobility. Many people, including designers are at least augmenting their desktop and laptop computers with mobile devices such as tablets. With this being said, more companies are focusing on apps you can use to increase your productivity.
Imagine sitting on the subway on the way back to your office and creating a mockup of a website along the way.
Imagine having an idea for a print poster, and getting the layout put together while you’re in transit. When you get back, you can bring your idea into your more powerful devices for better design & development. In comes Adobe Comp CC, an app focused on creating quick prototyping on your iPad. Now, you can just right into your ideas and start fleshing them out.
Premade Layouts
The great thing about Adobe Comp CC is that it’s free. Search for it on the App store, and download it without paying a penny, dime or any other small denomination coin. Then, install it and fire it up to get started immediately. When you start the app, you have three options to choose from. You can select Mobile, Print, or Web, and they have pre-made layouts set up for you.
Gestures
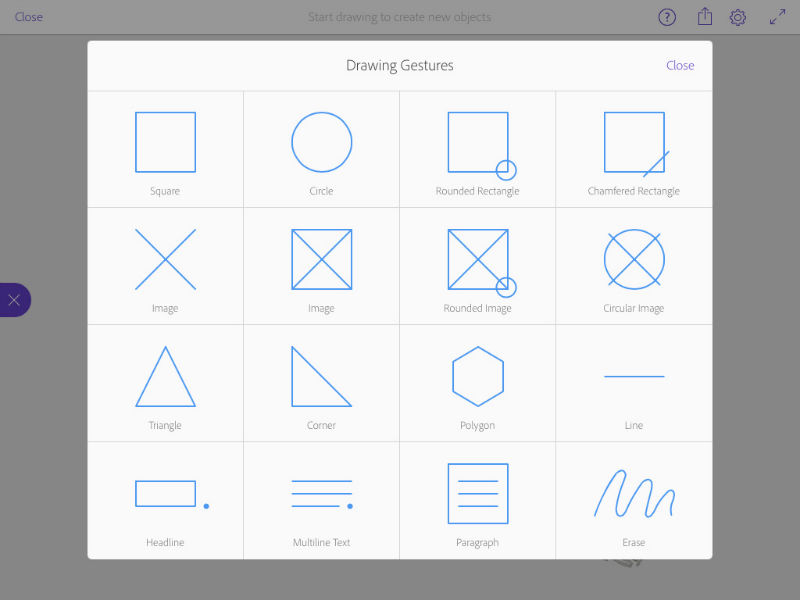
You can draw your layouts with simple gestures. Everything is simplified, to make it quick and easy to draw even complex shapes and useful design objects. For example, you can draw a square with a circle in one of the corners to create a rounded rectangle. A circle or a rectangle with an x over it creates an image box or a circular image box. You can see the list of gestures, shown in the screenshot above.
Options
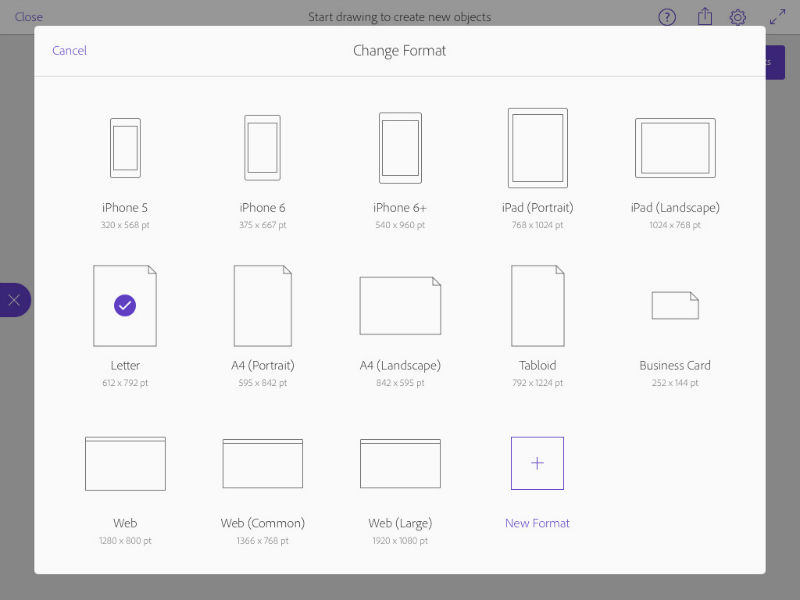
The gear icon in the top right corner of the app gives you the option to choose from different document sizes. You don’t have to simply remember common document sizes. Adobe has put together a lot of common options for you. You can start with a variety of iPhones, iPads, letters, and web sizes. It even lists the pt and pixel sizes below each option.
Editing Premade Layouts
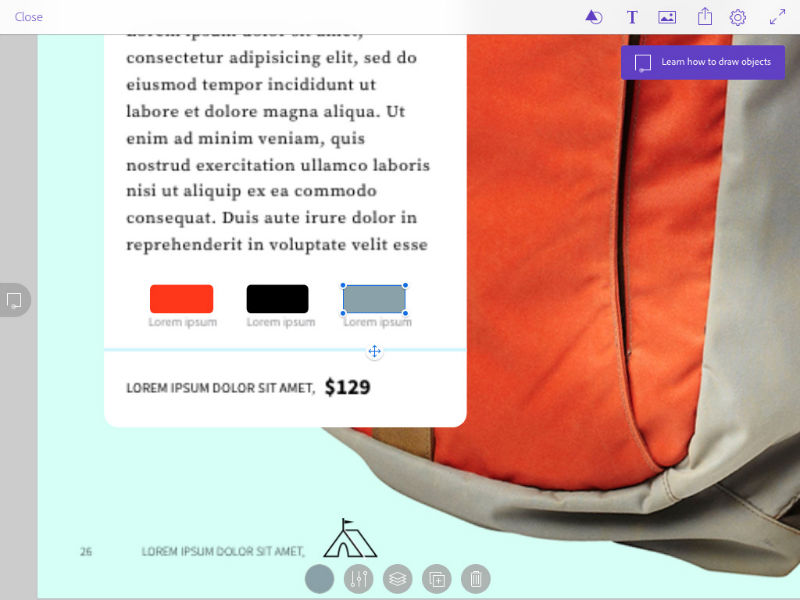
Moving around the canvas is as simple as swiping, pinching to zoom, and spreading your fingers apart to zoom out, just like any other app. It’s even more important in an app like this, because of the simple refines you’ll need to make. You also may have small elements in your design that you need to edit. You can tap an element to edit it, and hitting the + symbol below a premade layout allows you to make a copy. I’d make a copy before making any edits.
Once you’re into the layout, you have several different options. You can select elements simply by tapping. Also, you open up more options, such as shapes you can make, as well as text, and photos. These menus open up even more options to work with.
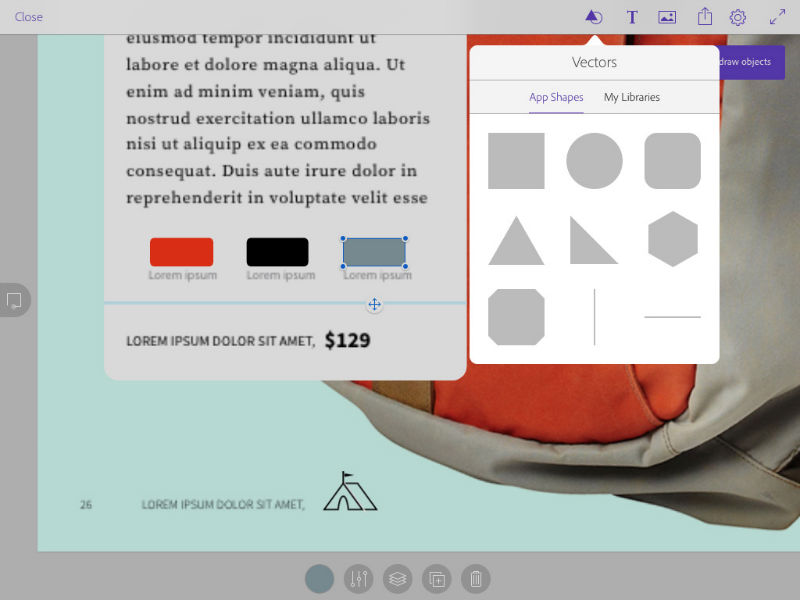
Shapes
You can choose from a collection of basic shapes such as circles, rectangles, and horizontal & vertical lines. You can also bring in any custom shapes libraries you have stored in the Creative Cloud.
Text
Just like a typical design program, you can have presets for type. You can control whether certain text is in headline format, sub headline and paragraph text.

Images
With images, you can put placeholders if you’re not sure of what images you want to use just yet. You can also select images that already exist on your ipad, you can take a photo, or you can bring in images from your creative cloud storage. If that’s not enough, you can even bring in custom images and graphics from the Creative Cloud Market.
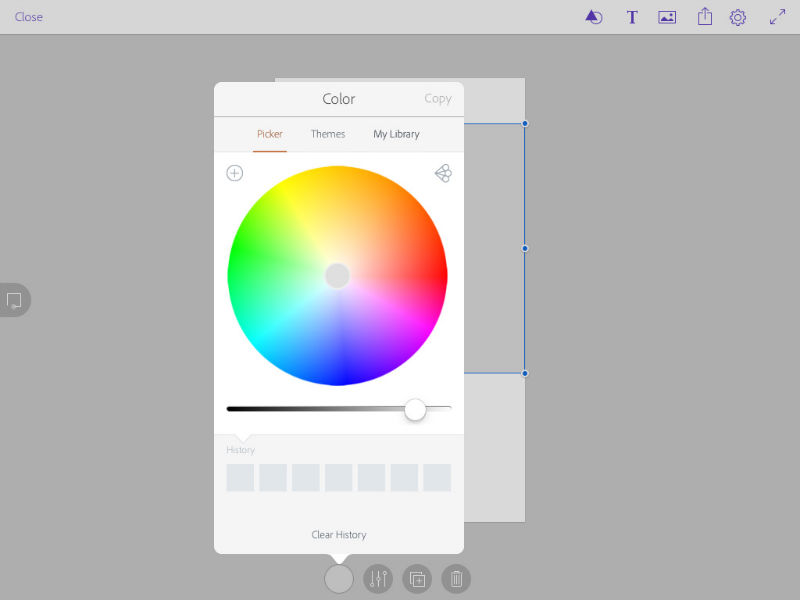
Working With Designs
There are options at the bottom of the ipad interface that enable you to further work with your design, fine tuning different elements. You can import images into the layout itself. You can also work with the opacity of elements, fading them back like in any other Adobe program.
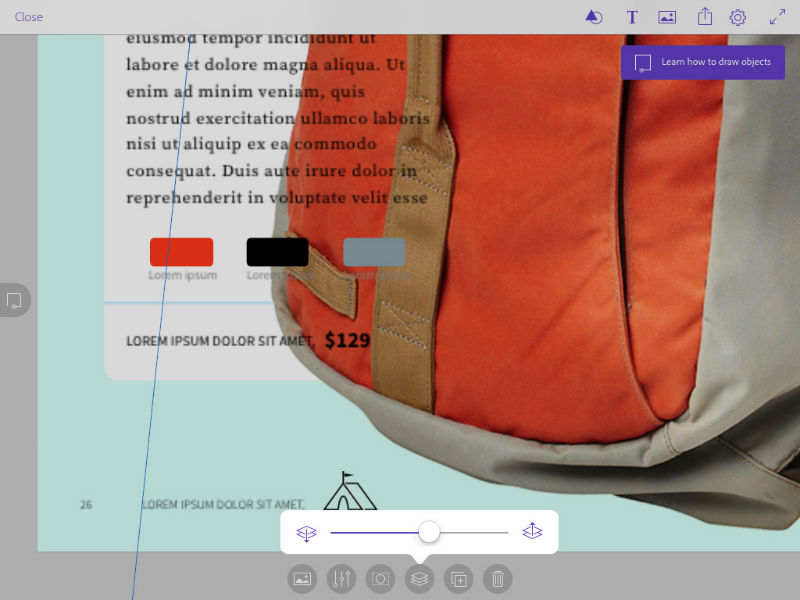
You can also crop your design to fit the dimensions you choose. One really cool feature I like is the ability to manipulate the stacking order of each element with a slider. I like this better than the menu system or the keyboard shortcuts for doing the same in Photoshop & Illustrator.
Drawing From Scratch
Drawing elements from scratch was a little confusing at first, just because I ended up moving the canvas around. Intuitively, I figured out that you had to click the incomplete square icon on the left to be able to draw shapes. Once you draw something, you click the icon again to edit drawing mode. This switches you to editing mode, where you can add images, colors and more.
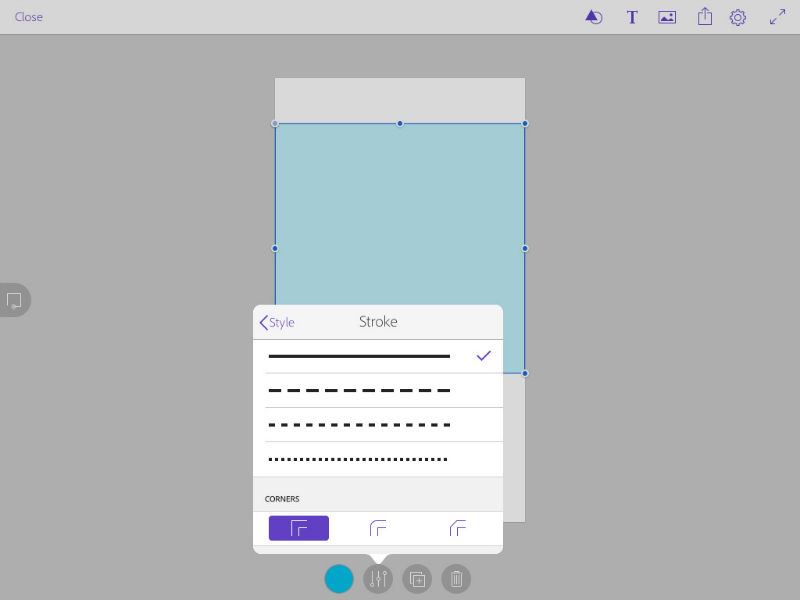
Adding Extras
You can do more than just draw flat boxes, circles, etc. You can add borders, and you have total control over the look of them. You can determine the color, thickness, the stroke type and even how it handles corners.
My Thoughts
All in all, I was very impressed with what you could do with the Adobe Comp CC iPad app. You can get pretty far along with your work, even on an ipad. In terms of how easy it is to use, I haven’t come across a tablet app that compares to it.
It is simple, quick, and you have total control. The app doesn’t lag or hang up anywhere, which means you can focus more on getting your layout idea put together and less on figuring out the interface. It’s important to note that I figured all of this out without reading or even opening the directions.
I was impressed overall with how quickly you could download assets from the Adobe CC Market. I think you could really do a lot with this in terms of getting a prototype together, whether it’s for print or for the web.
If you’re looking to get more done while you’re on the go, Adobe Comp CC is a great choice.
Frequently Asked Questions (FAQs) about Adobe Comp CC
What are the alternatives to Adobe Comp CC since it’s no longer supported?
Since Adobe has ended support for Adobe Comp CC, users may need to find alternatives. Some popular options include Adobe XD, Sketch, Figma, and InVision. These tools offer similar features to Adobe Comp CC, such as wireframing, prototyping, and design collaboration. They also provide additional functionalities that were not available in Adobe Comp CC, such as interactive prototyping and design systems.
How can I migrate my Adobe Comp CC projects to other Adobe applications?
Adobe allows users to migrate their Adobe Comp CC projects to other Adobe applications like Adobe XD, Illustrator, or Photoshop. To do this, open your project in Adobe Comp CC, then use the ‘Send to Desktop’ feature to send your project to the desired Adobe application. Once the project is opened in the new application, you can continue working on it as usual.
Why was Adobe Comp CC removed from app stores?
Adobe decided to discontinue Adobe Comp CC to focus on developing and improving other design and prototyping tools. While Adobe Comp CC was a useful tool for rapid prototyping, Adobe offers other applications like Adobe XD, Illustrator, and Photoshop that provide more comprehensive design functionalities.
Can I still use Adobe Comp CC after it’s been discontinued?
Yes, you can still use Adobe Comp CC if you have it installed on your device. However, Adobe will no longer provide updates or support for the application. This means that any bugs or issues that arise will not be fixed, and there may be compatibility issues with newer operating systems.
What are the main features of Adobe Comp CC?
Adobe Comp CC was known for its simplicity and ease of use. It allowed users to create wireframes, mockups, and prototypes quickly and easily. Some of its main features included the ability to draw shapes using natural drawing gestures, the ability to add text and images, and the ability to send designs to Adobe Photoshop, Illustrator, or InDesign for further refinement.
How does Adobe XD compare to Adobe Comp CC?
Adobe XD is a more advanced design and prototyping tool compared to Adobe Comp CC. It offers interactive prototyping, design systems, and collaboration features, which were not available in Adobe Comp CC. However, Adobe XD is also more complex and may have a steeper learning curve for new users.
Can I still download Adobe Comp CC?
As of February 15, 2022, Adobe Comp CC has been removed from app stores and is no longer available for download. If you already have the app installed on your device, you can continue to use it, but no further updates or support will be provided.
What are the system requirements for Adobe Comp CC?
Adobe Comp CC was compatible with iOS and Android devices. It required iOS 9.3 or later, or Android 5.0 and up. However, since the app has been discontinued, it may not work properly on newer operating systems.
How can I learn to use Adobe XD or other Adobe applications?
Adobe provides a variety of resources to help users learn their applications. These include tutorials, user guides, and community forums. You can also find many online courses and tutorials on websites like YouTube, Udemy, and LinkedIn Learning.
What is the future of design and prototyping tools at Adobe?
Adobe continues to invest in and develop their design and prototyping tools. Adobe XD, for example, is constantly being updated with new features and improvements. Adobe also offers other design tools like Illustrator, Photoshop, and InDesign, which are widely used in the design industry.