

Key Takeaways
- PostCSS is a popular tool that can be used with Gulp, an automation tool, to process CSS files. To set up the project, a project folder with Gulp installed and two subfolders named “initial” and “final” are required. The “initial” folder contains the raw, unprocessed CSS code while the “final” folder holds the processed files.
- Plugins, such as short-color, can be installed using the npm install command followed by the plugin name and –save-dev. This command adds the plugin as a dependency in the project.json file. The gulpfile.js file can then be edited to enable the plugins and set up a Gulp task to process the raw CSS file and create a production-ready stylesheet.
- PostCSS has a wide range of plugins that can be used to increase productivity. Multiple plugins can be installed and used simultaneously to transform stylesheets. These plugins can be stored in an array for easier maintenance and brevity.
- The order of execution of the plugins is crucial when using multiple plugins. The output can be significantly different depending on the sequence in which the plugins are executed. Therefore, it’s essential to plan and test the order of plugin execution to ensure the desired result.
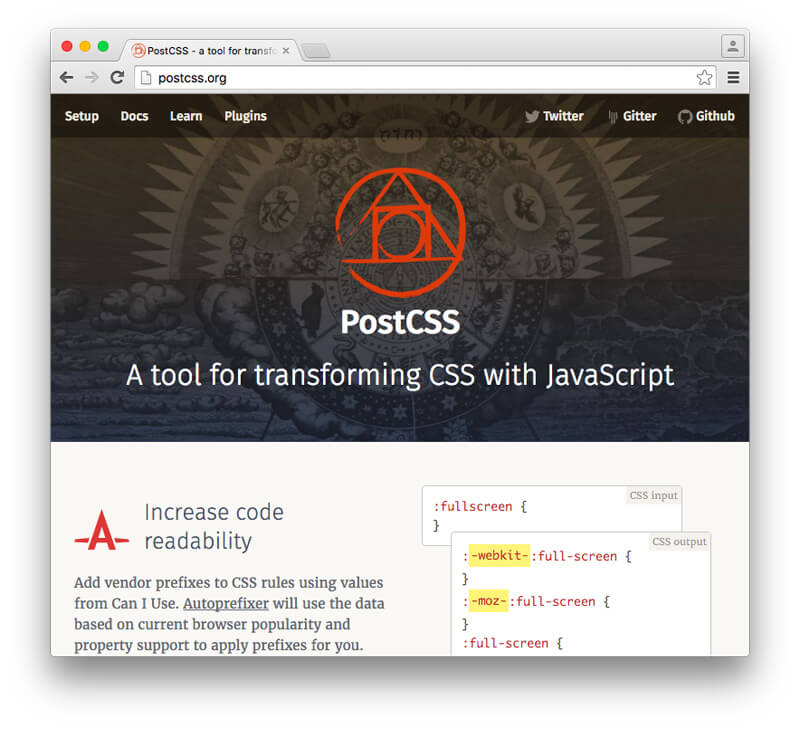
PostCSS has been gaining popularity rapidly for some time now. If you have not used it yet or don’t know what PostCSS is, then I suggest you take a look at this introductory PostCSS tutorial, which discusses the basics of PostCSS including how to install and run PostCSS with a quick overview of some plugins.
In this tutorial, I will show you how to use PostCSS with Gulp, the popular automation tool. Since this is not an introductory Gulp tutorial I won’t be covering the basics of Gulp. But for a quick refresher, you can check out this excellent article.
Setting Up the Project
Before beginning this tutorial, you should have a project folder that you will work in. The folder should have Gulp installed and have two folders inside it with the names “initial” and “final” (or some other name of your choice). The folder called “initial” will have your raw and unprocessed CSS code. The “final” folder will have the processed files, ready to be used.
Before going any further, navigate to your project folder using the terminal and run the following command:
npm install gulp-postcss --save-dev
The --save-dev flag adds the plugin that you are installing to the project.json file as a dependency. This will be helpful in situations where you need to collaborate with others on a project. When other team members run the npm install command on your package, all the plugins will be installed automatically.
At this point your folder structure should be:
- initial — The folder with your raw CSS files.
- style.css — Unprocessed stylesheet that we will edit later.
- final — The folder with processed CSS files.
- node_modules — The folder with all npm modules.
- gulp — Created when you installed Gulp.
- gulp-postcss — Created after running the command above.
- guplfile.js — Your Gulp file.
- package.json — Your package.json file.
Installing a Plugin
Let’s install a basic plugin to get started. The plugin we are going to use is short-color. This basically extends the existing color property to also set the background color using a second value. Run the following command to install short-color.
npm install postcss-short-color --save-dev
You could also install both gulp-postcss and postcss-short-color at the same time using:
npm install gulp-postcss postcss-short-color --save-dev
After both plugins have been installed, you need to open up and edit the gulpfile.js file so you can start working with the plugin. We begin by including the following lines to enable both plugins:
var gulp = require('gulp');

var postcss = require('gulp-postcss');

var shortColor = require('postcss-short-color');
Now, let’s set up a Gulp task to process our raw CSS file and create a production-ready stylesheet. Here is the code to do so:
gulp.task('css', function () {

  return gulp.src('initial/*.css')

  .pipe(postcss([shortColor]))

  .pipe(gulp.dest('final'));

});
I begin by creating a task called css. This name is to be used whenever you want to run the corresponding function. You can specify the files that you want to process inside gulp.src(). Using *.css will process all CSS files inside the “initial” folder.
Next, we use the pipe() function to call all our plugins. To do so, we pass all the plugins as an argument to the postcss() function. In our basic example, we actually have just one plugin to pass. I’ll show you how to pass multiple plugins as arguments in the next section. After piping the plugin, gulp.dest() is used to set the destination of processed files.
To test if everything has been set up correctly, create a style.css file inside the “initial” folder. style.css will have the following CSS:
section {

  color: white black;

}
Next you need to run the gulp css command inside your terminal. At this point, if you look inside the “final” folder, you should see a style.css file with following CSS:
section {

  color: white;

  background-color: black;

}
If the CSS in your stylesheet matches the CSS above, then we can assume everything is working.
Installing Multiple Plugins
Just using one basic plugin is not going to help you much with productivity. PostCSS has a lot of impressive and incredibly useful plugins so in most cases you will be using more than just one. In this section I will show you how to work with multiple plugins at once.
Three PostCSS plugins/packs that you might find useful are: short, cssnext and autoprefixer.
short will enable you to write shorthand CSS for a lot of properties. For instance:
.heading {

  font-size: 1.25em 2;

}
will become:
.heading {

  font-size: 1.25em;

  line-height: 2;

}
cssnext enables you to use the latest CSS syntax in your stylesheets. For instance, the following CSS:
.link {

  color: color(green alpha(-10%));

}
is converted to:
.link {

  background: rgba(0, 255, 0, 0.9);

}
Finally, autoprefixer will add vendor prefixes to your CSS and convert:
img {

  filter: grayscale(0.9);

}
to:
img {

  -webkit-filter: grayscale(0.9);

  filter: grayscale(0.9);

}
Now let’s see how we can install these plugins and then use them to transform our stylesheets. Run the following command in the project directory:
npm install autoprefixer postcss-short postcss-cssnext --save-dev
We will have to modify our Gulp task to include all these plugins. Instead of piping all these plugins one at a time, we will store them in an array for ease of maintenance and brevity. Here is the code for our gulpfile.js:
var gulp = require('gulp');

var postcss = require('gulp-postcss');

var autoprefixer = require('autoprefixer');

var cssnext = require('postcss-cssnext');

var shortcss = require('postcss-short');
gulp.task('css', function() {

  var plugins = [

    shortcss,

    cssnext,

    autoprefixer({browsers: ['> 1%'], cascade: false})

  ];

  return gulp.src('initial/*.css')

  .pipe(postcss(plugins))

  .pipe(gulp.dest('final'));

});
You might have noticed that I have specified some options for the Autoprefixer plugin. These options determine the CSS that Autoprefixer outputs. In this case, I am telling the plugin to support all browsers with more than 1% of global usage. I have also disabled cascading so that all prefixed and unprefixed properties are left aligned. Similar options are also available for most other plugins.
To test if everything is working, put the following CSS in your stylesheet:
.prefix-filter {

  display: flex;

}
.cssshort-section {

  text: #333 bold justify uppercase 1.25em 1.7 .05em;

}

.cssnext-link {

  color: color(blue alpha(-10%));

}

.cssnext-link:hover {

  color: color(orange blackness(80%));

}
If you run gulp css in the terminal now, you should get the following processed CSS inside style.css in the “final” folder.
.prefix-filter {

  display: -webkit-box;

  display: flex;

}
.cssshort-section {

  color: #333;

  font-weight: 700;

  text-align: justify;

  text-transform: uppercase;

  font-size: 1.25em;

  line-height: 1.7;

  letter-spacing: .05em;

}
.cssnext-link {

  color: #0000ff;

  color: rgba(0, 0, 255, 0.9);

}
.cssnext-link:hover {

  color: rgb(51, 33, 0);

}
Execution Order of Plugins
The example in the last section illustrated the usefulness of PostCSS quite clearly. All of PostCSS’s power lies in its plugins. One thing to keep in mind, however, when using multiple plugins — which you eventually will in complex projects — is the order in which you execute them.
Consider two plugins rgba-fallback and color-function. rgba-fallback will transform an RGBA color to hexadecimal format and color-function will transform CSS’s color() function to more compatible CSS. Let’s say you have following CSS:
body {

  background: color(orange a(90%));

}
If you were to run the rgba-fallback plugin before the color-function plugin, like this:
var plugins = [

  rgbafallback,

  colorfunction

];
You will get the following CSS:
body {

  background: rgba(255, 165, 0, 0.9);

}
As you can see, there is no RGBA fallback in the processed CSS. The reason for this anomaly is that when the fallback plugin runs, it finds the background to be color(orange a(90%)) and does not know what to do with it. Later, the color function plugin executes and creates an RGBA color value from the original color function.
If you were to reverse the plugin order and run them in the following sequence:
var plugins = [

  colorfunction,

  rgbafallback

];
The final CSS would be:
body {

  background: #ffa500;

  background: rgba(255, 165, 0, 0.9)

}
This time the color plugin first transforms the background color to an RGBA value and the fallback plugin later adds a hexadecimal fallback.
Conclusion
In this tutorial I have covered the basics of using Gulp and PostCSS together. With the right combination of plugins and efficient use of Gulp, you can save many hours of development and avoid unnecessary headache. If you have any questions or suggestions for the techniques mention in this tutorial let me know in the comments!
Frequently Asked Questions (FAQs) about Using PostCSS with Gulp
What is the primary function of Gulp in PostCSS?
Gulp is a task runner that automates tasks in your development workflow. It is used in PostCSS to automate the process of transforming CSS with JavaScript. Gulp helps to streamline the process of applying PostCSS plugins to your CSS files. It watches your files for changes, applies PostCSS plugins, and then outputs the transformed CSS to a specified directory.
How do I install Gulp and PostCSS?
To install Gulp and PostCSS, you need to have Node.js and npm installed on your computer. Once you have these, you can install Gulp globally using the command npm install --global gulp-cli. Then, navigate to your project directory and install Gulp and PostCSS locally using the command npm install --save-dev gulp-postcss.
How do I configure Gulp to use PostCSS?
To configure Gulp to use PostCSS, you need to create a gulpfile.js in your project root. In this file, you require Gulp and PostCSS, define a task to process your CSS, and then export this task so Gulp can run it. Here’s a basic example:const gulp = require('gulp');const postcss = require('gulp-postcss');gulp.task('css', function () {
return gulp.src('./src/*.css')
.pipe(postcss())
.pipe(gulp.dest('./dest'));});gulp.task('default', gulp.series('css'));
How do I add PostCSS plugins to my Gulp task?
To add PostCSS plugins to your Gulp task, you need to require them in your gulpfile.js and then add them to the PostCSS function call. Here’s an example with the autoprefixer plugin:const gulp = require('gulp');const postcss = require('gulp-postcss');const autoprefixer = require('autoprefixer');gulp.task('css', function () {
return gulp.src('./src/*.css')
.pipe(postcss([autoprefixer()]))
.pipe(gulp.dest('./dest'));});gulp.task('default', gulp.series('css'));
How do I run my Gulp task?
To run your Gulp task, you use the gulp command followed by the name of the task. For example, if your task is named ‘css’, you would run gulp css in your terminal. If you named your task ‘default’, you can run it just by typing gulp.
How do I watch my CSS files for changes?
To watch your CSS files for changes, you can use Gulp’s watch method. This method takes two arguments: the path to the files to watch, and the task to run when a file changes. Here’s an example:gulp.task('watch', function () {
gulp.watch('./src/*.css', gulp.series('css'));});
Can I use Gulp and PostCSS with other preprocessors like Sass or Less?
Yes, you can use Gulp and PostCSS with other preprocessors like Sass or Less. You just need to install the appropriate Gulp plugin for the preprocessor and add it to your Gulp task.
How do I handle errors in my Gulp task?
To handle errors in your Gulp task, you can use the on method of the stream returned by gulp.src. This method allows you to listen for the ‘error’ event and handle it in a callback function. Here’s an example:gulp.task('css', function () {
return gulp.src('./src/*.css')
.pipe(postcss().on('error', function (err) {
console.error(err.toString());
this.emit('end');
}))
.pipe(gulp.dest('./dest'));});
Can I use PostCSS to lint my CSS?
Yes, you can use PostCSS to lint your CSS. There are several PostCSS plugins available for linting CSS, such as stylelint. You can add these plugins to your Gulp task to lint your CSS files as part of your development workflow.
How do I optimize my CSS with PostCSS and Gulp?
To optimize your CSS with PostCSS and Gulp, you can use PostCSS plugins like cssnano or cssnext. These plugins can minify your CSS, autoprefix it, and transform future CSS syntax to current syntax. You can add these plugins to your Gulp task to optimize your CSS files as part of your development workflow.