
Key Takeaways
- Electron, a tool developed by GitHub, allows developers to create cross-platform desktop apps using JavaScript and web technologies. It offers a more stable and secure solution than previous options such as Flash, Air, Java and Silverlight.
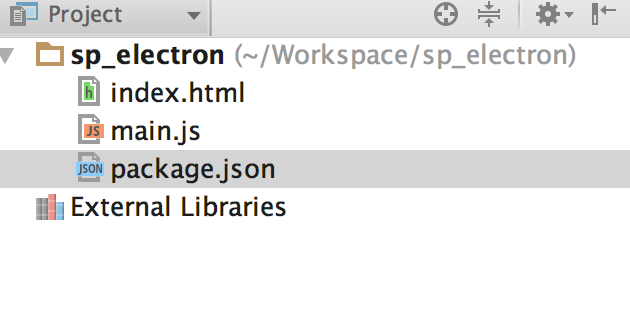
- An Electron project requires three files: index.html, main.js, and package.json. The index.html file is the web page rendered by default, the main.js file starts the app and creates a browser window to render HTML, and the package.json file lists the application dependencies, metadata and files needed.
- Electron apps can be packaged into ‘native’ applications using tools like the electron-packager npm module. This creates an executable binary that can run on various platforms, including Windows, macOS, and Linux.
- Electron is not just for simple apps. It can handle complex functionalities and offers access to features like clipboard access, application menu bar tools, and the Chrome Dev Tools for debugging. Several popular applications like Atom, Slack, and Kitematic are built with Electron.
Call me old-fashioned, but I have always preferred using a desktop app suited to each purpose. I feel that if all I’m going to use is a browser for everything I do, then why have a ‘proper’ computer? On a practical level, I travel frequently and am generally ‘between’ internet connectivity or using unstable internet connections, and ‘real’ applications are typically far better at allowing effective offline working.
I appreciate how complex developing and maintaining native desktop applications is and can understand why companies push users towards web or cross-platform versions. There has been a plethora of options for accomplishing this over the decades. Flash, Air, Java and Sliverlight are all options that promised this capability with varying degrees of success.
The main problem with these options is that they generally involved learning another language (which defeats the point) or forced users to install plugins plagued with stability, performance and security problems.
We all know the power of JavaScript and web technologies and have seen a wave of options for developing and packaging cross-platform desktop apps using this knowledge.
Electron, by GitHub is one option, but as I already happily use several apps built with it, it seemed a good option to investigate. After two years of development, including one name change (from Atom shell), Electron has recently reached version 1.0, always a milestone in any project’s existence. What better time to see what it’s capable of.
Installing Electron
Electron has a quick start project and pre-built releases available, but let’s dive straight in the deep end and install Electron via npm:
npm install electron-prebuilt -g
Or for Mac Homebrew lovers, via Cask:
brew install Caskroom/cask/electron
Whichever option you follow, you should end up with an executable electron binary.
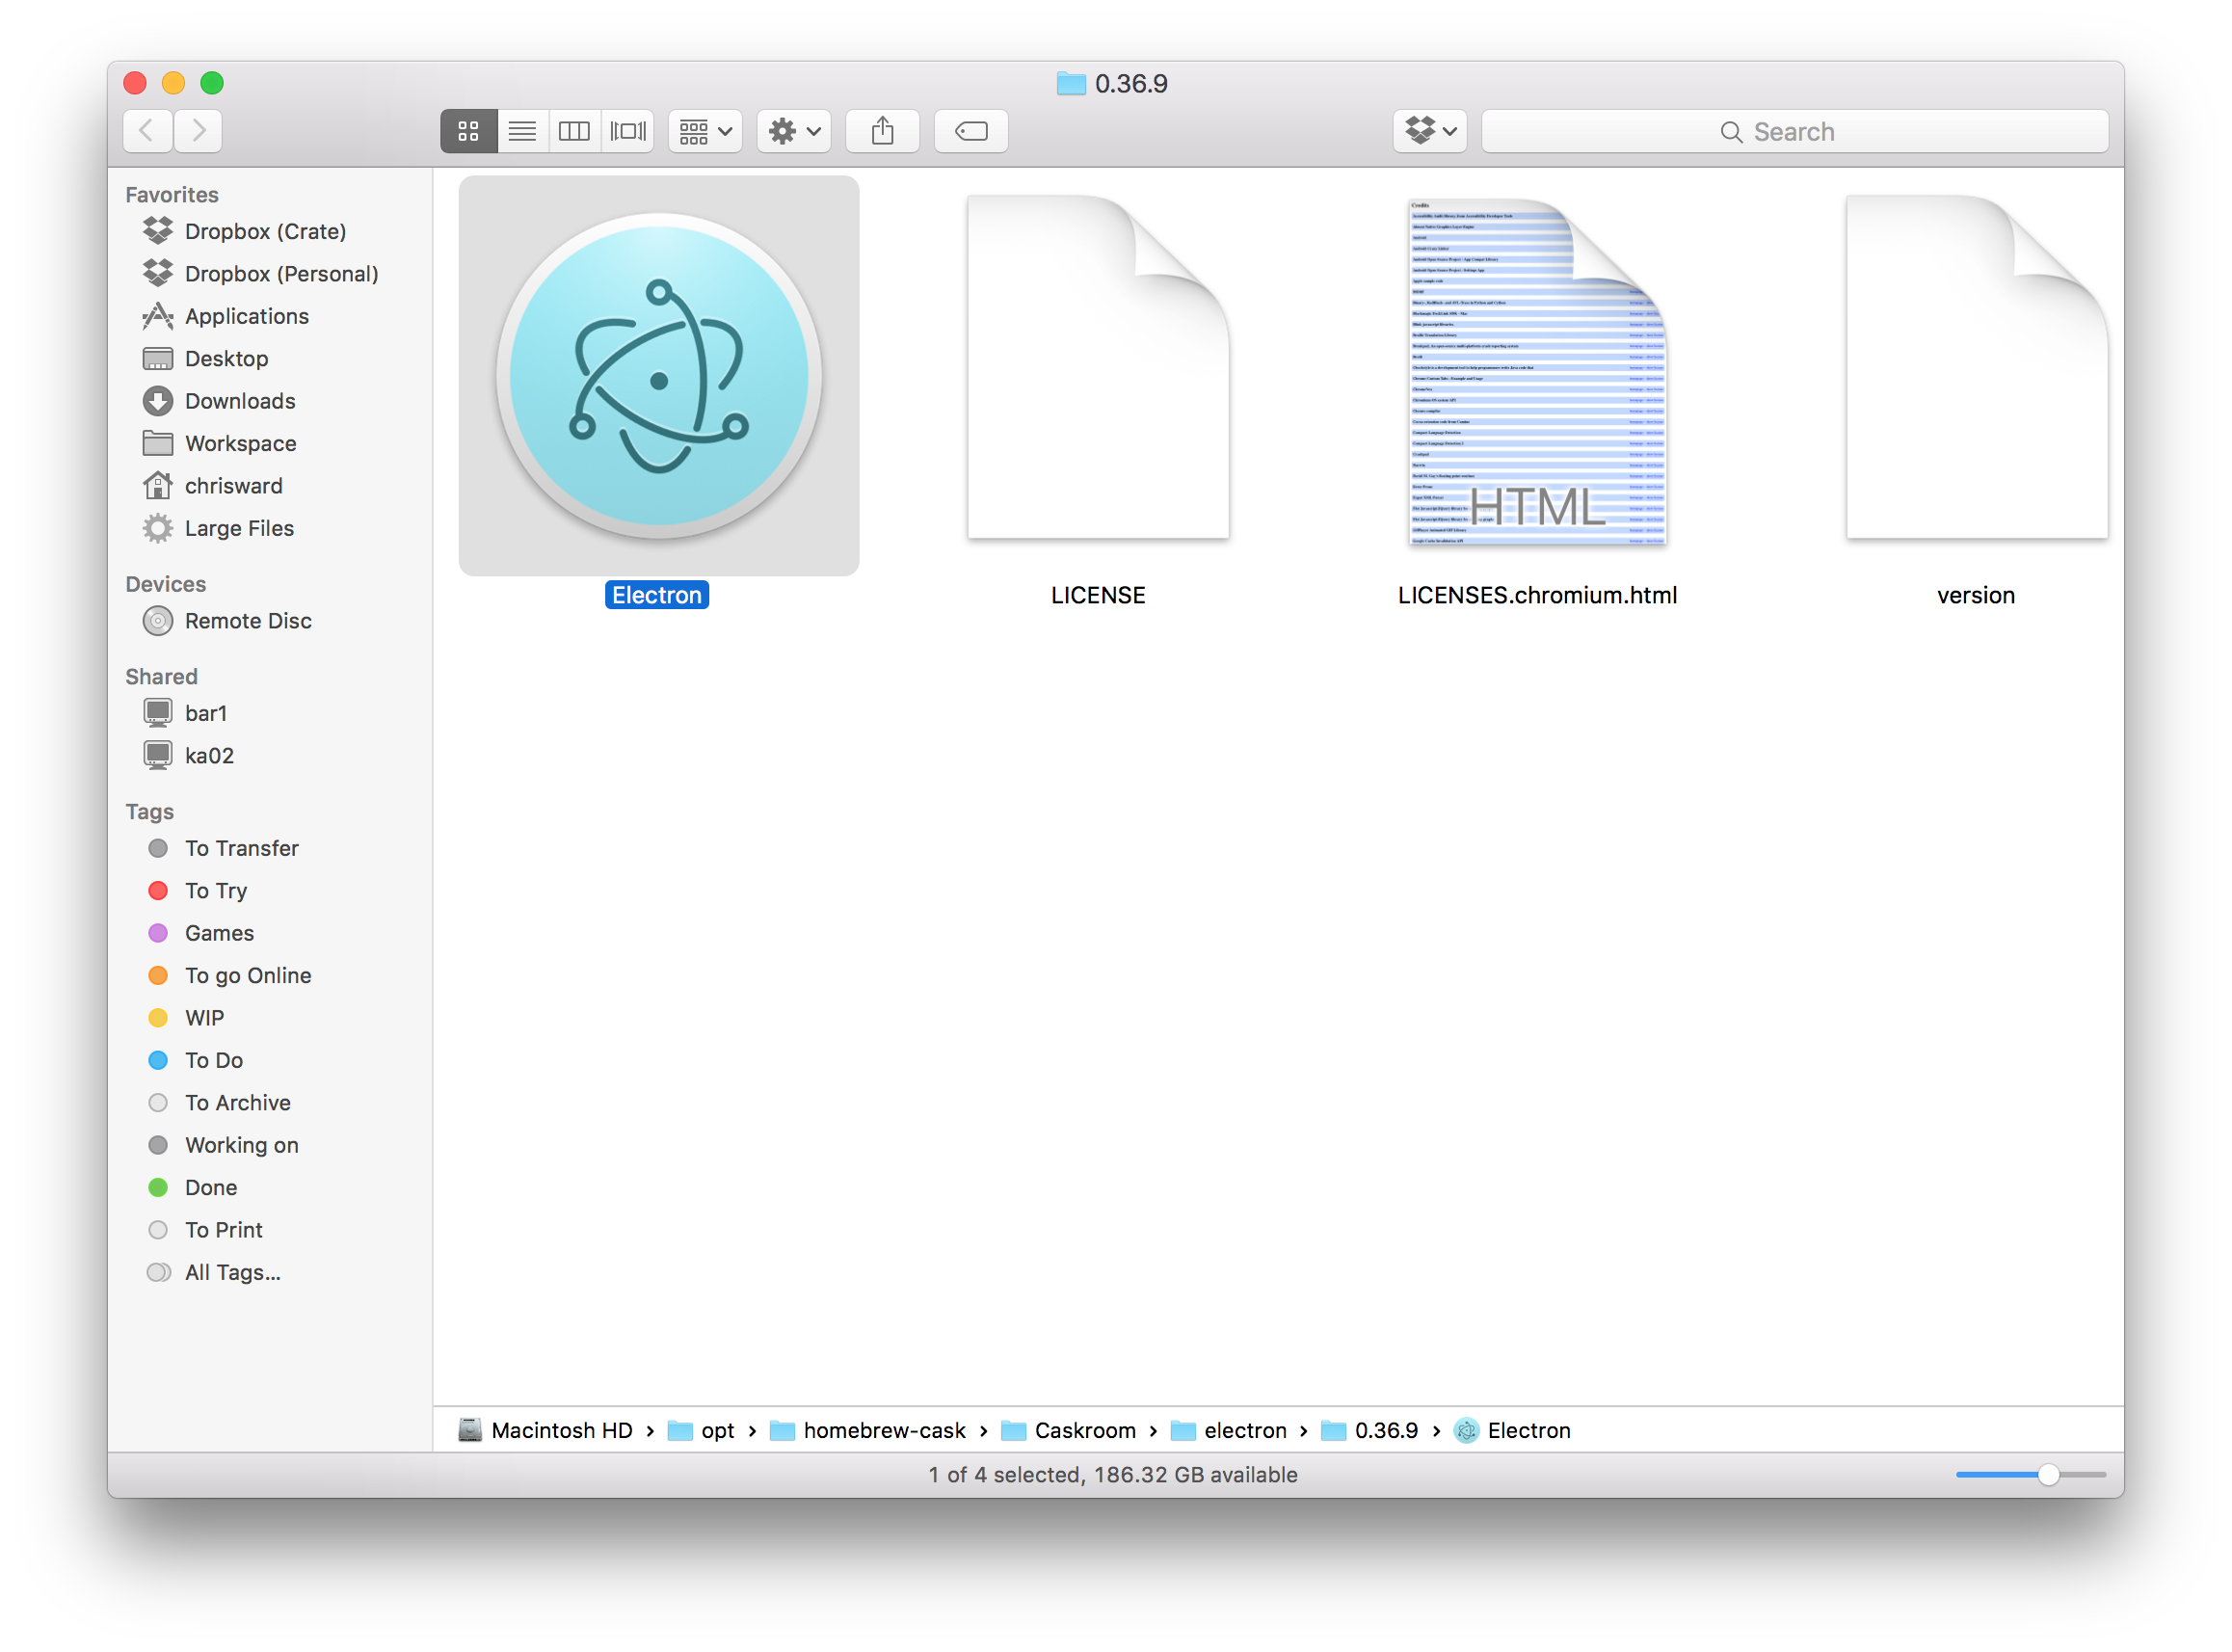
This application is only used for bundling and running your final project, not for creating one. For this you can use any standard text editor or IDE.
An Electron project requires three files:
index.html: The web page rendered by default.main.js: Starts the app and creates a browser window to render HTML.package.json: Lists the application dependencies, meta data and files needed.
You Need a Hero
In this example I am going to create a simple application that connects to the Marvel API, pulls in 25 super heroes and displays their name and thumbnail image. It will display a system notification when the process is complete and have an OS-like application icon. An end-user will not be aware of how the application was created or be able to view the source code.
You can find the final project on GitHub.
Open package.json and add the following:
{
  "name": "hero-browser",
  "version": "0.1.0",
  "main": "main.js",
  "dependencies": {
    "dotenv": "^2.0.0",
    "md5": "^2.1.0"
  }
}
This is a standard package.json file and follows the same format and options as node.js. Here setting the application name, version, main JavaScript file and dependencies.
Run npm install after adding these to ensure you have the dependencies installed.
main.js handles interactions between the host operating system and your JavaScript code. This will be a simple example, you can find out more on what’s possible in Electron’s documentation.
First, let’s set up the requirements needed (i.e. electron), create an app, native browser window and a main window placeholder to work with.
'use strict';

const electron = require('electron');
const app = electron.app;  // Module to control application life.
const BrowserWindow = electron.BrowserWindow;  // Module to create native browser window.
var mainWindow = null;
Next handle quitting the application if windows are closed. If the platform is OS X, applications typically remain open after all windows are closed and users will normally explicitly quit, so handle that use case.
app.on('window-all-closed', function() {
    if (process.platform != 'darwin') {
        app.quit();
    }
});
Once Electron is initialized, create the browser window and load the application code. If the window is closed, dereference the window object.
app.on('ready', function() {
  mainWindow = new BrowserWindow({width: 800, height: 600});
  mainWindow.loadURL('file://' + __dirname + '/app/index.html');

  mainWindow.on('closed', function() {
    mainWindow = null;
  });
});
Create a subfolder called app. In app/index.html add references to the stylesheets and JavaScript files needed and setup the HTML structure of the interface.
<!DOCTYPE html>
<html>
<head>
    <meta charset="UTF-8">
    <title>Marvel Super Hero Browser</title>
    <link href="css/index.css" rel="stylesheet" type="text/css"/>
</head>
<body>
    <h1>Marvel Super Hero Browser</h1>
    <em>Thanks to Marvel for their API.</em>

    <div id="character_list"></div>

    <script src="js/index.js"></script>
</body>
</html>
Create app/css/index.css and add some basic css to aid layout.
#character_list .character img {
    width: 100px;
}

.character {
    float: left;
    padding: 25px;
    max-width: 100px;
}
Create app/js/index.js. This will be where most of the application functionality takes place. Start by setting up the dependencies and variables needed:
'use strict';

require('dotenv').config();
var md5 = require('md5');
var publicKey = process.env.MARVEL_PUBLIC_KEY;
var privateKey = process.env.MARVEL_PRIVATE_KEY;
var ts = String(new Date().getTime());
var hash = md5(ts+privateKey+publicKey);

var url = `https://gateway.marvel.com/v1/public/characters?ts=${ts}&apikey=${publicKey}&hash=${hash}&limit=25`;
The Marvel API is a fun API to use, but it’s authentication and data structure can be confusing. Sign up here for a key and follow these instructions to get the three parameters needed above. The public and private keys required for authentication are stored in a .env file and accessed using the dotenv package.
MARVEL_PRIVATE_KEY=<PRIVATE_KEY>
MARVEL_PUBLIC_KEY=<PUBLIC_KEY>
The limit value sets how many records to request and there are other parameters that can be set.
If you would rather skip connecting and authenticating with the Marvel API, then I created a JSON file of data for you to use instead. Replace the above JavaScript code with:
'use strict';

var url = `https://gist.githubusercontent.com/ChrisChinchilla/29486e8ce367f426dfe6b15dbcc3fa54/raw/3ea92af51ce3749bb5983c1cb0359883592daef6/Marvel%2520Electron%2520Data`;
Next create the HTML and placeholder variables needed for outputting each character into the character_list div:
var characterHTML = (character)=> `
  <div class="character">
    <h2>${character.name}</h2>
    <img src="${character.thumbnail.path}.${character.thumbnail.extension}" />
  </div>`;
Next, make a call to the API and process the response, drilling down into the JSON structure for the actual list of characters inside resp.data.results.
Create HTML elements for each character, appending them to character_list. Images in the Marvel API are separated into a file name and extension. If there is no image available, it displays a ‘no image available’ image, we could handle this, but won’t in this example.
When the loop completes, display a system notification, close methods and handle potential errors connecting to the API.
fetch(url)
    .then(resp => resp.json())
    .then(json => json.data.results)
    .then(characters => {
        var html = characters.map(characterHTML).join('');
        var characterList = document.getElementById("character_list");
        characterList.innerHTML = html;

        new Notification(document.title, {
            body: 'Super Heroes Loaded!'
        });
    })
    .catch((error)=> {
        console.error(error);
    });
Run the application by executing the command below in the project’s root directory:
electron .

Packaging the Application
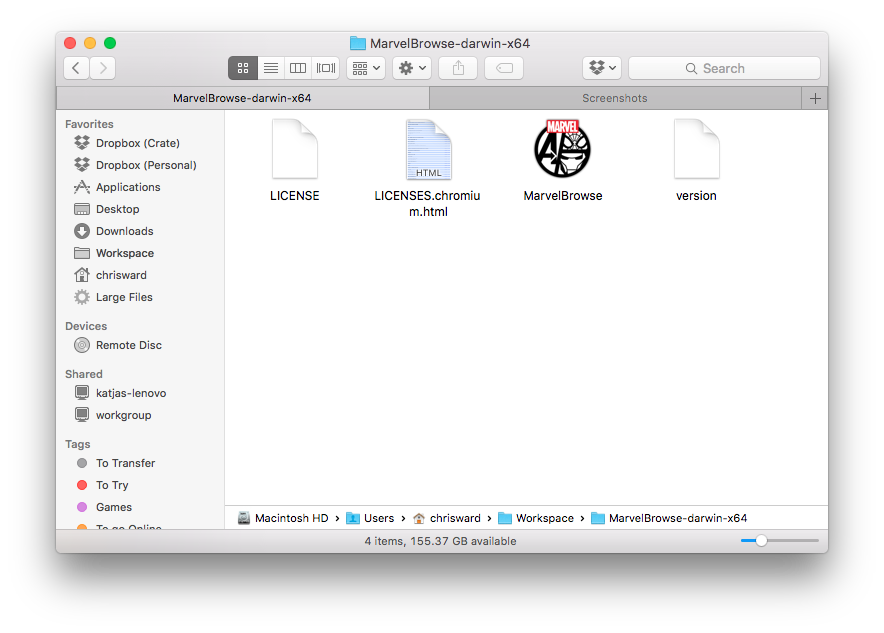
Packaging the code into a ‘native’ application is straightforward but requires a few pieces. First an icon for the application badge. The look and file type of this will depend on the operating systems you are targeting, but here’s the icon I used, taken from Marvel’s official Android app.

Note: We are using copyrighted Marvel properties here for illustrative purposes. Please don’t distribute them as your own!
I then used iconverticons.com/online/ to convert the png to a Mac icon file, but there are other tools available.
The simplest way to package the project is by using the electron-packager npm module (Note: this needs to be installed separately). It can generate large binaries, for desktop apps this may not be an issue, but if it is, other options are described here.
If you are packaging for Windows on a non-Windows platform, you will need to install Wine, which is a large dependency.
Those caveats aside, here’s how to create the application binary. In your project folder, run (replacing with relevant values for your project):
electron-packager /Users/chrisward/Workspace/sp_electron MarvelBrowse --platform=darwin --arch=x64 --version=0.36.10 --out=/Users/chrisward/Workspace --overwrite --icon=/Users/chrisward/Workspace/sp_electron/marvel-app.icns
In order, these parameters set:
- The project folder.
- The generated application name.
- The platform: These are
win32for Windows,linux,darwinfor vanilla Mac OS X andmasfor a Mac App store release. Settingall, will generate a binary for all platforms. - The architecture:
ia32andx64for 32 and 64 bit CPU architectures, orall. - The Electron Version to use.
- The output binary location and wether to overwrite existing files.
- The icons to use.
Note: All parameters can be comma separated for multiple values and if you want to generate all platforms and architectures you can replace the relevant parameters with --all.
Further Steps
This was a simple example to illustrate the potential of Electron and much more is possible. Setting aside what can be accomplished with pure JavaScript, you might like to take a look at:
- Mac App Store submissions.
- Using Chrome Dev Tools.
- Clipboard access.
- Creating an application menu bar tool.
- Electron’s new interactive API explorer.
- Devtron, an extension to Chrome Dev Tools, specifically for Electron development.
Still skeptical? I’d like to point out that whilst writing this article in Atom, I communicated with the editor of this article in Slack and tested the application in Docker containers created in Kitematic. All of which are Electron generated applications. OK, they have their issues, but that’s pretty impressive!
I’d love to hear about the applications you build with Electron in the comments below.
Frequently Asked Questions about Desktop Node Apps with Electron
What are the prerequisites for developing desktop apps with Electron?
Before you start developing desktop applications with Electron, you need to have Node.js and npm (Node Package Manager) installed on your system. Node.js is a JavaScript runtime that allows you to run JavaScript on your server or your machine, while npm is a package manager for Node.js packages. You can download Node.js and npm from the official Node.js website. Once you have these installed, you can then install Electron using npm.
How do I install Electron on my system?
Installing Electron is quite straightforward. Once you have Node.js and npm installed, you can install Electron globally on your system using the following command in your terminal or command prompt: npm install -g electron. This command installs Electron globally, allowing you to access it from any directory on your system.
How do I create a new Electron project?
To create a new Electron project, first, create a new directory for your project. Navigate to this directory in your terminal or command prompt, and then initialize a new Node.js project using the command npm init. This command creates a new package.json file in your project directory. You can then install Electron in your project using the command npm install --save electron.
What is the structure of an Electron application?
An Electron application typically consists of three types of files: package.json, main.js, and index.html. The package.json file contains metadata about your application and its dependencies. The main.js file is the entry point of your application, where you can control your application’s life cycle events. The index.html file is the web page that is displayed when your application starts.
How do I run my Electron application?
To run your Electron application, navigate to your project directory in your terminal or command prompt, and then use the command electron .. This command starts your application.
How can I package my Electron application for distribution?
To package your Electron application for distribution, you can use a module like electron-packager or electron-builder. These modules allow you to package your application into an executable file that can be run on various platforms.
Can I use Node.js modules in my Electron application?
Yes, you can use Node.js modules in your Electron application. Electron uses Node.js runtime, so you can use any Node.js module in your application.
Can I use web technologies in my Electron application?
Yes, you can use web technologies in your Electron application. Electron is essentially a web browser that allows you to create desktop applications using web technologies like HTML, CSS, and JavaScript.
How can I debug my Electron application?
You can debug your Electron application using the Chrome Developer Tools. Electron is built on Chromium, so it includes a built-in developer tool that you can use to debug your application.
Can I build cross-platform applications with Electron?
Yes, you can build cross-platform applications with Electron. Electron allows you to build applications that run on Windows, macOS, and Linux.