

Badges are a great way to display information on any blog or website. Due to their eye-catching quality, they grasp the visitor’s attention instantaneously. There are many resources for generic badges on the web these days; however, it’s always good to make your own. This way, you can tailor it to perfectly suit the needs of your current project. So, today I’ll show you how to make a stylish badge in Adobe Photoshop through an easy step-by-step approach.
Resources:
Cardboard Paper Texture
Let’s have a look at our final result first:

Key Takeaways
- Creating a stylish badge in Adobe Photoshop involves a step-by-step process that includes creating a new document, filling the background with color, setting a foreground color, and drawing a basic badge shape.
- Additional steps include adding texture to the badge, duplicating layers to add depth, using the Ellipse Tool to draw circles, and applying the cardboard texture to the front circle.
- To add text to the badge, create a new layer, select the Type Tool, and type in your text. You can also add text in a circular path by drawing a circle on a new layer, selecting the Type Tool, and typing your text.
- Other design elements can be added to the badge using the Polygon Tool to draw a star, the Line Tool to draw a small horizontal line, and the Layer Styles to add effects like drop shadows, strokes, and bevels.
Step 1
Create a new document with a 600px width and a 650px height in Adobe Photoshop.

Step 2
Fill the background with #ededef color using the Paint Bucket Tool.

Step 3
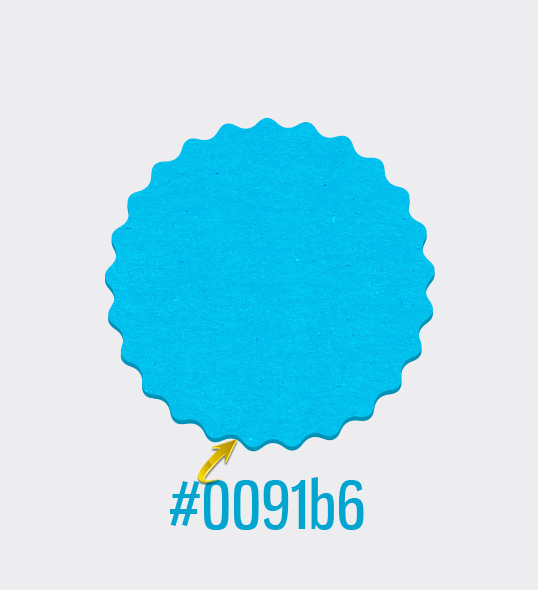
Now, set #01c1f2 as your foreground color, select the Polygon Tool, and use the settings shown below to draw a basic badge shape.

Step 4
Open the “cardboard texture” file, and copy and paste it just above the shape layer. Now, in order to confine the texture to the shape only, click on the texture layer, hold down the “Control” button on your keyboard, and click the thumbnail of your shape layer. Then, click on the “Add layer mask” icon present at the bottom of the layers panel. Change the blending mode of texture layer to “Overlay.”

Step 5
Now, duplicate the shape layer by going to “Layer” > “Duplicate layer.” Place the copy of your shape layer below the original shape, drag it a bit downward, and change its color. This will add a sense of “thickness” to your badge.
Step 6
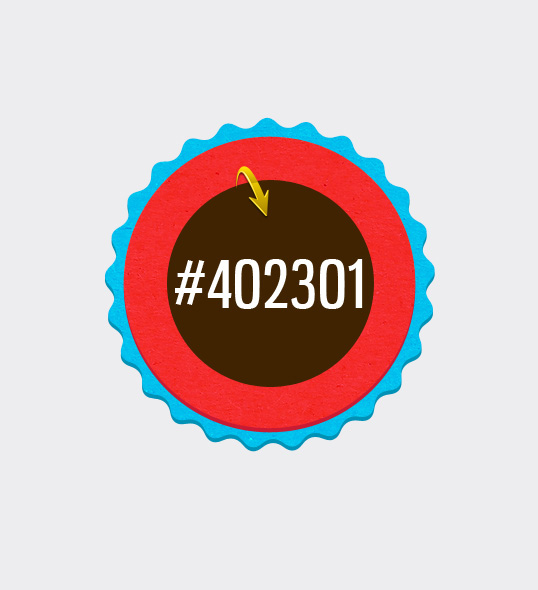
Next, use the Ellipse Tool to draw a circle using #ea2c46 color. Then, duplicate this layer, color it using #c81b33 , place it below the original circle layer, and drag it a bit downward.

Apply the cardboard texture on the front circle in the same way that we did in step 4.

Step 7
Draw another smaller circle using Ellipse Tool, as shown below.
Step 8
Now, I’ll make a stitched circle. Select the Brush Tool, open the brush panel, and select the settings provided below.

Now select the Ellipse Tool, click on the icon of “paths” from top options bar, and draw a circle on a new layer. Then, right-click and choose the option of “stroke path.” Select “brush” in the stroke path window. After that, hit Delete to get rid of circular frame.

Step 9
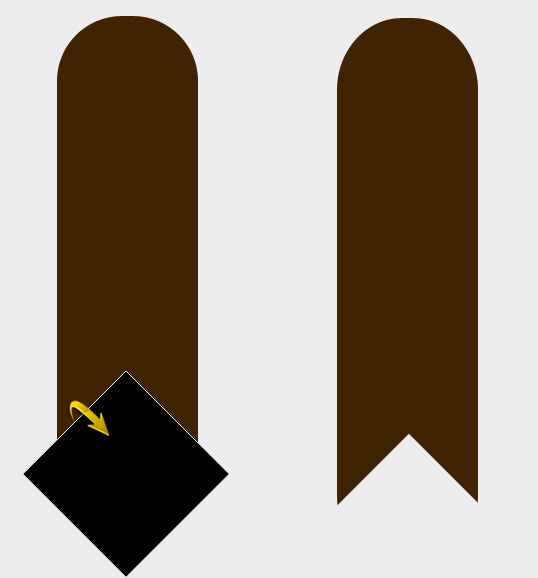
Next, we’ll create a ribbon behind the badge. Create a new layer; place it just above the background. Now select the Rounded Rectangle Tool to draw the shape shown below. Then right-click and select the “Rasterize layer” option.

Now, select the Rectangle Tool to draw a square, and rotate it using Free Transform Tool (Ctrl + “T”). Rasterize this layer also. Now press Ctrl + <thumbnail of your square layer> to make selection around the square. Now, click on the rounded rectangle layer and go to “Edit” > “Clear.” This way, you’ll get a nice ribbon as shown below.
Step 10
Rotate the ribbon a bit using the Free Transform Tool. Now, select the Elliptical Marquee Tool to make a hole near the top of the ribbon. You can accomplish this by selecting a circle on ribbon layer and pressing “Edit” > “Clear.”

Step 11
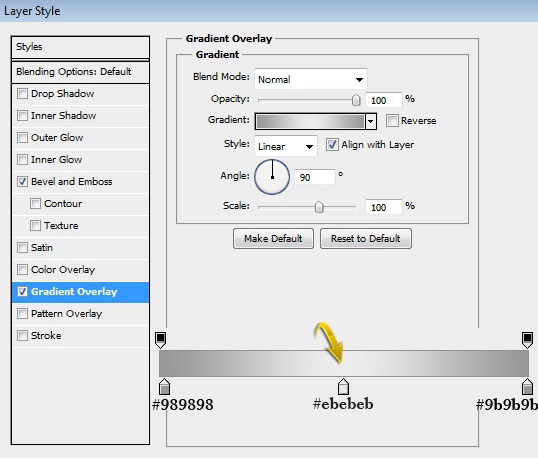
Now, to make a silver ring around this new hole, make a circle bigger than the first hole on a new layer using the Elliptical Marquee Tool. Fill it with any color for now. Make another circle that’s approximately the same size of the original hole on a new layer. Now press Ctrl + <thumbnail of your hole-sized circle layer> to make selection around it. Then, click on the larger circle layer and select “Edit” > “Clear.” Now, double-click on this ring layer and apply the following settings for a gradient overlay.


Step 12
To form the hanging loop, select the Hard Round Brush with a 3px size. Then, select the Ellipse Tool with the “Paths” option selected, and draw an ellipse. After that, right-click and select “Stroke path” > “Brush.” Now, erase the part that should be behind the ribbon, as shown below.

Step 13
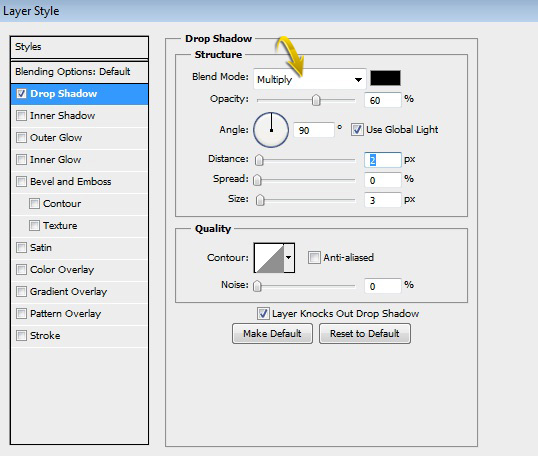
Now, double-click on the ribbon layer to open the layer style window. Use the following settings for a drop shadow.

After that, right-click on the ribbon layer and select the option of “copy layer style.” Then, right-click on shape1 copy, shape2 copy, and loop layers, and select the option of “paste layer style” to apply the same drop shadow effect to all of these layers.
Step 14
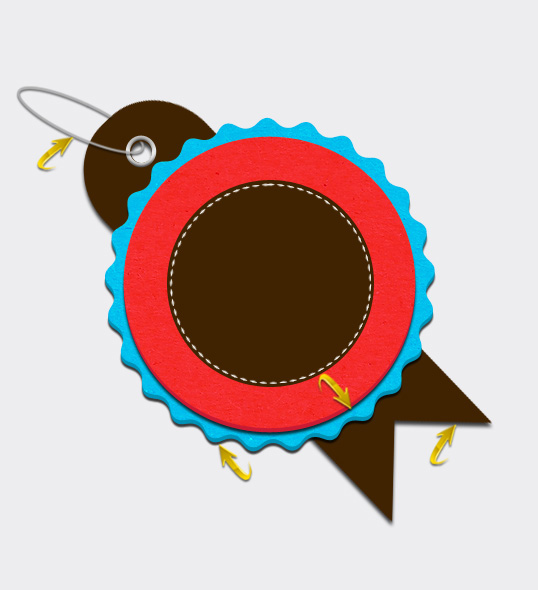
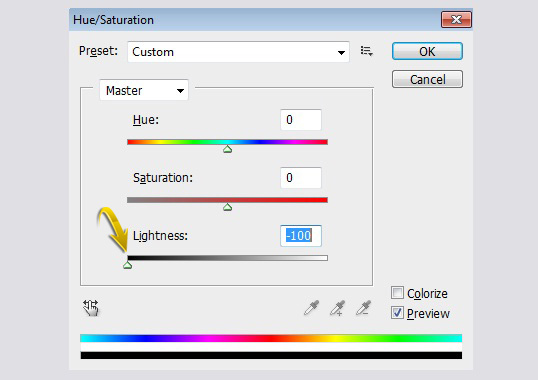
Duplicate the ribbon layer and press Ctrl + “U” to open the “Hue/Saturation” window. Use the following settings to set the hue and saturation.
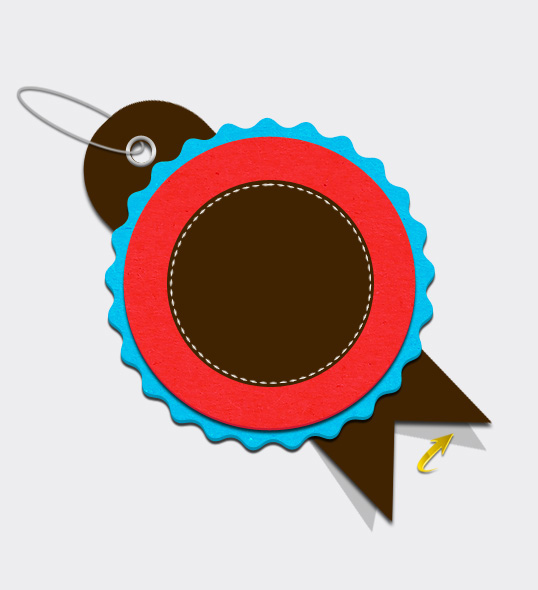
Place this newly-made ribbon layer below the original ribbon layer, rotate it a bit, and reduce its opacity to 20% to give a nice shadow effect. Erase the upper part of this new layer, as shown below.
Step 15
Now, we’ll add some text on this badge. Create a new layer, select the Type Tool, and type in your text. Use color #eeeeee for text.

Step 16
Apply the following settings to create a drop shadow on the text layer(s).


Step 17
Now we will add some text in a circular path. Select the Ellipse Tool. Make sure to click on the icon of “Paths” from top options bar, and draw a circle on a new layer. Now select the Type Tool and take the cursor to your newly-drawn circle; you will notice a change in the cursor the moment it touches that circle. Type in your text, now: it should follow the circular path, as shown below.

You will notice two shapes on either side of your circular text. On the left side, there is an “X” sign, which indicates a point from where the text would start. On the right side of the text, there is an “O” sign, which indicates will end. So, by adjusting these two points, you can position your text accordingly. Use the Path Selection Tool to move these two points as needed.

Step 18
Now, to add text to the lower half of the circle, draw another circle and type in your text. Now select the Path Selection Tool, and take it to the text. It should show an arrow pointing inside of the circle; just drag the text inside the circle. After that, adjust the starting and ending points of the text to position it centrally, much like in step 17.

Step 19
Apply the same drop shadow settings that were used in step 16 to these new circular text layers.

Step 20
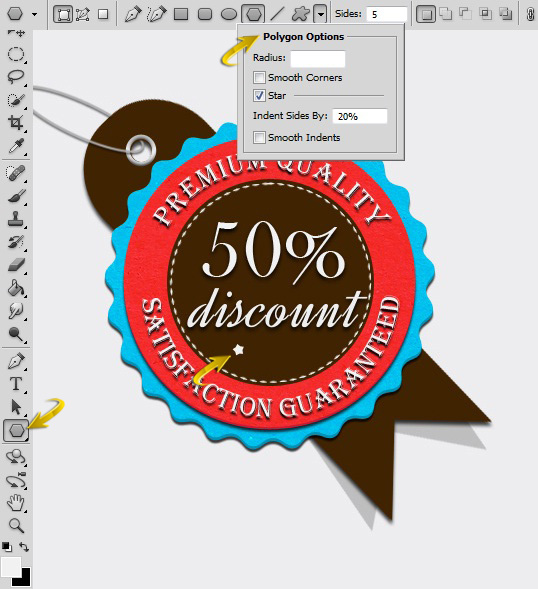
Create a new layer; select the Polygon Tool with the following settings to draw a star.
Duplicate this star layer few times, and arrange the stars as shown below.

Step 21
Select the Line Tool to draw a small horizontal line, duplicate it and place the lines as shown below.

Step 22
Click on one of the star layers and apply the following drop shadow settings.
Copy and paste this layer style settings onto all of the remaining star layers and horizontal line layers.

Step 23
Duplicate the hanging loop layer, turn the new copy black, position it at an angle, and reduce this layer’s opacity to 20% to form a nice shadow, much like the one from step 14.

Step 24
Duplicate the shape2 copy layer and place the new copy below the badge layers. Change the color to #000000 and reduce its opacity to 15%. Drag it downward and outward to form a shadow of the badge, as shown below.

That’s it! I hope you enjoyed the tutorial and learned something useful. I’ll be waiting for your feedback. Have fun!
Frequently Asked Questions on Creating a Stylish Badge in Adobe Photoshop
What are the basic tools in Adobe Photoshop that I need to create a stylish badge?
To create a stylish badge in Adobe Photoshop, you will need to familiarize yourself with several tools. The most important ones include the Shape Tool for creating the basic shape of your badge, the Text Tool for adding text, the Gradient Tool for adding color gradients, and the Layer Styles for adding effects like drop shadows, strokes, and bevels. You may also need the Brush Tool for adding details and the Pen Tool for creating custom shapes.
How can I add text to my badge in Adobe Photoshop?
Adding text to your badge in Adobe Photoshop is quite simple. First, select the Text Tool from the toolbar. Click on the area of your badge where you want the text to appear and start typing. You can adjust the font, size, color, and alignment of your text using the options bar at the top of the screen.
How can I add a gradient effect to my badge in Adobe Photoshop?
To add a gradient effect to your badge, first, select the layer of your badge that you want to apply the gradient to. Then, select the Gradient Tool from the toolbar. Choose the colors and style of your gradient using the options bar at the top of the screen. Click and drag across your badge to apply the gradient.
How can I add a stroke effect to my badge in Adobe Photoshop?
To add a stroke effect to your badge, first, select the layer of your badge that you want to apply the stroke to. Then, go to the Layer menu, select Layer Style, and then Stroke. In the Stroke dialog box, you can choose the size, color, and position of your stroke.
How can I save my badge as a PNG file in Adobe Photoshop?
To save your badge as a PNG file, go to the File menu and select Save As. In the Save As dialog box, choose PNG from the Format dropdown menu. Choose a location to save your file, give it a name, and click Save.
How can I create a custom shape for my badge in Adobe Photoshop?
To create a custom shape for your badge, you can use the Pen Tool. Select the Pen Tool from the toolbar, and click on your canvas to create anchor points. Connect these points to create your custom shape. You can adjust the shape by clicking and dragging the anchor points.
How can I add a drop shadow effect to my badge in Adobe Photoshop?
To add a drop shadow effect to your badge, first, select the layer of your badge that you want to apply the drop shadow to. Then, go to the Layer menu, select Layer Style, and then Drop Shadow. In the Drop Shadow dialog box, you can adjust the opacity, angle, distance, spread, and size of your drop shadow.
How can I add a bevel effect to my badge in Adobe Photoshop?
To add a bevel effect to your badge, first, select the layer of your badge that you want to apply the bevel to. Then, go to the Layer menu, select Layer Style, and then Bevel & Emboss. In the Bevel & Emboss dialog box, you can adjust the style, technique, depth, direction, size, and soften of your bevel.
How can I add details to my badge in Adobe Photoshop?
To add details to your badge, you can use the Brush Tool. Select the Brush Tool from the toolbar, choose a brush size and color, and start painting on your badge. You can also use the Shape Tool and the Pen Tool to add shapes and lines.
How can I create a retro-style badge in Adobe Photoshop?
To create a retro-style badge, you can use a combination of the tools and techniques mentioned above. Start with a basic shape, add a gradient for a vintage color effect, use a retro-style font for your text, and add effects like stroke, drop shadow, and bevel. Experiment with different settings to achieve the desired look.

