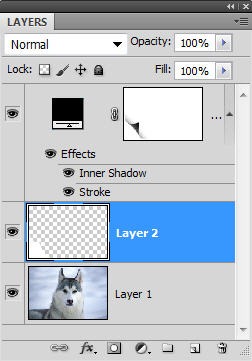
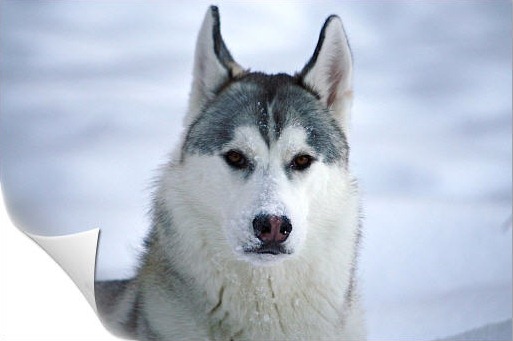
You can use a page curl in your web or print designs to add a hint of a 3D effect. We’ll use a Color Fill Adjustment layer, a Gradient Layer Mask and a Warp to produce the effect. You can apply this effect to an existing image or you could apply it to a block of color that you might use on a sidebar on a web site for example.
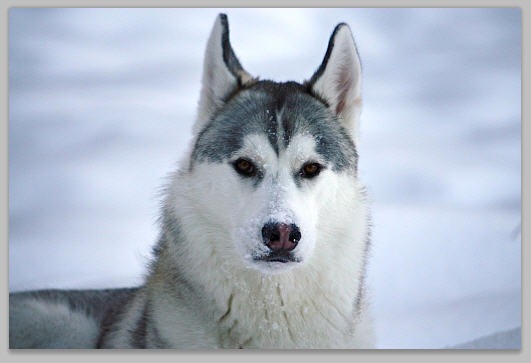
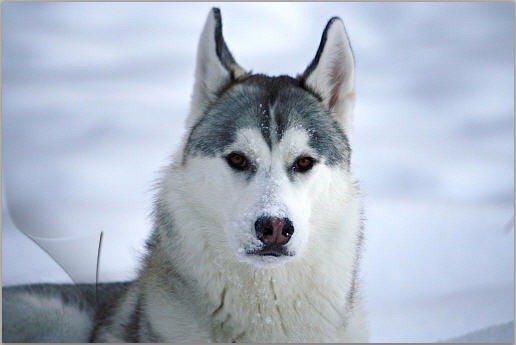
1. Open your image in Photoshop. I’m using this gorgeous picture of a dog by echiax which can be downloaded free here.
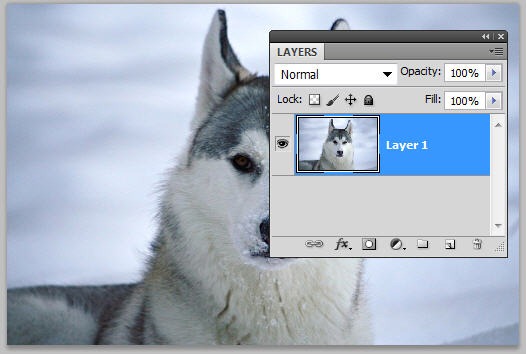
2. It’s important that the dog picture is the bottom most layer in the stack. If you copy and paste the dog into Photoshop it will put the image on Layer 1 above the default locked Background layer. If there is Background layer there, just delete it so you only have one layer.
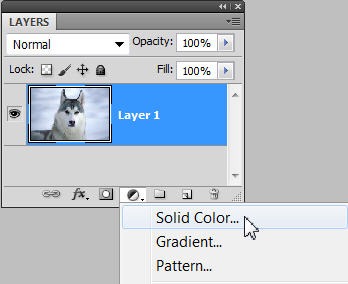
3. Click on the New Adjustment Fill icon at the bottom of the Layers Palette and choose Solid Color from the pop-up menu.
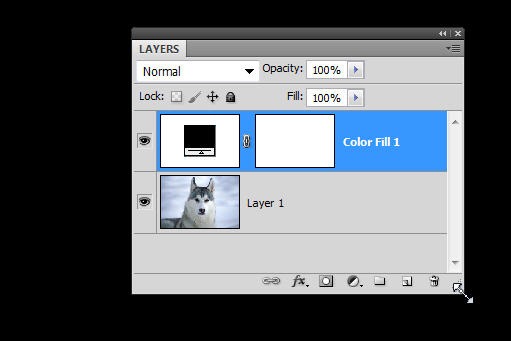
4. For the Color Fill, choose Black and click OK. This step creates a new layer called Color Fill1 above the dog image.
5. We need to apply a Gradient to the layer mask on the Color Fill 1 layer, so make sure it is selected in the Layers Palette. Press D on the keyboard to set the Foreground Color Swatch to Black, then select the Gradient Tool (G) from the Toolbar.
6. In the Options Bar at the top of the screen choose the Foreground — Transparent Gradient, Linear Style, Normal Mode, 100% Opacity, Dither & Transparency active.
![]()
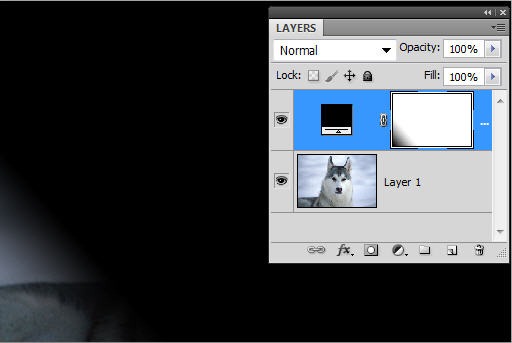
7.Then from the lower left corner click and drag to draw the Gradient stopping about a quarter way up the image as below.
The result should be something like this:
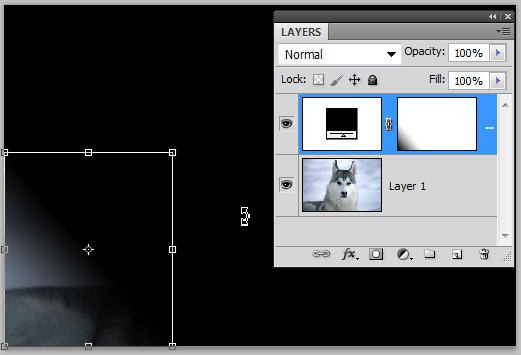
8. Now we need to warp our layer mask so with the Color Fill 1 layer selected press Ctrl + T (windows) or Cmd + T (mac) to start a Free Transform. Only the layer mask will be selected.
9. With the the Free Transform still active, go to the Options Bar and select the Warp icon command.
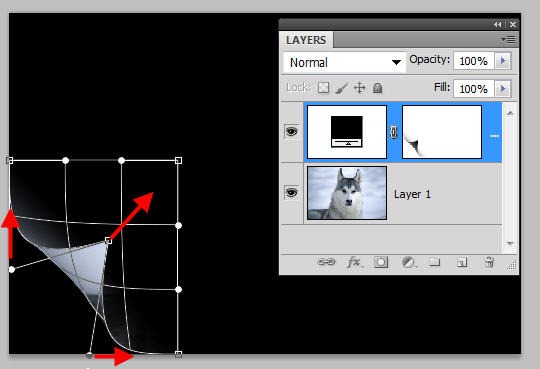
You should now see a small grid of anchor points on the bottom left corner of the image. Click and drag the lower left anchor point and pull it towards mid center, as below. I also dragged the anchor points on the x an y axis to change the shape of the curve. (See the arrows for which way to drag).
11. Either press Enter/Return on the keyboard to commit the Warp changes.
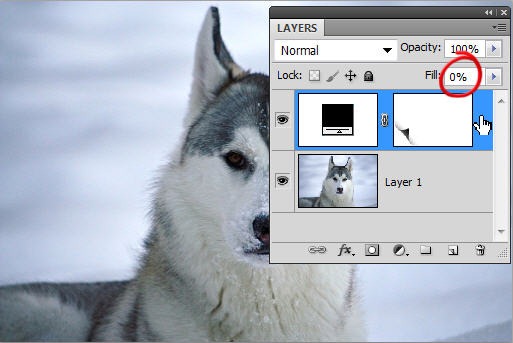
12. On the Color Fill 1 layer, bring the Fill down to 0%, to remove all the Black, and bring back the visibility of the underlying image Layer.
13. Right-Click (windows) / Ctrl-Click (mac) on the Color Fill 1 Layer and from the context list choose Blending Options. Set Opacity to about 90%, Color Black, Distance 5px and Size 5px. Don’t click OK yet.
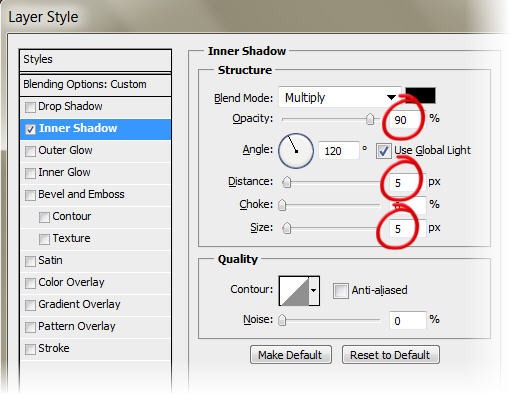
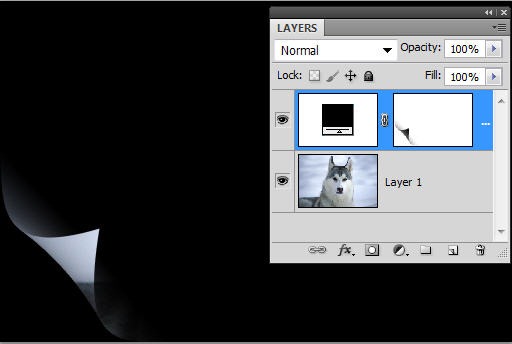
You should now see the your page curl start to appear.
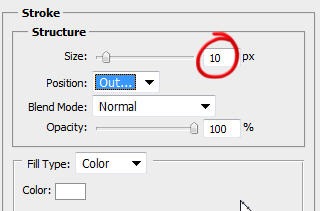
14. We need to fix the foreground exposure of the curl. Click on the word Stroke and then set the Size to 10px and Color to White, Position to Outside. Click OK.
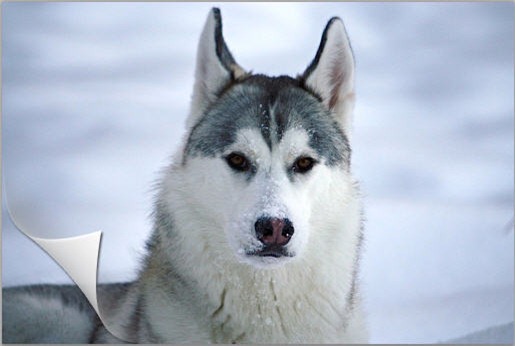
15. We can finish up by adding a new layer in between the Color Fill 1 layer and the Dog layer. On the new layer, paint carefully with a soft white round brush to fill in the left corner of the image.
Your final image should look something like this:
Frequently Asked Questions about Creating a Page Curl in Photoshop
How can I create a realistic shadow for my page curl in Photoshop?
Creating a realistic shadow for your page curl can add depth and dimension to your design. Start by creating a new layer below your page curl. Select the Brush tool and choose a soft round brush. Adjust the size according to your page curl. Set the brush opacity to around 30% and the color to black. Gently brush on the areas where the shadow should appear. You can adjust the opacity of the shadow layer to make it more subtle.
Can I animate a page curl in Photoshop?
Yes, you can animate a page curl in Photoshop using the timeline feature. After creating your page curl, open the timeline panel and create a new frame animation. Create a new frame for each stage of the curl, adjusting the position and perspective each time. Once you’ve created all your frames, you can set the delay time and loop settings to complete your animation.
How can I add texture to my page curl?
Adding texture to your page curl can make it look more realistic. You can do this by using a texture image or creating your own texture. To add a texture image, simply place it above your page curl layer and set the blending mode to Overlay. To create your own texture, you can use the Noise or Texturizer filter in Photoshop.
Can I create a page curl effect in Photoshop Elements?
Yes, you can create a page curl effect in Photoshop Elements. The process is similar to Photoshop, but you’ll need to use the Transform tool to create the curl effect. You can also use the Drop Shadow layer style to add a shadow to your curl.
How can I create a page curl effect on a specific part of my image?
To create a page curl effect on a specific part of your image, you’ll need to use the Lasso tool to select the area you want to curl. Once you’ve made your selection, copy and paste it onto a new layer. You can then apply the page curl effect to this layer.
Can I use Photoshop actions to create a page curl effect?
Yes, you can use Photoshop actions to create a page curl effect. There are many free and paid actions available online that can automate the process for you. Simply load the action into Photoshop and run it on your image.
How can I create a double page curl effect in Photoshop?
To create a double page curl effect, you’ll need to create two separate page curls on different layers. You can then position and transform these layers to create the double curl effect.
Can I create a page curl effect with transparent background?
Yes, you can create a page curl effect with a transparent background. After creating your page curl, simply hide or delete the background layer. You can then save your image as a PNG to preserve the transparency.
How can I create a colored page curl effect in Photoshop?
To create a colored page curl effect, you can apply a Color Overlay layer style to your page curl. Choose the color you want and set the blending mode to Multiply to preserve the shadows and highlights of the curl.
Can I create a page curl effect on text in Photoshop?
Yes, you can create a page curl effect on text in Photoshop. First, you’ll need to rasterize your text layer so you can transform it. Then, you can apply the page curl effect as you would with an image.
Jennifer Farley is a designer, illustrator and design instructor based in Ireland. She writes about design and illustration on her blog at Laughing Lion Design.

