

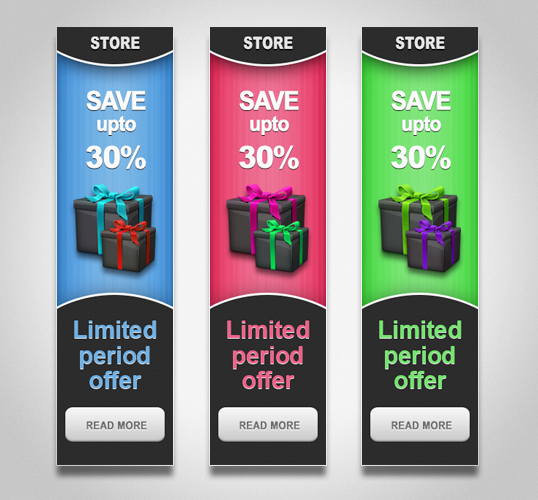
To achieve the level of online exposure that your business needs, you need to design a strong, compelling advertising campaign, no matter what you are selling or offering. The most widely-used advertising option for this purpose is banner ads. If you’re not experimenting with banner advertising, you’re missing out on an important opportunity to reach new customers and secure new business. So, today we are going to design an eye-catching 160 x 600px banner ad in Photoshop. We will use some interesting techniques and blending options to create this ad. So, let’s get started!
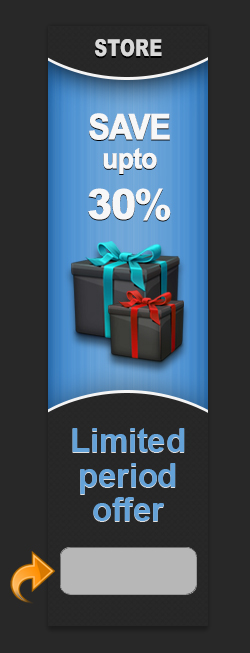
Final Result: (Download the Layered Design File.)
Step 1
Open Photoshop and create a new file with a 160px width and a 600px height.

Step 2
For the background, select the rectangle tool and create a rectangle using color #3080cd.

Step 3
Now, click on “Layer” > “Layer styles” > “Inner shadow.”

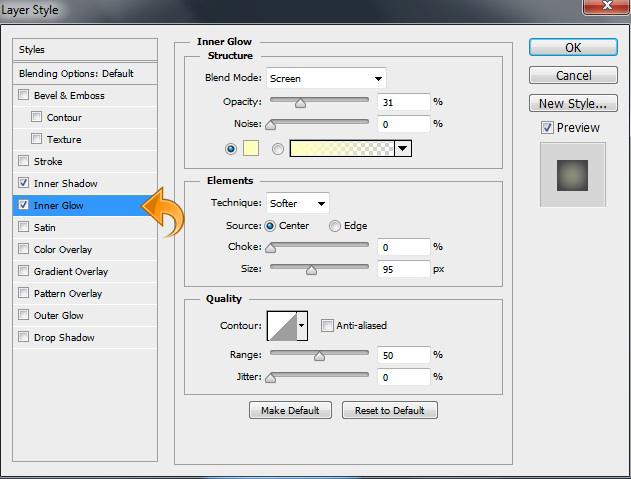
Step 4
Click on “Layer” > “Layer Styles” > “Inner Glow” and keep the settings the same as shown below.
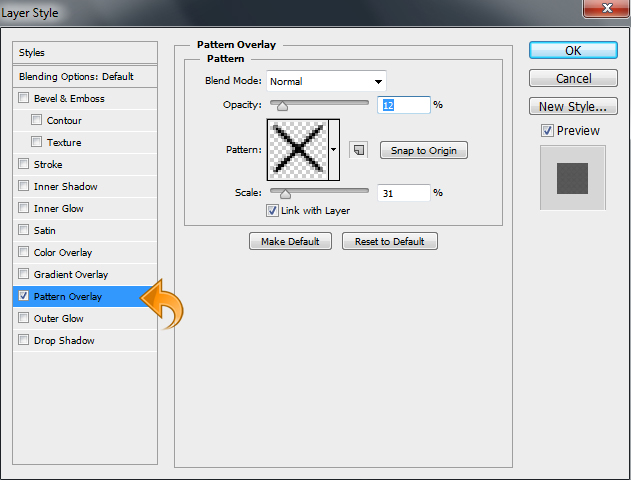
Step 5
Click on “Layer Styles” and add a textured pattern to the background using the following settings.

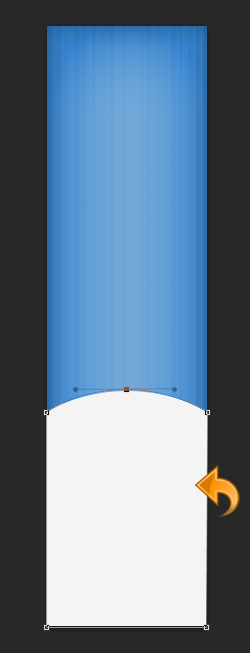
Step 6
Now, create a new layer (“Layer” > “New” >” Layer”) and select the pen tool to create a shape using color #f4f4f4.
Step 7
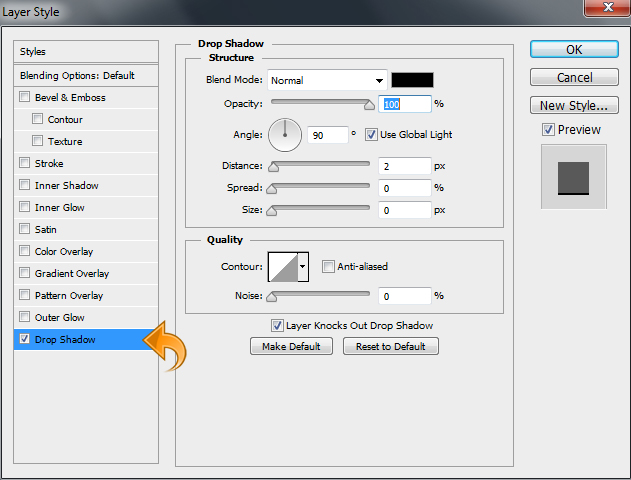
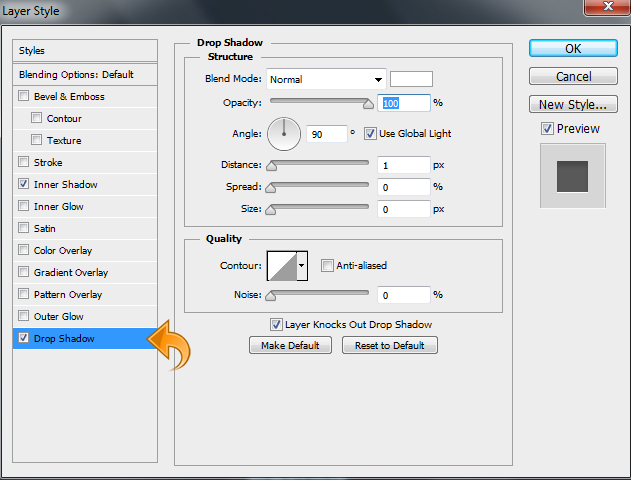
Click on “Layer Styles” and add some drop shadow to the above shape. Use the following settings.

Step 8
Duplicate the above shape (right-click on the layer and select “Duplicate layer”) and fill it with color #282828.

Step 9
Click on “Layer Styles” and add some pattern to the above shape. Use the setting shown below.
Step 10
Repeat the same process and create the same shapes at the top. Keeping the color and style consistent, and change the drop shadow settings very slightly. Use the settings below.

Step 11
Now add the title, select the “Type tool” and add title using color #d9d9d9. Then, click on “Layer Styles” > “Drop Shadow.”
Step 12
Select the “Type tool” again and add the rest of the text using colors #f7f7f7 and #64a2d8. Then, add some drop shadow to the text.

Step 13
Now, paste the gift icons under the white text and add some drop shadow using the following settings.

Step 14
Now, let’s start with the “Read More” button. Select the rounded rectangle tool and create a small rectangle using color #b7b7b7.
Step 15
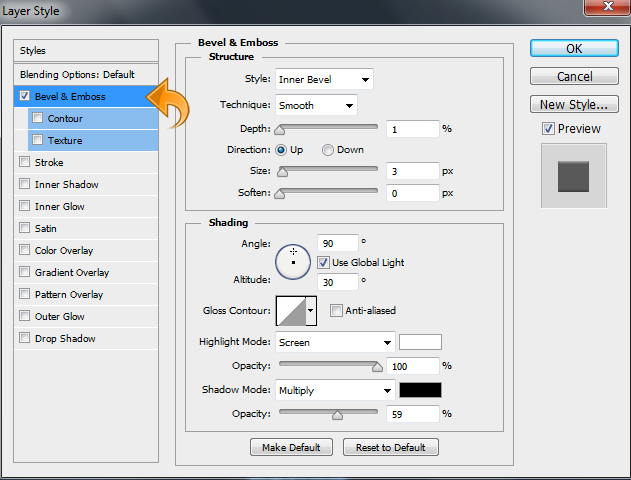
Click on “Layer Styles” and add bevel & emboss, gradient overlay, pattern overlay, and some drop shadow to the button base. Use the following values.


Step 16
Now, add the button text, so select the type tool and add text using color #787878.

Step 17
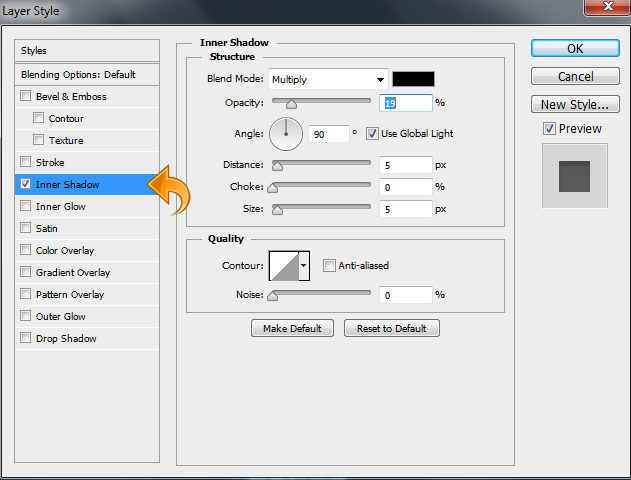
Click on “Layer Styles” to add some inner shadow and drop shadow to the above text. Use the settings below.
And, we are done! I hope you guys enjoyed the tutorial. I’ll be back with more fun stuff soon. Take care!
Frequently Asked Questions (FAQs) about Creating a Clean, Colorful 160 x 600px Advertisement
What is the significance of the 160 x 600px size in online advertisements?
The 160 x 600px size, also known as the Wide Skyscraper, is a standard size for online advertisements. It is widely used in the digital marketing industry due to its visibility and compatibility with various website layouts. This size is particularly effective for sidebars on web pages, as it provides ample space for creative designs and text without disrupting the overall website design.
How can I ensure my 160 x 600px advertisement is not blurry?
To ensure your advertisement is not blurry, it is crucial to design it at the correct resolution. The image should be designed at 160 x 600 pixels. If you design at a smaller size and then scale up, the image may appear pixelated or blurry. Using vector graphics can also help maintain clarity as these can be scaled without loss of quality.
What is the optimal width for email design?
The optimal width for email design is typically between 600px and 800px. This range ensures that your email will display correctly across various devices and email clients. However, it’s always a good idea to test your emails on different devices to ensure they look as intended.
How can I make a form element that is 600px when the window is wider than 600px?
You can use CSS to set the width of the form element to 600px. This will ensure that the form remains at this width regardless of the window size. Here’s a simple example:form {
width: 600px;}
What are the dimensions of a Wide Skyscraper Ad?
A Wide Skyscraper Ad typically has dimensions of 160 x 600 pixels. This size is a standard in the online advertising industry and is widely used for sidebar advertisements on websites.
How can I create a clean and colorful 160 x 600px advertisement?
Creating a clean and colorful 160 x 600px advertisement involves a combination of good design principles and technical knowledge. You should use a color scheme that aligns with your brand, and ensure that your text is legible against the background. Using high-quality images and keeping the design uncluttered can also help to create a clean look.
What software can I use to create a 160 x 600px advertisement?
There are several software options available for creating online advertisements, including Adobe Photoshop, Illustrator, and free online tools like Canva. These tools offer a range of features that can help you design an effective ad, such as templates, color palettes, and text editing tools.
How can I optimize my 160 x 600px advertisement for mobile devices?
To optimize your advertisement for mobile devices, you should ensure that it scales correctly on smaller screens. This can be achieved by using responsive design techniques. Additionally, considering the smaller screen size, it’s important to keep your design simple and ensure that any text is large enough to read on a mobile device.
What should I include in my 160 x 600px advertisement?
Your advertisement should include your brand logo, a clear and compelling message, and a call-to-action. The design should be clean and uncluttered, with a color scheme that aligns with your brand. It’s also important to consider the placement of each element to ensure that the ad is visually balanced.
How can I measure the success of my 160 x 600px advertisement?
The success of an advertisement can be measured through various metrics, such as click-through rates, conversion rates, and overall engagement. Tools like Google Analytics can provide detailed insights into how your ad is performing. It’s also important to test different designs and messages to see what resonates best with your audience.

