
Key Takeaways
- Android Butter Knife is a lightweight, open source view “injection” library for Android that simplifies coding by reducing redundancy and enhancing code readability. It replaces findViewById with @Bind() and setListener calls with @onClick() to focus on logic instead of glue code.
- The library aids in binding views and resources, setting event listeners, and working with adapters such as RecyclerView. It also supports Material Design views and components, enhancing the application’s visual appeal.
- By simplifying the view binding process and automatically generating boilerplate code, Butter Knife not only makes the code cleaner and more readable but also reduces the chances of errors like forgetting to bind a view or binding it incorrectly. It’s compatible with Android 2.1 and later and can be used with Kotlin.
This article was updated in July 2016 to reflect updates to Android Butter Knife.
Creating code can sometimes be frustrating. Developers have to deal with redundant coding that is visually unattractive. In this article, I will introduce an injection library for Android development that can help create more beautiful code and recent updates introduced with version 8. Android Butter Knife is an open source view “injection” library for Android created by Jake Wharton.

Butter Knife is small, simple and lightweight, and it makes life as a developer easier. It allows developers to perform injection on arbitrary objects, views and OnClickListeners so they can focus on writing useful code. Consider Android Butter Knife a reduction library. It replaces findViewById with @Bind() and set^^^^Listener calls with @onClick() making code cleaner and more understandable. Butter Knife enables focus on logic instead of glue code and reduces development time by reducing redundant coding.
Configure Your Project for Android Butter Knife
Before getting started with Butter Knife, you need to configure your Android project.
Open build.gradle at project level and add the following dependency
 dependencies {
        ...
        classpath 'com.neenbedankt.gradle.plugins:android-apt:1.8'
    }
Open build.gradle(Module:app) (module level) and add the following dependencies.
dependencies {
    ...
    compile 'com.jakewharton:butterknife:8.1.0'
    apt 'com.jakewharton:butterknife-compiler:8.1.0'
}
And apply the plugin:
apply plugin: 'android-apt'

android {
    ...
}
Finally sync Gradle.
Butter Knife in action
Now that you have configured Butter Knife its time to move on to the main features this injection library can provide:
- Binding views and resources
- Event Listeners
- List adapters,
RecyclerViewimplementation
Why use Butter Knife
The goal of this library is to help developers write better code, and it does so by trying to reduce the code used in the onCreate method on an Activity class and in onCreateView on Fragments. All you need to write in these methods is the following:
@Override
protected void onCreate(Bundle savedInstanceState) {
    super.onCreate(savedInstanceState);
    //...
    ButterKnife.bind(this);
    //...
}
@Override
public View onCreateView(LayoutInflater inflater, ViewGroup container,
                         Bundle savedInstanceState) {
    // Inflate the layout for this fragment
    View view = inflater.inflate(R.layout.fragment_blank, container, false);
    ButterKnife.bind(this, view);
    return view;
}
In both the cases Butter Knife binds to the specified Android Activity or View targets to correctly act on the injections specified in these classes. All the view finding lines of code and the action listeners are implemented elsewhere, leaving these methods as clean as possible.
Binding views and resources
Butter Knife replaces the standard findViewById call with @BindView, followed by a view ID and it automatically casts the corresponding view in the corresponding layout. This representation of the code makes it more compact and readable.
Here’s an example of this “injection”:
@BindView(R.id.imageView) ImageView image;
@BindView(R.id.button) Button button;
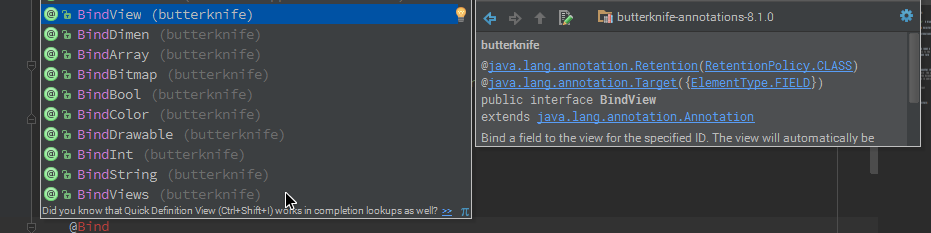
You can do the same with app resources like String, Drawable and dimensions (dimen, value , etc). Here are all the possible bindings with Butter Knife.
@BindString(R.string.title) String title;
@BindDrawable(R.drawable.sitepoint) Drawable sitepointDrawable;
@BindColor(R.color.colorPrimary) int primaryColor;
Event Listeners
Butter Knife also makes setting event listeners of Android layout Views easy and removes the listeners implementation from the key onCreate and onCreateView methods.
Here’s an example:
@OnClick(R.id.button)
public void ButtonClick() {
    //Perform some action
}
This isn’t restricted to click events, here are all the other events you can set.

Material Design
For the rest of this tutorial, I will focus on injecting Butter Knife features in Material Design views and components.
Open Android Studio and create an application with a Basic Activity.
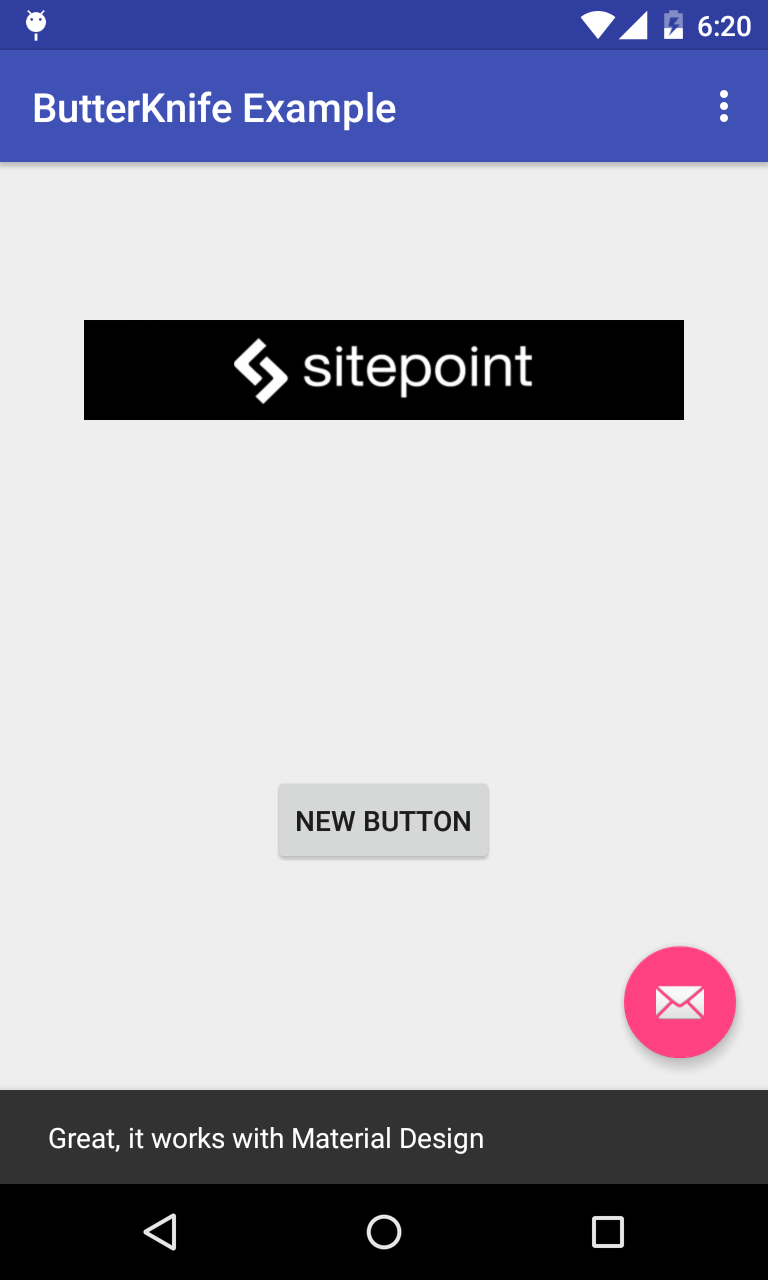
What better component to test with than the FloatingActionButton.
public class MainActivity extends AppCompatActivity {

    //FloatingActionButton
    @BindView(R.id.fab)
    FloatingActionButton FAB;

    @OnClick(R.id.fab)
    public void SnackbarNotification(View view) {
        Snackbar.make(view, "Great, it works with Material Design", Snackbar.LENGTH_LONG)
                .setAction("Action", null).show();
    }

    //...
 }
And as you can see in the image below it works as you would expect.
Adapters
Butter Knife works well with list adapters, but can it also work with other Material Design similar components such as the RecyclerView adapter?
The process of building a RecyclerView is long and complex, so I recommend you first read my article explaining how.
I will focus on the parts of the RecyclerView related to Butter Knife, the ViewHolder and view binding. The full code of this example is available on GitHub.
The ViewHolder example of a RecyclerView looks like this (In Recycler_View_Adapter.java).
public class View_Holder extends RecyclerView.ViewHolder {

    @BindView(R.id.cardView)
    CardView cv;
    @BindView(R.id.textView)
    TextView title;
    @BindView(R.id.imageView)
    ImageView imageView;

    View_Holder(View itemView) {
        super(itemView);
        ButterKnife.bind(this, itemView);
    }
}
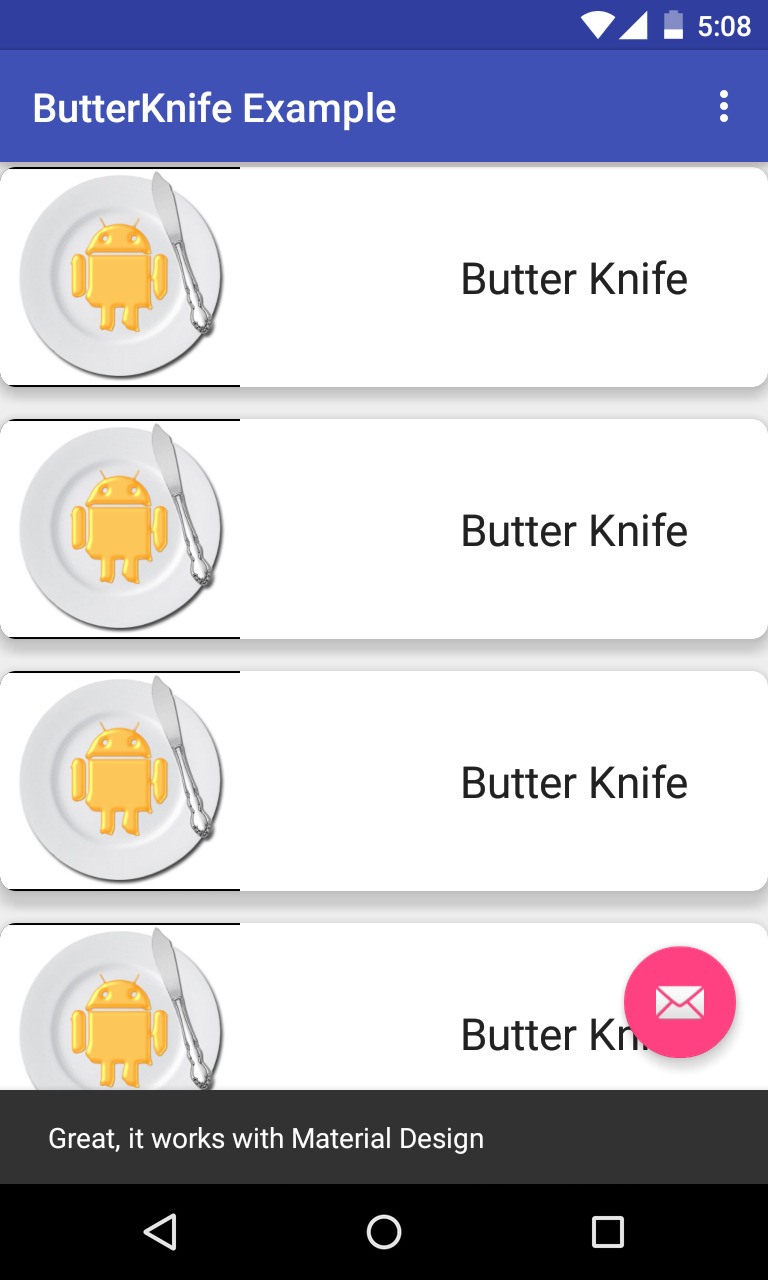
This ViewHolder class represents one row of the RecyclerView with the following layout (row_layout.xml).
<android .support.v7.widget.CardView xmlns:android="http://schemas.android.com/apk/res/android"
    xmlns:app="http://schemas.android.com/apk/res-auto"
    android:id="@+id/cardView"
    android:layout_width="match_parent"
    android:layout_height="wrap_content"
    android:layout_marginBottom="@dimen/activity_vertical_margin"
    app:cardCornerRadius="8dp"
    app:cardElevation="8dp">

    <imageview android:id="@+id/imageView"
        android:layout_width="120dp"
        android:layout_height="110dp"
        android:layout_alignParentTop="true"
        android:layout_centerHorizontal="true"
        android:background="@color/abc_input_method_navigation_guard"
        android:src="@drawable/butterknife"></imageview>

    <textview android:id="@+id/textView"
        android:layout_width="wrap_content"
        android:layout_height="wrap_content"
        android:layout_gravity="center|right"
        android:layout_marginRight="40dp"
        android:text="Large Text"
        android:textAppearance="?android:attr/textAppearanceLarge"></textview>

</android>
In an Activity class bind the RecyclerView and provide data to its Adapter (In MainActivity.java).
 @BindView(R.id.recyclerview)
    RecyclerView recyclerView;
    @Override
    protected void onCreate(Bundle savedInstanceState) {
        super.onCreate(savedInstanceState);
        //...
        ButterKnife.bind(this);


        //Setup the RecyclerView
        List<data> data = new ArrayList<>();
        for (int i = 0; i < 15; i++) {
            //Generate 15 data elements
            data.add(new Data("Butter Knife", R.drawable.butterknife));
        }
        Recycler_View_Adapter adapter = new Recycler_View_Adapter(data, getApplication());
        recyclerView.setAdapter(adapter);
        recyclerView.setLayoutManager(new LinearLayoutManager(this));

    }
Conclusion
Android Butter Knife helps you create cleaner and tidier code, handling a lot of the ugly boilerplate code that Android has become infamous for. Have you tried in your projects? I’d love to know if you found it useful or not.
Frequently Asked Questions (FAQs) about Android ButterKnife
How does ButterKnife differ from traditional methods of view binding in Android?
ButterKnife is a view binding tool that uses annotations to generate boilerplate code for you. Unlike traditional methods where you have to manually write code to bind each view, ButterKnife simplifies this process by automatically doing it for you. This not only makes your code cleaner and more readable, but also reduces the chances of making a mistake, such as forgetting to bind a view or binding it incorrectly.
Is ButterKnife compatible with all versions of Android?
ButterKnife is compatible with Android 2.1 and later. However, some features may not be available on older versions of Android due to limitations in the Android SDK.
Can I use ButterKnife with Kotlin?
Yes, ButterKnife can be used with Kotlin. However, since Kotlin has its own set of tools for view binding, such as Kotlin Android Extensions and ViewBinding, using ButterKnife may not be necessary.
How do I install ButterKnife in my Android project?
ButterKnife can be installed by adding the following lines to your build.gradle file:dependencies {
implementation 'com.jakewharton:butterknife:10.2.3'
annotationProcessor 'com.jakewharton:butterknife-compiler:10.2.3'}
After adding these lines, sync your project with Gradle files and ButterKnife will be ready to use.
How do I bind views with ButterKnife?
Views can be bound with ButterKnife using the @BindView annotation. For example:@BindView(R.id.my_view) View myView;
This will bind the view with the ID my_view to the myView variable.
Can I bind multiple views at once with ButterKnife?
Yes, ButterKnife allows you to bind multiple views at once using the @BindViews annotation. For example:@BindViews({ R.id.first_view, R.id.second_view, R.id.third_view }) List<View> myViews;
This will bind the views with the IDs first_view, second_view, and third_view to the myViews list.
How do I handle click events with ButterKnife?
Click events can be handled with ButterKnife using the @OnClick annotation. For example:@OnClick(R.id.my_button)public void onMyButtonClick() {
// Handle click event}
This will call the onMyButtonClick method when the button with the ID my_button is clicked.
Can I unbind views with ButterKnife?
Yes, views can be unbound with ButterKnife using the unbind method. This is typically done in the onDestroy method of your activity or fragment to prevent memory leaks.
Can I use ButterKnife with custom views?
Yes, ButterKnife can be used with custom views. You can bind views in your custom view class in the same way as in an activity or fragment.
Are there any alternatives to ButterKnife?
Yes, there are several alternatives to ButterKnife, such as Kotlin Android Extensions, ViewBinding, and DataBinding. These tools offer similar functionality to ButterKnife, but with some differences in syntax and usage.