
If you’re an Apple ecosystem user, you probably use a Mac, iPhone, or iPad daily. What you may not know is that it’s possible to develop your own apps for these devices — and it’s not as hard as you might think! In this article, we’ll walk you through an overview of how you can develop Apple apps. We’ll point you to further resources for the skills you’ll need to program for macOS, iOS, and other Apple platforms. You’ll learn about Swift and Xcode and set up the tools to create, test, and debug an iOS app, and publish it in the App Store.
By the end of this article, you’ll have everything you need to start developing your own Apple ecosystem apps!
Key Takeaways
- To develop Apple apps, one needs to familiarize themselves with key components such as the Xcode IDE, the Swift programming language, SwiftUI, Software Development Kits, TestFlight, App Store Connect, and the Provisioning Portal.
- A Mac computer running the latest version of macOS is required to develop Apple apps. Xcode, which can be downloaded from the Mac App Store or the Apple developer site, is the main tool used for writing, testing, and debugging apps.
- The Swift programming language, created by Apple, is the primary language used for developing Apple apps. Swift is powerful, fast, and easy to learn, making it a great starting point for beginners.
- To develop the user interface for Apple apps, developers can use UIKit or SwiftUI. Both have their own advantages and drawbacks, and there are plenty of resources available for learning both.
- There are numerous resources available for learning how to develop Apple apps, including the Apple Developer Documentation, WWDC videos, Apple Developer Forums, Learn to Code with Apple classes, SitePoint Community & Mobile Development Articles, and the SitePoint Premium Library.
Components of the Apple Developer Ecosystem
In order to develop macOS and iOS apps, you’ll need to understand a few key components.
Familiarize yourself with the tools that will help you craft your first app. Of course, an Apple-powered computer like MacBook or iPad should be your first tool of work. Let’s dive deeper:
The Xcode IDE
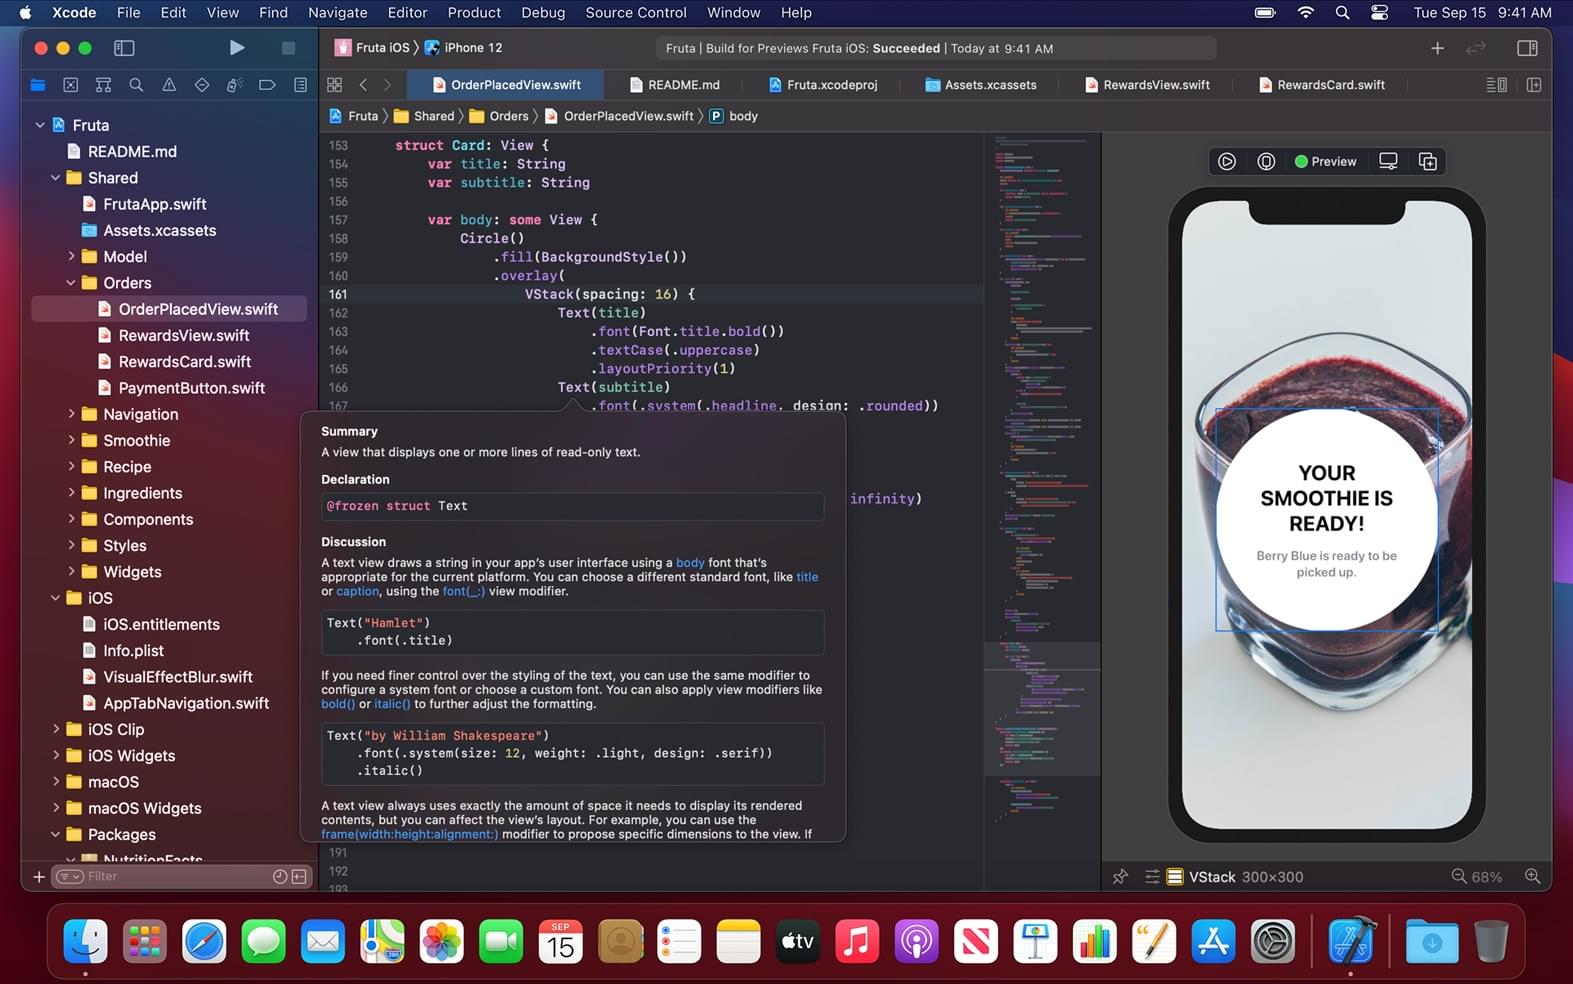
With the Xcode IDE (Integrated Development Environment), you’ll be able to develop apps for iPhone, iPad, Mac, Apple Watch, and Apple TV. Xcode includes everything you need to create amazing apps, including a rich set of tools for designing user interfaces, building your app, and testing your code.
The Xcode Device Simulator allows you to test your app on a variety of different devices – whether you’re building an iPhone app or something for the iPad, Apple Watch, and Apple TV. The simulator is a great way to test your app’s UI and functionality without having to install it on a physical device. The Xcode simulator is also a great way to test your app’s responsiveness to different screen sizes and orientations.
The Swift programming language
Swift is a programming language created by Apple. It’s a powerful and fast programming language that is easy to learn. If you’re new to coding, Swift is a great place to start.
The best part about Swift? It allows you to employ the same tools and frameworks to create apps for a variety of platforms, such as iOS, tvOS, iPadOS, macOS, and watchOS.
SwiftUI
SwiftUI is a user interface framework that makes coding UIs a breeze. It also helps you connect your UI to your app’s functional code. With SwiftUI, you can quickly and easily create complex interfaces without having to worry about the underlying code.
SwiftUI also includes a number of built-in components, such as buttons, labels, and text fields, that you can use in your app’s UI.
Software Development Kits
The Apple SDKs are sets of tools and APIs that you can use to develop apps for iOS, macOS, and tvOS. Each SDK includes a number of system APIs and frameworks that you can use to build your app’s UI and functionality, and interact with OS features.
TestFlight
TestFlight is a valuable tool for developers that allows you to distribute test versions of your app to a limited number of users. This is a great way to get feedback on your app before releasing it to the general public.
App Store Connect
With App Store Connect, you can seamlessly publish and manage your apps on the App Store.
You’ll need to provide basic information about the app, such as name, screenshots, and description. It also allows you to upload the build bundle from Xcode directly.
Done listing your app? Submit it from the portal directly and wait for review. Then cross your fingers as you wait for the app to go live on the App Store once it satisfies the reviewers.
Provisioning Portal
The signing tool is in the provisioning portal, which allows you to sign your code. This way, Apple can identify you as the original author of your app. Users can also recognize your app as the original version. This keeps their security intact.
What You Need to Develop Apple Apps
In order to develop Apple apps, you’ll need a Mac computer running the latest version of macOS.
You’ll need to download Xcode from the Mac App Store or from the Apple developer site.
Once you have Xcode installed, you can begin writing code. In order to test and debug your app, you’ll need a device running iOS or macOS. The iOS Simulator and macOS Simulator are included with Xcode and allow you to test your app on a simulated device.
If you want to develop an app for the App Store, you’ll need to sign up for the Apple Developer Program. With the Apple Developer Program, you’ll be able to develop and test your apps on real devices and submit them to the App Store.
The Apple Developer Program costs $99 per year, and you’ll need to have a valid credit card on file. When you’re done developing your app, membership in this program will enable you to submit it to the App Store. The App Store model has its flaws but offers built-in distribution to millions of customers around the world. The App Store is the best place to sell your app, market your brand, and reach new users.
If you’re just getting started, we recommend that you develop your app using a free developer account. With a free developer account, you’ll be able to develop and test your app on real devices, but you won’t be able to submit it to the App Store.
Skills You’ll Need to Learn
If you’re new to coding, don’t worry! There are plenty of resources to help you learn the basics of Swift and develop Apple apps.
Here are a few skills you’ll need to develop Apple apps:
Using Xcode
Xcode includes a code editor, debugger, and other tools to help you develop your app. You’ll need to learn Xcode’s layout and how to use its various features.
The Apple Developer documentation provides a thorough introduction to Xcode’s workspace and features.
Learn Swift
Swift is the main programming language used to develop Apple apps. Once you’ve learned the basics of Swift, you’ll be able to start creating your own iOS and macOS apps! It’s a powerful and fast programming language.
Swift is a compiled programming language that is optimized for performance and safety. Its code is safe by design, yet also produces software that runs lightning-fast. Swift compiles software to native binaries, which can be deployed directly to devices and servers, or onto the web through JavaScript.
Apple created Swift to be easy to read and write, and easy to understand for beginners. If you’re new to coding, Swift is a great place to start.
Resources for Learning Swift
- You can learn Swift by following Apple’s official tutorials, which you can find on the Apple Developer website.
- Swift Playgrounds is an iPad and Mac app that helps you learn to code and build apps using Swift.
- Apple’s Swift Programming Language reference book gives a complete overview of the Swift programming language.
Create Your First Swift App

Looking for a rapid foundation in Swift? Create Your First Swift App is a perfect way to start Swift programming. It starts by teaching you the basics and then goes on from there, introducing more advanced topics.
The videos have an engaging theme that will keep your attention through every lesson. If learning something new sounds like fun check this out – it won’t take long at all (less than two hours)!
Swift in the Cloud
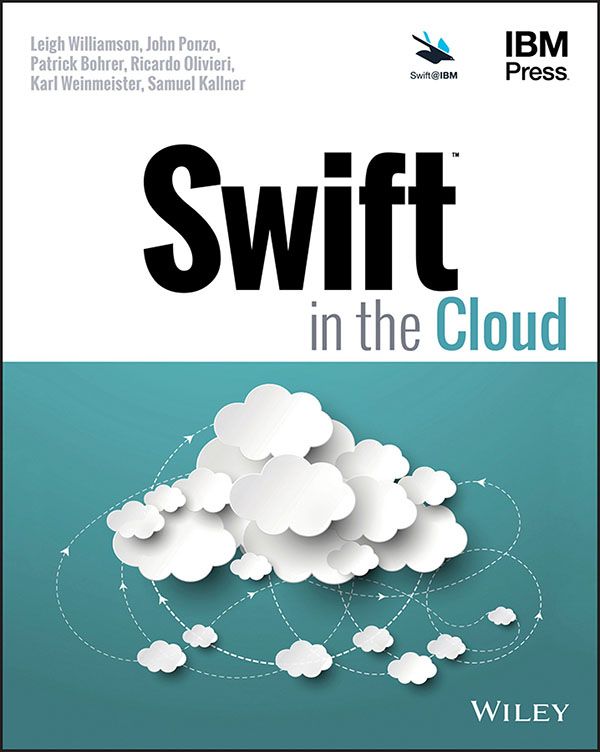
In Swift in the Cloud, you will find full coverage of all aspects of creating your own Swift applications that can run in the cloud.
You’ll learn how it works from a team who helped bring this innovative language into the cloud environment. Reach for this book when you need a detailed guide on developing apps with Swift specifically for the cloud.
➤ Read free chapter of Swift in the Cloud
Learn UIKit and SwiftUI
UIKit is the framework used to develop the user interface for Apple apps. With UIKit, you can create interfaces without having to worry about the underlying code.
With SwiftUI, you can quickly create complex interfaces. SwiftUI is a declarative framework, which means that you describe the user interface in code and the framework takes care of creating the actual interface.
SwiftUI and UIKit are two different frameworks that are often compared. They have their own advantages and drawbacks, so it’s up to you which one you choose. The mental models for the two frameworks differ, but you can get by with either.
There is good documentation and support online for both, the minimum iOS versions are the same, the speed of development is comparable, and they run on a wide variety of platforms.
Resources for Learning UIKit & SwiftUI
Apple has a number of resources for learning UIKit and SwiftUI:
- The UIKit User Interface Catalog provides an overview of the various types of user interface elements available in UIKit.
- The SwiftUI Framework Reference describes the classes, methods, and properties that make up the SwiftUI framework.
There are also many excellent third-party resources, such as:
- Ray Wenderlich’s UIKit Apprentice: These tutorials cover a wide range of topics in UIKit development.
- AppCoda’s SwiftUI Tutorials: AppCoda’s SwiftUI tutorials are comprehensive and easy to follow.
- Hacking with Swift: Hacking with Swift has a number of excellent articles and tutorials on SwiftUI development.
Resources to Learn More
If you’re interested in learning how to develop Apple apps, check out the following resources:
Apple Developer Documentation
The Apple Developer Documentation is a great place to start whether you’re new to coding or developing for Apple platforms or an experienced Swift developer. The documentation includes guides and reference materials for all of the Apple SDKs and tools.
WWDC Videos
Every year, Apple hosts the Worldwide Developers Conference (WWDC). At WWDC, Apple developers can attend workshops and sessions to learn about new features and technologies. WWDC videos are available for free on the Apple Developer website.
Apple Developer Forums
The Apple Developer Forums are a great place to ask questions and get help from other developers. You can also find helpful code samples and sample projects on the forums.
Learn to Code with Apple
If you’re interested in becoming an Apple developer, you can start by taking the free Learn to Code with Apple classes. These classes are designed for beginners and cover the basics of Swift programming. After you complete the classes, you’ll have the skills and knowledge you need to develop your own apps.
SitePoint Community & Mobile Development Articles
The SitePoint Community forums are a great place to get help from other developers and learn about new technologies. The SitePoint Discord server is also a great place to chat with other developers.
You can also find helpful articles on mobile development on SitePoint.
SitePoint Premium Library
We’ve mentioned a few SitePoint Premium resources, like our Swift crash course. There are hundreds of additional titles in the library, including many that will be useful to aspiring mobile developers. You can get access to the entire library with a SitePoint Premium subscription.
Here are a few examples you might be interested in checking out at various stages of your learning journey.
Beginning Flutter: A Hands On Guide to App Development
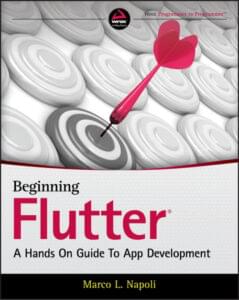
If you’re itching to create your own app, but aren’t sure where to start, Beginning Flutter is the perfect guide. This hands-on guide takes you through the basics of Flutter development, step by step. Flutter allows you to develop beautiful, powerful apps for both Android and iOS.
You’ll learn how to create beautiful user interfaces, add interactivity and animation, and deploy your apps on both Android and iOS devices. With Flutter, there’s no need to learn multiple programming languages or juggle more than one code base – you can do it all with this one powerful toolkit.
Getting Started with React Native
If you’re a web developer looking to create mobile apps, React Native is definitely worth checking out. With React Native, you can use the same languages you’re already familiar with (HTML, CSS, and JavaScript) to create native mobile apps. And Getting Started with React Native is the perfect resource to help you get up and running with this alternative approach.
This book starts with an overview of React Native and its key features. You’ll then dive right in and begin building your first React Native app. Along the way, you’ll learn how to utilize basic components, work with lists and forms, incorporate platform-specific code, use external libraries, and so much more.
Building a Node.js Application on iOS
If you’re looking to get started with iOS development, this course is for you. In Building a Node.js Application for iOS, we’ll cover all the basics, from designing your application to interacting with data services.
You’ll learn how to build ViewControllers for navigating your app, and how to add authentication for user registration and login. By the end of the course, you’ll have all the skills you need to start building great Node.js-driven iOS applications.
Beginner Usability: A Novice’s Guide to Zombie Proofing Your Website
Looking to zombie-proof your website? Usability is key!
Most people think that apps are all about code and design. But in reality, usability is just as important – if not more so. Usability is all about how someone uses an application or website and how a user expects your site to behave.
That’s why this book exists – to help you understand everything you need to know about usability, both on the front and back end. Beginner Usability will show you how to make sure your app is easy to use and navigate, and we’ll give you tips on how to keep it running smoothly.
Frequently Asked Questions (FAQs) about Developing Apple Apps
What are the prerequisites for developing Apple apps?
To start developing Apple apps, you need to have a basic understanding of programming concepts. Knowledge of Swift, Apple’s programming language, is highly beneficial. You also need a Mac computer with the latest version of Xcode installed. Xcode is Apple’s Integrated Development Environment (IDE) that contains a suite of software development tools. It’s also recommended to have an Apple Developer account, which allows you to submit apps to the App Store.
How can I learn Swift programming for Apple app development?
There are numerous resources available to learn Swift programming. Apple provides a comprehensive guide to Swift on its developer website. Additionally, there are online platforms like Codecademy, Udemy, and Coursera that offer courses on Swift. Practice is key in mastering any programming language, so consistently working on small projects or tasks can be very beneficial.
What is the role of Xcode in Apple app development?
Xcode is the primary tool for developing apps for Apple devices. It provides a robust and integrated environment for developers to design, write, and debug code. Xcode also includes Interface Builder, a tool for designing user interfaces. Furthermore, it has features for version control and testing, making it a comprehensive tool for Apple app development.
How can I test my Apple app during development?
Xcode includes a feature called the Simulator, which allows you to test your app as if it were running on an actual Apple device. You can also use TestFlight, an Apple tool that lets you distribute your app to a limited audience for beta testing.
How can I submit my app to the Apple App Store?
To submit your app to the Apple App Store, you need to have an Apple Developer account. Once you’ve completed your app and tested it thoroughly, you can submit it for review through the App Store Connect portal. Apple reviews all submissions for compliance with its guidelines before they are published on the App Store.
What are the common challenges in Apple app development?
Some common challenges include dealing with memory management, understanding the complex syntax of Swift, and ensuring compatibility with different versions of iOS. Additionally, getting an app approved by Apple can be a rigorous process as it needs to meet all of Apple’s App Store guidelines.
How can I ensure my app is compatible with different iOS versions?
Xcode allows you to set the minimum iOS version for your app. However, you should test your app on all iOS versions above your minimum target to ensure compatibility. Using Auto Layout for your user interface can help ensure your app looks good on different screen sizes.
What are some best practices for Apple app development?
Some best practices include writing clean and organized code, thoroughly testing your app, and regularly updating your skills to keep up with new iOS features and updates. It’s also important to consider the user experience, ensuring your app is intuitive and easy to use.
Can I develop Apple apps on a Windows machine?
Officially, Apple’s Xcode IDE only runs on Macs. However, there are workarounds like using a virtual machine or a service like MacStadium, which provides Mac infrastructure as a service.
How can I improve my skills in Apple app development?
Continual learning and practice are key to improving your skills. Stay updated with the latest trends and updates in iOS development. Participate in coding challenges and contribute to open-source projects. Join online communities of developers where you can learn from others’ experiences and get feedback on your work.