Create A Studio Style Backdrop In Photoshop
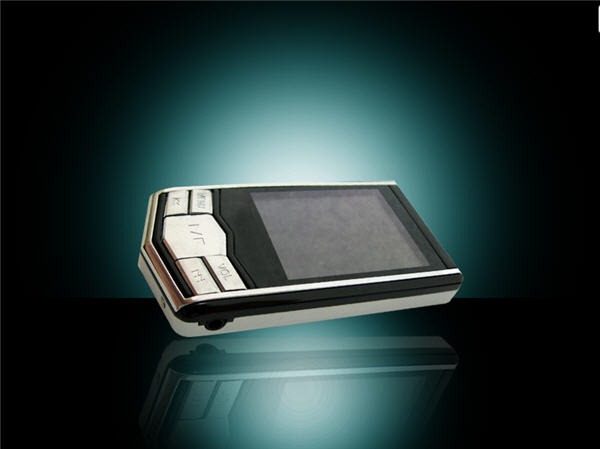
If you’re showcasing a product on your website or in a print ad, you can make it look more professional by giving it a decent background and by adding a few special effects.
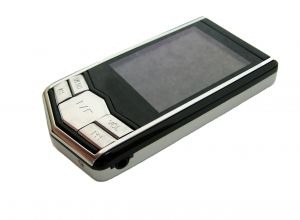
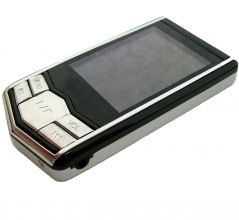
For my “product,” I’m using a photograph of a non-descript media player which I downloaded for free, here from Stock Xchng. Thanks to Pzado.
1. Create a new Photoshop document. For this example, set it to 800 x 600 pixels with a resolution of 72ppi.
2. Fill the entire document with black by pressing D to set the Foreground color to black and then pressing Alt + Backspace (windows) or Option + Delete (Mac).
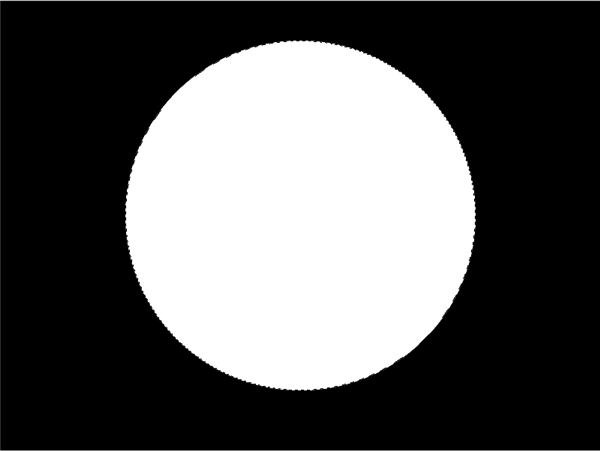
3. Select the Elliptical Marquee tool from the toolbar and draw out a circular marquee. Hold down Shift to constrain it to a perfect circle as you drag. Fill the circle with white. Press Ctrl + D (windows) or Cmd + D (Mac) to deselect the circle.
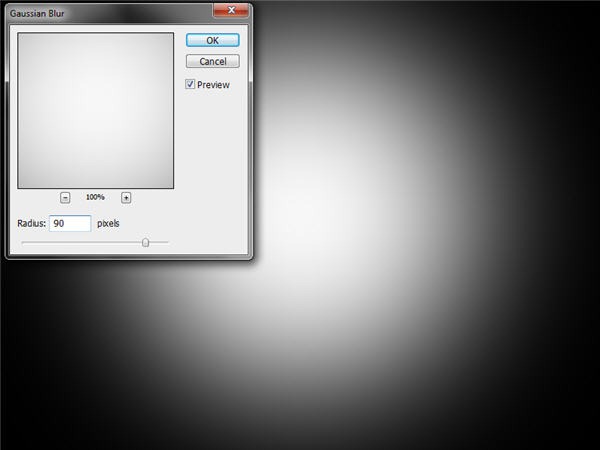
4. Choose Filter > Blur > Gaussian Blur and set the Radius to about 90 – 100 pixels so that the hard edge of the circle is completely removed and you get something like this.
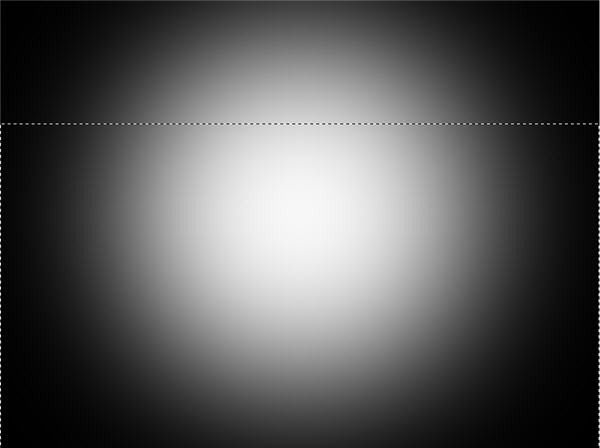
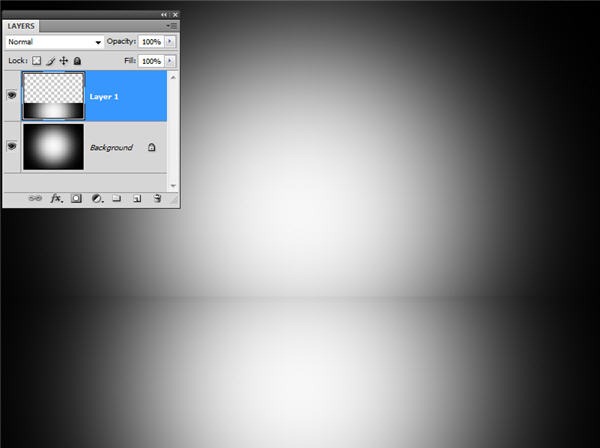
5. Select the Rectangle Marquee tool and drag out a selection that covers approximately the bottom two thirds of the document.
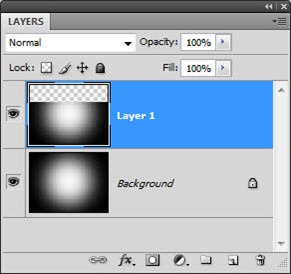
6. Press Ctrl + J (windows) or Cmd + J (Mac) to make a duplicate of the selection and put it on it’s own layer.
7. Using the Move tool, drag the new layer down to the bottom third of the document. This will be the surface our product will be reflected on.
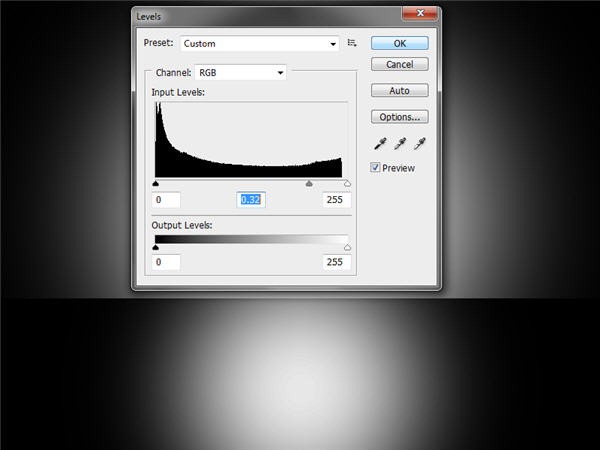
8. We need some contrast between the two layers. Make sure the top layer is selected and choose Image > Adjustment > Levels. Drag the middle slider to the right to darken this layer. Click OK. Press Ctrl + E (windows) or Cmd + E (Mac) to merge the two files.
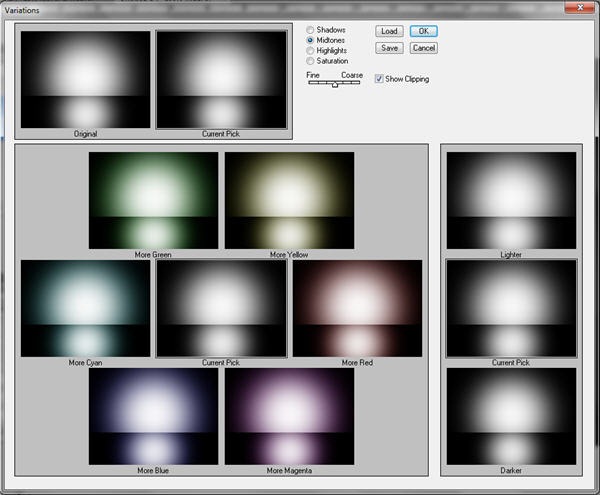
9. Now to add a bit of color. This background effect looks good in many colors, but dark blues and greens tend to look very stylish. Choose Image > Adjustments > Variations. The variations dialog box lets you see how your image will look in various hues. Click on the More Cyan preview. This adds more cyan to all of the preview images.
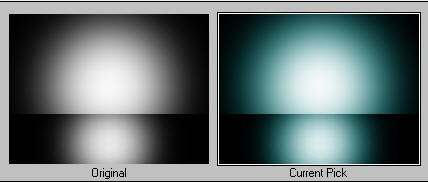
In the top of the screen you can see your Original and Current Pick. Press More Cyan once more so that your Current Pick looks something like this. Then click OK.
10. Ok, now we’re ready to place our product. Open up the image of the media player that you downloaded from Stock Xchng. This image is much larger than the background we have created so we’ll need to take that into account in the next few steps. I used the Pen tool to make a selection around player but you can use any selection tool you want, just make sure that you don’t include any of the white background in your selection. If you want to use your own product, photograph it on a white background.
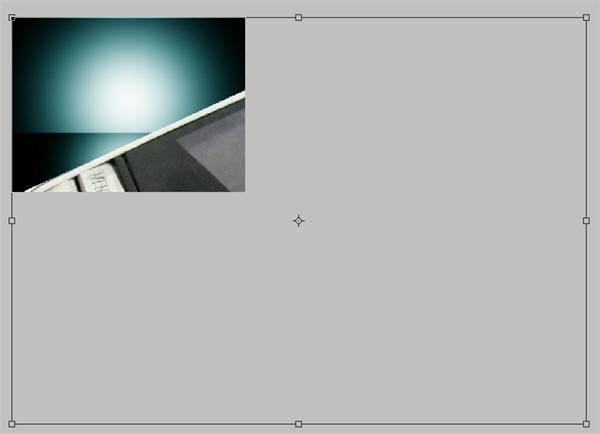
11. With the selection made, press Ctrl + C / Cmd + C to copy the selection. Go to your background image and then paste in the speaker by pressing Ctrl + V / Cmd + V. As already mentioned, the media player will appear huge compared to the background. Press Ctrl + T / Cmd + T to perform a Free Transform. If you can’t see the Free Transform handles, simply press Ctrl + 0 / Cmd + 0 to fit the
image and the handles onto the screen.
Now drag the bottom right corner handle inwards, while holding down the Shift key. If you want to rotate the media player, bring your cursor to the edge of the transform corner handle and drag in a circular motion.
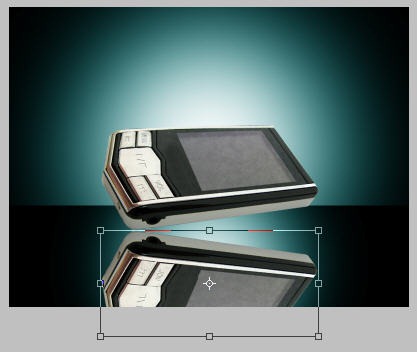
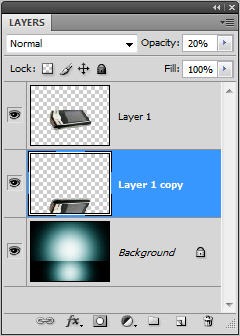
12. To make a reflection, duplicate the media player layer. Press Ctrl + T / Cmd + T to bring up the Free Transform handles again, then Right-click or Control Click inside the bounding box. From the drop down menu that appears, choose Flip Vertical. Drag your flipped image straight down until the edge of the player touches the reflected edge so you get something like this.
13. To improve the reflection, lower the Opacity of this layer to between 10 and 20%. Remember that this is quite a stylized piece so it should look semi-realistic but it won’t look 100% real.
14. Drag the reflection layer under the media player layer.
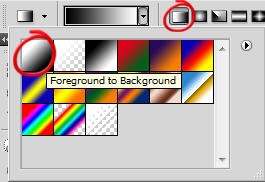
15. Now to make the reflection fade away a little more authentically, we’ll add a layer mask. Make sure your reflected layer is selected in the layers palette, then click on the Add Layer Mask icon at the bottom of the Layers palette. A white thumbnail appears on the layer. Click on the thumbnail to select it. Now select the Gradient tool and choose a Foreground to Background gradient.
Click at the top of your reflected image, and then drag downward to the point where you want your image to fade away.
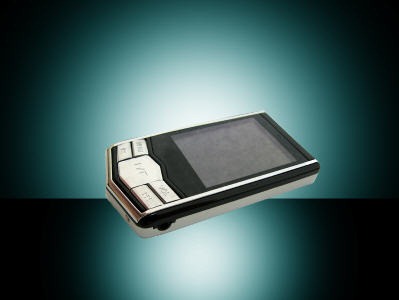
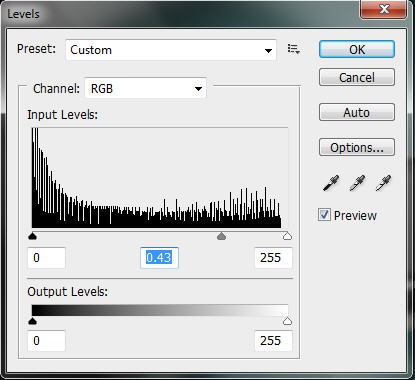
16. Now we’ll darken the whole image a little more. It reduces the size of the glow but it looks more dramatic overall. Choose Image > Adjustments > Levels and drag the middle slider to the right.
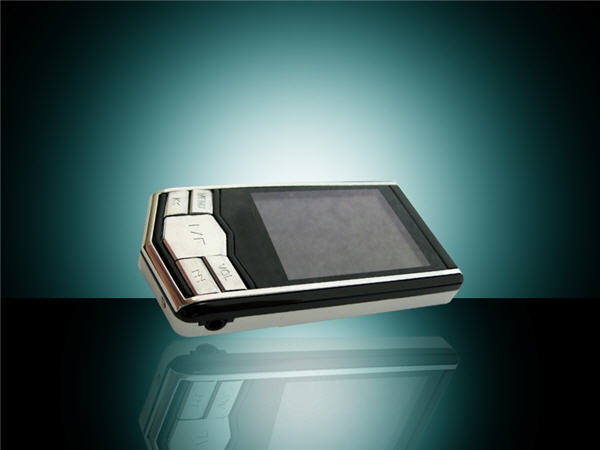
Your image should now look like this:
As a final touch, I added some text. The typeface used here is Century Gothic in bold for the heading and regular for the rest of the text.
And there you have it. This is a template you could reuse for many products and it’s easy to change the background colors with variations or hue and saturations adjustments.
Frequently Asked Questions about Creating a Studio-Style Backdrop in Photoshop
What are the basic tools I need to create a studio-style backdrop in Photoshop?
To create a studio-style backdrop in Photoshop, you will need to familiarize yourself with several tools. The Gradient Tool is essential for creating a smooth transition of colors, which is a common feature in studio backdrops. The Brush Tool is also important for adding details and textures. The Layer Style options, such as Drop Shadow, Inner Shadow, Outer Glow, Inner Glow, Bevel and Emboss, can be used to add depth and dimension to your backdrop. Lastly, the Adjustment Layers are useful for controlling the color and brightness of your backdrop.
Can I use my own photos to create a studio-style backdrop?
Yes, you can use your own photos to create a studio-style backdrop in Photoshop. You can use the Quick Selection Tool or the Pen Tool to select and remove the subject from the original background. Then, you can place the subject on your custom-made studio backdrop. This allows you to have complete control over the backdrop’s color, texture, and lighting.
How can I add texture to my studio-style backdrop?
Adding texture to your studio-style backdrop can make it look more realistic. You can use the Noise Filter to add a grainy texture, or the Texturizer Filter to add different types of textures such as canvas, burlap, or sandstone. You can also use the Brush Tool with different brush tips to manually paint textures onto your backdrop.
How can I make my studio-style backdrop look more realistic?
To make your studio-style backdrop look more realistic, you can add a gradient to simulate lighting. You can also add shadows and highlights to give depth and dimension to your backdrop. Using high-resolution images and adding textures can also enhance the realism of your backdrop.
Can I save my studio-style backdrop for future use?
Yes, you can save your studio-style backdrop for future use. After creating your backdrop, you can save it as a PSD file to preserve the layers and adjustments. This allows you to easily modify or reuse the backdrop in the future. You can also save it as a JPEG or PNG file to use it in other applications.
How can I create a seamless studio-style backdrop?
To create a seamless studio-style backdrop, you can use the Clone Stamp Tool or the Healing Brush Tool to remove any visible seams or edges. You can also use the Rectangular Marquee Tool to select a portion of your backdrop, and then use the Content-Aware Fill to fill in the rest of the backdrop with a seamless pattern.
How can I change the color of my studio-style backdrop?
You can change the color of your studio-style backdrop using the Adjustment Layers. The Hue/Saturation Adjustment Layer allows you to change the hue and saturation of your backdrop, while the Color Balance Adjustment Layer allows you to adjust the color balance.
Can I add objects or elements to my studio-style backdrop?
Yes, you can add objects or elements to your studio-style backdrop. You can use the Place Embedded or Place Linked command to add images to your backdrop. You can also use the Brush Tool or the Custom Shape Tool to add shapes or patterns.
How can I create a studio-style backdrop with a blurred background?
To create a studio-style backdrop with a blurred background, you can use the Gaussian Blur Filter. This filter allows you to adjust the amount of blur to achieve the desired depth of field effect.
Can I create a studio-style backdrop with a transparent background?
Yes, you can create a studio-style backdrop with a transparent background. You can use the Magic Eraser Tool or the Quick Selection Tool to remove the background. Then, you can save the image as a PNG file to preserve the transparency.
Jennifer Farley is a designer, illustrator and design instructor based in Ireland. She writes about design and illustration on her blog at Laughing Lion Design.

