Create a Neon Retro Text Effect in Photoshop
Creating looks that reflect certain styles is an important skill for any graphic artist. Knowing how to create a wide range of styles makes you a versatile designer that can handle a wide range of projects. Being able to handle a wide range of projects also makes you more marketable. And, being more marketable makes it much easier to find great work. One useful skill for any designer is the ability to create great titles and text effects. In this tutorial, we will be creating a retro-futuristic text effect using a few different techniques.
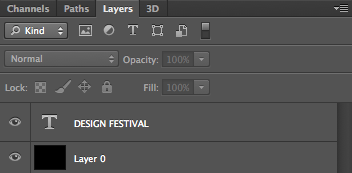
First, create a new document with a 1024px width and a 768px height. Fill the background layer with black.
Select the text tool, and select a retro style font. You can find free fonts all over the web, but a good source for free fonts of all different styles is dafont.com. The font I chose is called Super Retro M54, by Mohammed Rahman. Choose white as the color.
To make the right visual impression, we need to reduce the fill of the type layer to 0. Your type will be temporarily invisible until we start adding layer styles to our text.
Double-click the type layer to bring up the layer styles dialog box. First, we will add a stroke to the text, which will add definition. Select an inner stroke, and depending on the size of your type, make the stroke 8 to 10px in size. We need to set the fill type on the stroke to gradient.
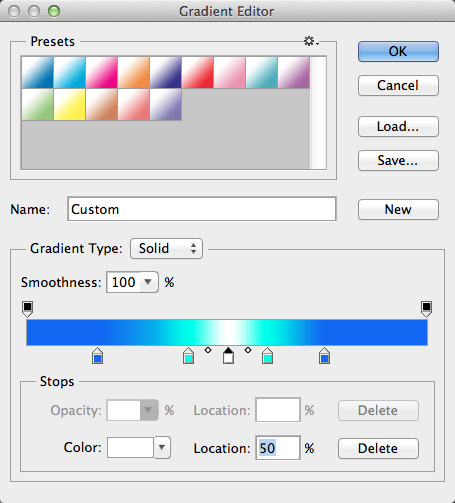
We need to create a custom gradient to get just the right look for our stroke. Click on the gradient icon. Make sure that the center is white and that the edges fade to a medium blue (#0064fb). This will give the appearance of a rounded, dimensional stroke. Between the white and medium blue, select an aqua (#00ffea) colored transition between the two. None of the first gradients will work, but the last one, shape burst, follows the contour of the text itself.
Next, we need to add an inner glow. Set the color to a light blue (#24bfff) and set the blend mode to “screen.” Set the technique to “softer” and the source to “edge.” Set the choke to 45 and the size to 15. Choke restrains the glow and makes it more rigid, reducing the fade of the inner glow.
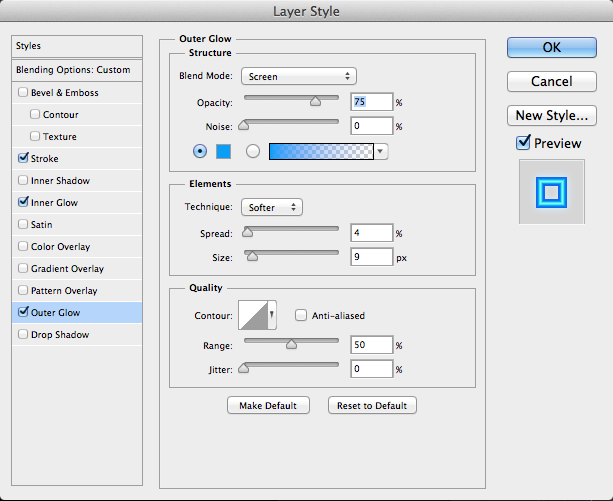
Next, create an outer glow, such as the soft glow that neon light normally gives off. Set the glow to a medium-light blue (#00a2ff), and set the blend mode to “screen.” Set the opacity to 75%. Set the spread between 3 and 5px, and set the size somewhere between 7 and 10px. You may have to adjust the sizes of each glow, depending on the size of your type.
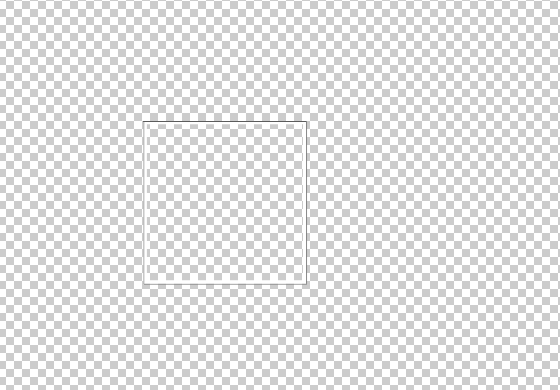
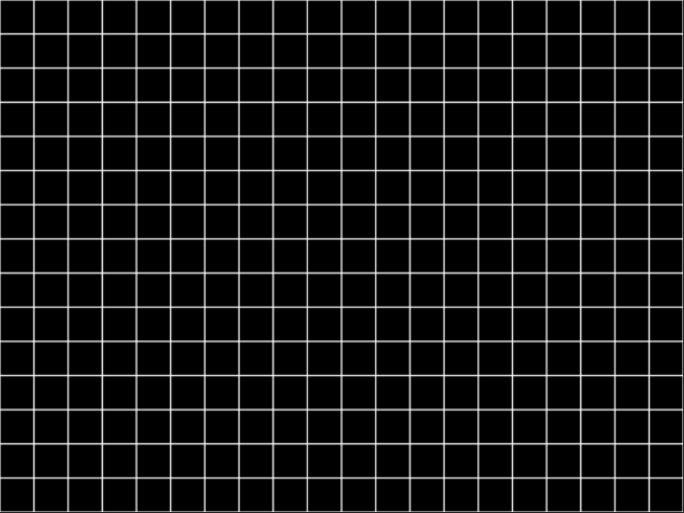
Next, we are going to create a glowing grid to show through the type, giving the type a wireframe-futuristic look that was typical decades ago. Open a new document and select the rectangle shape tool. Hold down Shift and draw a perfect square. Go up in the options bar and click on stroke, adding a 3 to 5px stroke. In order for our effect to work, we need to remove the background. Double-click the background layer and either turn off its visibility or delete it altogether. On the square shape layer, lower the fill amount to 0%.
Next, command-click on the square shape layer to load it as a selection. Photoshop CS6 will automatically add the stroke as part of the selection, which is what we want. Go to “Edit” > “Define Pattern.” Name your pattern something descriptive like “grid” or “gridlines.”
Back in out typographic document, create a new layer and fill it with white. Set the fill to 0%. Double-click the layer to bring up the layer styles for the no-fill layer. Select the pattern overlay option and fill the layer with the hollow square patter that we just created. Change the size so that the grid is reasonably sized and fills the layer equally. I hid the type layer to make it easier to see.
To keep the pattern editable, right-click the pattern layer and select “Convert to Smart Object.” Now that the layer is a smart object, we can apply a new set of layer styles to it. Select “Inner Glow,” use a light blue (#00e4ff), and change the blend mode to “Hard Light.” Leave the size at 5px.
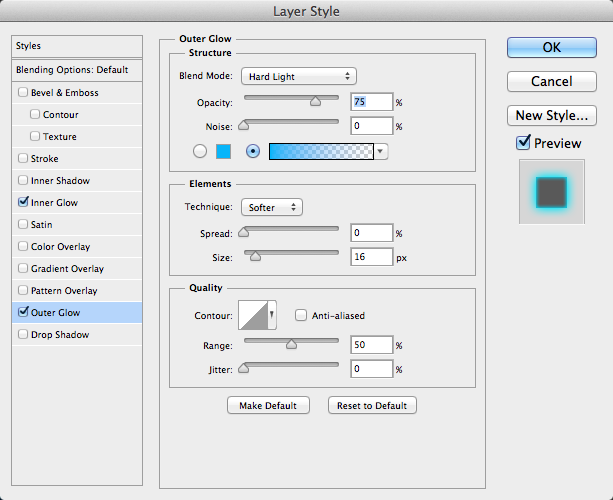
Then, apply outer glow using a medium-light blue(#009cff), and change the blend mode to “Hard Light.” Set the size to around 15 to 16px.
This will create a glowing grid that we are going to mask within our type. You can adjust the outer glow size to have a larger, stronger glow effect.
Next, select the type layer, and Command/Ctrl-click the layer icon to load the text as a selection. Go up to “Select” > “Modify” > “Contract” and set the contraction to 5px. This will make a selection in the shape of your text, but contract it enough so that it doesn’t effect the area where the outer stroke is showing.
Click on the grid layer with the selection still active. Then click the layer mask icon at the bottom of the layers panel to create a layer mask in the shape of the text.
To add a little more polish on the text itself, create a new layer above all of the others. Select white as your foreground color and select the brush tool. Select a soft-edged brush at around 15 to 20px. In random corners of your type, single-click on top of your text. This should create a soft glow sheen on your text. Be sure to change the size of your brush each time you click, because varied sizes will look more authentic.
The white is a little harsh and stands out too much, so right-click on the grid layer, select “Copy Layer Style,” select the brush layer that you’d just created, right-click on the layer, and choose “Paste Layer Style.”
Conclusion
Creating text effects can really call attention to your work. Being able to execute different styles quickly and easily will save you time, make you more money, and will make every project even better. Keeping your work editable means that you don’t have to go back and completely redo your work if the wording changes, which can also saves you time.
Frequently Asked Questions about Creating a Neon Retro Text Effect in Photoshop
How can I create a more realistic glow effect in Photoshop?
To create a more realistic glow effect in Photoshop, you can use the Outer Glow layer style. First, select the layer you want to apply the glow to. Then, go to Layer > Layer Style > Outer Glow. Adjust the Spread and Size sliders to control the intensity and spread of the glow. You can also change the color of the glow by clicking on the color box. Remember, the key to a realistic glow effect is subtlety, so avoid using overly bright colors or excessive glow spread.
Can I use this neon effect on other types of text or shapes?
Absolutely! The neon effect can be applied to any text or shape layer in Photoshop. Simply follow the same steps outlined in the tutorial, but apply them to your chosen text or shape. This effect can be particularly striking when used on geometric shapes or bold, blocky fonts.
How can I animate my neon text effect in Photoshop?
Photoshop also allows you to animate your neon text effect using the Timeline panel. To do this, first, make sure your text layer is selected. Then, go to Window > Timeline to open the Timeline panel. Click on the “Create Video Timeline” button, then click on the arrow next to your text layer to expand the layer options. Click on the stopwatch icon next to “Style” to create a keyframe, then adjust the layer style settings to create the animation effect.
Why is my neon effect not showing up clearly against my background?
If your neon effect is not showing up clearly, it may be because the colors of your text and background are too similar. To fix this, try changing the color of your text or background to create more contrast. You can also add a dark stroke to your text to help it stand out against the background.
Can I save my neon effect as a preset to use in future projects?
Yes, you can save your neon effect as a layer style preset for future use. To do this, first, apply the neon effect to a layer. Then, go to the Styles panel (Window > Styles), and click on the “New Style” button. Give your style a name, and make sure “Include Layer Effects” is checked, then click OK. Your neon effect will now be available as a preset in the Styles panel.
How can I make my neon effect look more like a real neon sign?
To make your neon effect look more like a real neon sign, try adding some additional elements such as wires, tubes, or a background that resembles a wall. You can also experiment with the blending modes and opacity of your layers to create a more realistic lighting effect.
Can I use this neon effect in other Adobe applications?
While this tutorial is specifically for Photoshop, similar effects can be achieved in other Adobe applications such as Illustrator or After Effects. However, the exact steps and tools may vary.
How can I create a neon effect with multiple colors?
To create a neon effect with multiple colors, you can simply duplicate your text layer and change the color of the Outer Glow for each layer. Then, use the Eraser tool to remove parts of each layer, revealing the different colors underneath.
Why does my neon effect look pixelated?
If your neon effect looks pixelated, it may be because your document resolution is too low. Try increasing the resolution of your document (Image > Image Size) and make sure your text and shape layers are vector-based to ensure they scale properly.
Can I use this neon effect for print projects?
Yes, you can use the neon effect for print projects. However, keep in mind that the bright, glowing effect may not translate exactly in print as it does on screen. It’s always a good idea to do a test print to see how the effect will look in print.
James George is a professional web developer and graphic designer. James is an expert in design, and a professional web developer, with a special interest in WordPress. Founder of Design Crawl, James has been a professional designer since 2005.


