Complete Crop: 4 Tips For Cropping In Photoshop
 On the tool options bar, make sure that the Perspective check box is not selected. In the image window, move the pointer outside the crop marquee so that it appears as a curved double arrow (
 Press Enter (Windows) or Return (Mac OS). Voila! The image is now cropped, and the cropped image now fills the image window, straightened, sized, and cropped according to your specifications.
2. Stop The Crop From Snapping To The Edge Of Your Document
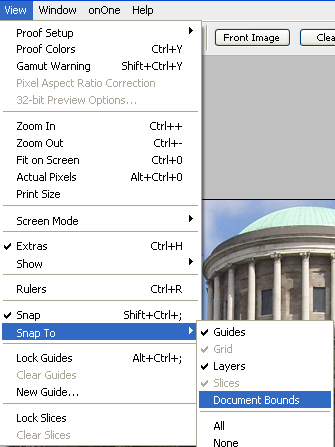
Sometimes when you’re using the Crop tool it can be really useful to have the cropping border snap on to the edges of your image. This happens with the Marquee selections too. There are of course, other times when it’s a pain to have the crop sticking like glue to the edges. If you don’t want any snapping to happen, press Shirt + Ctrl+; (win) or Shift+Cmd+; (mac). This turns off all snapping such as snap to the document boundary, snap to rulers and snap to guides. If you only want to turn off Crop or Marquee snapping to the edges of your document, choose View > Snap To and choose Document Bounds.
 3. Swap Crop Dimensions
When you choose the Crop tool, the tool Options bar displays a number of options, the first two being the width and height of the crop. In between those fields is a tiny little button that you’d hardly notice and it’s a bit time saver. Below you can see I set up a crop of exactly 6cm x 10cm. If I hit that little button, I will now get a crop of 10cm x 6cm. Saves on all that inconvenient typing.
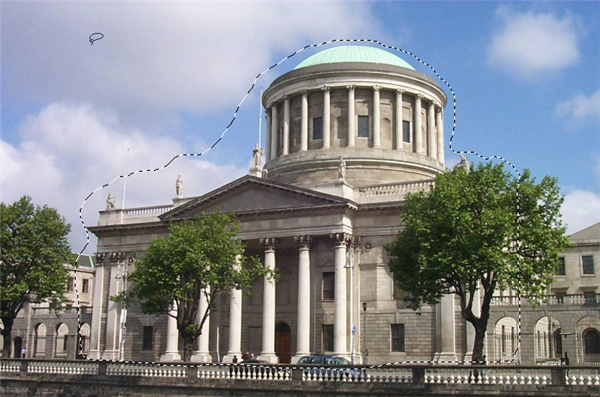
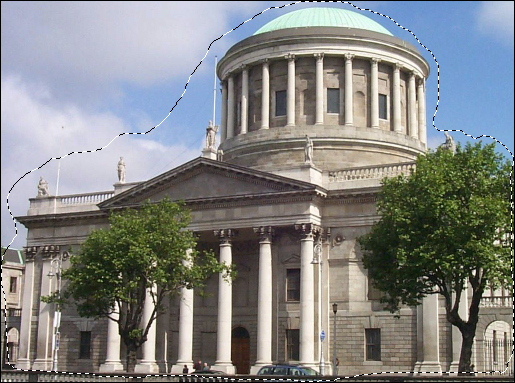
 Choose Image > Crop and Photoshop will crop the image as tightly as it can.
 Do you have any other speedy Crop tips you’d like to share?
Frequently Asked Questions about Cropping in Photoshop
How can I disable crop snapping in Photoshop?
Crop snapping is a feature in Photoshop that automatically aligns the crop marquee to the edge of your image. If you want to disable this feature, go to the “View” menu, then select “Snap”. A checkmark next to “Snap” means it’s enabled. Clicking on it will disable it. Now, your crop tool will move freely without snapping to the edges.
What is the difference between cropping and straightening in Photoshop?
Cropping in Photoshop is the process of removing unwanted areas from an image, while straightening is the process of aligning a tilted image. When you straighten an image, Photoshop automatically crops the edges to create a new straightened image.
How can I crop an image without losing quality in Photoshop?
To maintain the quality of your image while cropping, ensure that you do not resize the image in the process. Use the crop tool to select the area you want to keep, then press Enter. The cropped image will maintain its original resolution.
Can I undo a crop in Photoshop?
Yes, you can undo a crop in Photoshop. Simply go to the “Edit” menu and select “Undo” or use the shortcut Ctrl+Z (Windows) or Command+Z (Mac). This will revert your image to its state before the last action was performed.
How can I crop multiple images at once in Photoshop?
To crop multiple images at once, you can use the “Batch” function in Photoshop. Go to “File”, then “Automate”, and select “Batch”. From there, you can select the action you want to apply (in this case, cropping), and the images you want to apply it to.
How can I crop to a specific size in Photoshop?
To crop to a specific size, select the crop tool, then enter your desired dimensions in the options bar at the top of the screen. You can enter dimensions in pixels, inches, cm, or other units. Then, apply the crop tool to your image.
Can I crop non-rectangular shapes in Photoshop?
Yes, you can crop non-rectangular shapes using the “Marquee” tool. Select the Marquee tool, then choose the shape you want from the options bar. Draw your shape on the image, then go to “Image” and select “Crop”.
How can I crop an image without distorting it in Photoshop?
To crop an image without distorting it, ensure that the “Delete Cropped Pixels” box is unchecked in the options bar when you select the crop tool. This will preserve the original proportions of your image.
Can I save a cropped area as a new image in Photoshop?
Yes, after cropping an area of your image, you can save it as a new image. Go to “File”, then “Save As”, and choose your desired format and location.
How can I crop an image to a specific aspect ratio in Photoshop?
To crop an image to a specific aspect ratio, select the crop tool, then enter your desired ratio in the options bar at the top of the screen. For example, for a square crop, you would enter 1:1. Then, apply the crop tool to your image.
Jennifer Farley is a designer, illustrator and design instructor based in Ireland. She writes about design and illustration on her blog at Laughing Lion Design.


