This article was created in partnership with Buddy. Thank you for supporting the partners who make SitePoint possible.
In this article, you will learn how to set up continuous integration/deployment pipelines for your branching workflow. We will be using Buddy CI/CD services to set up the pipelines. We’ll use a basic JavaScript project where we’ll set up a couple of development branches. I’ll show you how to automate testing on each type of branch. I’ll also be introducing the concept of branching workflows, and show a few examples you can adopt in your projects.
Prerequisites
To follow along with this tutorial, you only need basic Node.js skills. You also need to be conversant with Git. Here are a couple of articles to help you out:
- Git for Beginners
- Git for Teams
- Our book, Jump Start Git
In order to set up our pipelines, we will need to write a few tests using Jest. You don’t need to learn Jest if you are new to it — the focus for this article is to learn how to set up pipelines that will automatically pick new branches and build them for you. Before we get to that, we should look into various branch strategies we can use.
Zero Branch Strategy
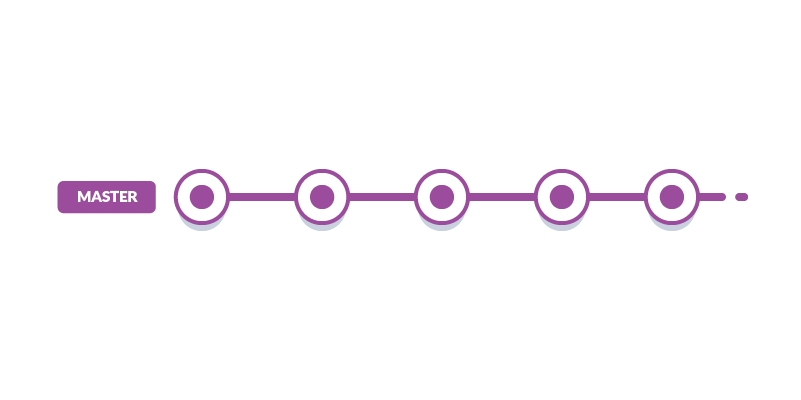
The Zero Branch Strategy is simply a fancy way of saying “you are not using any branch strategy.” It’s also known as a basic workflow. You only have a master branch where you directly commit and build your releases. This strategy is convenient and good if the project is:
- Small and simple
- Hardly requires updates
- Managed by a solo developer
Such projects include tutorials, demos, prototypes, starter project templates and personal projects. However, there are several cons to this approach:
- Multiple merge conflicts will likely occur if more than one person is working on the project
- You won’t be able to develop multiple features and fix issues concurrently
- Removing and restoring features will be a difficult task
- Your team will spend too much time dealing with version control issues instead of working on new features
All these issues can be resolved by adopting a branch strategy. This should give you:
- Ability to work independently and push changes to the shared repository without affecting your team members
- Ability to merge your teammates’ code with your changes and quickly resolve any conflicts that may come up
- Assurance that code standards are maintained and collaboration efforts run smoothly regardless of the size of your team
Do note that there are many types of branch workflows you are free to pick. You can also create your own custom branch workflow that works best for you. Let’s start with the simplest branch strategy.
Develop Branch Strategy

In this strategy, you set up a long-living branch called develop that runs alongside the master branch. All work is committed first to the develop branch. This is a safe place where you can introduce new code that might break your project. You’ll need a testing strategy in place in order to ensure that you don’t introduce bugs to the master branch when you merge the changes.
The pros of this workflow are:
- Simple to implement
- The
masterbranch remains stable and healthy as long as experimental work is done on thedevelopbranch - A hotfix can be implemented at any time on the
masterbranch while a feature is currently being implemented
Cons of this workflow are:
- Multiple features can’t be developed concurrently
- Only one developer (max two) can actively work on the project
- Removing and restoring features using just the
developbranch is a challenge
Let’s look at another workflow that could mitigate these challenges.
Feature Branch Strategy
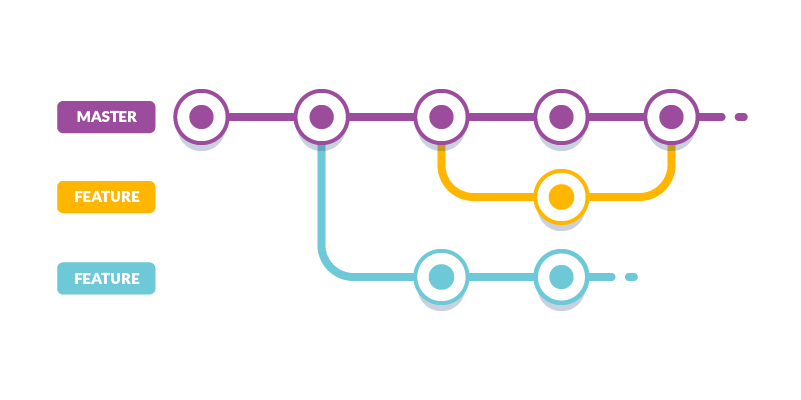
In this workflow, you setup a new feature branch every time you want to develop a new feature. You can apply a hotfix at anytime on the master branch in case a problem arises. Developers will need to pull in the latest fixes from the master branch first before they can merge their feature branch into master.
You will need a naming convention for your branches in order to track features and bug fixes that are currently under development. Here are some of the format suggestions you can find on the internet:
users/username/descriptionusers/username/workitembugfix/descriptionfeatures/feature-namefeatures/feature-area/feature-namefeatures/id(the ‘id’ is generated by a project management tool)hotfix/description
The pros of this strategy are:
- You can have large number of developers on your project working on multiple features concurrently
- It’s easy to remove features and restore them later if you change your mind
- You can easily track what each developer is working on
The cons of this strategy are:
- Developing features concurrently is not always feasible for situations where implementing a feature is dependent on another feature yet to be developed. This means the features can’t be pushed to the master until all dependent features are complete
Let’s look at the next strategy and see how we can mitigate this problem.
Gitflow Branch Strategy
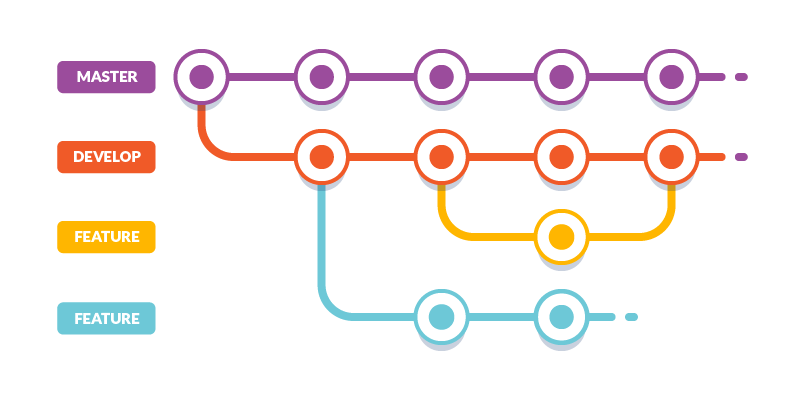
If you can combine the “Develop” and “Feature” branch workflows, you get a solution that cancels each other’s cons. Vincent Driessen wrote a blog post where he describes an advance git branching model that helps large teams collaborate efficiently on complex projects with minimal version control issues.
Gitflow is a customizable model that allows you to pick the features that will work best for your project and your team. If you are using Gitflow, you can adopt Daniel Kummer’s git-flow git extensions. These are tools that allow developers execute high-level repository operations based on Vincent’s model. I won’t go much into this but here is what you need to know.
Pros:
- Suitable for large teams working on a complex project
- Easy to track active features and organize releases
Cons:
- Overkill for small projects
Let’s now look at how we can automate tasks on our branches using Buddy CI services.
Branch Model Pipelines
We need to set up a simple project first, and use it to set up our pipelines. We’ll create pipelines that only pull changes automatically and run tests. First, create a new GitHub repository. Call it buddy-demo.
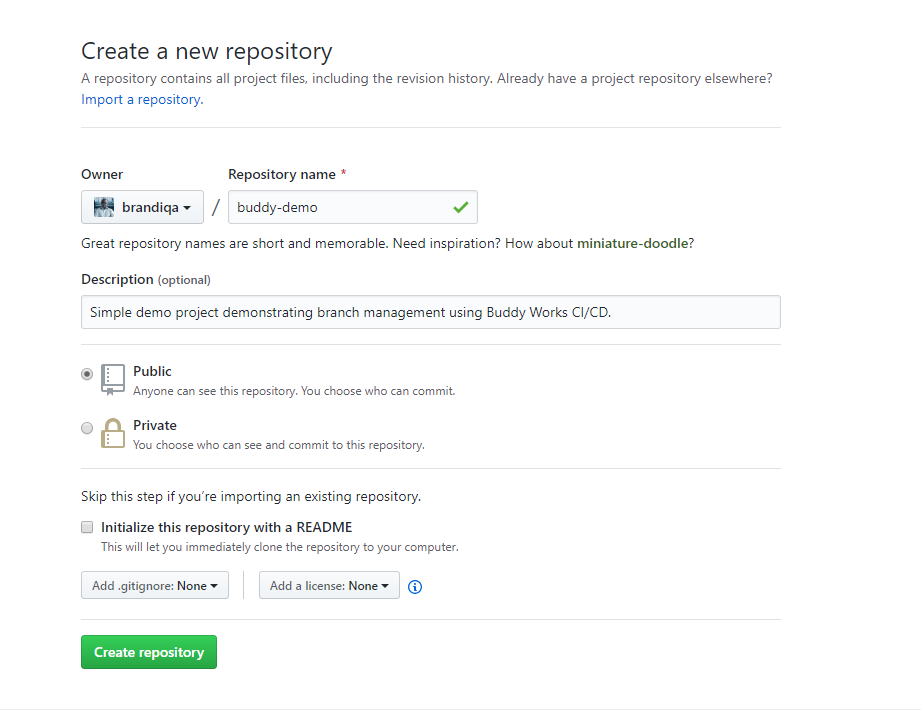
Next, download the following starter project and push it to your repo:
$ git clone git@github.com:brandiqa/react-parcel-starter.git buddy-demo
$ git remote rm origin
# Replace `username` with yours
$ git remote add origin git@github.com:username/buddy-demo.git
$ git config master.remote origin
$ git config master.merge refs/heads/master
$ git push -u origin master
The project is a bare-bones React project built using Parcel. You can run the following commands to ensure its running:
$ npm install
$ npm start
If you are using Visual Studio Code, press F5 to launch the browser. Otherwise, open a browser page and navigate to localhost:1234.
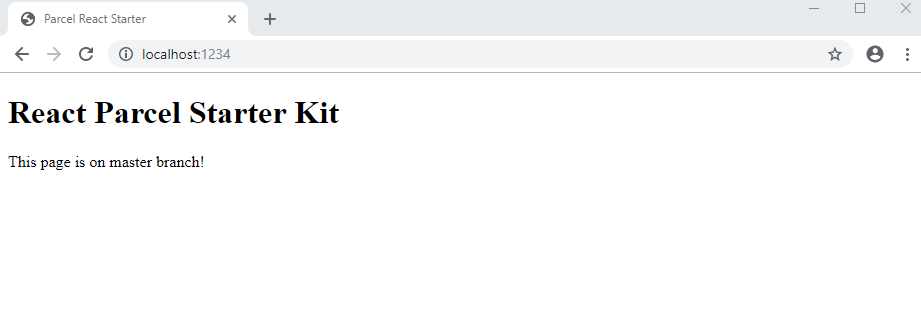
As you can see, there’s nothing fancy. Before we can deploy it to our Buddy CI, we need to write a test. We’ll use Jest Testing Framework for this:
$ npm install -D jest
Update the package.json script section to run jest when npm test command is executed.
 "scripts": {
   //...
    "test": "jest"
  },
Let’s update src\App.jsx a bit:
<div>
  <h1>React Parcel Starter Kit</h1>
  <p>This page is on master branch!</p>
</div>
Next, let’s write a fake test that passes. Create the file App.test.js and insert this code:
test("Fake Test 1", () => {
  expect(true).toBeTruthy();
});
Execute the command npm test to confirm that our test is passing.
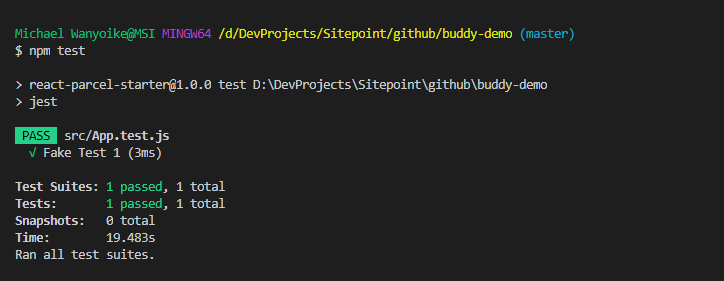
Commit your changes and push it to your GitHub repo. Next we’ll set up our CI pipeline at Buddy. if you are new to the platform, simply sign up for a free account using your GitHub account. Do note that Buddy does support a number of remote repository services other than GitHub:
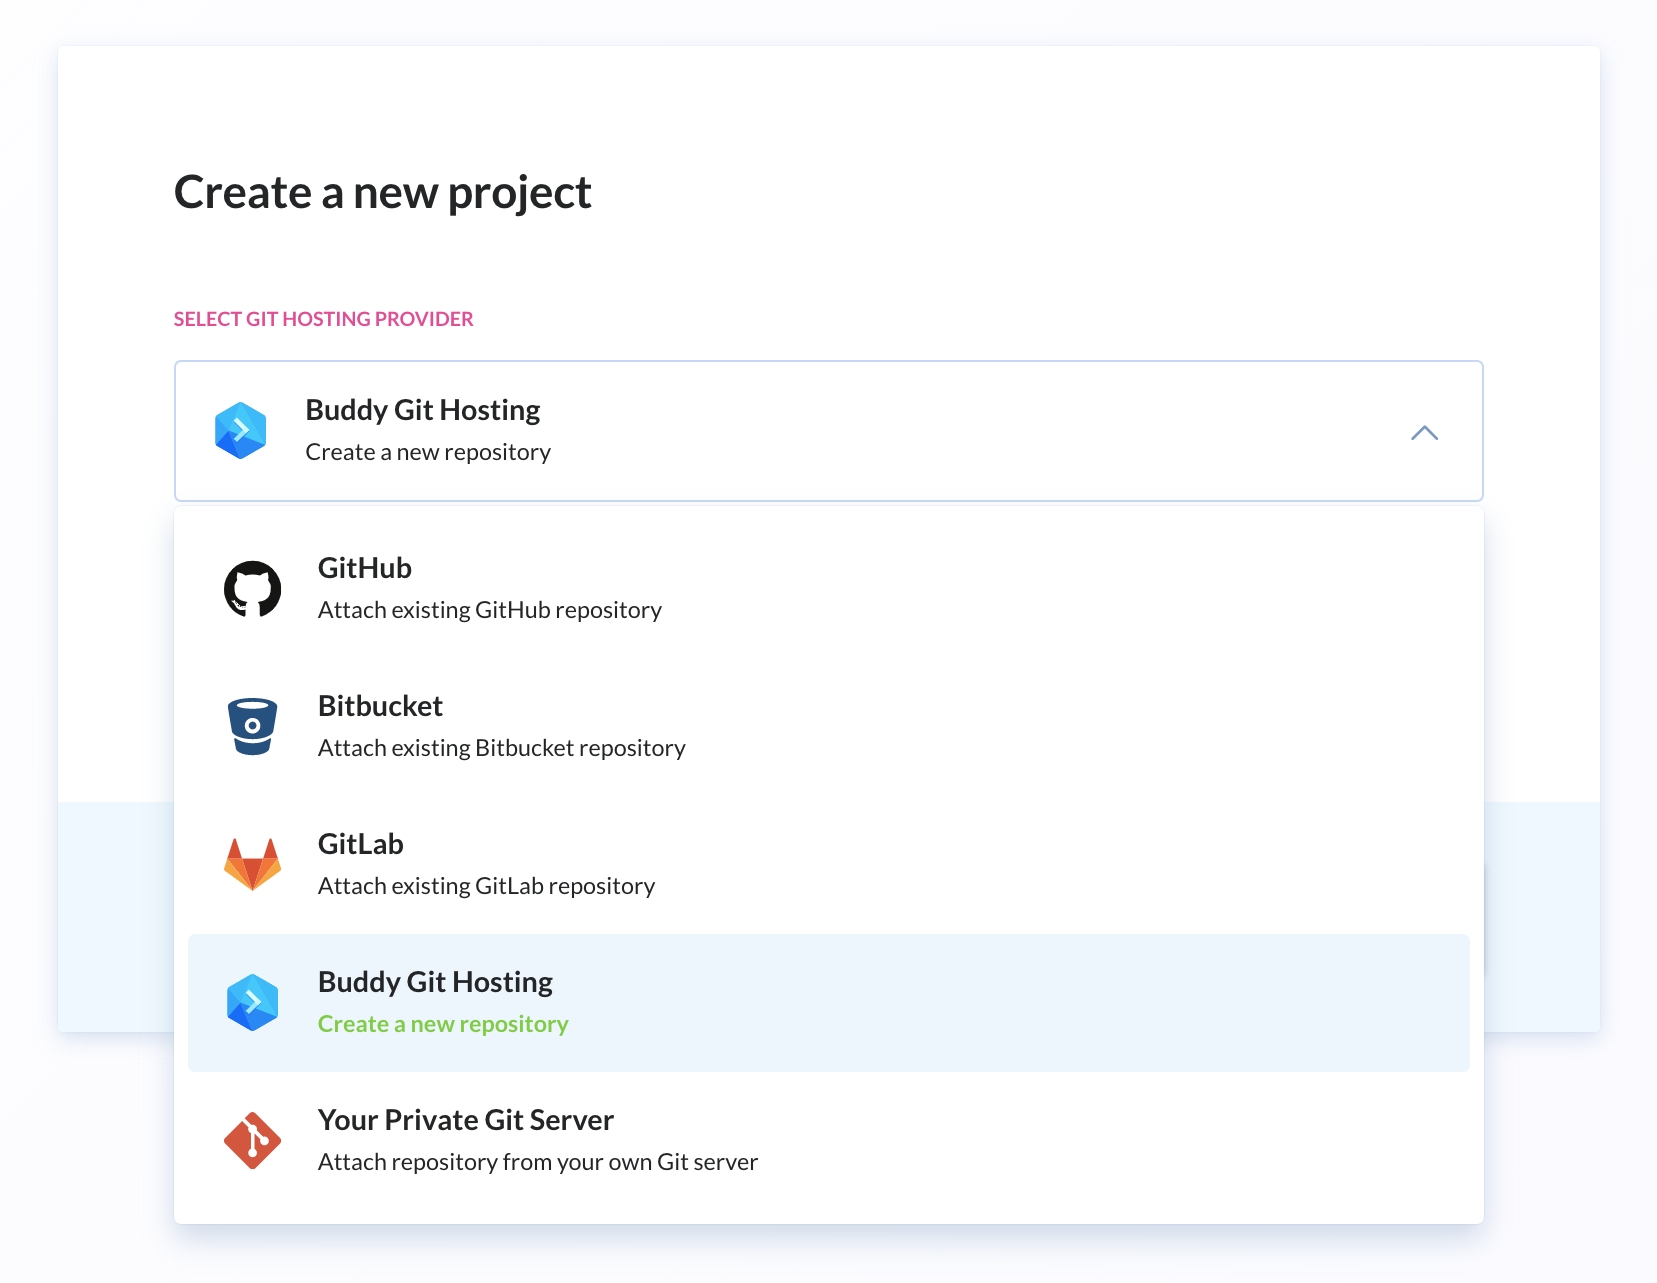
Whichever service provider you pick, Buddy will list the repositories you can set up automation for. In our case, we’ll select the buddy-demo project. Click the Add a new pipeline button then fill in the next page with the following details:
- Name – Master
- Trigger Mode – On push
- Branch – Single branch : master
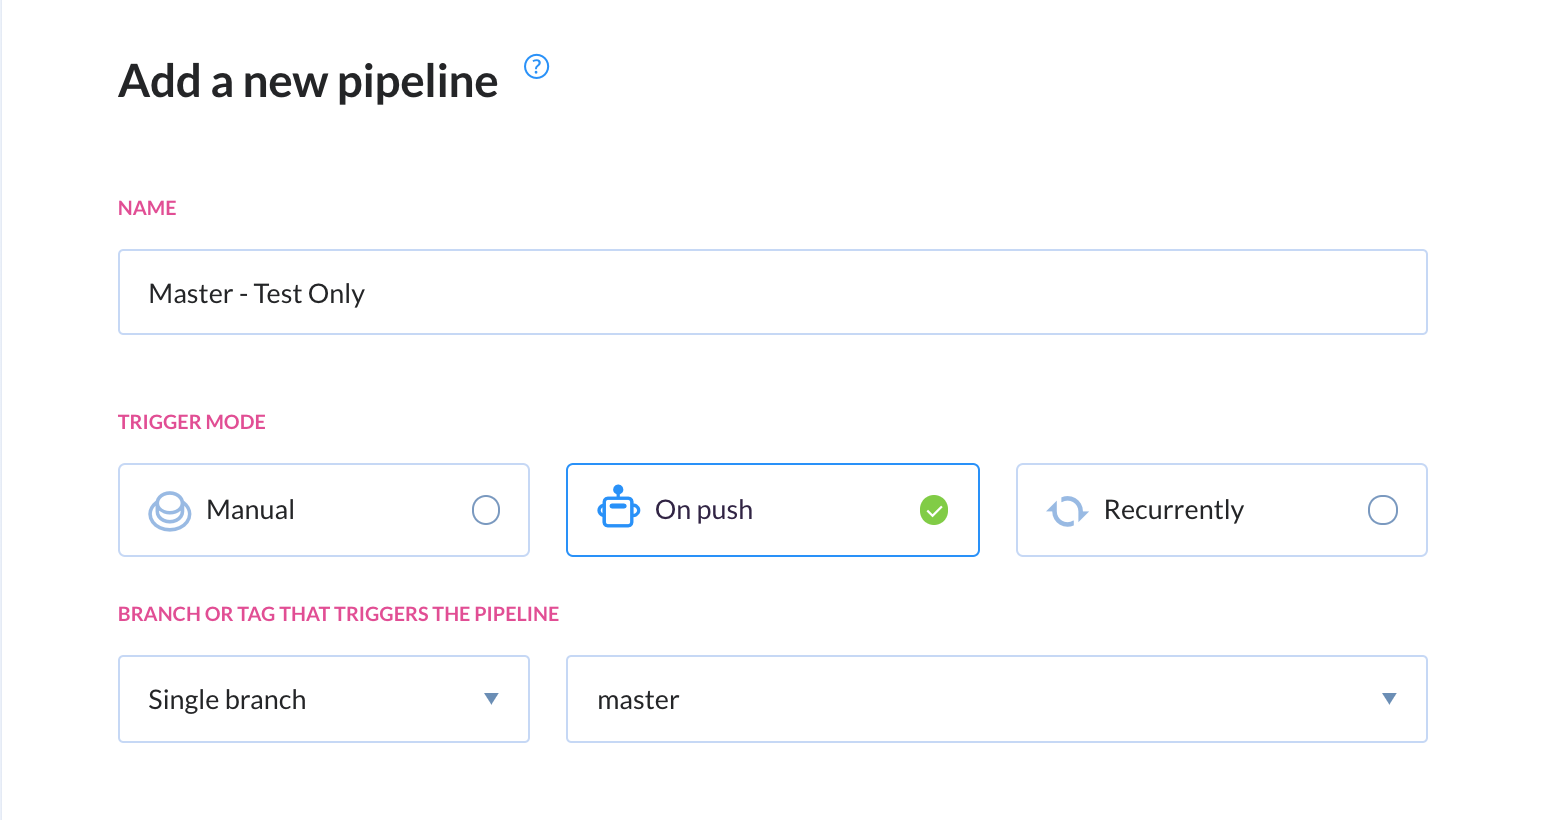
In our master pipeline, we will set up actions for:
- Running tests
- Bundling app
- Deploying to web server
In the next page, you’ll be presented with different methods of defining an action. Pick Node.js and on the next page, ensure the following commands have been specified:
npm install
npm test
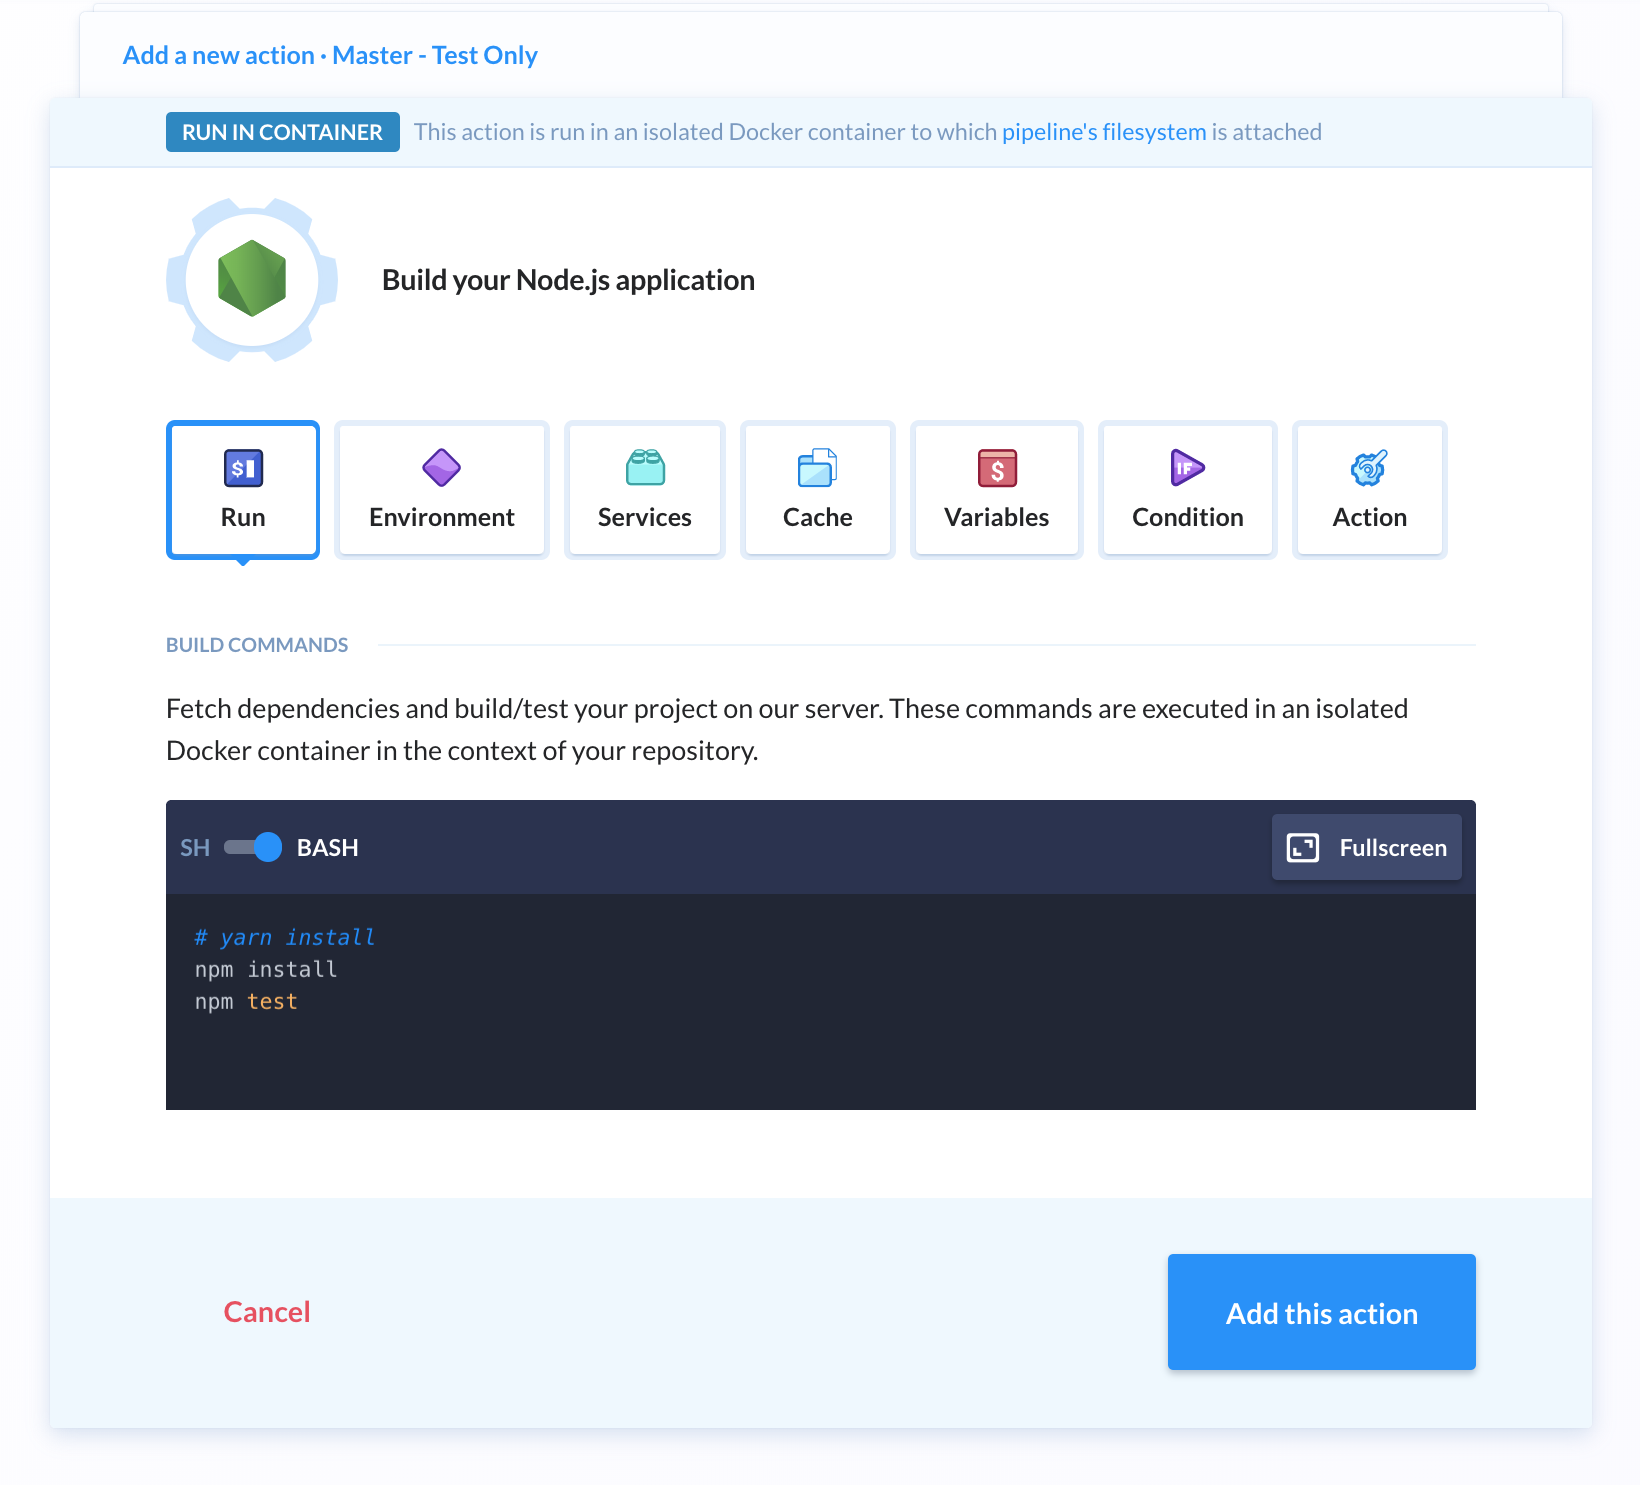
You can rename the action name to “Run Tests” on the Action tab. I would like to point out that if your tests require a database service, you can set up one via the Services tab:
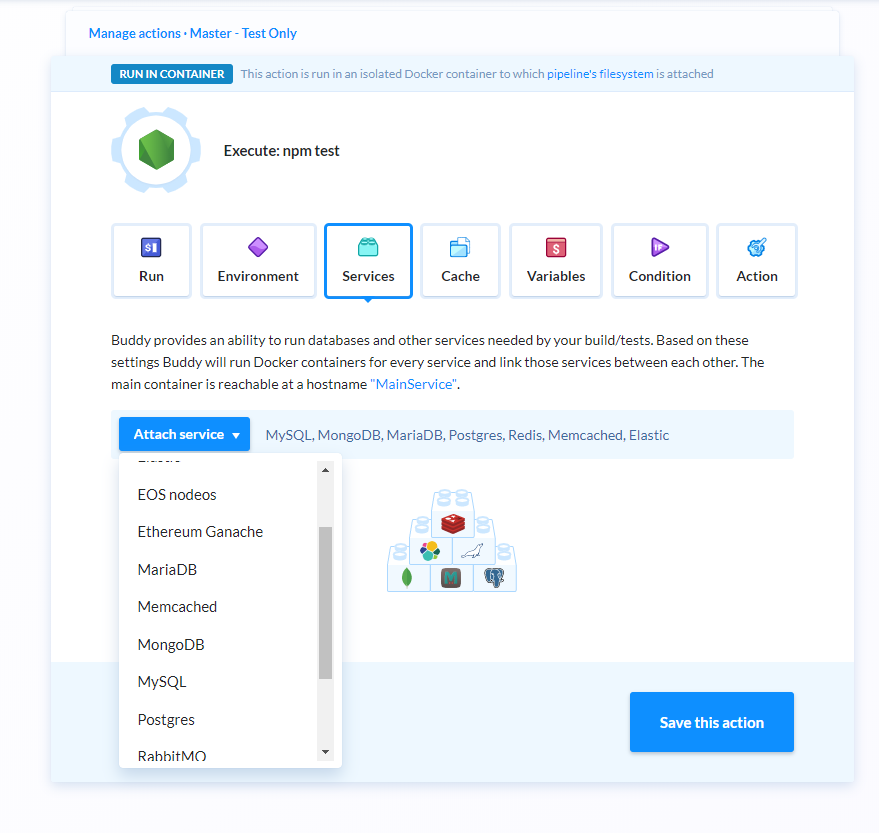
Most popular databases are already supported. Simply select a database type and provide the connection details and credentials. Click the Add this Action button when done. On the next page, click the plus button at the bottom to add the “Bundle Assets” action. Pick Node.js again and enter the following command in the next page:
npm run build
Rename the action as Bundle Assets in the Action tab. Click Add this Action when done. Click the plus symbol again to add the “Deploy to Production” action. Buddy natively supports deploying projects to different types of hosting vendors:
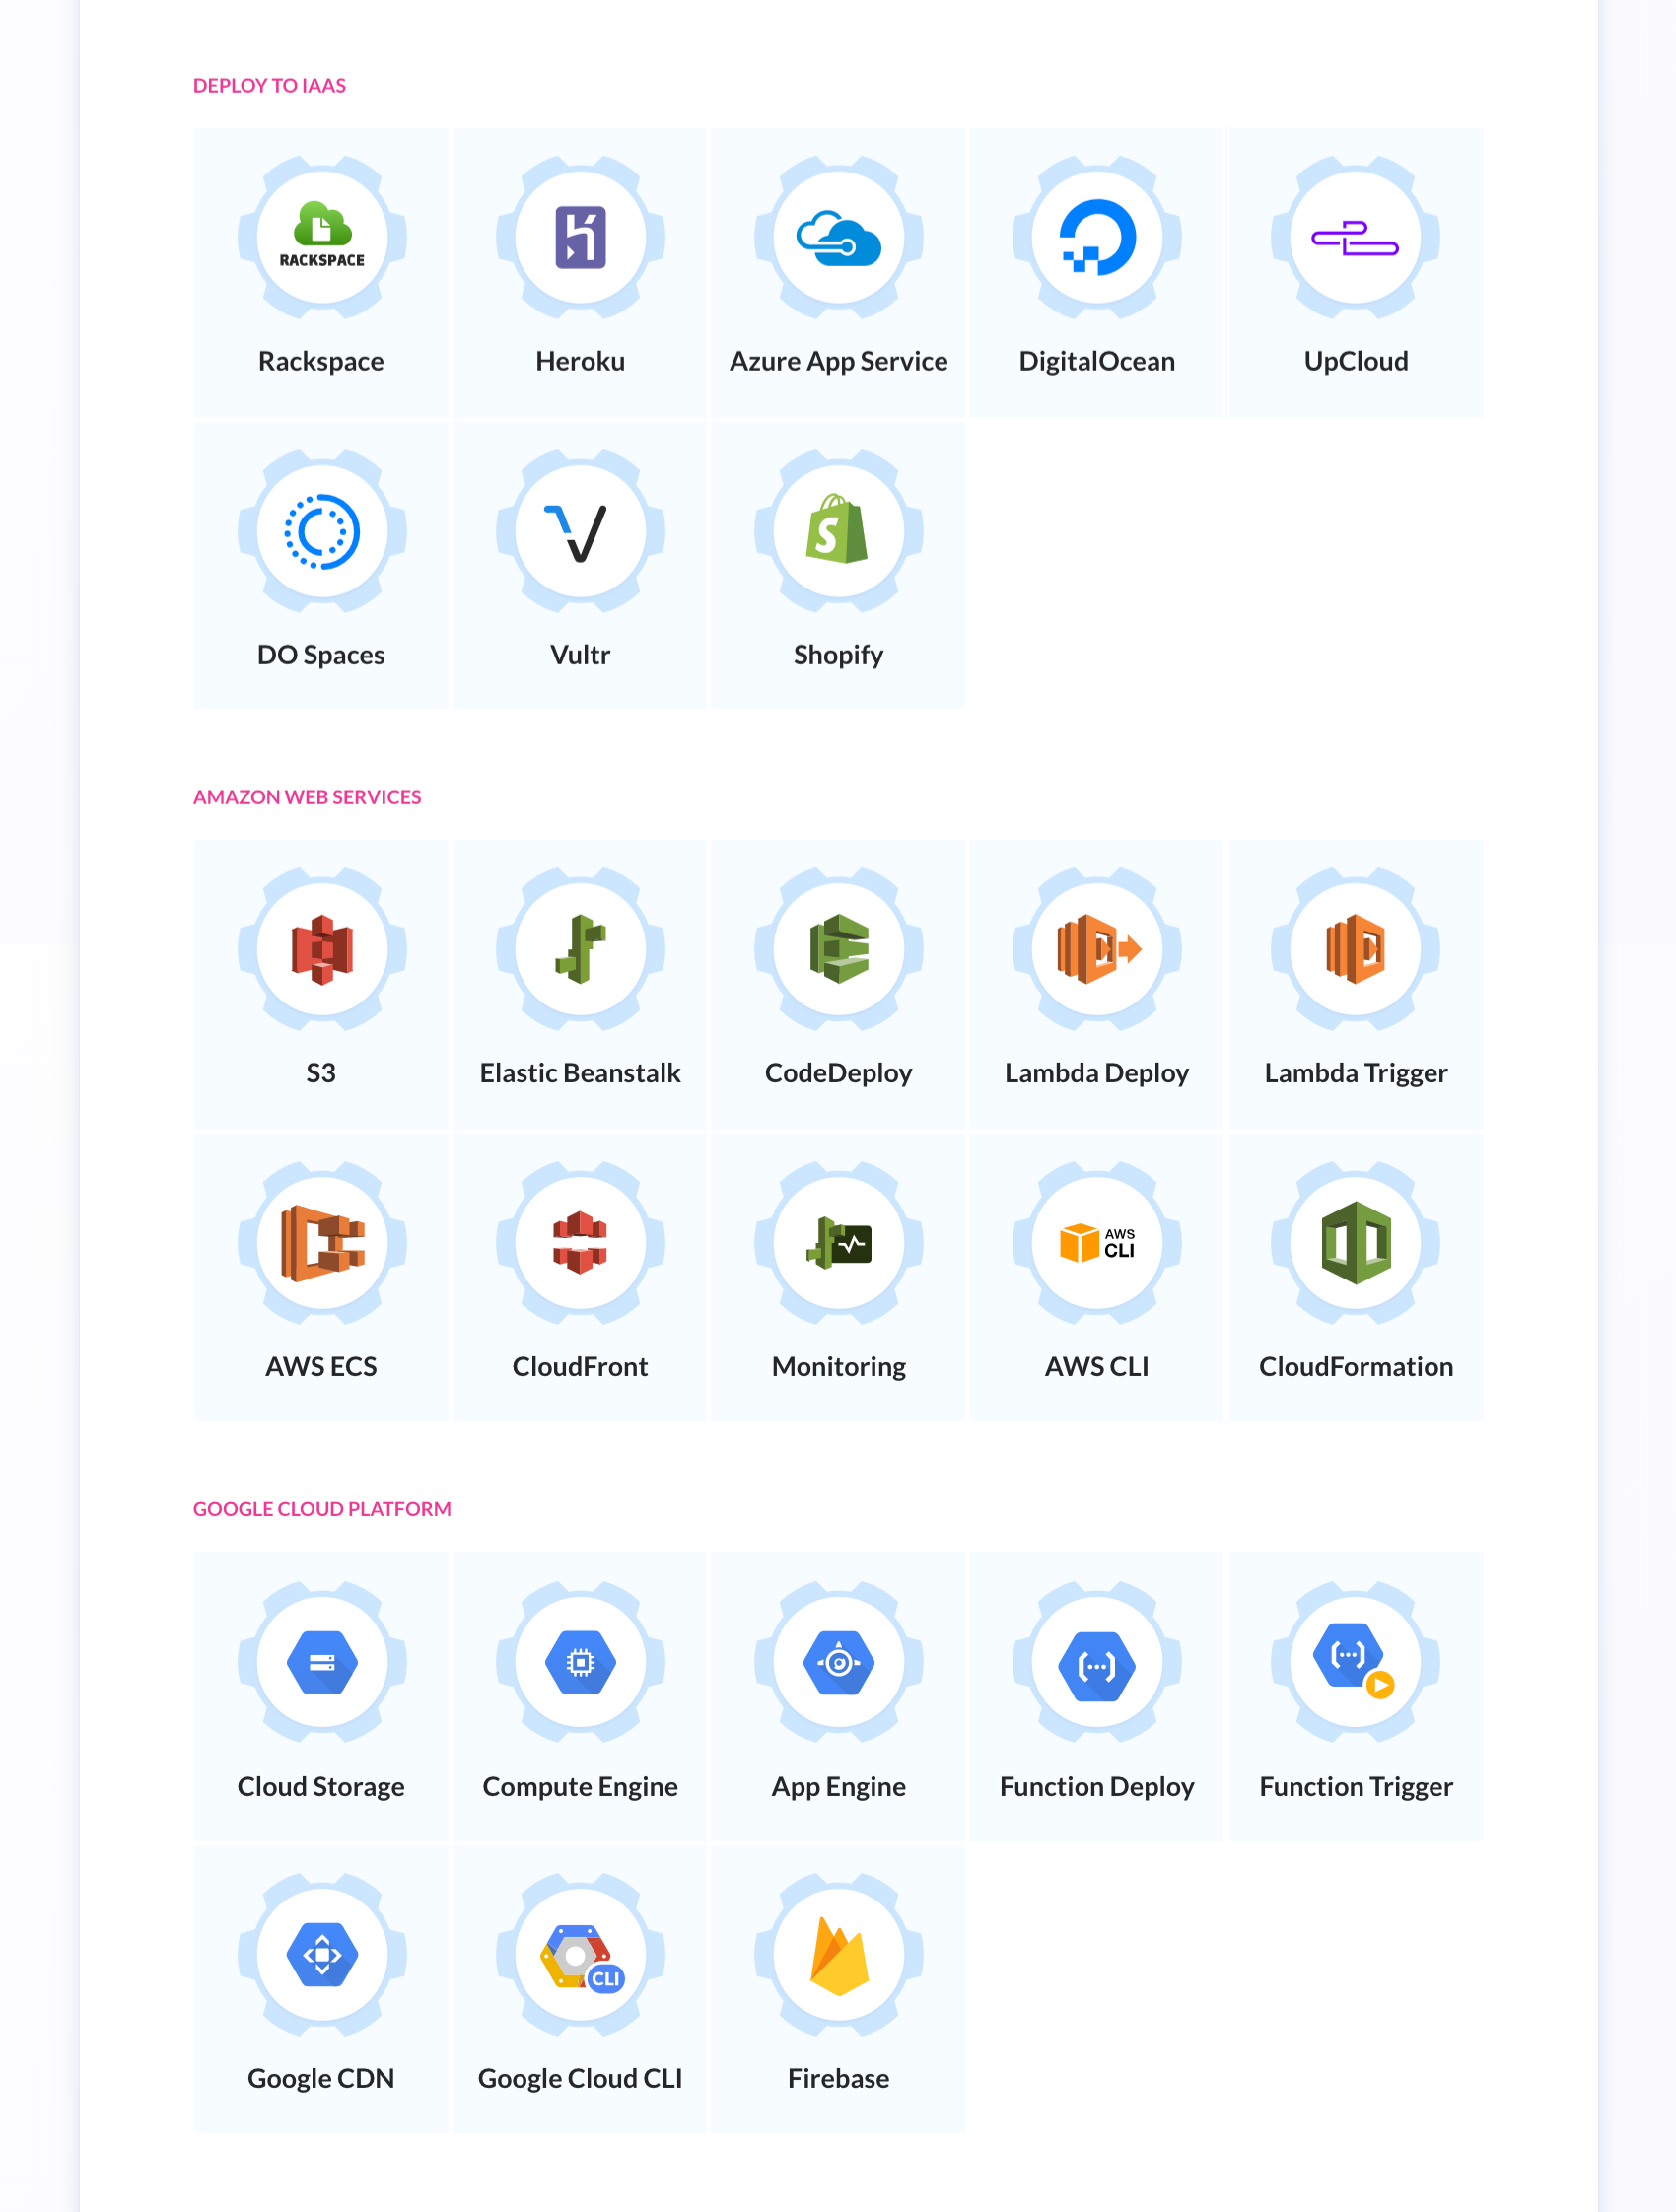
Feel free to use any of the deployment options if you have an account with any of those services. If you don’t, choose a provider that allows you to set up a free account to deploy your app. In my case, I already have a shared web hosting plan account I can use. Normally, you will have your main website, www.domainname.com to host your live production version of your project.
You’ll need to have a separate staging site (usually hidden from public) that is deployed from your develop or integration branch pipeline. The staging site can simply be a subdomain that should not be indexable by search engines. The staging site will allow developers, project managers and beta testers to confirm that new features are working correctly before pushing to the live production site.
To deploy your app to a shared or dedicated web hosting server (with CPanel), simply use the FTP method. Buddy also provides a sFTP method which will encrypt your project assets bundle when uploading to your server. Here is an example of how I’ve set up mine:
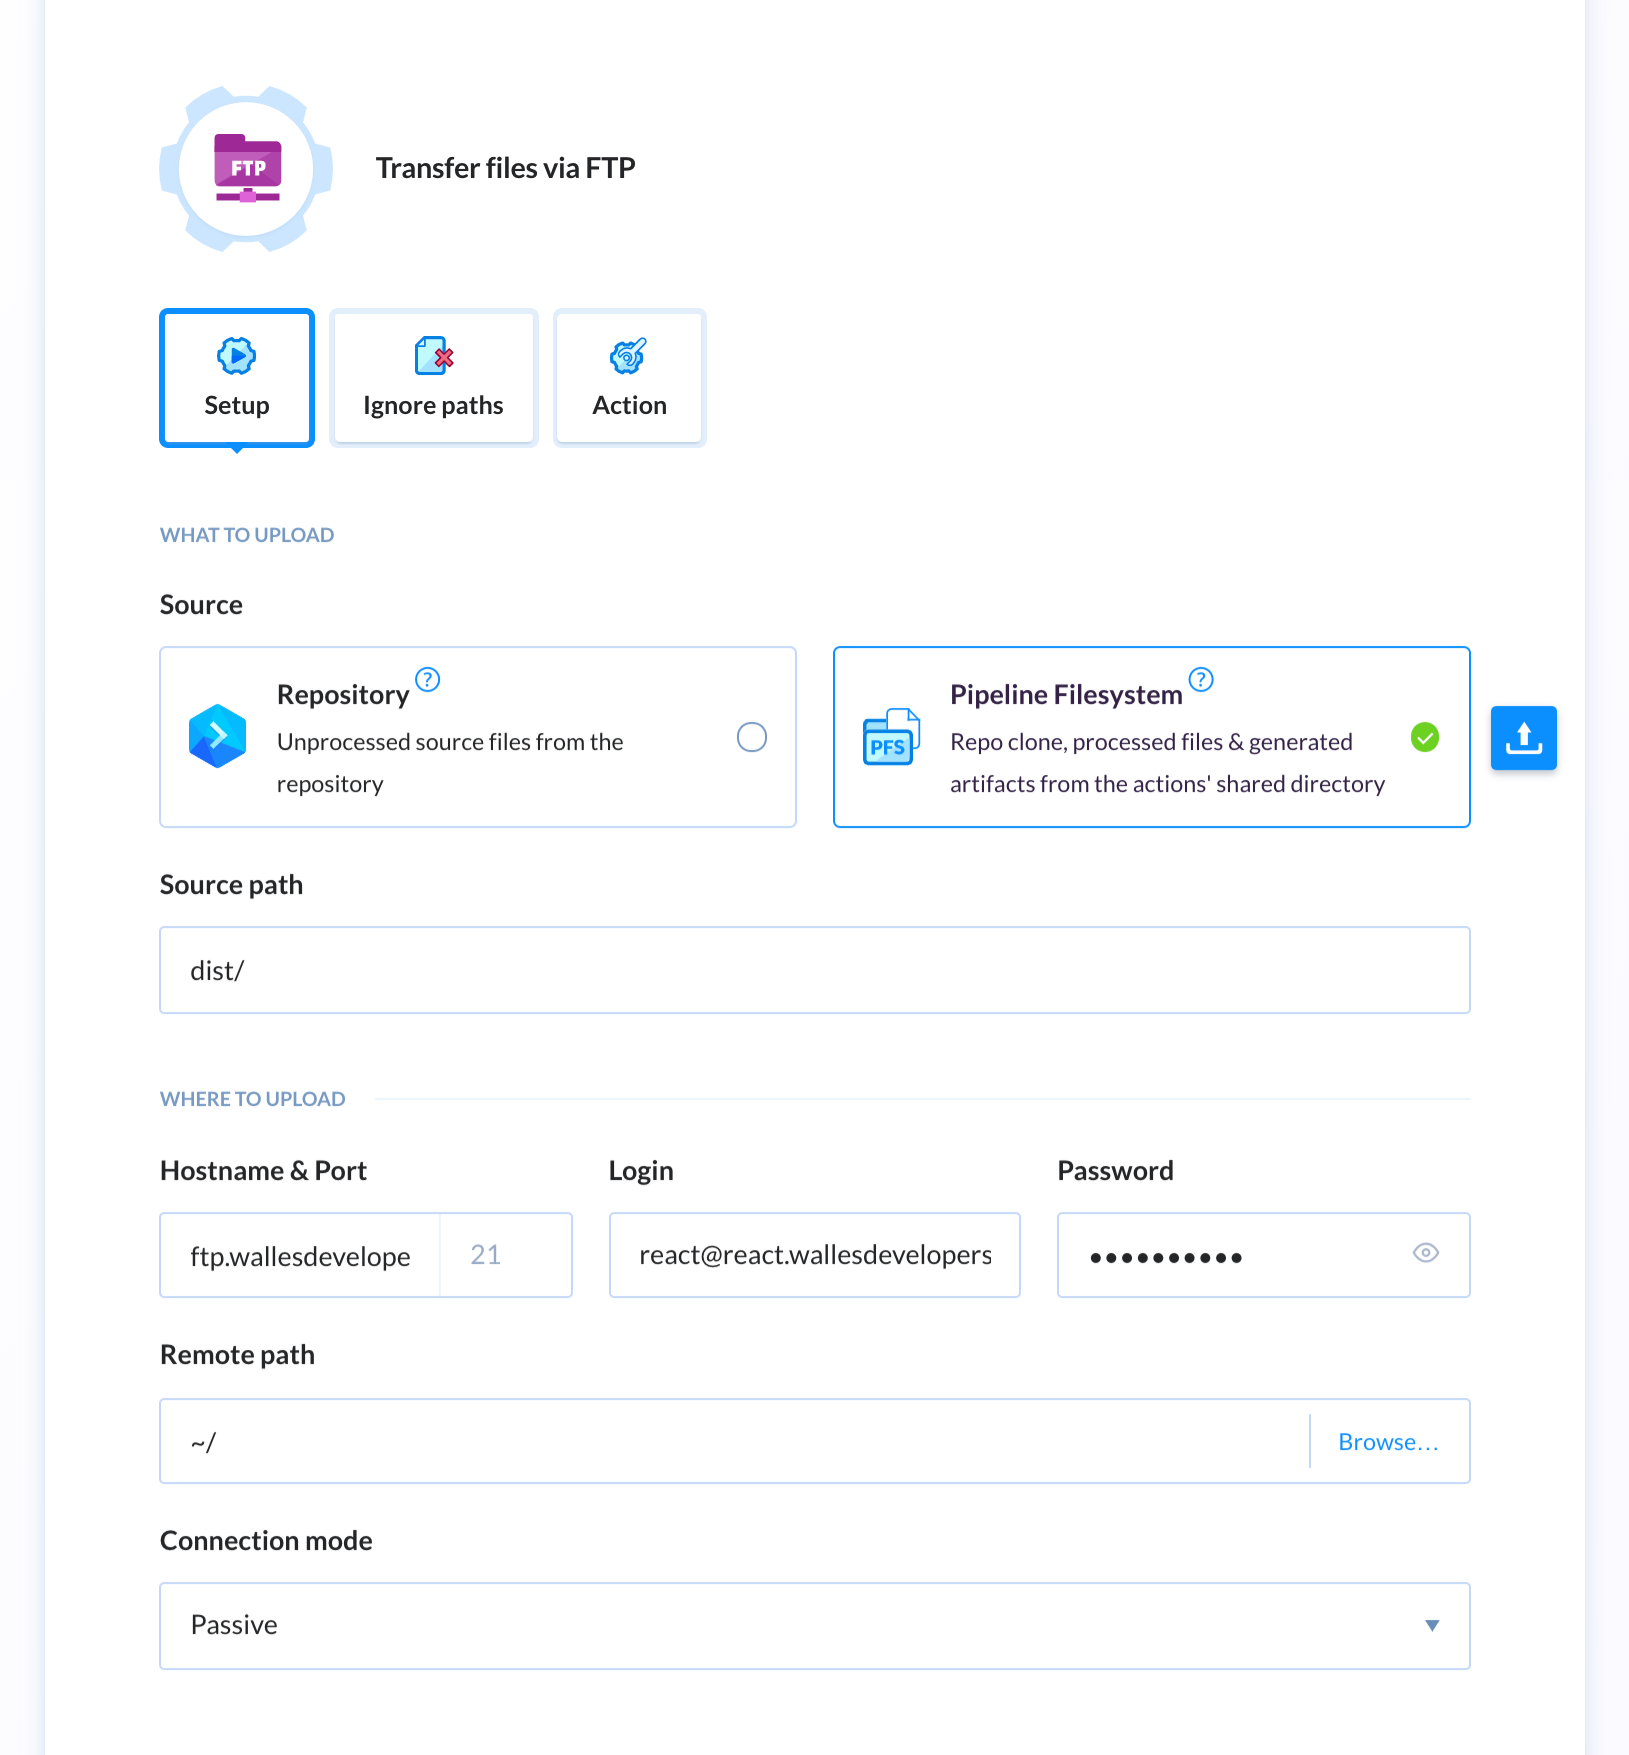
You’ll need to setup a new FTP account using your CPanel. Make sure the home directory for your new FTP user account points directly to the www or sub-domain folder. Otherwise, you may not be able to access the right hosting directory via FTP. Once you have set up all three actions in your pipeline, you can:
- Run your pipeline manually
- Push new code to your remote repo and Buddy will automatically run it for you
Once you’re done, this is how the complete pipeline should look:
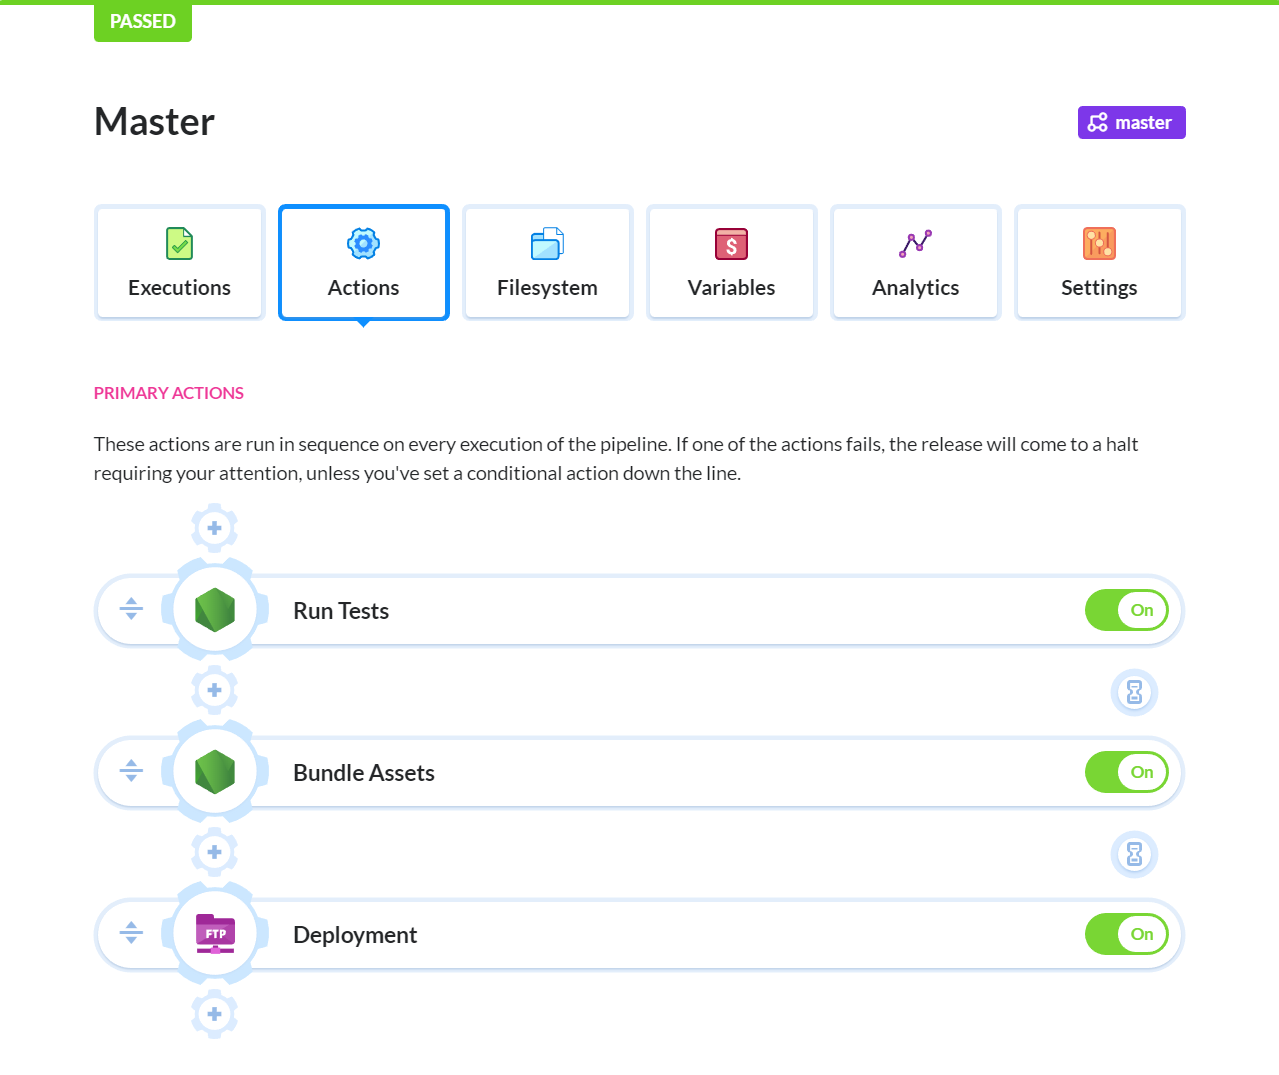
Assuming you are using the Gitflow workflow or something similar, you’ll probably need to setup additional pipelines for:
- Develop/Integration branch
- Feature branches
- Hotfix branches
The develop branch pipeline will almost be identical to the master branch pipeline. You’ll need to provide different configuration for the deployment though such that the code is deployed to a staging site. The Feature and Hotfix branch pipelines will only need to have at least the testing action configured. You probably would want to limit the number of tests you can run in the Feature branch pipeline. You can do this easily in Jest by simply appending this to the test command: jest --coverage --changedSince=master. This will test only new code that has not yet been pushed into the master branch.
Since there will be multiple feature and hotfix branches, you may be wondering how one can set up a pipeline for such a situation. Simple — just use the wildcard option:
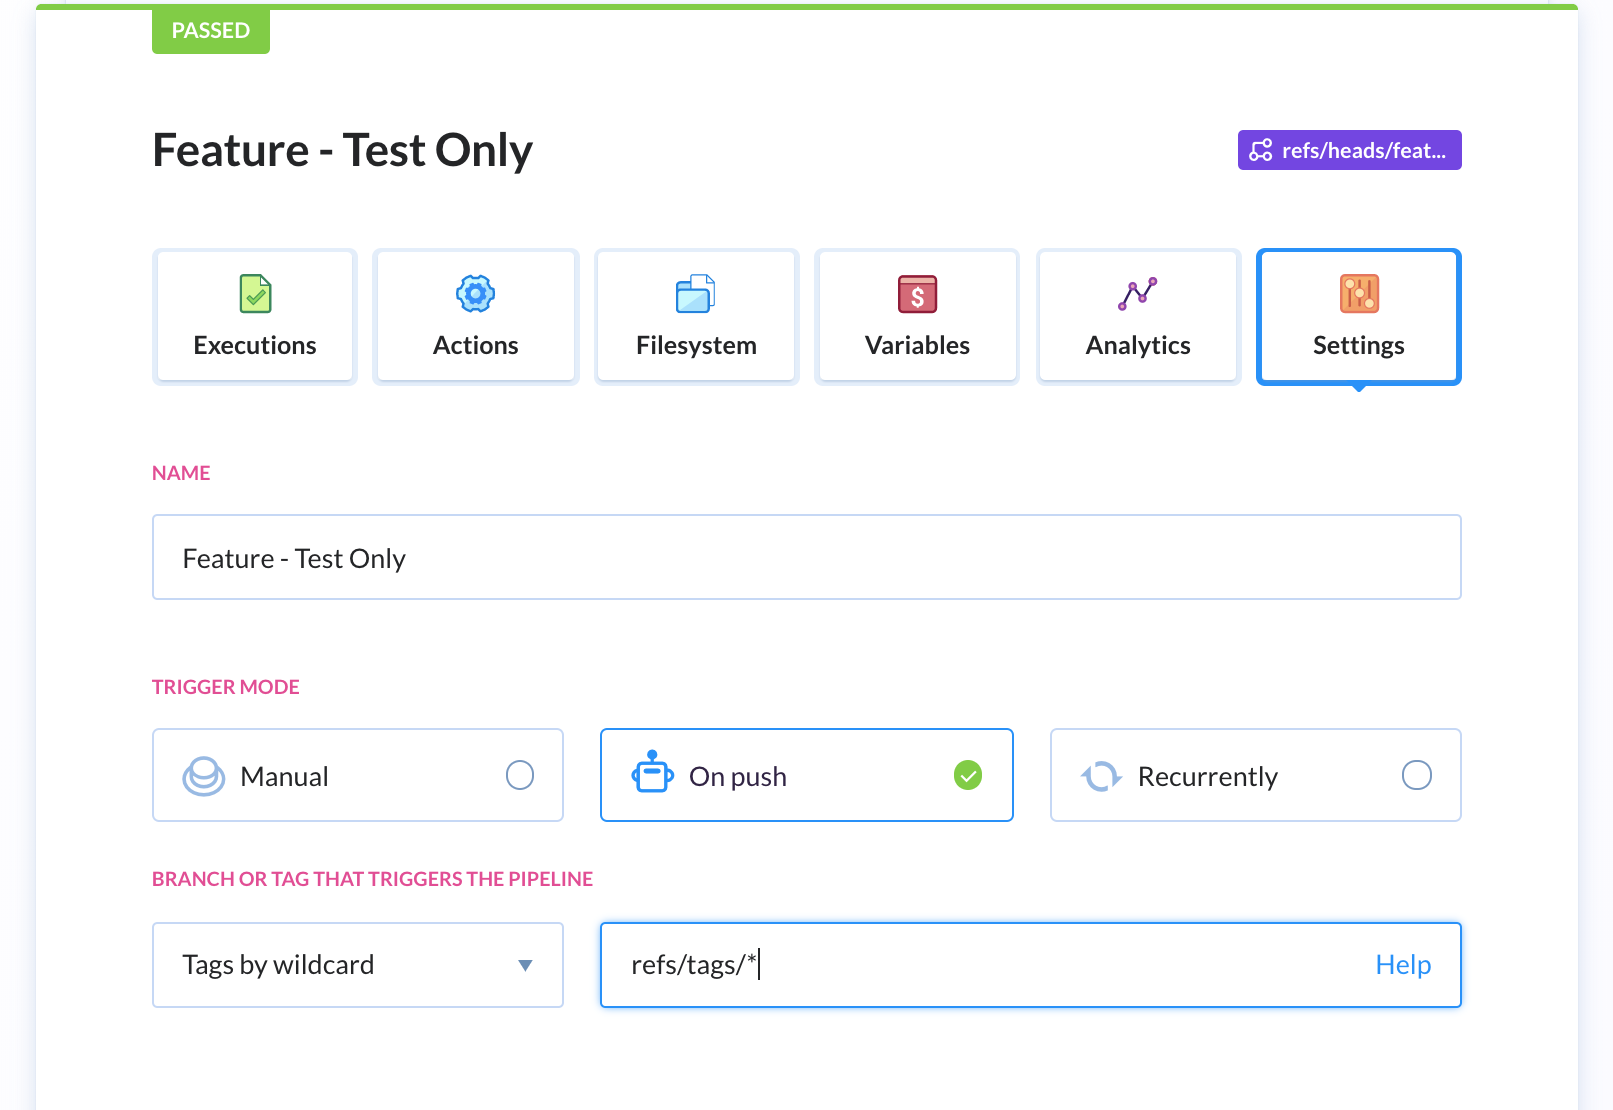
To confirm that your develop/feature*/hotfix* pipeline is working, simply create the branch on your computer. Let’s create a random feature branch in this case:
git checkout -b feature/task-1
Then create a new test in App.test.js:
test("Fake Test 2 for Fake Feature", () => {
  expect(true).toBeTruthy();
});
Next, commit the changes and push the branch to your GitHub repo:
$ git add .
$ git commit -m "Added first feature branch"
$ git push -u origin feature/task-1
[feature/task-1 049bef2] Added first feature branch
 1 file changed, 4 insertions(+)
If you quickly switch to your Buddy account dashboard, you should see your pipeline picking up your new branch and running the actions that you defined. That is how we set up pipelines for any branch strategy workflow you have adopted for your project.
Summary
As a final note, if you plan on having long-living branches, it’s a good idea to set them up on your shared repo first. This way, when you start creating new pipelines, you can simply use the Select Branch option to select your long-living branch.
We have now come to the end of the tutorial. As a challenge, go ahead and set up pipelines for hotfix and develop. Create some branches and write some failing tests to see what happens. You can also go ahead and research more about Git branching strategies. If you are up to it, you can even install git-flow and customize your own branching workflow using the tool. Then, set up your Buddy pipeline to support your custom git branching workflow.
Frequently Asked Questions (FAQs) about Using Git Branches
What is the significance of using Git branches in software development?
Git branches are a crucial part of any software development process. They allow developers to work on different features or bug fixes simultaneously without affecting the main codebase. This means that developers can experiment with new ideas in a safe environment, without the risk of breaking the existing code. If the new feature or bug fix is successful, it can then be merged back into the main codebase. This makes the development process more efficient and reduces the risk of introducing bugs into the production code.
How can I create a new branch in Git?
Creating a new branch in Git is straightforward. You can use the git branch command followed by the name of the new branch. For example, git branch new-feature would create a new branch called ‘new-feature’. Once the branch is created, you can switch to it using the git checkout command, like so: git checkout new-feature.
How can I merge changes from one branch to another?
Merging changes from one branch to another in Git is done using the git merge command. First, you need to switch to the branch that you want to merge the changes into. This can be done using the git checkout command. Once you’re on the correct branch, you can merge the changes from another branch using git merge <branch-name>. For example, if you want to merge changes from a branch called ‘new-feature’ into the ‘master’ branch, you would first checkout to the ‘master’ branch and then run git merge new-feature.
What is a Git branch conflict and how can I resolve it?
A Git branch conflict occurs when two or more developers make changes to the same part of the codebase in different branches, and then try to merge these changes. Git doesn’t know which changes to keep and which to discard, resulting in a conflict. To resolve a conflict, you need to manually edit the conflicting files to decide which changes to keep. Once you’ve resolved the conflict, you can add the resolved files to the staging area using git add, and then commit the changes using git commit.
How can I delete a branch in Git?
Deleting a branch in Git is done using the git branch -d command followed by the name of the branch. For example, git branch -d old-feature would delete the branch called ‘old-feature’. However, Git won’t let you delete a branch if it has changes that haven’t been merged. If you’re sure you want to delete the branch and lose those changes, you can use the -D option instead, like so: git branch -D old-feature.
How can I view all the branches in my Git repository?
You can view all the branches in your Git repository using the git branch command with no arguments. This will list all the branches in your repository, with the current branch highlighted and marked with an asterisk.
What is the difference between a local and a remote branch in Git?
A local branch in Git is a branch that exists only on your local machine, while a remote branch is a branch that exists on a remote repository. When you clone a repository, Git creates local branches for all the remote branches. You can work on these local branches and then push your changes to the remote branches when you’re ready.
How can I rename a branch in Git?
Renaming a branch in Git is done using the git branch -m command followed by the old branch name and the new branch name. For example, git branch -m old-name new-name would rename the branch ‘old-name’ to ‘new-name’. If you’re currently on the branch you want to rename, you can omit the old branch name, like so: git branch -m new-name.
How can I revert changes in a Git branch?
Reverting changes in a Git branch can be done using the git revert command followed by the commit hash. This creates a new commit that undoes the changes made in the specified commit. For example, git revert a867b4af would create a new commit that undoes the changes made in the commit with the hash ‘a867b4af’.
How can I see the commit history of a Git branch?
You can see the commit history of a Git branch using the git log command. This will show you a list of all the commits made on the current branch, in reverse chronological order. If you want to see the commit history of a different branch, you can specify the branch name, like so: git log branch-name.
I write clean, readable and modular code. I love learning new technologies that bring efficiencies and increased productivity to my workflow.


