

Key Takeaways
- User Authentication in Rails applications involves creating a new user with a username, password, and email, and allowing the user to sign in with these credentials. The process also includes restricting access to certain actions unless the user is authenticated and allowing the user to log out.
- Passwords should never be stored in the database as plain text; they should always be encrypted first. Hashing, salting, and bcrypt are different techniques to encrypt passwords before storing them in the database.
- To avoid the common “mass assignment vulnerability” in Rails, use attr_protected or attr_accessible methods to protect attributes from mass assignment. This ensures only certain attributes are accessible during mass assignment, protecting others.
- The user authentication process is not complete with just the signup process. It also involves working with sessions and cookies, access restriction, and route configuration.
(Note: Source code accompanying this article can be found here.)
Today we’re going to learn how to implement simple user authentication in a Rails application from scratch. We’ll examine best practices to help avoid common, often costly, mistakes.
Introduction to User Authentication
Password-protected actions are a common feature in most web applications, only allowing registered users in with a valid password. This is called “User Authentication”, and many Rails applications need it. Let’s start with a quick scenario of how the user authentication process works.
- Signup: create a new user. This user is going to register with a username, password (which will be encrypted in the database), email, etc.
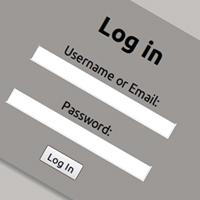
- Login: allow a user to sign in with her/his valid username and password. The authentication process happens by matching the username and password in the database, allowing the user access to the protected actions only if the given information matches the recorded values successfully. If not, the user will be redirected to the login page again.
- Access Restriction: create a session to hold the authenticated user ID after login, so navigation through additional protected actions can be done easily by just checking the userID in the current session.
- Logout: allow the user to sign out and set the authenticated userID in session file to nil.
Generate User Model & Controller
First, let’s create our application named User_Auth. We’re using mysql as our database:
[gist id=”2426029″]
Navigate to the application directory in your terminal and generate the User Model and Controller. The controller will get a new method as a parameter.
[gist id=”2426040″]
Setup the Database
Now we need to create a Users table in the database. As you probably know, that is just a simple migration away.
[gist id=”2426031″]
We’ve added 4 columns in the Users table (username, email, encrypted_password & salt) Remember that we never store passwords in plain text, always encrypting the value first before saving it to the database. There are different types of encryption techniques, which we’re are going to look at later in this tutorial.
“We never store passwords in plain text, it should always be encrypted first before saving it to the database.”
After we have created the model and migration successfully, create the database and migrate it to create the Users table.
[gist id=”2426034″]
Creating the New User Action
Next, let’s write the new and create actions in the UsersController.
[gist id=”2426049″]
We’ve created two main actions:
- new: simply create a new user object to be rendered in the new template (we’ll see it soon ). The template includes a sign up form. The data in this form will be sent to the create action, described next…
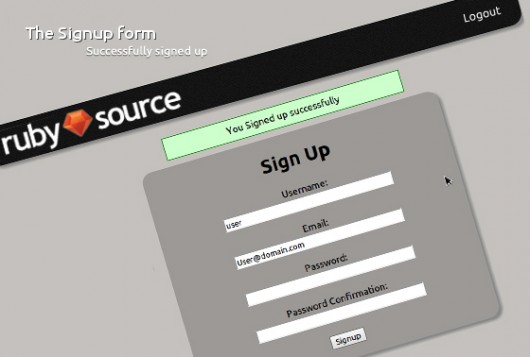
- create: creates the user based on the parameters passed from the new template and saves it to the database. If the user is created successfully, redirect the user to wherever you choose after the signup action. Here we place “You signed up successfully” in the flash hash to indicate success, otherwise render the new template again.
Sign-up Form template
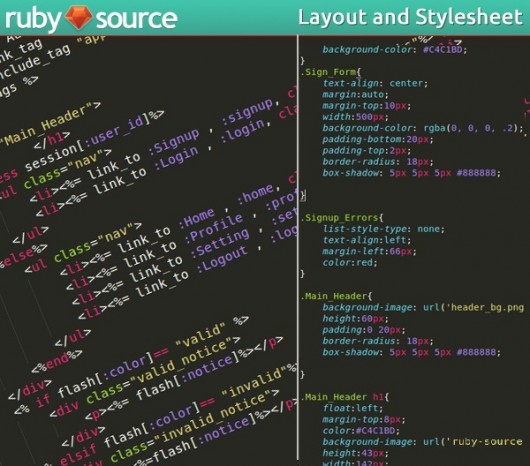
Before writing the signup form, I created a simple layout in the application.html.erb file inside the views/layout directory.
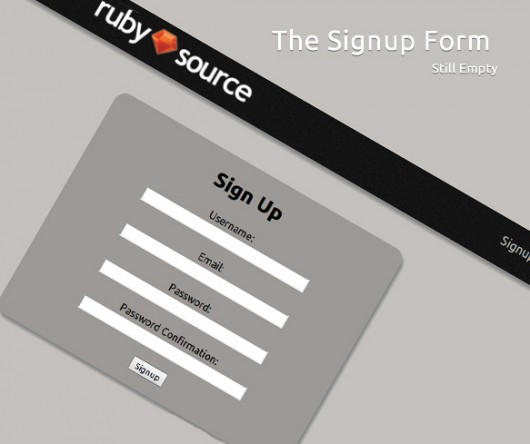
Now, let’s write signup form inside the new template.
[gist id=”2426042″]
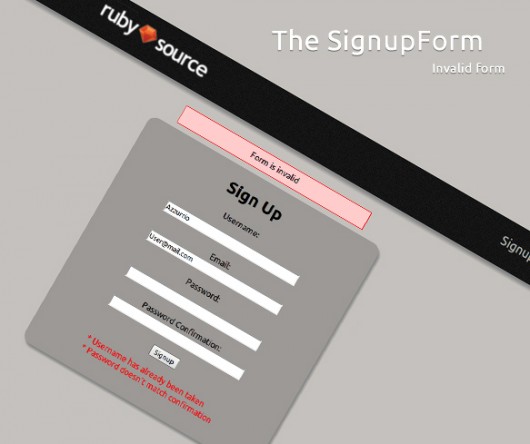
Here, we’ve created a form for signup which takes a username, email, password and confirmation password from the user. These values will be sent it as params[:user] to the create action. The if statement checks for errors in case the user enters invalid data.
You also might have noticed that the signup form has two fields: password and password_confirmation that must match a user in database. We should add attr_accessor methods in the user model to handle these.
Adding Some Validations to the User Model
In addition to attr_accessors, we need to add some validation rules to make sure that the input data fits our requirements.
[gist id=”2426047″]
We’ve created a signup page that creates a new user and validates the input data, but we didn’t encrypte the password. Before we do that, let’s talk about password encryption.
Password Encryption Techniques
As previously mentioned, never store passwords in the database as plain text. Encrypting passwords is a best practice and fundamental to all user authentication approaches in Rails.
Hashing Password
Hashing is the process of applying mathematical functions and algorithms to a string of data to produce a unique output string. While creating a new user, the plain text password gets hashed then saved into the database. When the user signs in, the input password gets hashed and compared with the hashed password stored in the database. This technique is called one-way encryption, meaning, the same inputs with the same hashing function will always give the same output.
We can implement a hashed method using SHA1 in Rails with just two lines of code
[gist id=”2426043″]
Salting Password
Due to some drawbacks that exist in the hashing password technique, like Rainbow tables, salting a password is a more secure way to encrypt passwords. ‘Salt’ is an additional string of data added to the password before encrypting it. It should be unique and random, to render the Rainbow tables flaw useless.
Encryption using salt:
[gist id=”2426044″]
Bcrypt
There’s another easy way to encrypt passwords rather than making a salt from scratch: use bcrypt. bcrypt-ruby is a ruby gem for encryption and we’ll use it in our application.
To install it, just add the following into gem file:
[gist id=”2426036″]
and inside your application directory run:
[gist id=”2426053″]
then you can simply write:
[gist id=”2426058″]
Callbacks
We need two functions: one to encrypt the actual password (plain text) before saving the user record and the other function to assign the password attr_accessor to nil. As we have already encrypted and stored password in the database, we will not use it anymore, and we can do this using the before_save and after_save callbacks.
Now, let’s add these functions and callbacks to the user model
[gist id=”2426075″]
Mass Assignment Protection
One of the most common security issues in Rails is called the “mass assignment vulnerability”, and it stems from the ActiveRecord convention of creating getters and setters for all the attribute values of an ActiveRecord object.
In the create action, rather than directly assign each attribute one by one, we use a hash of all the values that we want to assign to the attributes of subject. This is the aforementioned mass assignment and is the crux of the issue. There are attributes we do not want the user to be able to change via the form, but we aren’t checking the parameters.
To avoid it, there’s two methods in Rails to protect attributes from mass assignment
- attr_protected: all attributes marked with attr_protected are ignored during mass assignment and all other attributes will be accessible.
- attr_accessible: all attributes marekd with attr_accessible are accessible during mass assignment and all other attributes will be protected.
Finally let’s add the accessible attributes into user model
[gist id=”2426078″]
This completes signup process! You can run your server, sign up as a new user and test it to ensure that password is encrypted in the database successfully!
Note: Don’t forget to add a default route in the routes file! You can just un-comment at in the end of file.
[gist id=”2426080″]
Still More to Do
There is still more work before we can say the user authentication process is complete. In my next post, I’ll cover working with sessions and cookies, access restriction, and route configuration. Thanks for reading!
Frequently Asked Questions (FAQs) on Rails User/Password Authentication from Scratch
How can I add a “remember me” feature to my Rails authentication system?
Adding a “remember me” feature to your Rails authentication system involves creating a persistent session for the user. This can be achieved by generating a unique token when the user logs in and storing it in a cookie. The token is then used to identify the user in subsequent sessions. You can use the cookies.permanent method in Rails to set a permanent cookie. Remember to hash the token before storing it in the database for security reasons.
How can I implement two-factor authentication in Rails?
Two-factor authentication can be implemented in Rails using various gems such as devise-two-factor or two_factor_authentication. These gems provide a set of methods and helpers that make it easy to add two-factor authentication to your application. You will need to generate a unique code for the user and send it to them via SMS or email. The user will then be required to enter this code in addition to their password when logging in.
How can I reset a user’s password in Rails?
To reset a user’s password in Rails, you will need to create a password reset feature. This involves generating a unique token and sending it to the user’s email address. The user can then use this token to reset their password. You can use the has_secure_token method in Rails to generate a unique token. Remember to expire the token after a certain period for security reasons.
How can I secure my Rails authentication system against brute force attacks?
You can secure your Rails authentication system against brute force attacks by implementing account lockouts or CAPTCHAs. Account lockouts involve locking a user’s account after a certain number of failed login attempts. CAPTCHAs require the user to solve a challenge before they can log in. You can use gems such as rack-attack or devise-security to implement these features.
How can I authenticate users with social media accounts in Rails?
Authenticating users with social media accounts in Rails can be achieved using OmniAuth. OmniAuth is a flexible authentication system that supports multiple providers such as Facebook, Twitter, and Google. You will need to register your application with the social media provider and obtain an API key and secret. These are then used to authenticate the user and retrieve their profile information.
How can I test my Rails authentication system?
Testing your Rails authentication system involves writing unit tests for your models and integration tests for your controllers. You can use the built-in testing framework in Rails or third-party libraries such as RSpec and Capybara. These tests should cover all aspects of your authentication system, including login, logout, password reset, and account activation.
How can I handle session timeouts in Rails?
Session timeouts can be handled in Rails by setting the expire_after option in your session store configuration. This option determines how long a session will last before it expires. You can also implement a session timeout feature that logs the user out after a certain period of inactivity. This can be achieved using JavaScript or a Rails plugin such as devise-timeoutable.
How can I encrypt passwords in Rails?
Passwords can be encrypted in Rails using the has_secure_password method. This method uses the bcrypt algorithm to hash the password before storing it in the database. The hashed password is then used to authenticate the user. Remember to never store plain text passwords in your database for security reasons.
How can I authorize users in Rails?
Authorizing users in Rails involves determining what actions a user is allowed to perform. This can be achieved using a role-based access control system or a more granular permission system. You can use gems such as cancancan or pundit to implement these features. These gems provide a set of methods and helpers that make it easy to define and enforce permissions.
How can I handle password complexity requirements in Rails?
Password complexity requirements can be handled in Rails using validations. You can use the validates_format_of method to ensure that the password contains a mix of uppercase and lowercase letters, numbers, and special characters. You can also use the validates_length_of method to ensure that the password is of a certain length. These validations should be added to your User model.