

This article was created in partnership with Vultr. Thank you for supporting the partners who make SitePoint possible.
Gradio is a Python library that simplifies the process of deploying and sharing machine learning models by providing a user-friendly interface that requires minimal code. You can use it to create customizable interfaces and share them conveniently using a public link for other users.
In this guide, you’ll be creating a web interface where you can interact with the Mistral 7B large language model through the input field and see model outputs displayed in real time on the interface.
Prerequisites
Before you begin:
- Deploy a Vultr Cloud GPU instance with NVIDIA A100 and Vultr GPU Stack.
- Securely access the server using SSH as a non-root sudo user
- Update the server
Create a Gradio Chat Interface
On the deployed instance, you need to install some packages for creating a Gradio application. However, you don’t need to install packages like the NVIDIA CUDA Toolkit, cuDNN, and PyTorch, as they come pre-installed on the Vultr GPU Stack instances.
- Upgrade the Jinja package:
$ pip install --upgrade jinja2 - Install the required dependencies:
$ pip install transformers gradio - Create a new file named
chatbot.pyusingnano:$ sudo nano chatbot.pyFollow the next steps for populating this file.
- Import the required modules:
import gradio as gr
import torch
from transformers import AutoModelForCausalLM, AutoTokenizer, StoppingCriteria, StoppingCriteriaList, TextIteratorStreamer
from threading import Thread
The above code snippet imports all the required modules in the namespace for inferring the Mistral 7B large language model and launching a Gradio chat interface.
- Initialize the model and tokenizer:
# Hugging Face Model Repository
# We are using Mistral 7B by Mistral AI
# You can find the repository on the following link:
# https://huggingface.co/mistralai/Mistral-7B-v0.1
model_repo = "mistralai/Mistral-7B-v0.1"

# Initialize the Model & Tokenizer
model = AutoModelForCausalLM.from_pretrained(model_repo, torch_dtype=torch.float16)
tokenizer = AutoTokenizer.from_pretrained(model_repo)

# Use A100 for processing
model = model.to('cuda:0')
The above code snippet initializes model, tokenizer and enable CUDA processing.
- Define the stopping criteria:
class StopOnTokens(StoppingCriteria):
    def __call__(self, input_ids: torch.LongTensor, scores: torch.FloatTensor, **kwargs) -> bool:
        stop_ids = [29, 0]
        for stop_id in stop_ids:
            if input_ids[0][-1] == stop_id:
                return True
        return False
The above code snippets inherits a new class named
StopOnTokensfrom theStoppingCriteriaclass. - Define the
predict()function:def predict(message, history): stop = StopOnTokens() history_transformer_format = history + [[message, ""]] messages = "".join(["".join(["\n<human>:" + item[0], "\n<bot>:" + item[1]]) for item in history_transformer_format])The above code snippet defines variables for
StopOnToken()object and storing the conversation history. It formats the history by pairing each of the message with its response and providing tags to determine whether it is from a human or a bot.The code snippet in the next step is to be pasted inside the
predict()function as well. - Initialize a text interator streamer:
model_inputs = tokenizer([messages], return_tensors="pt").to("cuda")
    streamer = TextIteratorStreamer(tokenizer, timeout=10., skip_prompt=True, skip_special_tokens=True)

    generate_kwargs = dict(
        model_inputs,
        streamer=streamer,
        max_new_tokens=200,
        do_sample=True,
        top_p=0.95,
        top_k=1000,
        temperature=0.4,
        num_beams=1,
        stopping_criteria=StoppingCriteriaList([stop])
    )

    t = Thread(target=model.generate, kwargs=generate_kwargs)
    t.start()

    partial_message  = ""
    for new_token in streamer:
        if new_token != '<':
            partial_message += new_token
            yield partial_message
The
streamerrequests for new tokens from the model and receives them one by one ensuring a continuous flow of text output.You can adjust the model parameters such as
max_new_tokens,top_p,top_k, andtemperatureto manipulate the model response. To know more about these parameters you can refer to How to Use TII Falcon Large Language Model on Vultr Cloud GPU. - Launch Gradio chat interface at the end of file:
gr.ChatInterface(predict).launch(server_name='0.0.0.0') - Exit the text editor using CTRL + X to save the file and hit Y to allow file overwrites.
- Allow incoming connections on port
7860:$ sudo ufw allow 7860Gradio uses the port
7860by default. - Reload the firewall:
$ sudo ufw reload - Execute the application:
$ python3 chatbot.pyExecuting the application for the first time can take additional time for downloading the checkpoints for the Mistral 7B large language model and loading it on to the GPU. This procedure may take anywhere from 5 mins to 10 mins depending on your hardware, internet connectivity and so on.
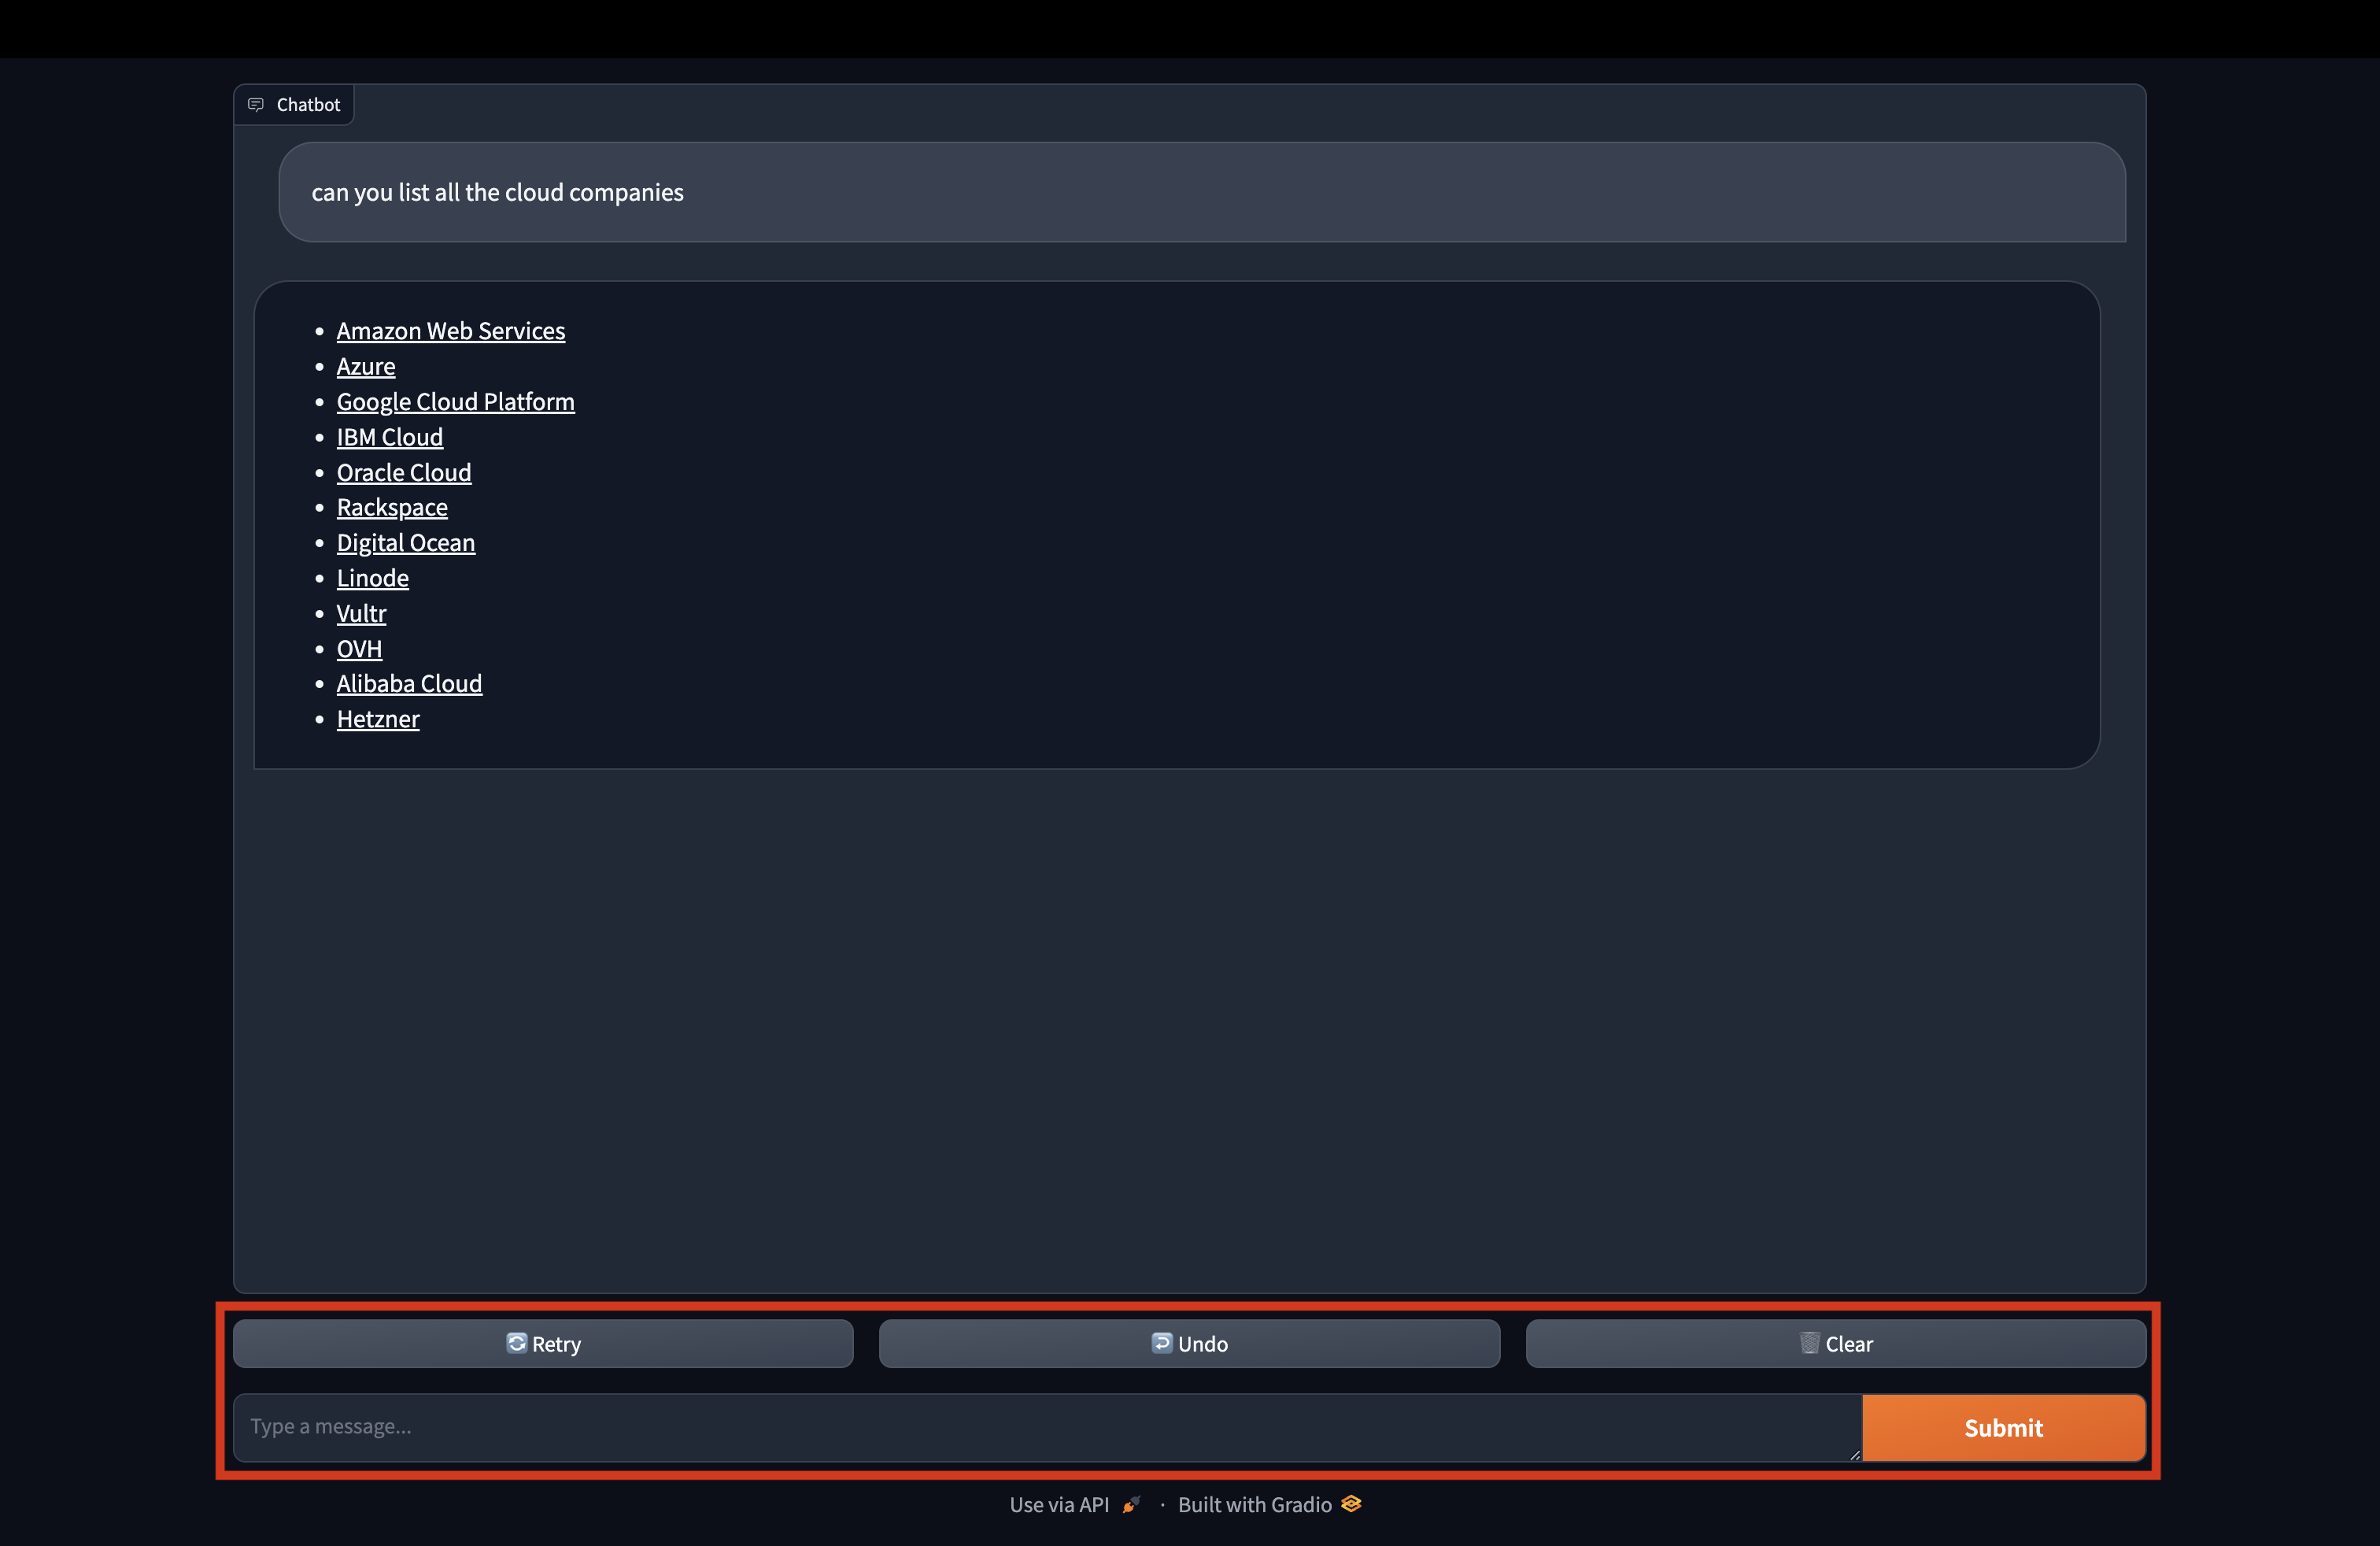
Once it executes, you can access the Gradio chat interface via your web browser by navigating to:
http://SERVER_IP_ADRESS:7860/The expected output is shown below.
Do More With Gradio
- Learn How to Deploy Gradio on Ubuntu 22.04 persistently.
- Learn How to Build Machine Learning web applications such as Image Restoration with Gradio using the GFPGAN model. Refer to How to Build ML Web Apps using Gradio.
- Create custom components for your chatbots with Gradio. Refer to Custom Components in 5 minutes.
- Build a Discord chat bot using Gradio. Refer to Creating Discord Bots from Gradio Apps.
Conclusion
In this guide, you used Gradio to build a chat interface and infer the Mistral 7B model by Mistral AI using Vultr GPU Stack.
This is a sponsored article by Vultr. Vultr is the world’s largest privately-held cloud computing platform. A favorite with developers, Vultr has served over 1.5 million customers across 185 countries with flexible, scalable, global Cloud Compute, Cloud GPU, Bare Metal, and Cloud Storage solutions. Learn more about Vultr.

