

Photoshop may have started as a Photographer’s tool, but it’s evolved into a versatile creativity catalyst. You can build fantastic images from scratch, blend images together, correct colors, and achieve just about anything else imaginable. Blending images and textures together isn’t always an easy thing to do; Sometimes you can’t convincingly meld images together, and you can’t always rely on simple techniques like opacity or layer styles. But, blend modes can help you design dazzling effects and beautiful imagery where other methods fail.
Blend modes change the way that an image within a layer reacts to the images in the layers below it. Many times, you can choose the right blend mode and save yourself from the tedium of erasing of masking out unwanted parts of an image. This strictly depends on the contents of each image — both the top layer and the ones underneath.
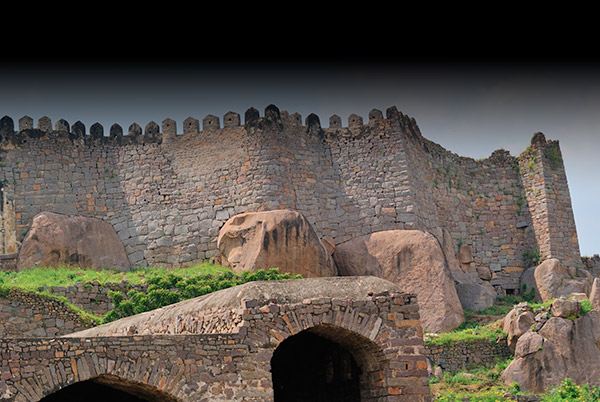
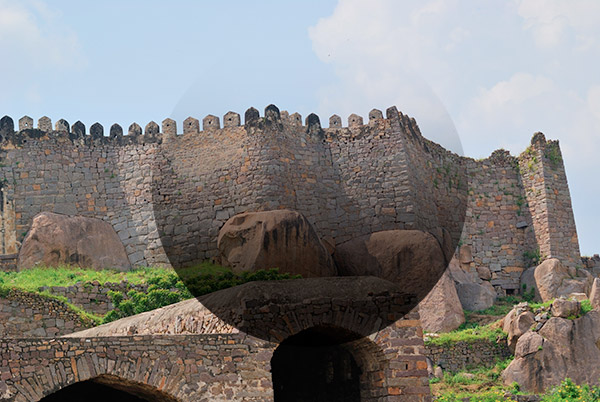
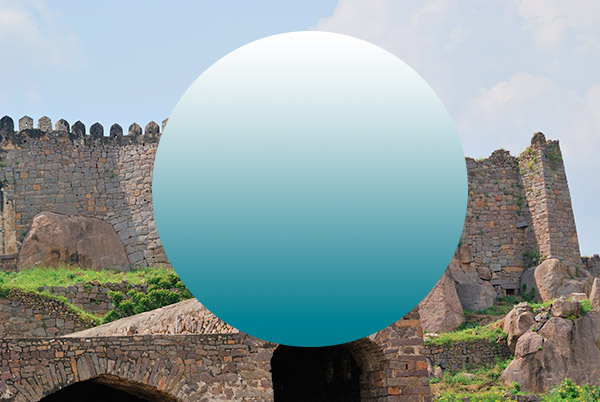
Understanding how each blend mode works will help you to understand when to use certain blend modes to achieve the results you want. Our sample image can be found here. We will apply different approaches to each image to help you understand what each blend mode does.
Key Takeaways
- Blend modes in Photoshop change how an image within a layer interacts with the images in the layers below it, often saving time on erasing or masking out unwanted parts of an image.
- Each blend mode functions differently, such as the ‘Darken’ mode which compares the darken layer with the layer below it and displays the darker pixel information, or the ‘Screen’ mode which multiplies the inverse of your bottom image with the blend mode layer, lightening the image.
- Blend modes can be applied to layers, different layer styles, and even brushes to achieve various effects and can be combined for more complex results.
- Blend modes can be used for a range of purposes, such as adding texture to an image, creating double exposure effects, adjusting colors, adding complex lighting effects, and changing the color of an object in a photo.
- Understanding the function of each blend mode and experimenting with their use is key to utilizing them effectively in Photoshop.
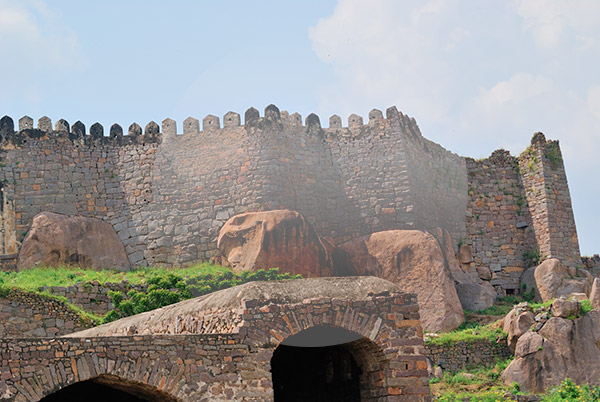
Normal
This is the default blend mode — the starting point where an image acts like a full-featured image. There isn’t much to say about this setting, except that it is the default setting where no blending is applied.
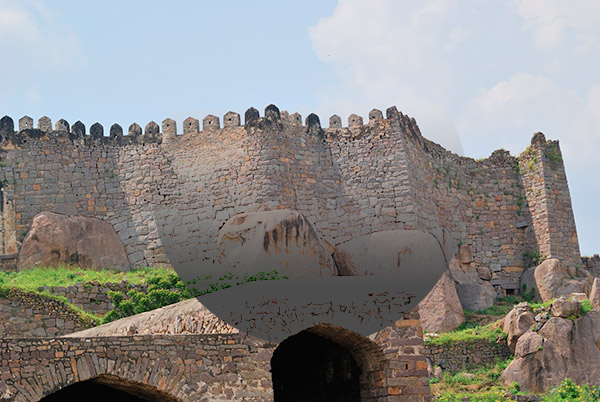
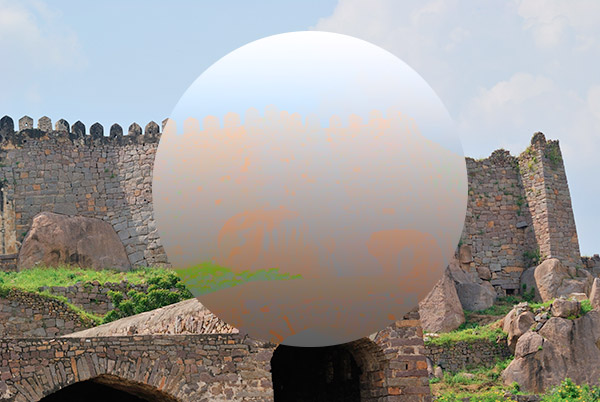
Blend Mode: Dissolve
The dissolve blend mode determines the amount of opacity for a given layer. Where the layer is 100% in opacity, it leaves those areas untouched. Where areas are more transparent, they are dissolved proportionally. For example, an area with 10% opacity will be less dense in speckles than an area with 50% opacity.
Normal
Dissolve Applied
You can see from the example above that where the gradient was solid black, no dissolve was actually applied. Where the gradient starts to fade away is where we begin to see more and more erosion.
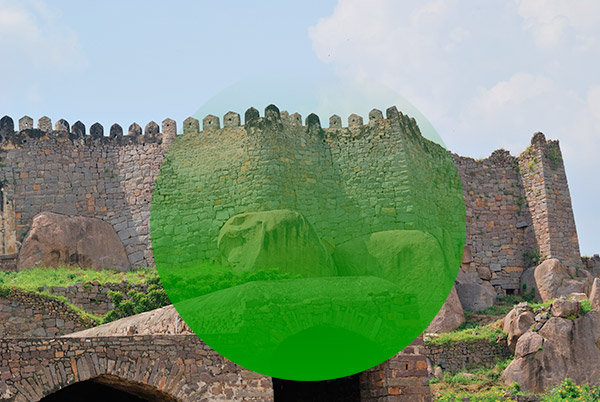
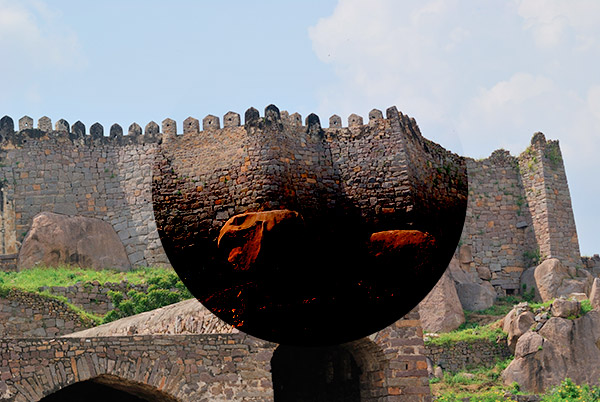
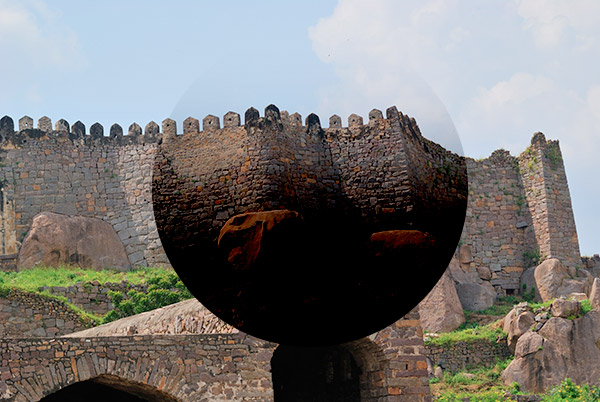
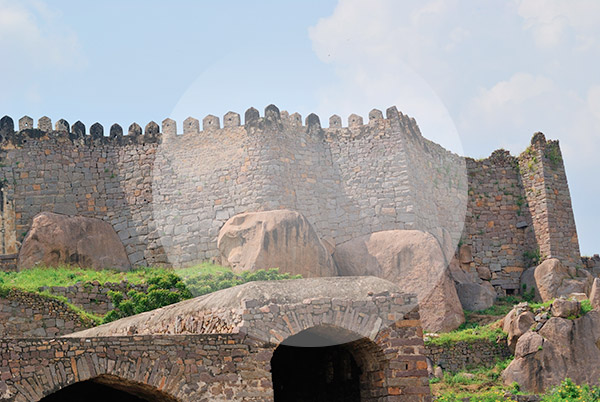
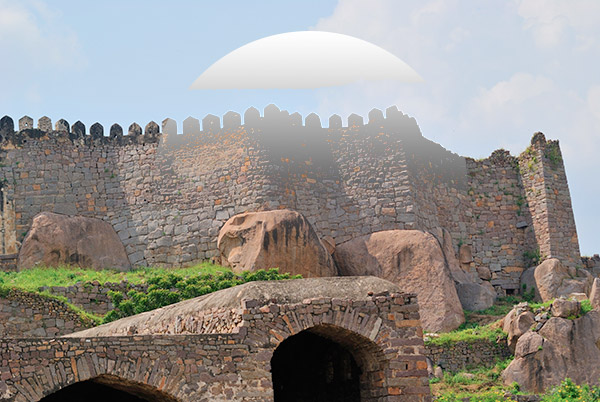
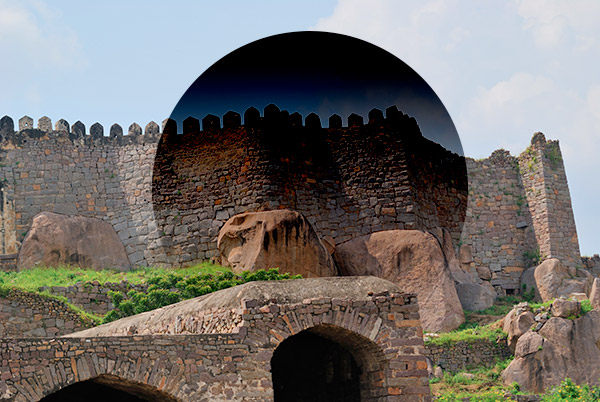
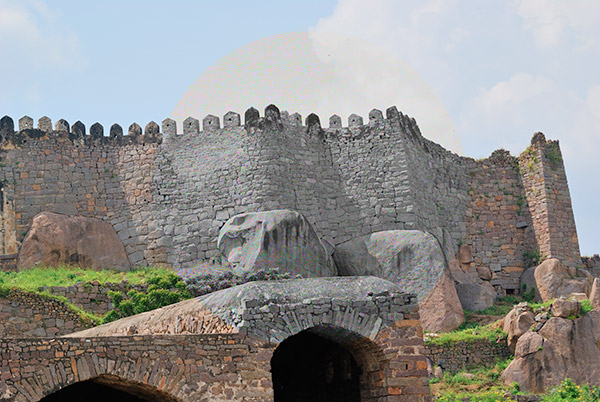
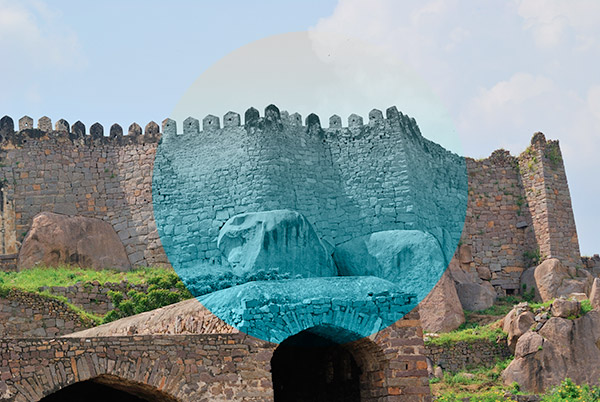
Blend Mode: Darken
The darken blend mode compares the darken layer with the layer below it, and it displays the darker pixel information of the two. The lighter pixel information is discarded and the combined layers as a whole become darker.
Before Applying Darken
After Applying Darken
Notice that the shadowy areas of the stone become darker. Where the green gradient fades more at the top, the image is darkened less. This is because both the gradient and the stones are fairly light, so not much darkening occurs. If we applied a darker gradient over this area, those stones would become darker as well.
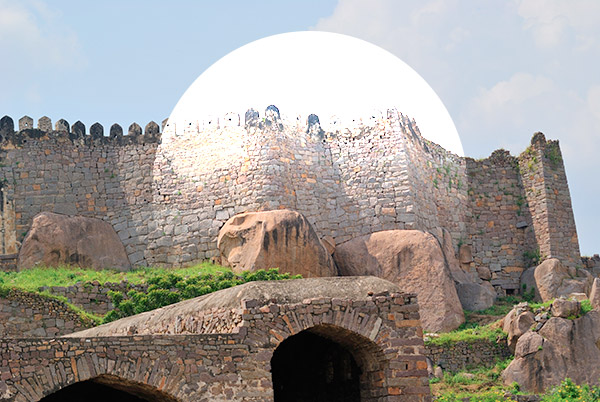
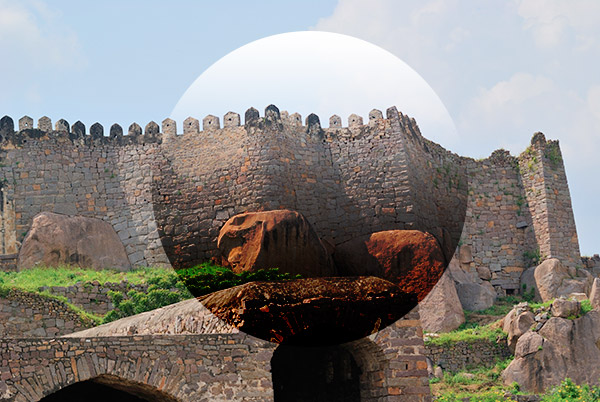
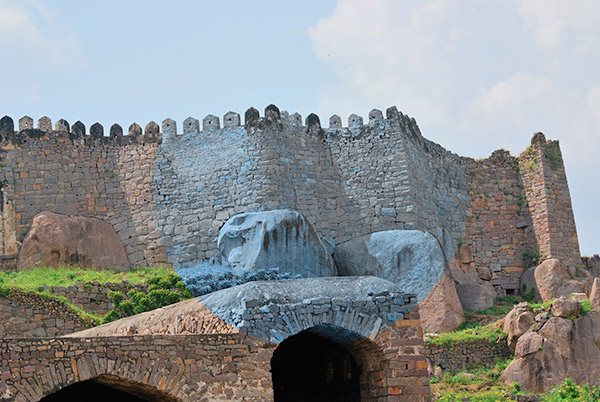
Blend Mode: Multiply
Multiply is pretty simple; it does what it suggests. It multiplies the color in the blend layer with the color in the layer below it. The only time color change doesn’t take place is when an area is white. The result is always a darker color. This can be good for bringing details into shadowed areas. Any part of the image or blend layer that is pure black will remain black.
The gradient above transitions from dark grey to white. Notice at the top (where the gradient is close to white) that there is hardly any change in the image. At the bottom, where the gradient is dark grey, the image becomes much darker.
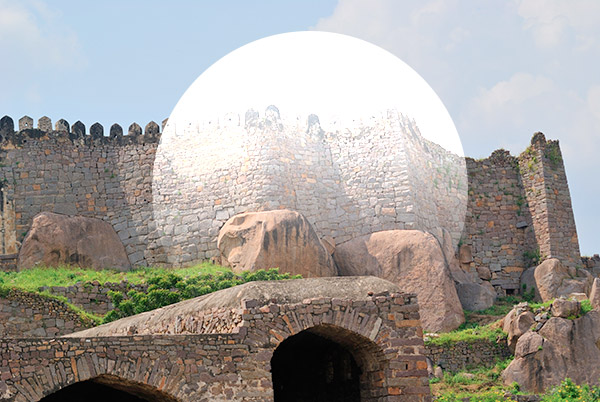
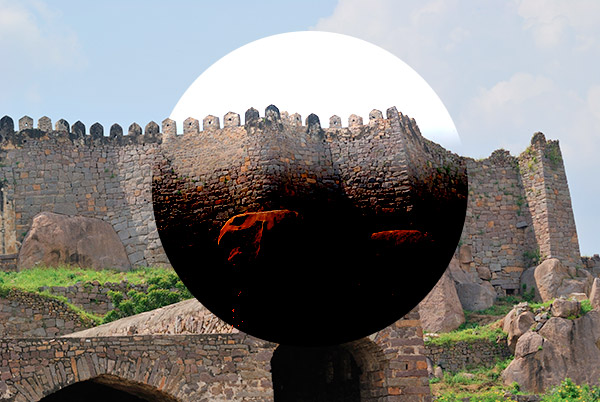
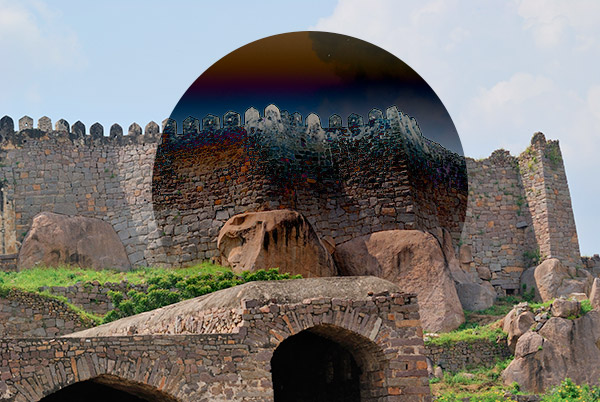
Blend Mode: Color Burn
Color burn is a great blend mode for creating contrast. Using a dark color to blend here will highly intensify the results. The effect is similar to using Photoshop’s burn tool to darken and increase contrast in an image. In the image below, you can see that there is no change where the gradient is white. But, where the gradient was dark, the color of the stone wall was intensified. As the gradient starts to fade away, the blend mode creates more subtle results.
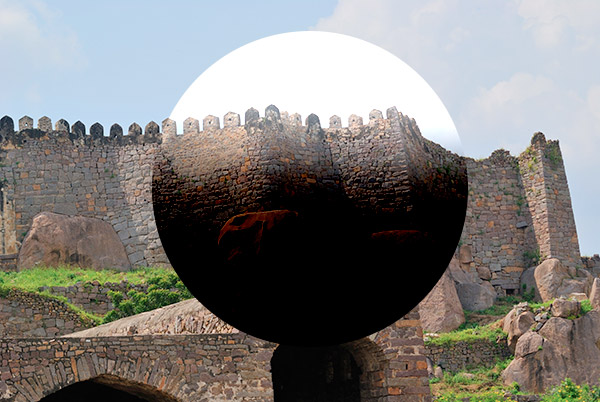
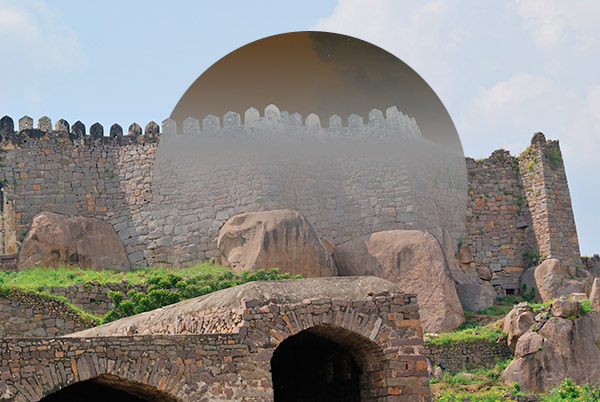
Blend Mode: Linear Burn
Linear burn is very similar to color burn. At first glance, you may not recognize a difference. However, linear burn doesn’t produce the same intense colors that you will find with color burn. Linear burn lowers the brightness of the image, so the colors aren’t affected as much. It doesn’t affect contrast like color burn does. In the image below, notice how linear burn’s color change isn’t as intense as it is with color burn.
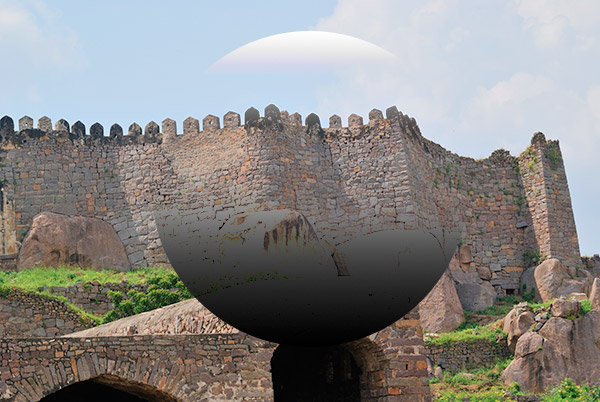
Blend Mode: Darker Color
Darker color looks at the blend layer and the layer below, determines the darker color, and shows it. If you are using a solid color, you will most likely get a solid area of that color, unless your bottom layer is varied with dark and light areas. Notice in the image below that the dark areas of the gradient appear to be grey. In the white areas nothing changes.
Blend Mode: Lighten
Lighten does just the opposite of darken. It compares the pixel information of the top layer and the layer below and chooses the lighter color of the two. Notice in the image below that the shadow areas of the image become lighter. White effects this blend mode, as it will always register as lighter and will lighten any dark area.
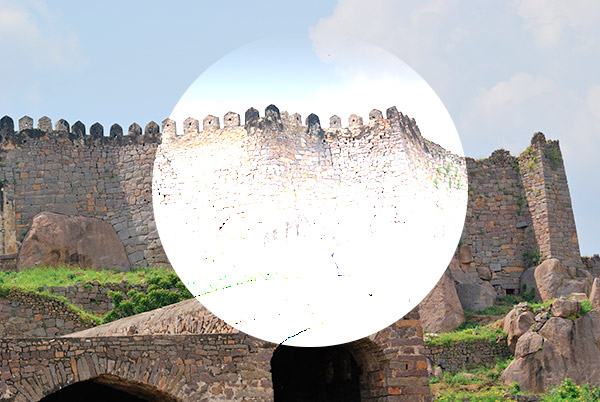
Blend Mode: Screen
The screen blend mode does the opposite of multiply. Screen actually multiplies the inverse of your bottom image with the blend mode layer. The result is that the image will become lighter. The only areas that aren’t effected by this are the ones that are solid black or solid white. In the example below, notice that almost the entire area is lighter, except where the top portion is pure white.
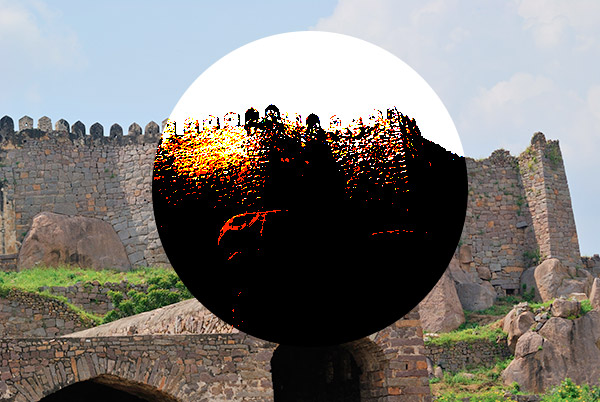
Blend Mode: Color Dodge
Color dodge is the opposite of color burn. It actually works similar to Photoshop’s dodge tool, but as a blend mode. Notice in the example below that the area that is grey is fairly consistent, but where the gradient starts to turn white, the dodge effect is more prominent. The affected area becomes nearly white.
Blend Mode: Linear Dodge
Linear dodge makes areas of an image brighter. Black areas are unaffected, but dark grey through white will be lightened. This effect is similar to screen, but as you can see, it is much stronger. It is also stronger than color dodge as well. Notice how linear dodge affects the shadow areas in between the stones and lightens them, but color dodge showed hard edges within the image’s shadows.
Blend Mode: Lighter Color
Lighter color works like darker color, but achieves the opposite effect. It determines which is the lighter color and discards the darker color. Black will produce no results, but white will definitely show up, as you can see in the example below. You can definitely tell where the part of the gradient starts to turn white.
Blend Mode: Overlay
Overlay is an interesting blend mode, because it multiplies the dark areas and then screens the light areas. Areas that are 50% grey aren’t affected. Notice in the image below, the area of the gradient that is 50% grey looks normal, but the bottom is darker and the top is lighter.
Blend Mode: Soft Light
Soft light creates a lighter or darker color, depending on the color of the blend mode layer. If the blend mode color is lighter than 50% grey, it will create a slightly lighter color. If it is darker than 50% grey, it will create a slightly darker color than the bottom layer. If the blend mode color is 50% grey, then you will see no change. Notice in the image below, the area that is 50% grey appears unaffected. The black and white areas are lighter and darker.
Blend Mode: Hard Light
Hard light is just like soft light, but much more intense. The reason is that it affects contrast as well. Using pure white will result in white, and using black will result in black. 50% grey won’t produce a change at all. Anything more or less than 50% grey, but not pure black or white will drastically lighten an image, as you can see in the example below.
Blend Mode: Vivid Light
Vivid light is similar to soft and hard light, but it is even more intense than they are. Anything darker than 50% grey is burned and anything lighter than 50% grey is lightened and the contrast is lowered. Notice how you get the “burned” effect in the dark area of the gradient. Notice in the white area of the gradient that the sky is lightened, and there is far less contrast.
Blend Mode: Linear Light
Linear light works just like vivid light, except instead of adding contrast, it raises or lowers the brightness level depending on whether the blend layer is light or dark. Notice the white area of the gradient is brighter, and the dark area of the gradient is darker. You don’t get as much of a “burned” effect from linear light as you do with vivid light.
Blend Mode: Pin Light
Pin light basically performs the darken and lighten blend modes simultaneously. If the blend layer is lighter or darker than 50% grey, then it is replaces the bottom layer’s color information. If the bottom layer is darker in the dark areas or lighter in the light areas, then you won’t see a change. Notice in both the black and white areas, the color is almost solid.
Blend Mode: Hard Mix
Hard mix acts like the color burn blend mode, but there are no gradients or gradual changes in color. Notice that the white areas show as pure white, but the dark areas are all burned, with a very high amount of contrast.
Blend Mode: Difference
Difference subtracts the inverse of an image from the blend mode. The blend mode has to be a light color in order for this to happen. It inverts the bottom layer’s colors and subtracts it from the blend mode color. If an area of the blend mode is black, you won’t see any change. You can see this in the image below, where the black area of the blending mode fades away and the image appears normal.
Blend Mode: Exclusion
The exclusion blend mode works similarly to the difference blend mode, but it doesn’t produce such harsh results. The reason for this is that it doesn’t create as much contrast. The areas of pure black cause no changes to take place. Notice how the middle area that is roughly 50% grey creates a muted grey result.
Blend Mode: Subtract
The subtract blend mode is simple. It subtracts the blend mode color from the layer below. Pure black isn’t affected, because you can’t subtract a color and get anything darker than black, so it fades away.
Blend Mode: Divide
Divide does just what it says; it divides the blend mode layer’s colors by the pixels in the bottom layer. The result is a drastically lightened image overall. Notice how the black areas of the gradient are almost pure white. The pure white areas of the blend mode fade away.
Blend Mode: Hue
Hue changes the hue of the bottom image to the hue of the color of the blend mode. This doesn’t affect saturation or the lightness or darkness of the image. Notice in the image below, our black to white gradient actually desaturates this area of the image.
In the image below, we changed the black to white gradient to a blue to white gradient, which shows how the hue of the brick wall has been changed to match the blue hue of the gradient. This all takes place without darkening or lightening the image.
Blend Mode: Saturation
Saturation changes the saturation of the bottom image to match the saturation of the blend mode color. We used a blue to white gradient to demonstrate this. Notice below in the second image that areas have become more saturated, and in some areas the image has become overly saturated, as you can see with the pink and purple bricks.
Blend Mode: Color
The color blend mode applies the hue and saturation of the blend mode to the layer below it. This doesn’t alter the lightness or darkness of the image, as you can see below. It simply changes the colors of the bricks to the same hue of blue that is seen in the gradient itself.
Blend Mode: Luminosity
Luminosity applies the brightness of the blend mode layer’s color to the bottom layer. Notice in the blue areas, the colors are muddy. White areas become white and black areas become black.
Conclusion
Blend modes are an essential part of Photoshop. You can apply blend modes to layers, different layer styles, and even brushes to get different results. Sometimes having the ability to blend two images together is just a matter of finding the right blend mode.
It is extremely handy to be able to discard a light, dark or grey area of an image with a flip of a button. Many popular effects are creates by applying a combination of a filter and a blend mode, or multiple blend modes between different layers. The combinations are endless, and the effects that can be produced are unmatched by any other feature.
What is your favorite blend mode? Do you know any tricks for using/combining blend modes to get great results? Share your experience in the comments section below.
Frequently Asked Questions about Blend Modes in Photoshop
What is the difference between Multiply and Screen blend modes in Photoshop?
The Multiply blend mode in Photoshop is one of the most commonly used modes. It darkens the image by multiplying the base color and the blend color. The result is always a darker color. It’s useful for adding shadows and combining images with different exposures.
On the other hand, the Screen blend mode does the opposite. It lightens the image by screening the base color and the blend color. The result is always a lighter color. It’s useful for adding highlights and combining images with different exposures.
How can I use blend modes to improve my photo editing skills?
Blend modes can significantly enhance your photo editing skills by allowing you to manipulate how colors and layers interact with each other. For instance, you can use blend modes to add texture to an image, create double exposure effects, adjust colors, or add complex lighting effects. The key is to experiment with different blend modes to see how they affect your image.
Can I use more than one blend mode at a time?
Yes, you can use multiple blend modes at a time in Photoshop. You can apply different blend modes to different layers to create complex effects. However, it’s important to note that the order of the layers and the blend modes used can significantly affect the final result.
What is the difference between Opacity and Fill when using blend modes?
Opacity and Fill are two controls in Photoshop that affect the transparency of a layer. While they may seem similar, they behave differently when used with certain blend modes. Opacity affects both the layer’s content and any layer effects like drop shadows or stroke. On the other hand, Fill only affects the layer’s content, not its effects. This difference can be used creatively when working with blend modes.
How can I use blend modes to change the color of an object in a photo?
You can use blend modes to change the color of an object in a photo by creating a new layer above the object, filling it with the desired color, and then experimenting with different blend modes. The Hue and Color blend modes can be particularly useful for this purpose.
What does the Overlay blend mode do in Photoshop?
The Overlay blend mode in Photoshop is used to increase contrast in an image. It multiplies the dark colors and screens the light colors, resulting in a more contrasted image. It’s useful for enhancing the details in an image.
How can I use blend modes to create a double exposure effect?
To create a double exposure effect, you can place two images on separate layers, then experiment with different blend modes to see how they interact. The Screen, Multiply, and Overlay blend modes are often used for this purpose.
What is the difference between the Darken and Lighten blend modes?
The Darken blend mode in Photoshop looks at the color information in each channel and selects the base or blend color—whichever is darker—as the result color. Conversely, the Lighten blend mode selects the lighter color. These blend modes can be used to remove or isolate elements of an image based on their brightness.
How can I use blend modes to add texture to an image?
To add texture to an image, you can place a texture image on a new layer above your original image, then experiment with different blend modes to see how they interact. The Multiply, Overlay, and Soft Light blend modes are often used for this purpose.
What does the Color Dodge blend mode do in Photoshop?
The Color Dodge blend mode in Photoshop is used to brighten the base color to reflect the blend color by decreasing contrast between the two. It’s useful for creating light effects or intensifying colors in an image.

