
Key Takeaways
- This piece introduces 10 easy-to-use jQuery plugins, including jQZoom Evolution, queue & dequeue, Awkward Viewline, jQuery-Notes 1.0.2, QuickFlip 2, Semitransparent rollovers, Beautiful Slide out Navigation, The Sexy Curls jQuery Plugin, Fixed Fade out Menu, and Reveal: jQuery Modals Made Easy.
- Each plugin is briefly described, with links to both their source code and a demo for readers to explore their functionality.
- The plugins cater to various needs, such as image magnification, animations, note-adding to images, card-like flipping effects, semi-transparent rollovers, slide-out navigation, page fold effects, fixed fade-out menus, and easy-to-implement modals.
- The FAQs section provides insights into key features to look for in a jQuery plugin, installation process, usage of multiple plugins on the same page, updating plugins, troubleshooting, creating own plugins, alternatives to jQuery plugins, performance improvement, selling plugins, and contributing to the jQuery plugin community.
Here we’ve collected another set of 10 random easy to use jQuery plugins – we know you love them! Most of you may have not used or seen these plugins before, so it’s worth to take a look! However you have seen the 8. Sexy Curls jQuery Plugin but it is pretty awesome!
Related posts:
1. jQZoom Evolution
Is a JavaScript image magnifier built at the top of the popular jQuery JavaScript framework. jQzoom is a great and a really easy to use script to magnify what you want.

2. queue & dequeue
A pair of core data utilities that help you to add your own bespoke to animations.
3. Awkward Viewline
Is a jQuery plugin and is now integrated with Awkward Showcase — a plugin for the JavaScript Framework jQuery.

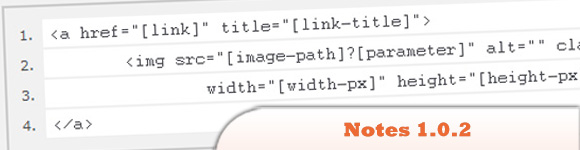
4. jQuery-Notes 1.0.2
Is a simple and easy to use jQuery-Plugin that allows you to add notes to any image (even foreign ones) on your website or blog.
5. QuickFlip 2: The jQuery Flipping Plugin Made Faster and Simpler
jQuery QuickFlip takes any piece of HTML markup and flips it over like a card. The effect is similar to the UI animation on the iPhone.

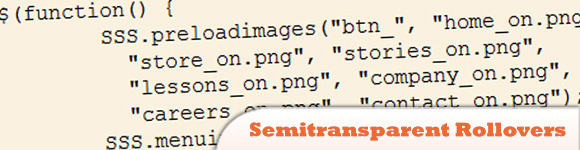
6. Semitransparent rollovers
Background has a gradient effect, so you can see that the glowing borders flow smoothly on rollover. Try that with a gif!
7. Beautiful Slide out Navigation: A CSS and jQuery Tutorial
The navigation will be almost hidden – the items only slide out when the user hovers over the area next to them. This gives a beautiful effect and using this technique can spare you some space on your website.

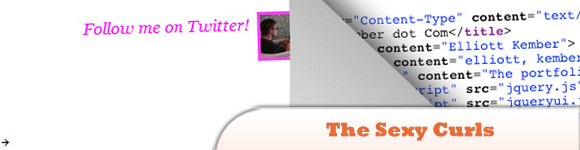
8. The Sexy Curls jQuery Plugin
Is an open-source jQuery plugin by Elliott Kember which lets you share in the beauty of the page fold.
9. Fixed Fade out Menu: A CSS and jQuery Tutorial
The aim is to have a fixed navigation that follows the user when he scrolls, and only subtly showing itself by fading out and becoming almost transparent. When the user hovers over it, the menu then becomes opaque again.

10. Reveal: jQuery Modals Made Easy
Easy to implement, is cross-browser compatible with modern browsers (with some graceful degradation of course) and lightweight coming in at only 1.75KB. What that means for you is that it’s fast, sexy and just works.

Frequently Asked Questions (FAQs) about jQuery Plugins
What are the key features to look for in a jQuery plugin?
When selecting a jQuery plugin, there are several key features to consider. Firstly, the plugin should be lightweight and not slow down your website’s performance. Secondly, it should be compatible with the latest version of jQuery and other plugins you are using. Thirdly, it should be well-documented with clear instructions on how to install and use it. Lastly, it should be actively maintained by the developer, with regular updates and bug fixes.
How do I install a jQuery plugin?
Installing a jQuery plugin is a straightforward process. First, download the plugin file and include it in your HTML file after the jQuery library. Then, call the plugin function on the desired HTML element. Some plugins may require additional configuration or setup, so always refer to the plugin’s documentation for specific instructions.
Can I use multiple jQuery plugins on the same page?
Yes, you can use multiple jQuery plugins on the same page. However, be aware that some plugins may conflict with each other, causing unexpected behavior. To avoid this, always test your plugins together before deploying them to a live website.
How do I update a jQuery plugin?
Updating a jQuery plugin is as simple as replacing the old plugin file with the new one. However, some updates may introduce breaking changes, so always read the update notes and test the new version thoroughly before updating.
What should I do if a jQuery plugin is not working?
If a jQuery plugin is not working, first check if you have included the jQuery library and the plugin file correctly in your HTML file. Then, check if there are any JavaScript errors in your browser’s console. If the problem persists, refer to the plugin’s documentation or contact the developer for support.
How can I create my own jQuery plugin?
Creating your own jQuery plugin requires a good understanding of JavaScript and jQuery. Start by defining a new function in the jQuery namespace, then add your plugin’s functionality inside this function. Finally, make sure to return the jQuery object to maintain chainability.
Are there any alternatives to jQuery plugins?
Yes, there are many alternatives to jQuery plugins, including native JavaScript libraries and frameworks such as React, Angular, and Vue.js. These offer more advanced features and better performance, but also have a steeper learning curve.
How can I improve the performance of my jQuery plugins?
To improve the performance of your jQuery plugins, try to minimize DOM manipulation, use event delegation, cache jQuery objects, and use the most efficient selectors. Also, consider using a performance profiling tool to identify and fix any performance bottlenecks.
Can I sell my jQuery plugins?
Yes, you can sell your jQuery plugins. There are many online marketplaces where you can list your plugins for sale, such as CodeCanyon. However, keep in mind that you will need to provide support to your customers and regularly update your plugins to keep them compatible with the latest versions of jQuery.
How can I contribute to the jQuery plugin community?
You can contribute to the jQuery plugin community by creating and sharing your own plugins, contributing to existing plugins, writing tutorials and articles, and helping others on community forums and social media.
Sam Deering has 15+ years of programming and website development experience. He was a website consultant at Console, ABC News, Flight Centre, Sapient Nitro, and the QLD Government and runs a tech blog with over 1 million views per month. Currently, Sam is the Founder of Crypto News, Australia.