

Registration screens may seem like an afterthought in a much larger customer acquisition process, but they are an essential linchpin of sound customer experience that’s not to be overlooked. Organizations invest tremendous amounts of time and money in attracting prospects, winning their confidence, and turning them into customers. The last thing you want to happen as a designer is for that investment to fail at the last step — registration. A well-designed registration screen carries the confidence inspired from a prior marketing process, transforms a lead into a customer, and leads to real revenue.
Today, we are going to design a registration screen in Photoshop. We will try to strike a subtle balance between functionality and flat design. To achieve this, we will utilize blending options, patterns, and several other techniques. So let’s get started.
Resources:
Minimal Patterns
Subtle Patterns
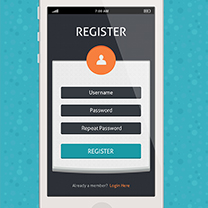
Final Result:
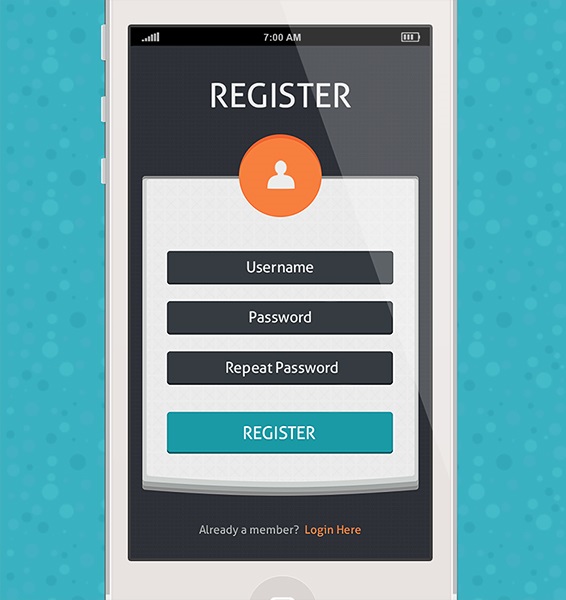
Download the finished, layered PSD file.
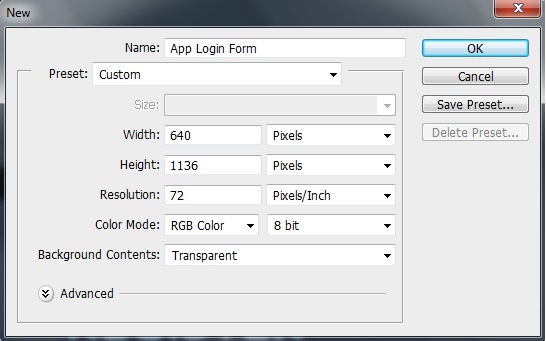
Step 1:
Open Photoshop and create a new file with a 640px width and an 1136px height.
Step 2:
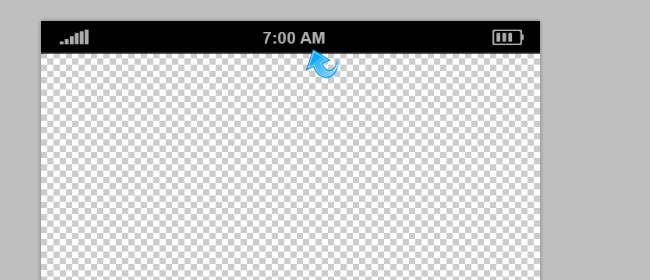
Create a new layer to add the status bar details. First select the rectangle tool and create a small horizontal rectangle. Fill the rectangle using color #000000.

Step 3:
We will simply add the signal and battery icons to our status bar with color #acacac.
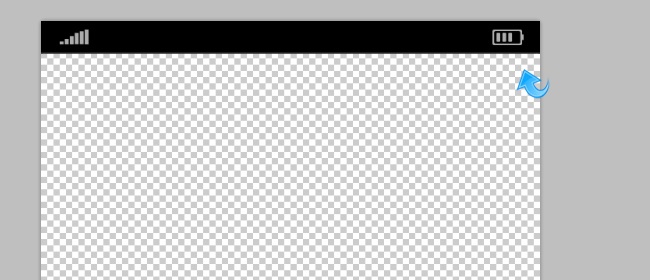
Step 4:
To add the time onto the status bar, select the type tool and add the time in the middle using color #acacac.
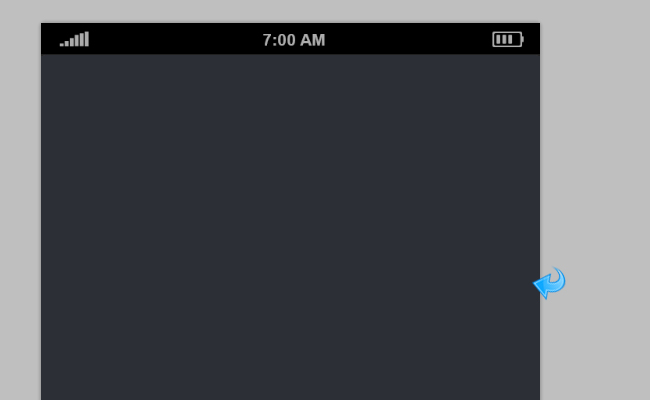
Step 5:
For the background, we will use a dark color to make the form stand out, I’m going with color #2c2f36. So, select the rounded rectangle tool and create a rectangle to fill the background space. Use color #2c2f36 to fill the rectangle.
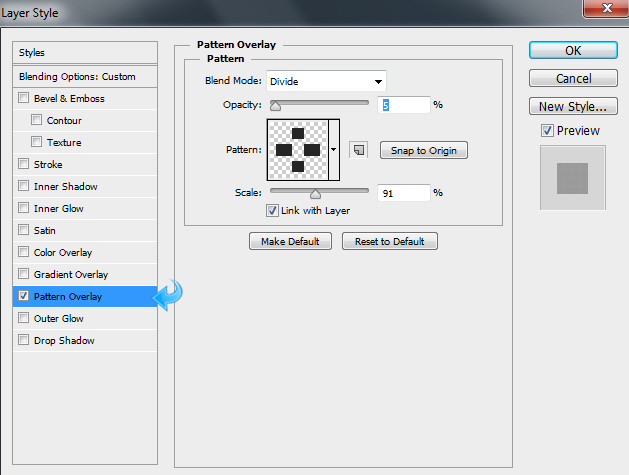
Step 6:
We will add a subtle pattern on the background layer, so select the layer and click on “Layer styles” to add some pattern. Select the minimal pattern from the resources set mentioned above and adjust the pattern settings according to the image below.
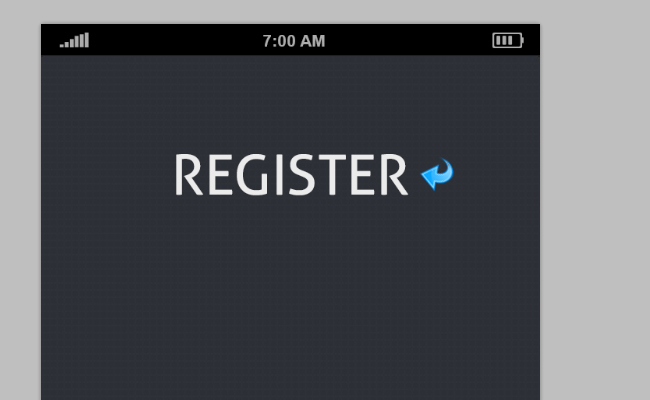
Step 7:
Now, we’ll start with the title. Select the type tool and add the title text “Register” using color #ebebeb. Place the text in the center.
Step 8:
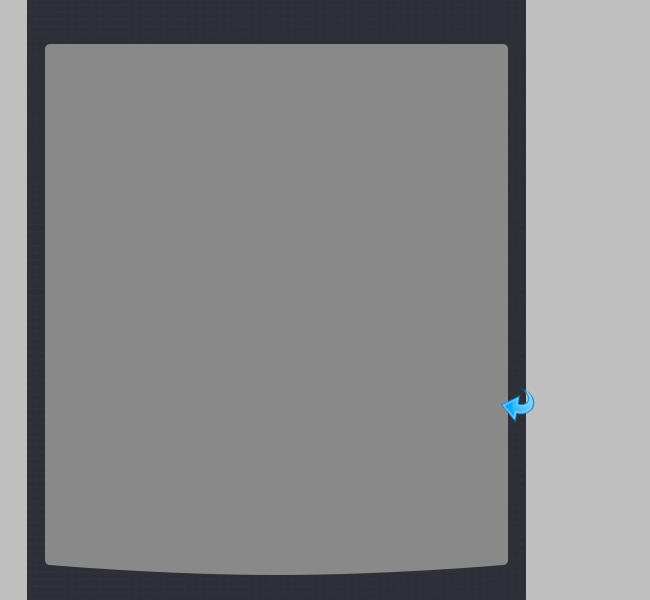
For the form background, create a new layer and select the pen tool to create a simple shape. Fill the shape with color #898989.
Step 9:
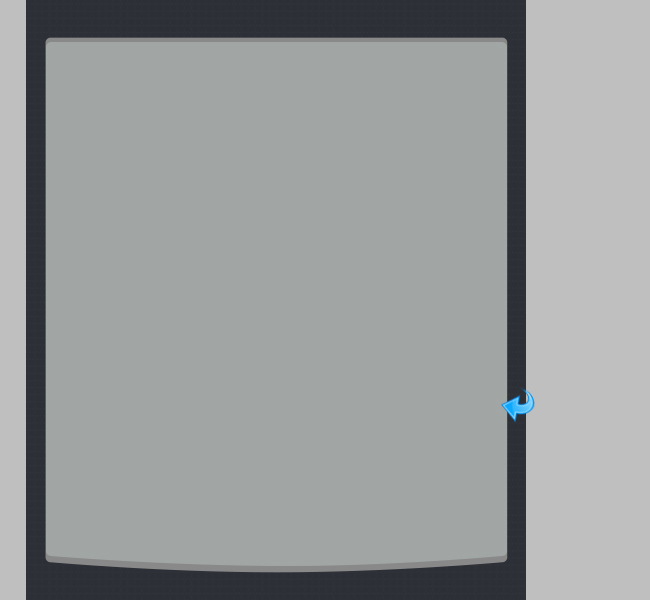
Once again, create a new layer and create another shape. This time, reduce the height and fill it with color #a1a6a5. Place it above the previous shape to create a layered effect.
Step 10:
Again, add a new layer and create another shape using the pen tool; keep its height smaller than the previous one. Fill it with color #ced2d0 and place it on top of the other shapes.

Step 11:
One more time, repeat the same process and create another shape using the same pen tool, but make sure to reduce the height as well as width to make it smaller than the previous shapes. Now, place the shape in the center and fill it with color #ededed.

Step 12:
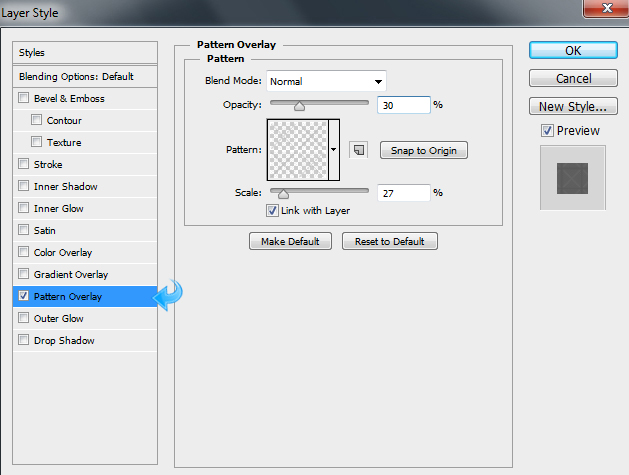
Select this rectangle layer and click on “Layer styles” to add some pattern. Select any subtle pattern from the set mentioned above and adjust the pattern settings according to the image below.
Step 13:
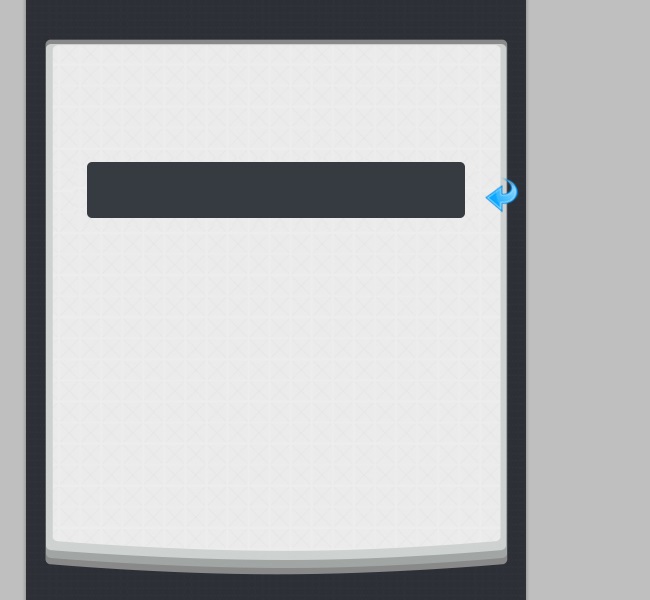
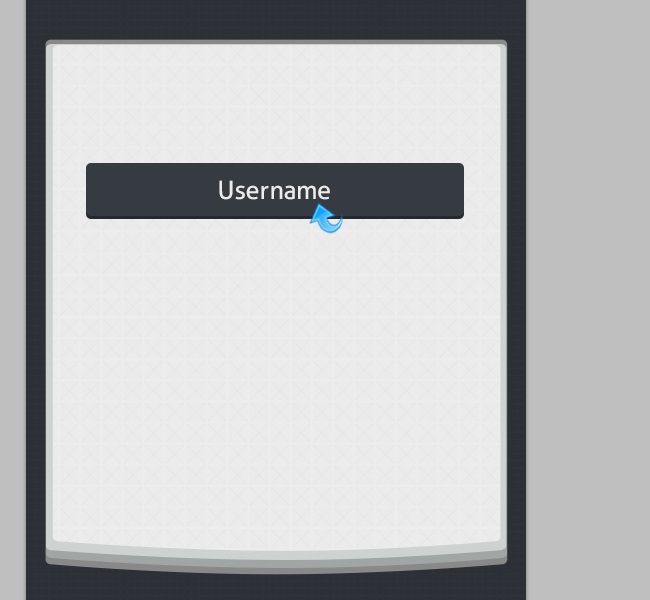
Now, let’s start with the form fields. Create a new layer and select the rounded rectangle tool to create a small rectangle. Fill it with color #353b41.
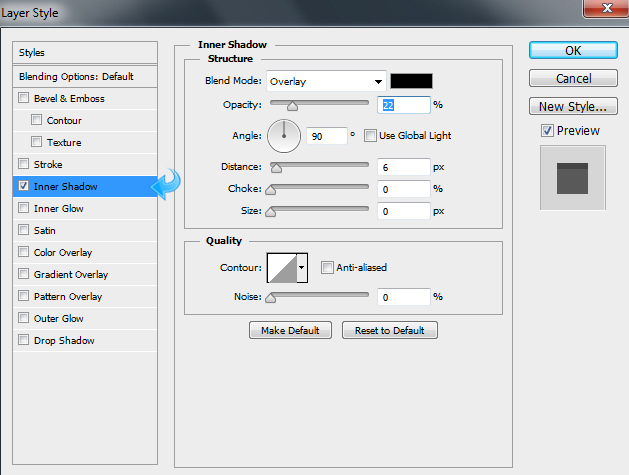
Step 14:
Select the field layer and click on “Layer styles” to add some inner shadow. Adjust the settings in accordance with the following image.

Step 15:
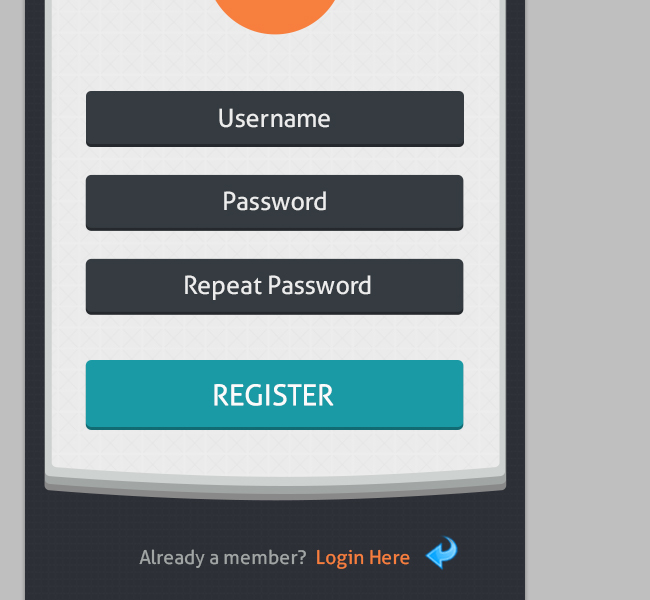
Now, select the type tool and add the field title “Username” in the middle with the color #ececec.
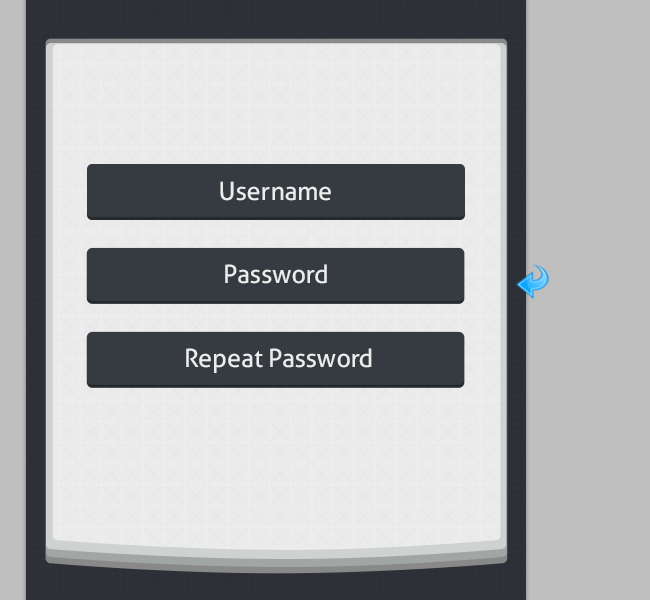
Step 16:
Repeat the same process and create three more fields using the rounded rectangle tool with the same color and Inner shadow. Now, add the text to these new fields using the type tool using color #ececec.
Step 17:
For the “Register” Button, create a new layer and select the rounded rectangle tool to create a rectangle. Fill it with color #1a9aa5.
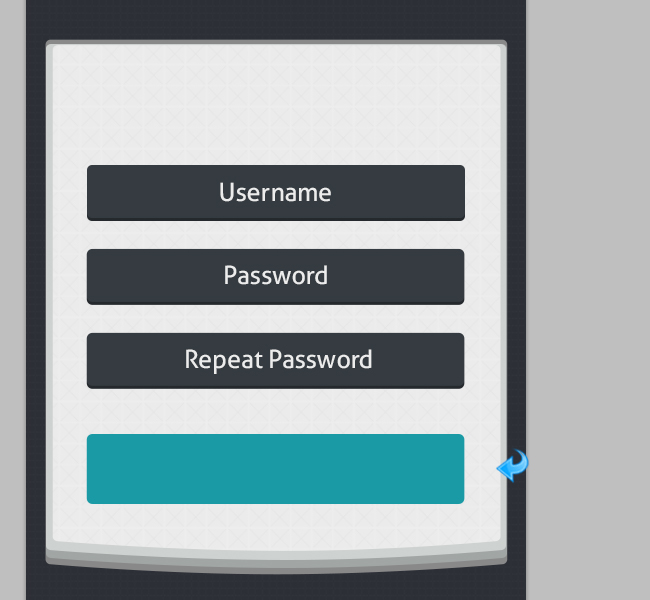
Step 18:
Select the button layer and click on “Layer styles” to add some inner shadow same way that we did earlier. Adjust the settings to match the image below.

Now, select the type tool and add the button title “Register” using color #fbfbfb.
Step 19:
Select the ellipse tool and create a small circle. Place it in the middle and fill it with color #f77f3e.
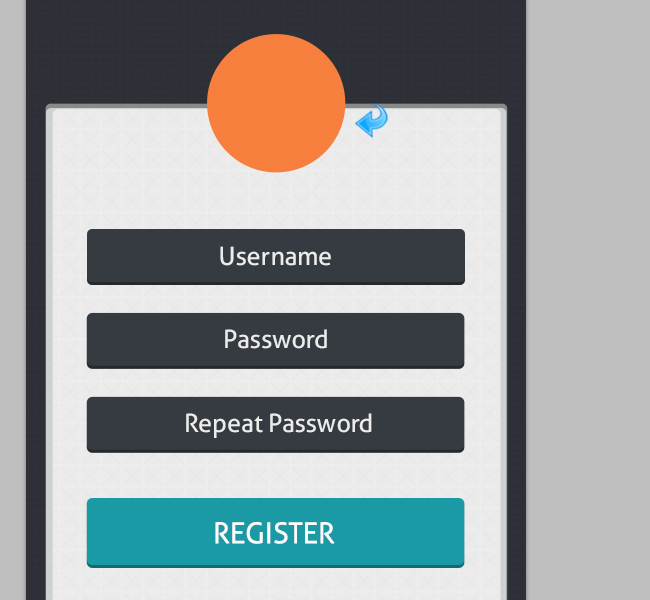
Step 20:
Select the newly-created circle and click on “Layer styles” from the layer panel and add some inner shadow to the shape. Keep the inner shadow settings the same as those in the image below.
Now, simply add the user icon in the middle and fill it with color #ececec.
Step 21:
Now, select the type tool and add “Already a member?” text using color #a1a6a5. Repeat the same process and add the “Login Here” text this time using color #f77f3e. Place the text in the middle.
Our registration form is ready! I hope you guys enjoyed the tutorial. I’ll be back with some more soon. Until then, take care!
Frequently Asked Questions about Designing a Flat Registration Screen in Photoshop
What are the key elements to consider when designing a flat registration screen in Photoshop?
When designing a flat registration screen in Photoshop, it’s important to consider several key elements. First, the layout should be clean and simple, with a clear focus on the registration form. The form should include fields for the user’s name, email address, and password, and possibly a checkbox for terms and conditions. Second, the color scheme should be consistent and pleasing to the eye. Third, the typography should be legible and attractive. Lastly, the call-to-action button should be prominent and compelling, encouraging users to complete the registration process.
How can I make my flat registration screen design more user-friendly?
To make your flat registration screen design more user-friendly, ensure that the form fields are large enough to be easily tapped on a touchscreen device. Also, consider adding tooltips or help text to guide users through the registration process. Additionally, make sure that error messages are clear and helpful, and that the form is accessible for users with disabilities.
What are some common mistakes to avoid when designing a flat registration screen in Photoshop?
Some common mistakes to avoid when designing a flat registration screen in Photoshop include using too many colors, making the form fields too small, and not providing clear instructions for the user. Also, avoid using a font that is difficult to read, and make sure that the call-to-action button stands out from the rest of the design.
How can I make my flat registration screen design stand out from the competition?
To make your flat registration screen design stand out from the competition, consider using a unique color scheme, incorporating your brand’s logo or other distinctive elements, and adding subtle animations or transitions. Also, pay attention to the details, such as the alignment of the form fields, the typography, and the overall layout.
Can I use templates or presets in Photoshop to design a flat registration screen?
Yes, you can use templates or presets in Photoshop to design a flat registration screen. However, it’s important to customize these resources to fit your brand’s identity and to meet the needs of your users. Also, remember to keep the design simple and user-friendly, regardless of the resources you use.
How can I test the usability of my flat registration screen design?
You can test the usability of your flat registration screen design by conducting user testing sessions. This involves observing users as they interact with your design, and asking them for feedback. You can also use tools like heatmaps and analytics to understand how users interact with your design.
What are some resources for finding inspiration for my flat registration screen design?
Some resources for finding inspiration for your flat registration screen design include design blogs, online galleries, and social media platforms like Pinterest and Dribbble. You can also look at the registration screens of successful apps and websites for ideas.
How can I optimize my flat registration screen design for mobile devices?
To optimize your flat registration screen design for mobile devices, ensure that the design is responsive, meaning that it adjusts to fit different screen sizes. Also, make the form fields and buttons large enough to be easily tapped, and consider using a single-column layout for better readability on small screens.
How can I add interactivity to my flat registration screen design in Photoshop?
While Photoshop is primarily a design tool, you can simulate interactivity by creating multiple artboards for different states of the registration screen, such as hover, focus, and error states. However, to actually implement interactivity, you would need to use a coding language like HTML, CSS, and JavaScript.
Can I use Photoshop to design a flat registration screen for a mobile app?
Yes, you can use Photoshop to design a flat registration screen for a mobile app. However, keep in mind that Photoshop is a raster-based tool, meaning that it works with pixels. Therefore, it’s important to set the correct resolution for your design to ensure that it looks sharp on high-resolution mobile screens.