

Key Takeaways
- WordPress starter themes, also known as “blank” themes, provide a basic code structure for developers to build upon, saving time on initial tasks and providing insight into best practices.
- Starter themes are not meant to be used as parent themes themselves, but as the basis for your parent theme, offering flexibility to code a custom theme while still getting a quality base to work from.
- Five top WordPress starter themes include Underscores, FoundationPress, Bones, the Genesis Framework, and HTML5 Blank, each offering unique features and varying levels of complexity for different user needs and skill levels.
- Using WordPress starter themes can help developers create ready-to-go WordPress themes faster than starting from scratch, making them a valuable tool regardless of expertise level.
This article was originally published by Torque Magazine, and is reproduced here with permission.
Starting completely from scratch when developing themes naturally means you’re free to do anything you’d like. This opens up plenty of room for creative freedom, but getting started can take up a lot of time. Many of the initial tasks you’ll carry out are necessary, yet time-intensive.
The good news is that WordPress “starter” themes or frameworks (also called “blank” themes) can do some of the initial heavy lifting for you. This is because they include foundational base code for you to work from. They can help you implement essential functionality, and start you off with some best practices relevant to the task at hand.
In this article, we’ll discuss what starter themes are and why they can be so useful. Next, we’ll run through some of the top performers, such as Underscores, FoundationPress, and Bones. Let’s dive in!
An Introduction to Starter Themes
For the uninitiated, a starter theme — otherwise known as a “blank” theme — provides a basic skeleton you can develop on top of. However, unlike standard WordPress themes, they only include very basic structural code. There’s just enough there to get the theme to work, and let you implement any foundational functionality. They’re also not meant to be used as parent themes themselves, but as the basis for your parent theme.
Starter themes can be extremely handy for development purposes. Here are just a few of the reasons why:
- You get a head start on coding the essential foundations of your theme.
- They provide insight into the best practices you’ll want to follow.
- You have the flexibility to code a custom theme, while still getting a quality base to work from.
Of course, no starter theme is perfect, and you’ll need to consider a few things before deciding whether it’s worth using one. For example, you’ll still be playing by another developer’s rules, and they get to decide what functionality is considered foundational. This means the theme could be packed with snippets that don’t actually help you create the kind of theme you need.
In addition, you may still need some time to pick through the code to get a handle on what the theme does out of the box. Of course, starter themes aren’t necessarily ready to roll by default, which can be a confusing concept to grasp at times.
All the same, unless you’re working with a particular theme (for example, we’ve seen developers using themes such as Divi and Avada as their base), we think starter themes are an excellent tool for the majority of WordPress developers. If you decide to implement one, the next important question is which to choose.
5 Top WordPress Starter Themes to Consider for Your Next Project
In another article at Torque, we looked briefly at a larger collection of starter themes. However, we’ll now take some of the standout options and examine them more closely. The solutions in the list below are mostly free, but we’ll clearly mention when there’s a price involved.
Let’s start with a theme that definitely has the WordPress seal of approval.
1. Underscores
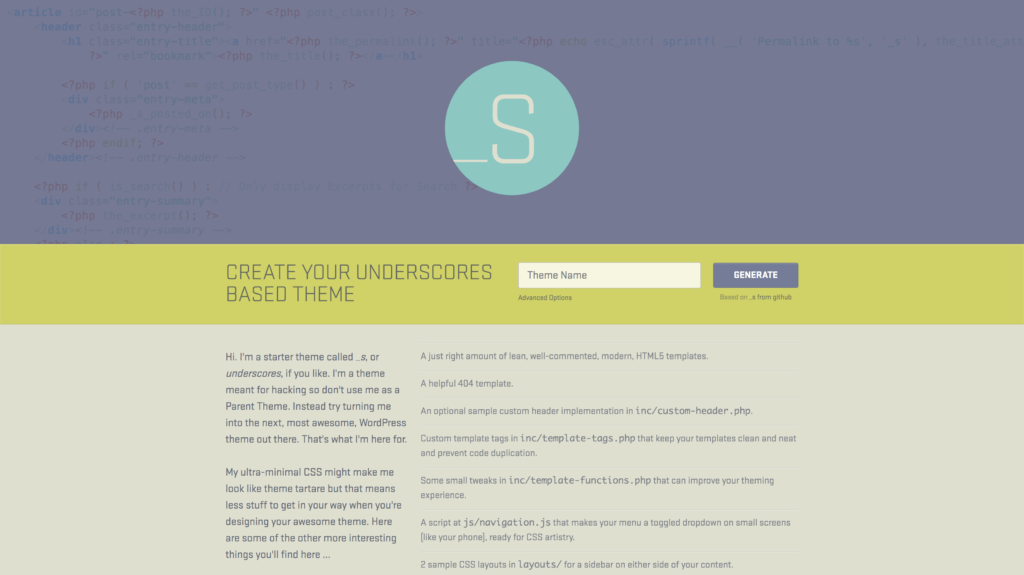
Underscores is arguably the best-known starter theme available. It’s developed and maintained by Automattic (i.e. WordPress’ developers), and was originally a fork of the Toolbox theme. The tagline for Underscores is that it offers you a “1,000-hour head start” when developing themes.
In fact, every default theme worked on by WordPress (from Twenty Twelve onward) uses Underscores as a base:
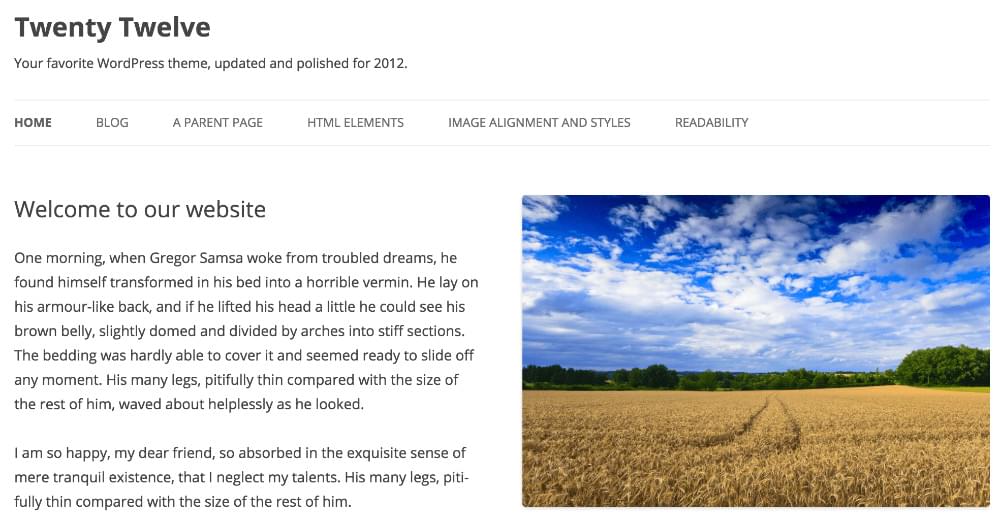
Of course, the main selling point here is that you’re getting WordPress’ best practices in one handy package. It’s going to be simple, therefore, to create a valid theme based on WordPress’ requirements. However, unless you have some deft coding chops, it’s also very easy to accidentally create another “me too” WordPress theme.
If you’re interested in trying out Underscores, we previously published The Beginner’s Guide to Creating a Theme With Underscores, which does exactly what it says on the box. You may also want to look at the WordPress Theme Development Guide, as this will also show you how the code is structured at a base level.
2. FoundationPress
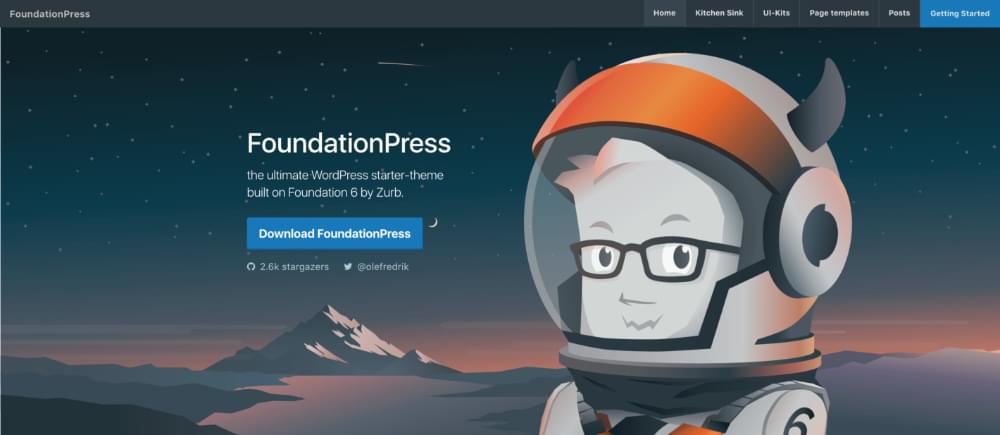
Next up, FoundationPress is an open-source starter theme built on Foundation 6, which uses Sass and Grunt. It was released in 2013, continues to be regularly updated by a community of developers, and is billed as the “most advanced mobile-first framework in the world”.
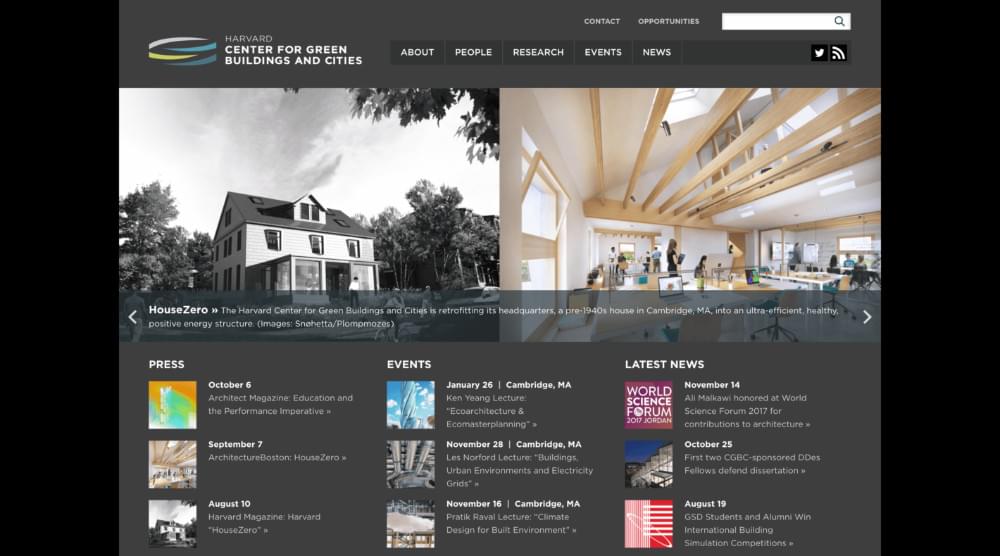
You’ll usually see FoundationPress used to develop custom themes for specific businesses and groups. The GitHub page has a showcase outlining the many websites currently using the starter theme. This includes the Harvard Center for Green Buildings and Cities:
This theme is ideal if you’re looking to develop for business-specific purposes. On the flip side, that means there aren’t as many themes you can download to get a feel for how FoundationPress is used in the “real-world”. Your best bet is to take a look at the Kitchen Sink template, and read through the theme’s thorough documentation.
3. Bones
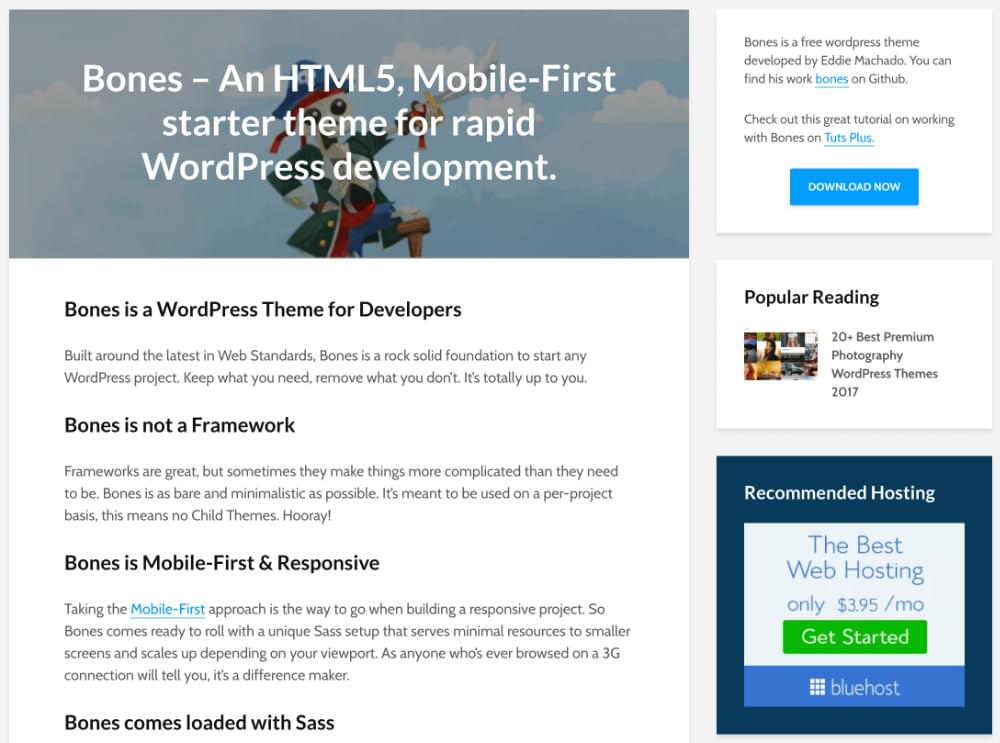
Bones is another free, mobile-first starter theme with built-in Sass integration. However, the primary focus here is on speed. For example, Bones comes with a light header out of the box, which is in contrast to many other WordPress starter themes. What’s more, it gives you a “leg-up” when getting to know its inner workings. That’s because Bones comes pre-loaded with custom dashboard functions and post types, so you can see how they work by default.
While ease of use is a perk of Bones, this also presents some drawbacks. Given the amount of helpful code included by default, more experienced users of the theme may be annoyed at having to strip away all the elements they don’t need. There’s also no showcase available, which makes it difficult to determine how Bones will translate into a real-world theme.
Even so, following a decent tutorial can help you have a working theme ready in a flash. Getting hands-on immediately is never a bad thing when it comes to a new tool, and Bones makes it very simple to do that.
4. The Genesis Framework
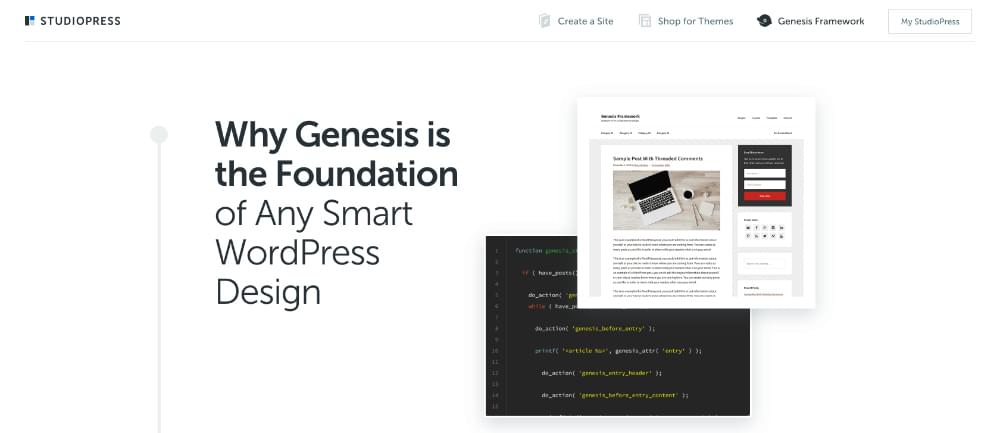
For our penultimate theme, we’re going off the beaten track to look at a “framework” — more specifically, the Genesis Framework. This is the only premium solution on our list (with plans starting at $60), and it requires you to develop using child themes rather than editing the framework directly. Even so, it’s probably the most developer-friendly theme on this list. Plus, it uses WordPress’ hooks to assist you in creating your themes.
There’s a burgeoning market for Genesis child themes. You’ll find a plethora of examples on the StudioPress website, along with third-party developers offering their own themes (such as Imagely):

Without a doubt, the wealth of resources and documentation available is a stand-out benefit of Genesis. Developers such as Carrie Dils are well experienced with the framework, and her Lynda portfolio contains a number of Genesis-specific courses worth checking out. However, there is a cost involved. Also, the need to develop child themes for use with the framework can translate into extra hassle that a client may not want.
As we mentioned, Carrie Dils is the go-to Genesis queen. As far as we’re concerned, her courses on Learning Genesis for WordPress and WordPress and Genesis: Building Child Themes From Scratch can be considered the “gospel” for developing with this framework.
5. HTML5 Blank
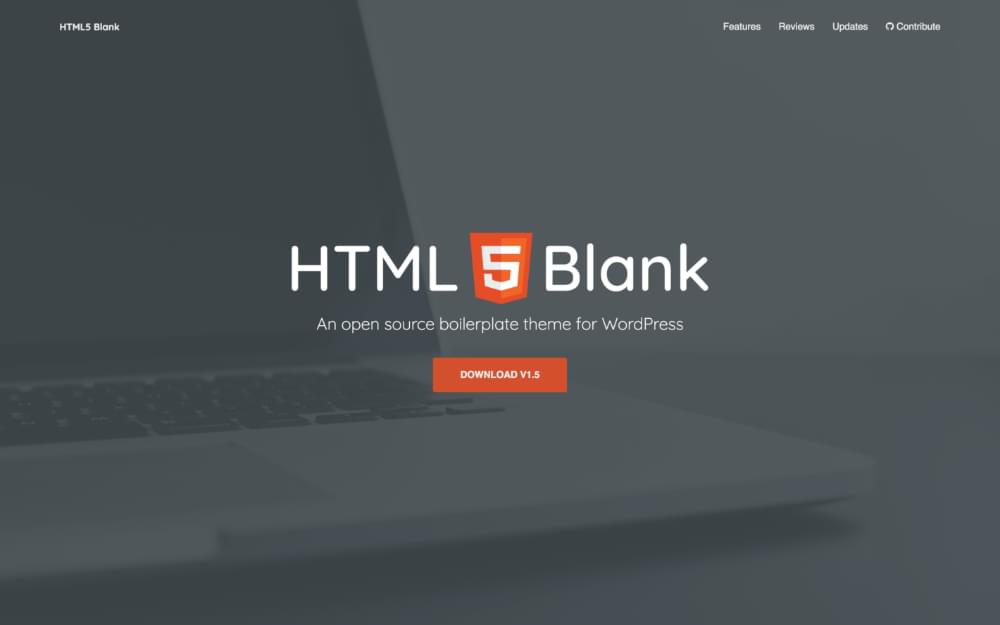
HTML5 Blank rounds off our list, and is no less powerful than some of the other options. It’s an open-source theme, similar to Bones and FoundationPress, but it prides itself on delivering a simple way to convert standard HTML and CSS into WordPress:
Unfortunately, much like some of the other starter themes on this list, HTML5 Blank doesn’t have a showcase. So finding real-world success stories can be tough. However, the theme does follow WordPress’ coding standards, and the GitHub profile contains plenty to sink your teeth into when beginning your development.
HTML5 Blank is the only theme on this list to have little third-party documentation available on how to get started with it. That’s a shame, because it has a lot of support and can be an excellent tool. If you’re a beginner to starter themes, however, you may need to look elsewhere to get your feet wet.
Conclusion
Using WordPress starter themes in your workflow can help you create a ready-to-go WordPress theme in less time than if you started completely from scratch. For this reason, they should be a go-to development tool, regardless of your expertise.
This piece has looked at five of the top starter themes available. Let’s quickly recap each one:
- Underscores: Automattic’s offering is a great option, regardless of your initial expertise.
- FoundationPress: This is a mobile-friendly, open-source starter theme that’s great when creating custom themes for specific purposes.
- Bones: This is arguably the best beginner theme on the list, given the wealth of handy tips and advice it provides.
- Genesis: The only premium option here, this framework has the backing some of WordPress’ biggest names.
- HTML5 Blank: Finally, this is a bare-bones starter theme that will help translate standard HTML into WordPress-friendly code.
Do you have any questions about how to use starter themes, or have a suggestion for one we’ve missed? Let us know in the comments section below!
Frequently Asked Questions about WordPress Starter Themes
What are the benefits of using a WordPress starter theme?
WordPress starter themes are essentially bare-bone themes that you can use as a starting point for creating your own custom theme. They come with basic WordPress PHP, CSS, and HTML structure, allowing you to save time and effort in coding from scratch. Starter themes are also typically well-coded and follow best practices, ensuring that your custom theme will be robust and efficient. They are a great tool for developers who want to learn more about WordPress theme development.
How do I choose the right WordPress starter theme?
Choosing the right WordPress starter theme depends on your specific needs and skill level. Some starter themes come with more features and options, while others are more basic. If you’re a beginner, you might want to choose a starter theme that has a lot of built-in options and documentation. If you’re more experienced, you might prefer a minimalistic starter theme that you can customize extensively.
Can I use a WordPress starter theme for my commercial project?
Yes, you can use a WordPress starter theme for your commercial project. Most starter themes are open-source and free to use for any type of project, including commercial ones. However, it’s always a good idea to check the license of the starter theme to make sure.
What is the difference between a WordPress starter theme and a regular theme?
A regular WordPress theme is a ready-to-use design that you can install and activate on your website. On the other hand, a WordPress starter theme is a bare-bone theme that you use as a starting point for creating your own custom theme. It’s not meant to be used as it is, but to be built upon.
How do I install a WordPress starter theme?
Installing a WordPress starter theme is similar to installing a regular theme. You can download the starter theme and upload it to your WordPress website through the Appearance > Themes > Add New > Upload Theme in your WordPress dashboard. After uploading, you can activate the theme and start customizing it.
Can I use a WordPress starter theme without any coding knowledge?
While it’s possible to use a WordPress starter theme without any coding knowledge, it’s not recommended. Starter themes are designed to be a starting point for developers to create their own custom themes, so they typically require at least basic knowledge of PHP, CSS, and HTML.
Are there any WordPress starter themes that come with pre-designed templates?
Some WordPress starter themes do come with pre-designed templates that you can use as a starting point. However, the main purpose of a starter theme is to provide a clean slate for you to create your own custom design.
Can I use a WordPress starter theme with a page builder?
Yes, you can use a WordPress starter theme with a page builder. However, keep in mind that the purpose of a starter theme is to provide a clean and minimalistic base for you to build upon. If you’re planning to use a page builder, you might be better off with a regular theme that’s designed to work well with page builders.
How do I update a WordPress starter theme?
Updating a WordPress starter theme can be a bit tricky because any changes you’ve made to the theme files will be lost when you update. To avoid this, it’s recommended to create a child theme based on the starter theme and make your changes there. This way, you can update the parent starter theme without losing your customizations.
Are WordPress starter themes SEO-friendly?
Most WordPress starter themes are designed to be SEO-friendly. They typically come with clean and efficient code, which is good for SEO. However, the SEO-friendliness of your website will also depend on how you customize the starter theme and the content you add to your website.