

In the first part of this series we used the API to get the latest photos from 500px and filter through them, and we built a user profile with the list of associated photos. In this part, we are going to give the user the ability to vote, favorite and comment on photos, and finally, we will give the users the ability to upload their own photos. Let’s get started.

Key Takeaways
- The 500px API allows users to interact with photos by voting, favoriting, commenting, and uploading new photos, enhancing user engagement and interaction.
- Authorization and authentication are crucial steps in accessing the 500px API, requiring a consumer_key, consumer_secret, token, and token_secret to post and retrieve user content securely.
- Implementing AJAX for voting and favoriting actions provides a smoother user experience, with real-time feedback on photo votes and favorites without reloading the page.
- Commenting on photos is facilitated through specific API endpoints, allowing users to express their thoughts and opinions directly on individual photos.
- Uploading photos via the API is straightforward using multipart/form-data, with parameters for photo details and the file itself, making it accessible for developers to integrate this feature into their applications.
Authorization
When trying to access an API endpoint we need to check the authentication level required to access the resource. The API may require a consumer_key or an OAuth.
In the first part we registered a new application on 500px and received our consumer_key and consumer_secret. We use the Grant app to get a valid token and token_secret for testing.
Authentication
After specifying your consumer_key and consumer_secret, you receive a token and a token_secret. These are going to give you the right to post and retrieve user content.
// bootstrap/start.php
App::singleton('pxoauth', function(){

    $host = 'https://api.500px.com/v1/';

    $consumer_key = 'YOUR CONSUMER KEY';

    $consumer_secret = 'YOUR CONSUMER SECRET';

    $token = 'GRANT TOKEN';

    $token_secret = 'GRANT TOKEN SECRET';
    $oauth = new PxOAuth($host, $consumer_key, $consumer_secret, $token, $token_secret);
    return $oauth;

});
The PxOAuth class wraps our communication with the 500px API.
// app/src/PxOAuth.php
class PxOAuth{
    public $host;

    public $client;

    private $consumer_key;

    private $consumer_secret;

    private $token;

    private $token_secret;
    public function __construct($host, $consumer_key, $consumer_secret, $token, $token_secret){

        $this->host = $host;

        $this->consumer_key = $consumer_key;

        $this->consumer_secret = $consumer_secret;

        $this->token = $token;

        $this->token_secret = $token_secret;
        $params = [

            'consumer_key'      => $this->consumer_key,

            'consumer_secret'   => $this->consumer_secret,

            'token'             => $this->token,

            'token_secret'      => $this->token_secret

        ];
        $oauth = new Oauth1($params);
        $this->client = new Client([ 'base_url' => $this->host, 'defaults' => ['auth' => 'oauth']]);

        $this->client->getEmitter()->attach($oauth);
        // if app is in debug mode, we do logging

        if( App::make('config')['app']['debug'] ) {

            $this->addLogger();

        }

    }
    private function addLogger(){

        $log = new Logger('guzzle');

        $log->pushHandler(new StreamHandler(__DIR__.'/../storage/logs/guzzle.log'));
        $subscriber = new LogSubscriber($log, Formatter::DEBUG);

        $this->client->getEmitter()->attach($subscriber);

    }

}//class
When working with HTTP requests, it’s often useful to have some kind of logging. We add logging if the application is in debug mode.
Voting on Photos
If you used the 500px website, you could see that the user has the ability to vote on photos to increase their rating. We can retrieve the list of users who voted for a specific photo, and you can vote it up or down.
// app/routes.php
Route::post('/ajax/photo/vote', ['uses' => 'PXController@vote']);
// app/controllers/PXController.php
public function vote(){

    $photoId = Input::get("pid");

    $px = App::make('pxoauth');

    $url = "photos/{$photoId}/vote";

    try {

        $result = $px->client->post($url, ["body" => ['vote' => '1']]);

    }

    catch(RequestException $e){

        $response = $e->getResponse();
        if($response->getStatusCode() === 403){

            return (string) $response->getBody();

        }
        return ["status" => 500, "error" => "A serious bug occurred."];

    }
    return (string) $result->getBody();

}
// public/js/vote_favorite.js
$('body').on('click', '.thumb .vote', function(e){

    e.preventDefault();

    $this = $(this);

    var pid = $this.parents(".thumb").data("photo-id");
    $.ajax({

        url: "/ajax/photo/vote",

        type: "POST",

        dataType: "json",

        data: {

            pid: pid

        },

        success: function(data){

            if(data.hasOwnProperty("error")){

                alert(data.error);

            }

            else{

                $this.text(data.photo.votes_count);

                alert("Photo voted successfully");

            }

        }

    });

});
The best way to implement the voting action is through AJAX. We are going to send an AJAX post request with the photo ID, and get back a JSON response, which either contains an error message or a refreshed photo.
After retrieving the photo ID, we send a post request to the photos/photo_id/vote endpoint along with a vote parameter (0 or 1). If the request wasn’t successful we can catch the exception and test $response->getStatusCode(). You can visit the docs to see the list of errors.
Marking Photos as Favorite
Marking photos as favorites is almost the same as upvoting them, except that you don’t pass any extra parameters in the body. You can see the docs for more details.
// app/routes.php
Route::post('/ajax/photo/favorite', ['uses' => 'PXController@favorite']);
// app/controllers/PXController.php
public function favorite(){

    $photoId = Input::get("pid");
    $px = App::make('pxoauth');

    $url = "photos/{$photoId}/favorite";
    try {

        $result = $px->client->post($url);

    }

    catch(RequestException $e){

        $response = $e->getResponse();
        if($response->getStatusCode() === 403){

            return (string) $response->getBody();

        }
        return ["status" => 500, "error" => "A serious bug occurred."];

    }
    return (string) $result->getBody();

}
// public/js/vote_favorite.js
$('body').on('click', '.thumb .favorite', function(e){

    e.preventDefault();

    $this = $(this);

    var pid = $this.parents(".thumb").data("photo-id");
    $.ajax({

        url: "/ajax/photo/favorite",

        type: "POST",

        dataType: "json",

        data: {

            pid: pid

        },

        success: function(data){

            if(data.hasOwnProperty("error")){

                alert(data.error);

            }

            else{

                $this.text(data.photo.favorites_count);

                alert("Photo favourited successfully");

            }

        }

    });

});
If you already voted or favorited a photo, you’ll get an error saying (Sorry, you have already voted for this Photo). You can avoid that by disabling the link if the voted or favorited attribute inside a photo object is set to true.
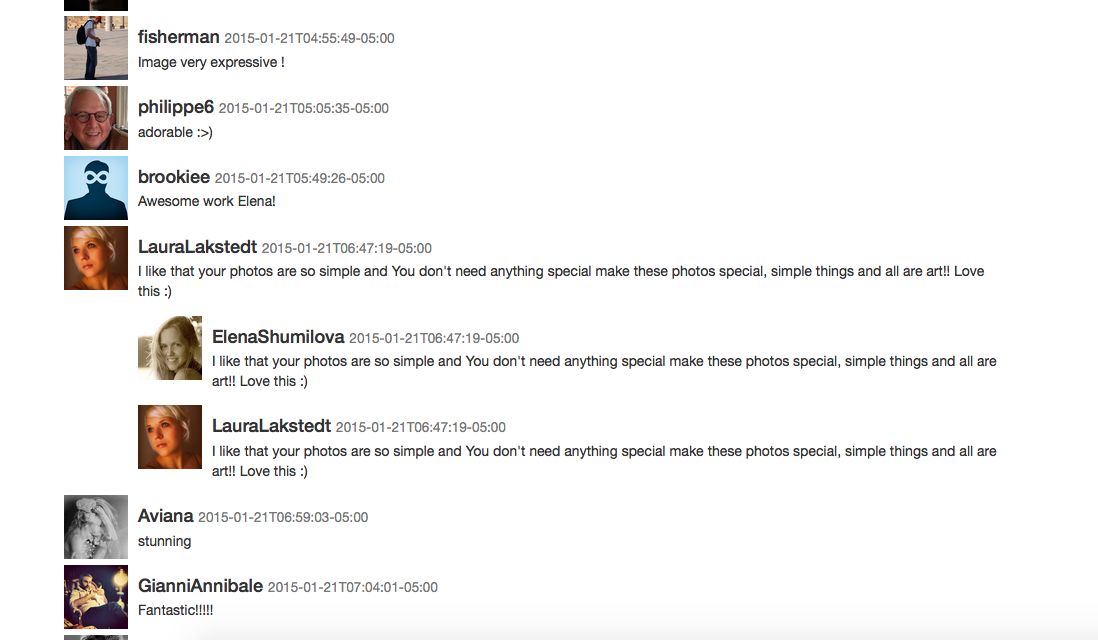
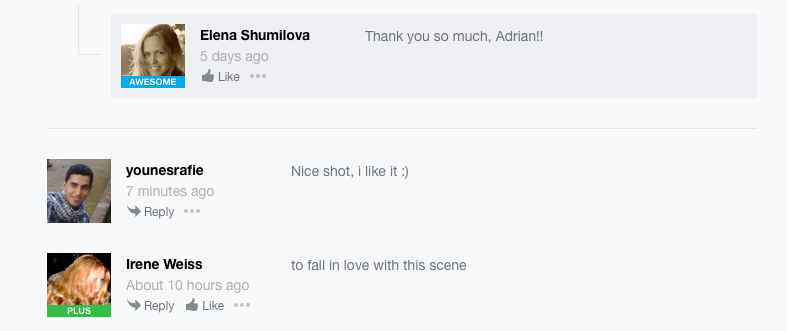
Comments
Commenting systems are mandatory for users to give their opinions. The 500px API provides endpoints for dealing with comments. We split the process into three main parts.
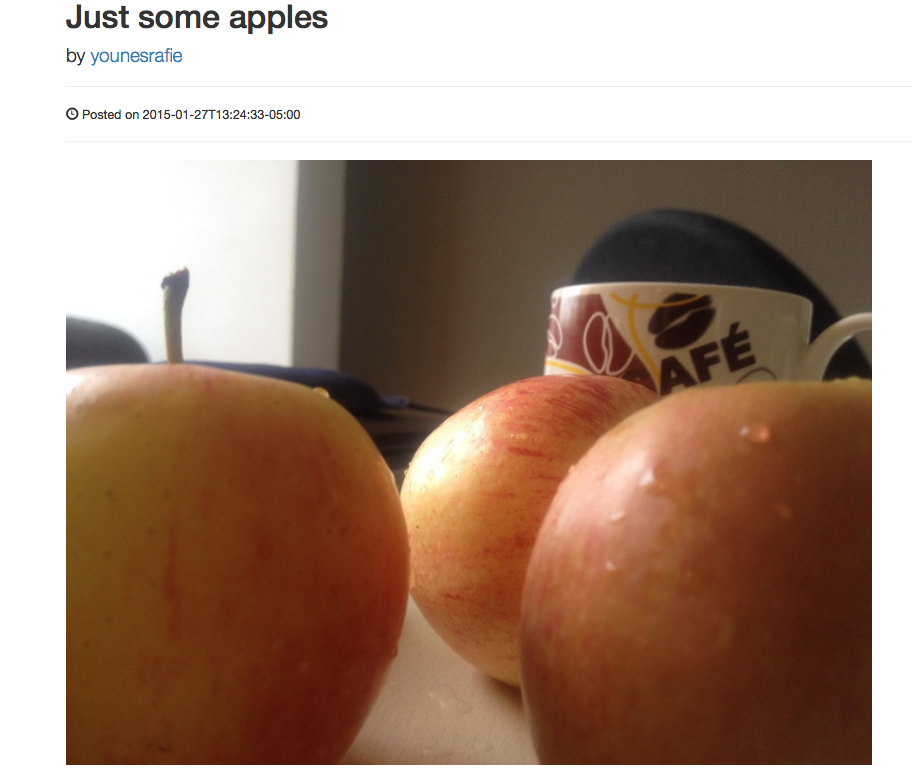
Single Photos
In the first part, when the user clicked on a photo we opened the link on the 500px website. Now, we are going to implement our own single photo page.
The photos/:photo_id endpoint accepts a list of parameters, and returns the selected photo or a not found error.
// app/routes.php
Route::get('/photo/{id}', ['uses' => 'PXController@show']);
// app/controllers/PXController.php
public function show($id){

    $px = App::make('pxoauth');
    try {

        $photo = $px->client->get("photos/{$id}?image_size=4")->json();
        return View::make('single', ['photo' => $photo['photo']]);

    }

    catch(RequestException $e){

        $response = $e->getResponse();
        if($response->getStatusCode() === 404){

            // handle 404: photo not found

        }

    }

}
// app/views/single.blade.php
...

<h1>{{ $photo['name'] }}</h1>

<p class="lead">

    by <a href="/user/{{ $photo['user']['id'] }}">{{ $photo['user']['username'] }}</a>

</p>

<hr>
<p><span class="glyphicon glyphicon-time"></span> Posted on {{ $photo['created_at'] }}</p>

<hr>
<img class="img-responsive" src="{{ $photo['images'][0]['url'] }}" alt="">

<hr>

@if($photo['description'])

    <p class="lead">{{ $photo['description'] }}</p>

@endif

<hr>

...
If the request was successful, we pass the photo object to the view, otherwise we catch the exception and handle the 404 error. You can visit the docs for more details.
Getting Comments
Retrieving comments can be done in two different ways. We can pass the comments parameter to the single photo endpoint (photos/:id?comments), or we can use the photos/:id/comments endpoint.
The second way allows us to retrieve nested comments, which makes it easier for us to print them. The API limits the number of comments per request to 20 and you can use the page parameter to get the complete list.
// app/controllers/PXController.php
public function show($id){

    $px = App::make('pxoauth');
    try {

        $photo = $px->client->get("photos/{$id}?image_size=4")->json();

        $comments = $px->client->get("photos/{$id}/comments?nested=true")->json();
        return View::make('single', ['photo' => $photo['photo'], 'comments' => $comments['comments']]);

    }

    catch(RequestException $e){

        $response = $e->getResponse();
        if($response->getStatusCode() === 404){

            // handle 404: photo not found

        }

    }

}
// app/views/single.blade.php
@foreach($comments as $comment)

    <div class="media">

        <a class="pull-left" href="#">

            <img class="media-object" src="{{ $comment['user']['userpic_url'] }}" alt="">

        </a>

        <div class="media-body">

            <h4 class="media-heading">{{ $comment['user']['username'] }}

                <small>{{ $comment['created_at'] }}</small>

            </h4>

            {{ $comment['body'] }}

            @if(count($comment['replies']))

                @foreach($comment['replies'] as $ncomment)

                    <div class="media">

                        <a class="pull-left" href="#">

                            <img class="media-object" src="{{ $ncomment['user']['userpic_url'] }}" alt="">

                        </a>

                        <div class="media-body">

                            <h4 class="media-heading">{{ $ncomment['user']['username'] }}

                                <small>{{ $comment['created_at'] }}</small>

                            </h4>

                            {{ $comment['body'] }}

                        </div>

                    </div>

                @endforeach

            @endif

        </div>

    </div>

@endforeach
Nested comments are inserted on the replies array, and we can paginate comments using the total_pages attribute. You can visit the docs to see the list of available parameters.
New Comment
When the user is viewing a photo, he can comment on the photo to express his emotions and opinion. In this tutorial, we won’t allow replying on comments, we can only post a new comment, but it’s basically the same.
// app/views/single.blade.php
<div class="well">

    <h4>Leave a Comment:</h4>

    {{ Form::open(['url' => '/photo/comment', 'method' => 'post']) }}

        <input type="hidden" name="pid" value="{{ $photo['id'] }}"/>

        <div class="form-group">

            <textarea name="comment" class="form-control" rows="3"></textarea>

        </div>

        <button type="submit" class="btn btn-primary">Submit</button>

    {{ Form::close() }}

</div>
// app/routes.php
Route::post('/photo/comment', ['uses' => 'PXController@comment']);
// app/controllers/PXController.php
public function comment(){

    $photoId = Input::get('pid');

    $comment = Input::get('comment');
    $px = App::make('pxoauth');

    $result = $px->client->post("photos/{$photoId}/comments", ['body' => ['body' => $comment]])->json();
    if($result['status'] != 200){

        // handle 400: Bad request.

    }
    return Redirect::back();

}
The method retrieves the photo ID and the comment body. We then post a request to the photos/:photo_id/comments endpoint which only accepts those two parameters, and returns a 200 status code if the comment was successfully posted. Otherwise, we handle the 400 or 404 error. You can check the docs for more details.
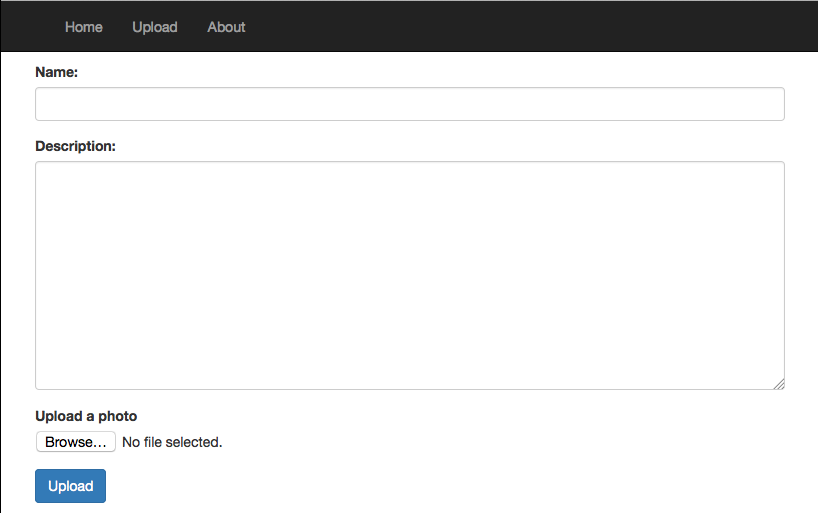
Uploading New Photos
When using a package like Guzzle, uploading files become a straight forward process. The API accepts many parameters, but we are only going to use a name, description and a photo file. You can visit the docs for the full list of parameters.
// app/routes.php
Route::get('/upload', ['uses' => 'PagesController@photoUpload']);
Route::post('/photo/upload', ['as' => 'photo.upload', 'uses' => 'PXController@upload']);
// app/views/upload.blade.php
<div class="row">

{{ Form::open(['route' => 'photo.upload', 'files' => true]) }}

    <div class="form-group">

        {{ Form::label('name', 'Name: ') }}

        {{ Form::text('name', null, ['class' => 'form-control']) }}

    </div>
    <div class="form-group">

        {{ Form::label('description', 'Description: ') }}

        {{ Form::textarea('description', null, ['class' => 'form-control']) }}

    </div>
    <div class="form-group">

        {{ Form::label('photo', 'Upload a photo') }}

        {{ Form::file('photo', null, ['class' => 'form-control']) }}

    </div>
    {{ Form::submit('Upload', ['class' => 'btn btn-primary']) }}

{{ Form::close() }}

</div>
// app/controllers/PXController.php
public function upload(){

    try {

        $px = App::make('pxoauth');

        $result = $px->client->post('photos/upload', [

            'body'  => [

                'name'          => Input::get('name'),

                'description'   => Input::get('description'),

                'file'          => fopen(Input::file('photo')->getPathname(), 'r'),

            ]

        ])->json();
        // you may want to pass a success message

        return Redirect::to("/photo/{$result['photo']['id']}");

    }

    catch(RequestException $e){

        $response = $e->getResponse();
        if($response->getStatusCode() === 422){

            // handle 422: Server error

        }

    }
}//upload
When you want to upload some data through HTTP you need to deal with multipart/form-data headers and reading file content and adding it to the request. You can read more about sending files with Guzzle here.
The API returns a 200 status code along with the new photo on success, otherwise we get a 422 error if the file format is not supported, etc. We redirect the user to the new photo page.
Conclusion
The 500px API has more functionality than what we showed in this tutorial. You can check other API hack apps to get an idea of what is possible, and you can check the Github repository to test the final result. Let me know what you think in the comments below.
Frequently Asked Questions (FAQs) about Commenting, Upvoting, and Uploading Photos with 500px API
How can I get started with the 500px API?
To get started with the 500px API, you first need to create an account on the 500px website. Once you have an account, you can apply for an API key. This key is essential as it allows your application to communicate with the 500px servers. After obtaining the API key, you can start making requests to the API. Remember to always include your API key in your requests.
What are the main features of the 500px API?
The 500px API provides several features that allow developers to interact with the 500px platform. These features include the ability to retrieve user information, search for photos, upload photos, comment on photos, and vote for photos. The API also provides endpoints for managing collections of photos, known as galleries.
How can I upload a photo using the 500px API?
To upload a photo using the 500px API, you need to make a POST request to the /photos endpoint. This request should include the photo file, as well as any additional information about the photo, such as its title, description, and tags. The API will return a response that includes the ID of the uploaded photo, which you can use to reference the photo in future requests.
How can I comment on a photo using the 500px API?
To comment on a photo using the 500px API, you need to make a POST request to the /photos/:id/comments endpoint, where :id is the ID of the photo. This request should include the text of your comment. The API will return a response that includes the ID of the comment, which you can use to reference the comment in future requests.
How can I vote for a photo using the 500px API?
To vote for a photo using the 500px API, you need to make a POST request to the /photos/:id/vote endpoint, where :id is the ID of the photo. This request does not need to include any additional information. The API will return a response that confirms your vote.
How can I search for photos using the 500px API?
The 500px API provides a /photos/search endpoint that allows you to search for photos based on various criteria, such as keyword, category, and location. To use this endpoint, you need to make a GET request and include your search criteria as query parameters.
How can I manage galleries using the 500px API?
The 500px API provides several endpoints for managing galleries. These endpoints allow you to create a new gallery, add photos to a gallery, remove photos from a gallery, and retrieve information about a gallery. To use these endpoints, you need to make POST, PUT, DELETE, and GET requests, respectively.
What are the rate limits for the 500px API?
The 500px API imposes rate limits to ensure fair usage. These limits vary depending on the type of request and the level of authentication. For unauthenticated requests, the limit is 60 requests per hour. For authenticated requests, the limit is 5000 requests per hour.
How can I handle errors with the 500px API?
The 500px API returns standard HTTP status codes to indicate the success or failure of a request. In case of an error, the API also returns a message that describes the problem. You should design your application to handle these errors gracefully.
How can I keep my 500px API key secure?
To keep your 500px API key secure, you should never include it in client-side code or share it with anyone. Instead, you should store it on a secure server and include it in server-side requests to the API. If you believe your API key has been compromised, you should revoke it immediately and apply for a new one.

