Adjusting Saturation With The Sponge Tool In Photoshop
 There are several ways to adjust color and saturation in Photoshop. You can completely desaturate an entire image (i.e. take all the color out) by choosing Image > Adjustments > Desaturate. This strips all of the color out of the image but gives you a fairly wishy-washy grey image. This is NOT a good method for converting a photograph to black and white.
You can also choose to work on very specific areas of the image by using the Sponge tool (O). With the Sponge tool you can desaturate or saturate specific areas of an image by choosing a brush tip and then painting onto the image. Here’s how to use the tool.
1. Open a colorful image.
 When you change the saturation of a color, you adjust its strength or purity.
2.
Select the Sponge tool (
 3. On the tool options bar, do the following:
- Select a medium, soft-edge brush, about 65 pixels, from the Brush pop-up palette.
- Choose Mode > Desaturate.
- For Flow (which sets the intensity of the saturation effect), enter 50% so that it’s not desaturated too quickly.
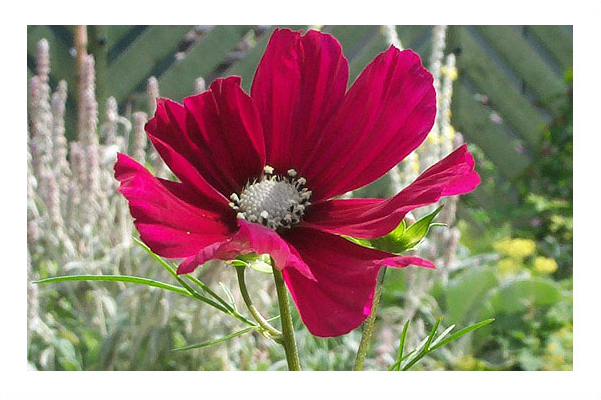
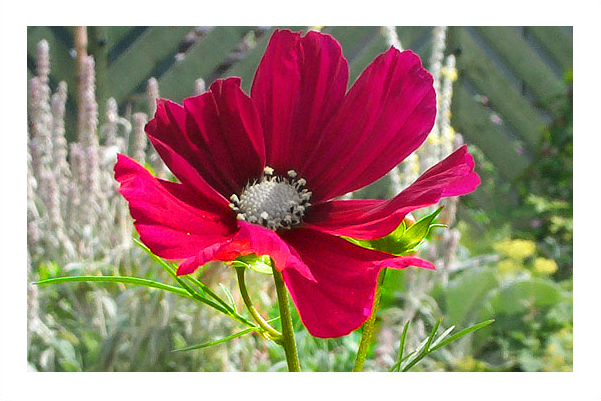
 4. As I drag the sponge back and forth over the center of the flower to decrease the saturation. The more you drag over an area, the more desaturated the color becomes until it eventually turns gray.
 5. As already mentioned, you can also saturate an image using the Sponge tool. This can work well if you want to brighten or make a specific part of a colored image look more vibrant.
Back on the tool options bar, do the following:
- Again select a medium, feathered brush, about 65 pixels, from the Brush pop-up palette.
- Choose Mode > Saturate.
- For Flow (which sets the intensity of the saturation effect), enter 50% so that it’s not Saturated too quickly.
 Drag the sponge back and forth over the area you want to add more color to. For the purposes of demonstration, I’m going to over-saturate some of the petals and the stem on the flower.
 It’s very easy to oversaturate an image, so that’s why the tool options such as Flow are helpful for controlling how much of an effect there is.
Frequently Asked Questions (FAQs) about Adjusting Saturation with the Sponge Tool in Photoshop
What is the Sponge Tool in Photoshop and how does it work?
The Sponge Tool in Photoshop is a versatile tool used for manipulating the saturation levels in an image. It can either saturate or desaturate colors depending on the settings you choose. The tool works by increasing or decreasing the intensity of the color where you apply it. It’s particularly useful for adding depth and vibrancy to an image or for creating a muted, desaturated effect.
How can I access the Sponge Tool in Photoshop?
The Sponge Tool is located in the Photoshop toolbox, nested with the Dodge and Burn tools. To access it, click and hold on either the Dodge or Burn tool icon and a fly-out menu will appear. From this menu, you can select the Sponge Tool.
Can I adjust the intensity of the Sponge Tool?
Yes, you can adjust the intensity of the Sponge Tool by changing the ‘Flow’ setting in the options bar. A lower flow rate will result in a more subtle effect, while a higher flow rate will produce a more pronounced change in saturation.
How can I use the Sponge Tool to desaturate an image?
To desaturate an image using the Sponge Tool, select the tool from the toolbox, then set the mode to ‘Desaturate’ in the options bar. You can then click and drag over the areas of the image you wish to desaturate.
Can I use the Sponge Tool on a specific part of an image?
Yes, the Sponge Tool can be used to adjust saturation in specific parts of an image. Simply select the tool and then click and drag over the area of the image where you want to adjust the saturation.
What is the difference between the Sponge Tool and other color adjustment tools in Photoshop?
The main difference between the Sponge Tool and other color adjustment tools in Photoshop is that the Sponge Tool allows for targeted adjustments. While other tools adjust the colors of the entire image, the Sponge Tool can be used to increase or decrease the saturation of specific areas.
Can I use the Sponge Tool in combination with other tools?
Absolutely! The Sponge Tool can be used in combination with other Photoshop tools for more complex image editing tasks. For example, you can use the Lasso Tool to select a specific area of an image, and then use the Sponge Tool to adjust the saturation within that selection.
How can I undo changes made with the Sponge Tool?
If you’re not happy with the changes you’ve made using the Sponge Tool, you can easily undo them by pressing Ctrl+Z (or Command+Z on a Mac). This will undo the last action. If you want to undo multiple actions, you can use the History panel.
Can I save my Sponge Tool settings for future use?
Yes, you can save your Sponge Tool settings by clicking on the tool preset picker in the options bar and then clicking on the ‘Create new tool preset’ icon. This will allow you to save your current settings for future use.
What are some best practices for using the Sponge Tool effectively?
Some best practices for using the Sponge Tool effectively include starting with a lower flow rate for subtle adjustments, using the tool in combination with selections for targeted adjustments, and always working on a duplicate layer to preserve your original image.
Jennifer Farley is a designer, illustrator and design instructor based in Ireland. She writes about design and illustration on her blog at Laughing Lion Design.
Published in
·Design·Design & UX·HTML & CSS·Photography & Imagery·Photoshop·Resources·Review·Software·September 23, 2014