As the managing editor of the PHP channel for SitePoint, I deal with dozens of authors, hundreds of topics and a constantly full inbox. Filtering out inactive authors and pushing the prolific ones to the top of the queue is hard when the channel is this big and a one-man operation, so enlisting the help of bots only makes sense.
I recently started the construction of an in-depth work-analysis tool that helps me with social spread, reviews, activity tracking, personality profiling, language editing and more, hopefully automating a large portion of my work soon, and a key component is author activity. Specifically, tracking how much they publish in any given week, month or season.
Author Profiles
Each SitePoint author has a profile page which lists their bio, their social network links, and their published posts. For example, here’s mine and here’s Peter’s. Each post snippet has the relevant information I need in order to track activity: a date, a title and a URL. By grabbing all of an author’s posts, we can group them by date and extract some statistics.
Granted, the publication time depends on a variety of factors – from my own ability to squeeze reviews into the current work queue, to sponsors and other channel preferences. Still, any insight is good insight, and as my tool helps me automate parts of my workflow, reviews will happen sooner.
That said, how can we fetch this author data reliably?
To API or not to API
The logical approach would be to consume an API. Something like a call to https://api.sitepoint.com/v1/author/bskvorc?area=posts would make the entire task a breeze. Alas, SitePoint has no API and we’re forced to crawl it, unless we have database access (for the purpose of this demo, let’s assume we don’t).
Diffbot to the rescue! We’ve written about Diffbot before, so give our introductory post a read if you haven’t already to get familiar with it. In a nutshell, we’ll use Diffbot to automatically crawl all the pages of an author’s profile, extract the data we need, and get it back in JSON format.
Getting Started
I’ll assume you’ve already set up a Diffbot test account so you can follow along. By going through the contents of this tutorial, you’ll come away with knowledge on how to apply the Custom API to any post type online, and will be able to successfully harvest any website you come across.
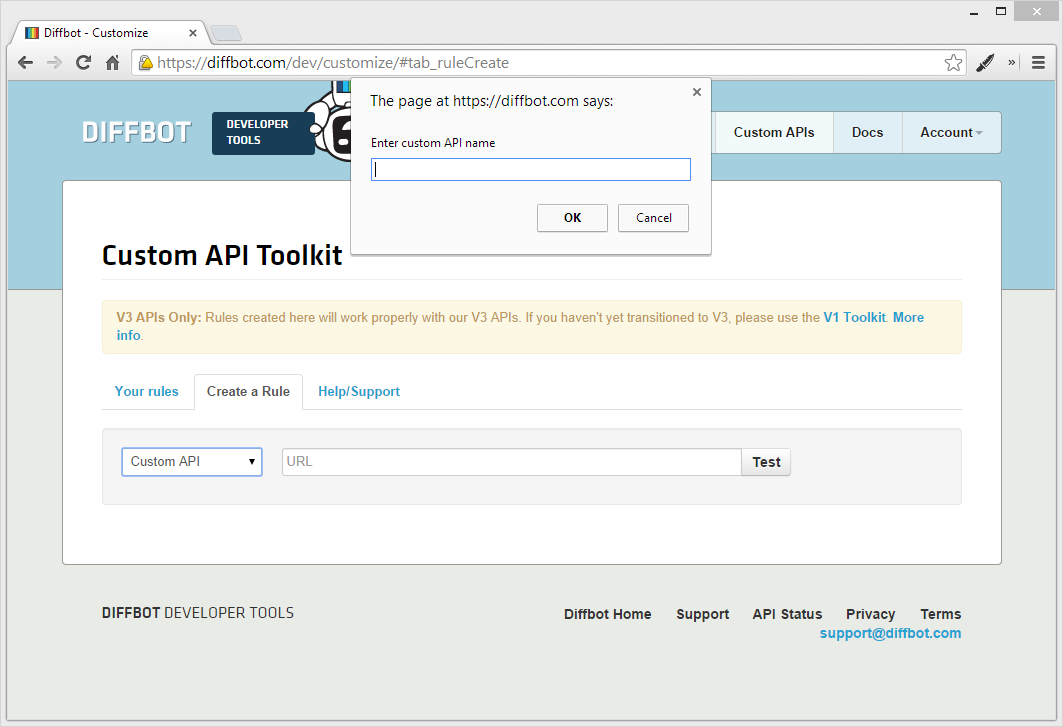
Enter the Diffbot developer dashboard now, using your provided token. Under “Custom API”, go to “Create a Rule” and select “Custom API”. You’ll be asked to give the Custom API a name. I used “AuthorFolio” for mine.
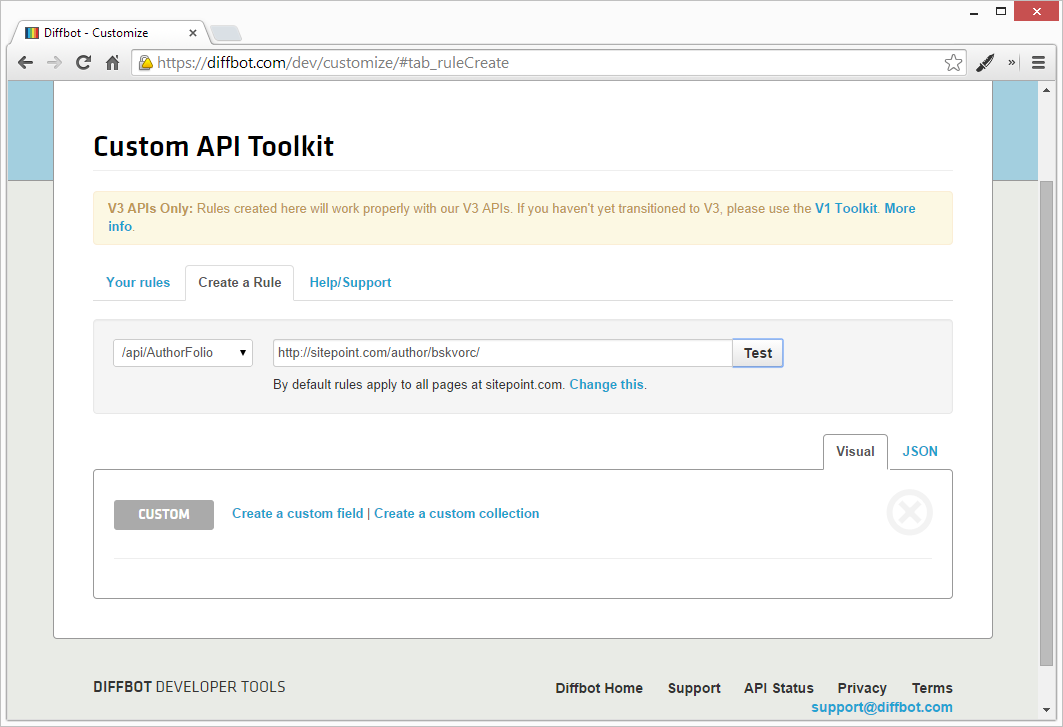
Once the API endpoint is created, you can enter a test link. For the purposes of this demo, I used my own author profile: https://www.sitepoint.com/author/bskvorc/
The first screen you’ll see after the Test executes is a blank one:
Domain Limiting
By default, the rules apply to all https://www.sitepoint.com.* links. You can change this by clicking “Change this” under the Test URL in the dev dash.
In the text field which opens, replace (http(s)?://)?(.*\.)?sitepoint.com.* with (http(s)?://)?(.*\.)?sitepoint.com/author/.*.
We added another URL segment to the ruleset, making it apply to a more specific set of pages, thus preventing interference with any other APIs we’ll potentially be throwing at the sitepoint.com domain along the line. The AuthorFolio API now only reacts to author pages.
The Diffbot API requires you to define a domain regex before you define your custom fields, else you’ll have to redefine them after changing the regex. This will change in the future, but for now, keep it in mind.
Your First Custom Field
Let’s start things off easy. We’ll grab the author name first.
- Click “Create a Custom Field”
- Use the preview window to click on the author name
- Check to see if the preview above the preview window outputs the correct name
- If it does, give the field a name (like “author”) and click Save
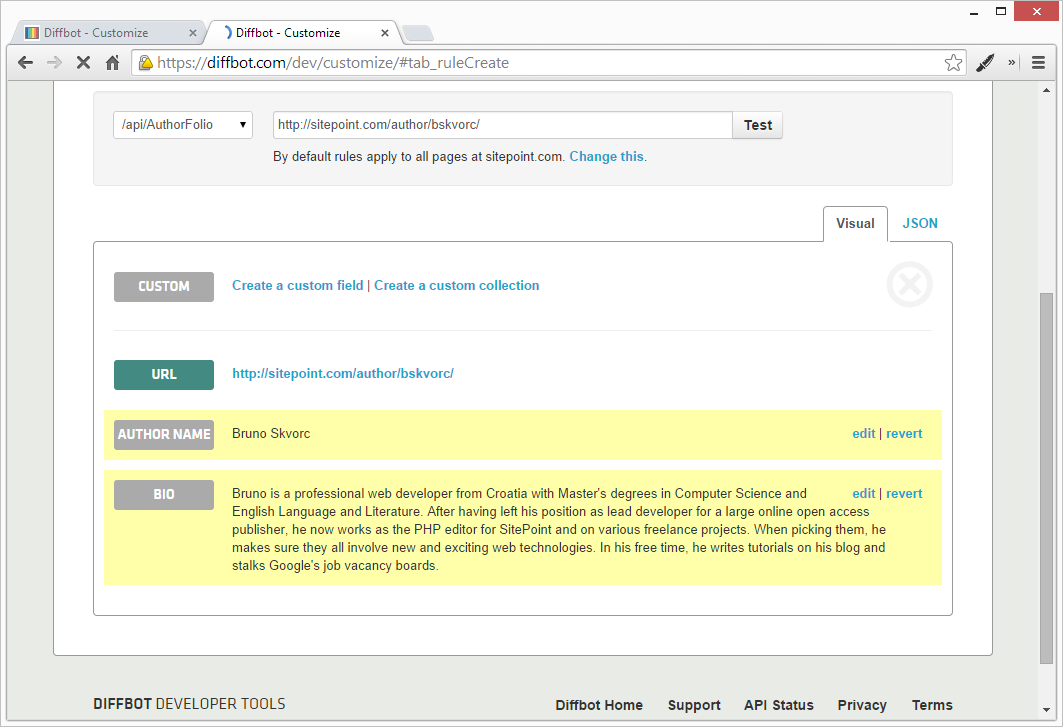
After the preview popover disappears, you should see the author field populated.
Repeat this procedure to get the bio. You should have a result like this one:
Your First Collection
Since “posts” is a repetitive entity (there are several posts on each page of the author profile), we can’t use a simple field to fetch them – else only one post could be fetched. Instead, we use a collection.
Custom API Collections are sets of elements that get repeated. When you define a collection, you define something that appears several times, and then apply the rule to that collection. This creates a bucket of all matching items, returning them as a JSON array. Let’s demonstrate that to make it clearer.
- Click “Create a Custom Collection”
- Give it the name “Posts”
- Under “CSS selector” put
.search-results-list articlebecause that’s what each post’s CSS is described as. - Click “Save”
Once the screen reloads, your new collection will be saved, but you won’t see any values inside just yet. It will, however, let you know how many instances it found (in my case, it was 10 due to SitePoint’s author profiles being paginated every 10 results).
Post Title
Now that the collection is defined, we can add fields. Let’s start with the post title.
- Click “Add a custom field to this collection”
- Give it the name of “posttitle”
- Under “CSS selector”, put
.article_titleand click Save
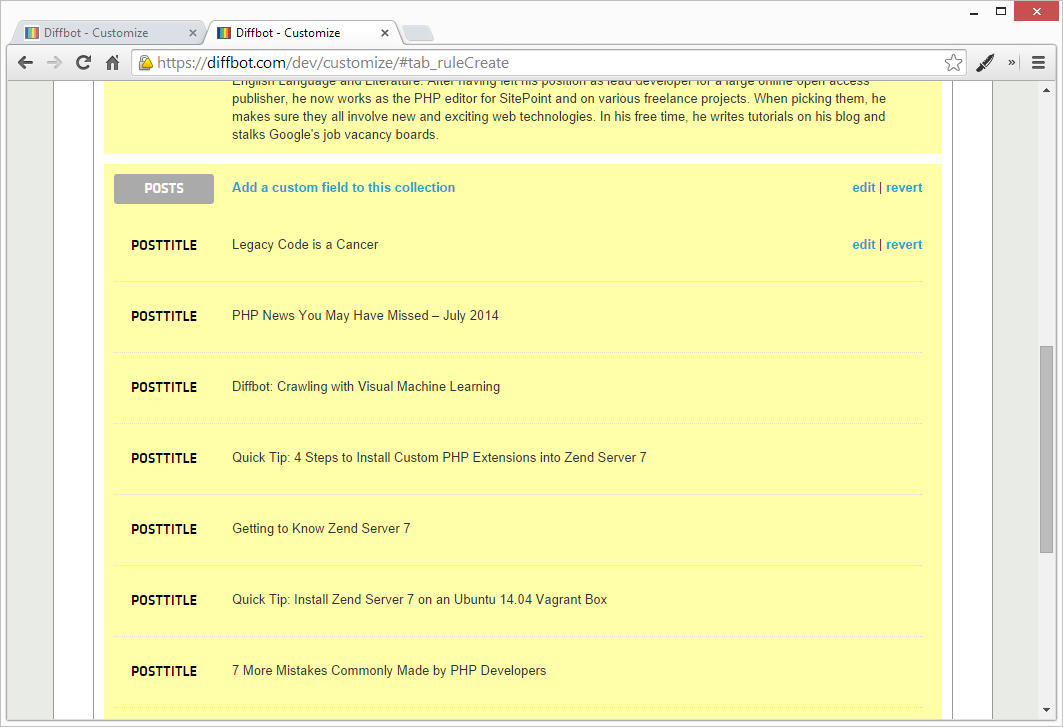
Once the results reload, you should be able to list out all 10 posts by clicking “Show More Results”.
Post URL
To get the post URL, we need to target the href attribute of the link in the post’s title.
- Click “Add a custom field to this collection” and give it the name of “posturl”
- Under “CSS selector” put
.article_title a - Add an Attribute filter, and set
hrefas the attribute, like so:
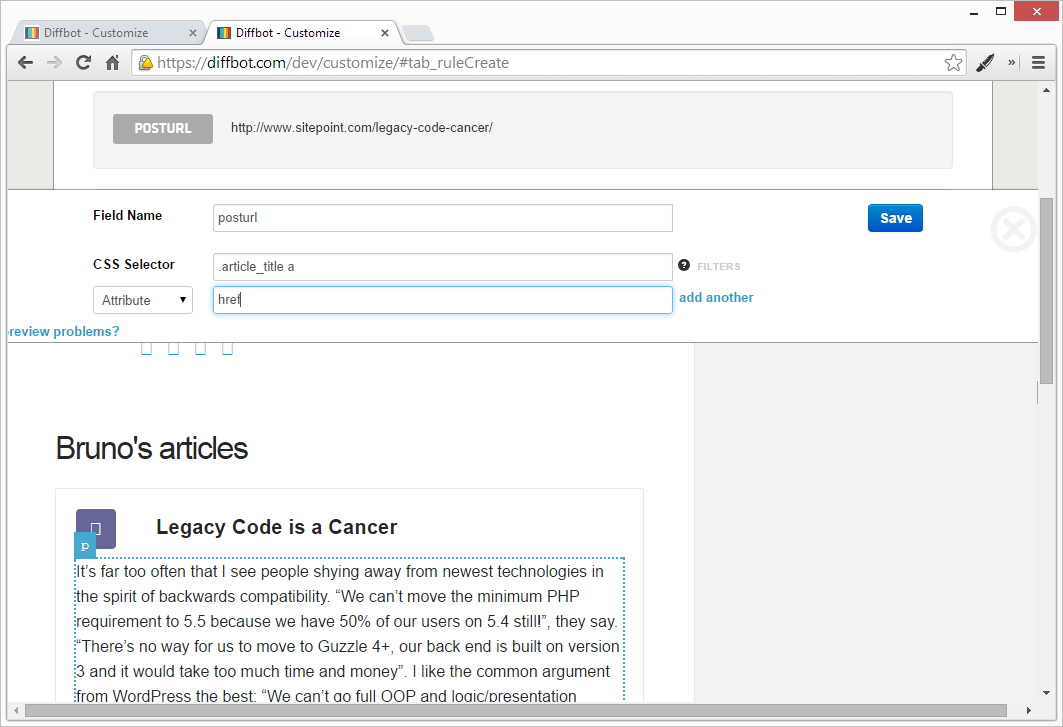
Notice how the preview already shows the correct URL. Save and wait for the reload, then notice each “Post” instance in the collection has two properties now: title and url.
Post Date
You can easily extract the date from the bottom of the post frame by looking at its class through the Dev Tools. I called this field “postdate”.
But by looking through the Dev Tools, we notice that SitePoint uses the time HTML element to represent publication dates. This works in our favor as it lets us also extract a standardized Y-M-D date for use in other applications that are to consume this fetched data. The time element uses the datetime attribute for the data value, and that’s what we’ll grab. Let’s make a new field: “postdate_ymd”.
- Create a new field called “postdate_ymd”.
- Target the same CSS selector as before:
.article_pub-datebut add thetimeelement into the mix, so it looks like this:.article_pub-date time. - Add an attribute filter, and put in
datetime, then Save.
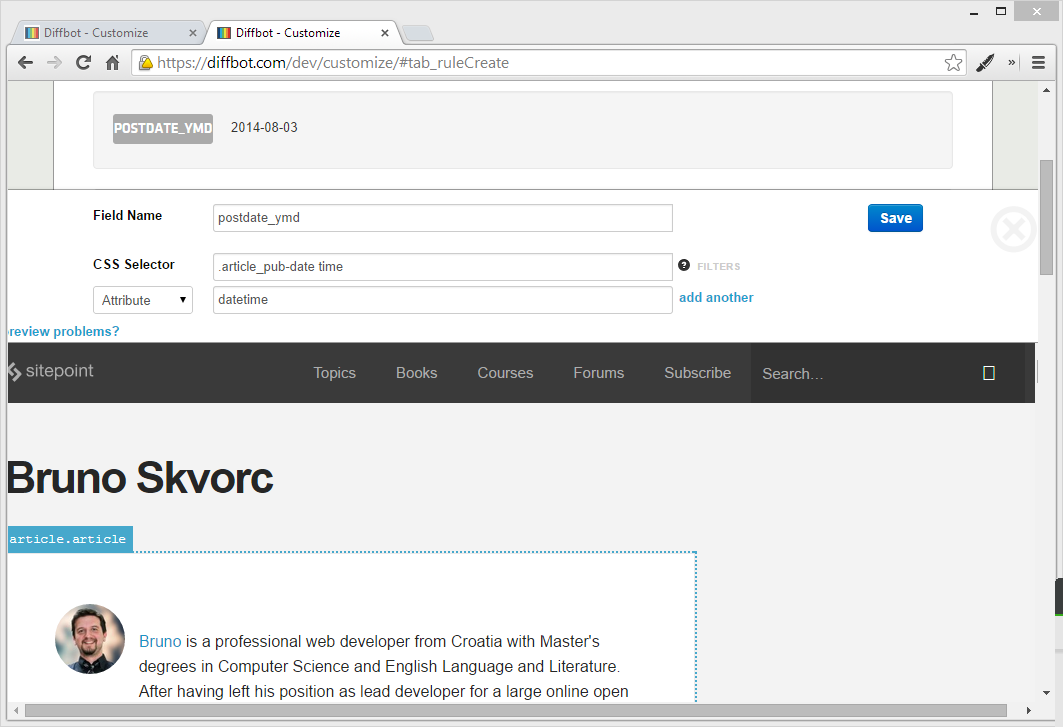
Voilà! We have the Y-m-d datetime value now.
Pagination
We’ve extracted almost all values we need now – but all this only applies to the first page of the author profile. If you scroll down to the bottom, you’ll notice some pagination links. Does this mean we’ll have to issue a custom API call to each page, then concatenate the extracted values manually? Of course not, that would be tedious. Diffbot’s API is smart enough to recognize paging patterns when it sees them, so all we need to do is tell it where the “next page” link is, and it will take care of things for us. In fact, it’s so smart it’ll actually automatically merge the contents of all the pages it finds, and apply our extraction rules to the final merged page.
To activate automatic pagination with Diffbot’s Custom API, we need to define a new field and call it “nextPage”.
- Create a new field (global, outside collections) called “nextPage”
- Scroll down to the bottom and click the next page link (>>)
- Add an attribute filter for
href
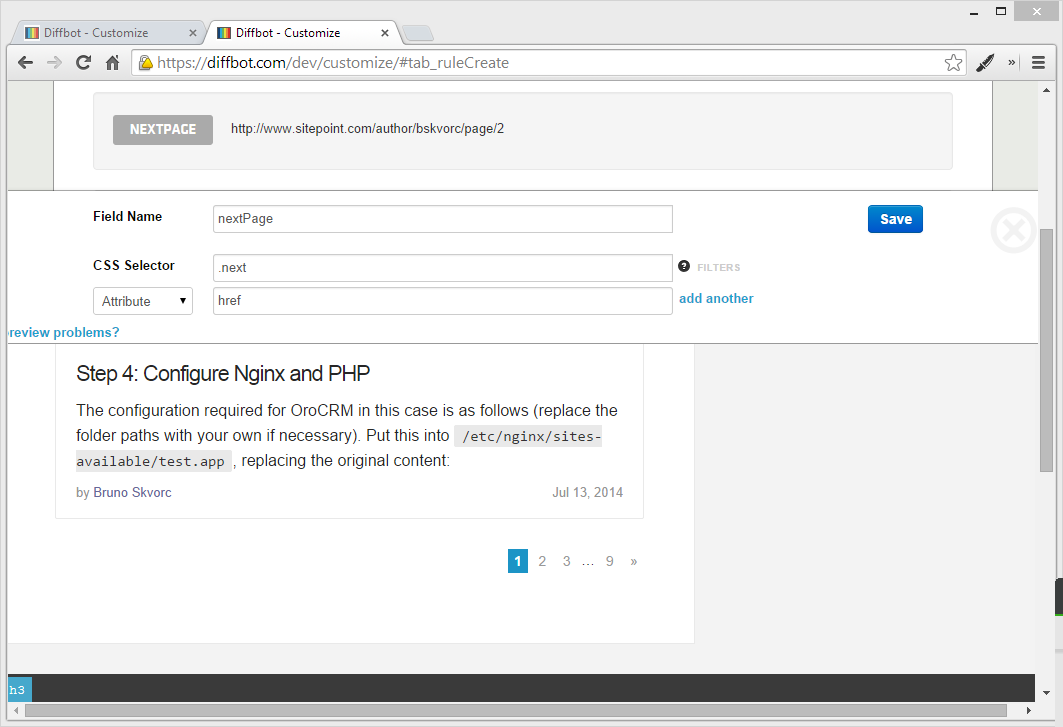
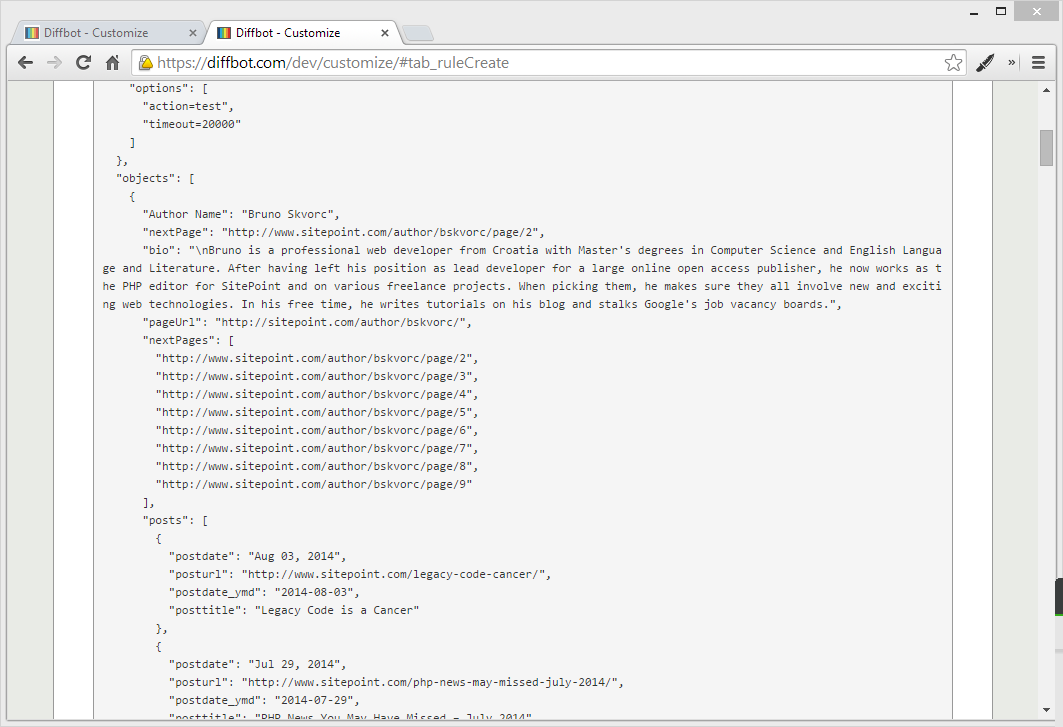
Once you save and the result reloads, you should have the full set of posts at your disposal. If you look at the JSON output, you’ll see the numPages property, and the entire set should be much bigger than what you were used to up until now while testing on the first page only. You should also get the set of “nextPages” – all the pages it could automatically deduce as those following the first one:
Conclusion
In this post, we looked at website crawling with Diffbot – a bot that visually extracts data from rendered pages. We used it to harvest the name, bio and all the post links of a SitePoint author, and to automatically paginate through the results. By calling the API URL regularly, as in http://diffbot.com/api/AuthorFolio?token=xxxxxxxxx&url=https://www.sitepoint.com/author/bskvorc/, we can get the results in a pure JSON format, ready for consumption by other apps. In a followup article, we’ll look at some more advanced techniques for avoiding repetition of collections while paginating, and we’ll add more specific domain rules. Stay tuned!
Questions? Comments? Post them below!
 Bruno Skvorc
Bruno is a blockchain developer and technical educator at the Web3 Foundation, the foundation that's building the next generation of the free people's internet. He runs two newsletters you should subscribe to if you're interested in Web3.0: Dot Leap covers ecosystem and tech development of Web3, and NFT Review covers the evolution of the non-fungible token (digital collectibles) ecosystem inside this emerging new web. His current passion project is RMRK.app, the most advanced NFT system in the world, which allows NFTs to own other NFTs, NFTs to react to emotion, NFTs to be governed democratically, and NFTs to be multiple things at once.