Next, import your image into ImageReady, and select the “Slices” option from the menu. In the drop down menu click “Create Slices from Guides”. Your image should look like this:

Note that all the slices have been created from the guidelines, and are numbered. The numbers are merely the default method by which ImageReady names the sliced images — we’ll change them later.
Ok, now that you’ve created your slices, in the “Windows” dialog box choose “Show Slices”. It will display something like this:
Next, we’ll combine some of the slices and name them. So choose the “Slice Selection Tool”. The two vertical guidelines have split the header into three images, and we need to combine those slices to make the header into one single image.
Once you’ve chosen the Slice Selection Tool, click on the top left corner of Slice 01. Then, holding the shift key down, click on Slices 02 and 03. Next, right-click on the center slice, and choose “Combine Slices” from the dialog box that appears. Mac users should choose the Slices menu item and choose “Combine Slices” from the dialog box.
Now your image should look like this:
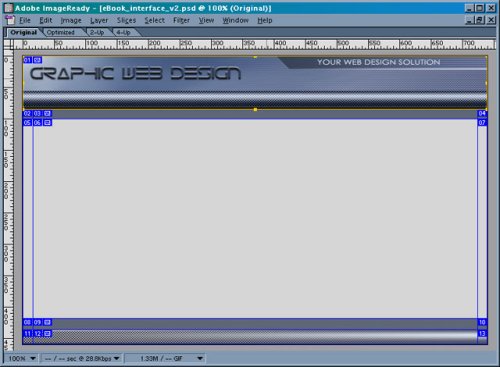
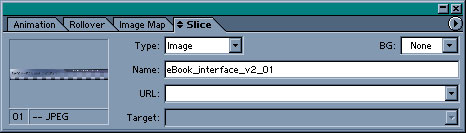
The three slices have now become a single slice, highlighted with a yellow border. To name the slice, go to the “Show Slices” dialog. In the name field type in “header”, and repeat this process for the footer area, naming it “footer”.
But wait! We still have a few more slices that need names. Just under the header on the left side you should see what is now Slice 02 — a small, dark blue square. Because this slice has the same dimensions as Slices 04, 08 and 10, we need only save one of them. So click on Slice 02 with the Slice Selection Tool, and name it “blue_square”. Next, click on Slice 05 and name it “gray_bar”. Again, you’ll notice that it is the same as Slice 07 — so you only need to save one of them.
 Adem Martin del Campo
Adem has been a Web Designer for over 5 years. Along with creating Websites for his clients he also makes pre-made Web templates.