Sketch’s Interface
It’s often said that the best user interfaces are invisible, or “the best interface is no interface”. A feature that simply works by itself—without requiring interaction with the interface—is the ideal approach to completing an action, while those that require several interactions are less than optimal.
Smart Guides is one such feature of Sketch that mostly works without having to interact further with the canvas, showing you the distance of a layer relative to another layer while you drag it across the canvas. There’s no interface for that.
Sketch also has a concise list of easy-to-remember keyboard shortcuts like R for Rectangle, enabling the user interface to be quite small. While it may seem a little bare in comparison to apps like Photoshop and Illustrator, Sketch is anything but limited. You can open yourself to an extremely efficient workflow if you learn the keyboard shortcut equivalent to each interaction, although you won’t find Sketch difficult if you work better with a mouse. Your only real limitation is your creativity.
At a Glance: Comparing Sketch to Adobe’s Apps
Despite Adobe introducing a fresh, flat design skin to its user interfaces back in December 2015, these interfaces are still rather clunky in comparison to Sketch. Sketch has a Layer List, an Inspector and of course a toolbar, whereas Adobe apps have the option to add and remove tools from the workspace. Sketch has a single, default workspace that’s easier for a learner to master.
Everything Sketch has to offer can be visible on the screen all at once: there’s no need to optimize workspaces.
Canvases
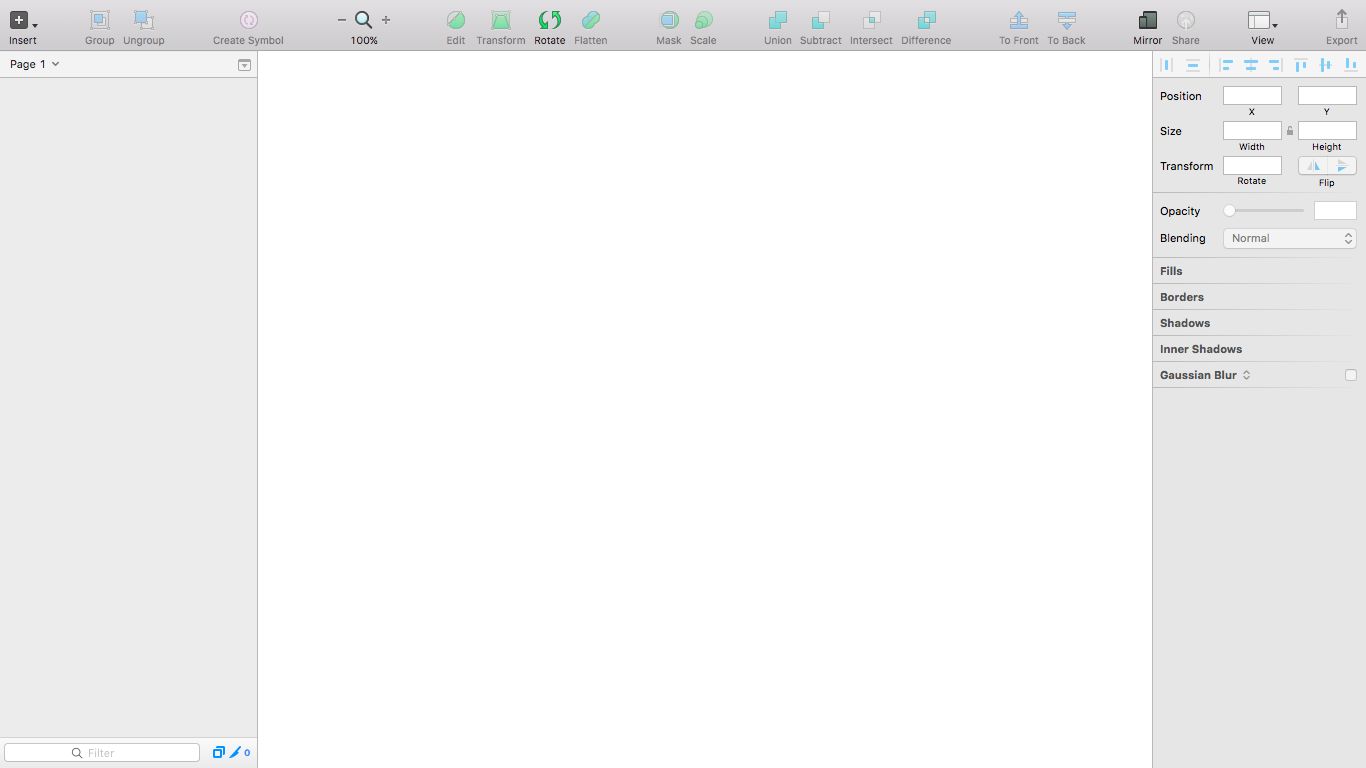
Whenever you first open Sketch, you’ll be staring at a blank canvas, which is essentially a white background that you can’t interact with. It’s a space for creating and nothing more.
As you may have noticed already, the blank canvas is unlimited; until you create an Artboard, there are no bounds. Artboards are a different type of space to work in; they have predefined dimensions and they’re inserted into the canvas. We’ll talk about Artboards in much more detail in the next chapter.
Layers are the individual components that make up a design (which can be a shape, some text or a vector of some sort). We’ll discuss them extensively over the course of this book.
Pages are another concept in Sketch, where each Page houses another unlimited canvas. On each canvas you can have unlimited Artboards/screens, and the layers are created within them.
Pages → Canvas → Artboards → Layers.
Multiple Canvases
Sketch doesn’t have tabbed windows. Any new documents (cmd + N) will appear in a new window—which may seem a little awkward, but it’s actually commonplace to use Sketch’s unlimited canvas for all screens related to a design. You can have as many Artboards and as many screens as you need in the canvas. In the unlikely case of layer overcrowding, you can split the document across multiple Pages, but you’ll never require multiple windows. (We’ll talk more about that shortly.)
Canvas Zooming
When using Sketch’s unlimited canvas, you may end up with quite a few Artboards on the screen at once. Luckily, Sketch has multiple keyboard shortcuts for zooming in and out:
- Zoom in: cmd + plus sign
- Zoom out: cmd + minus sign
- Zoom to actual canvas size: cmd + 0
- Zoom to canvas center: cmd + 1
- Zoom into selected layer: cmd + 2
- Center selection on the screen: cmd + 3
Don’t worry if you have trouble remembering these. I’ll reiterate keyboard shortcuts throughout the book, and you can always flick to the end of the book to see a complete list of Sketch shortcuts.
Layer List
Layers and Groups (of layers) appear in a list on the left-hand side of the app’s window. We call this the Layer List. It works no differently from Photoshop’s layer list, only in Photoshop it appears on the right. If a layer appears at the top of the list, then it appears on top of any other layer in the canvas. We call this layer hierarchy.
You can drag layers in the list to reorder them, but it’s easier to use the keyboard shortcuts. Simply hold cmd + option and move the arrow keys up/down to edit the hierarchy of a layer.
Shape Layers
Shapes are the most common type of layer. By shapes I mean rectangles, ovals, and the many other shapes you can insert, such as stars, triangles, rounded-corner rectangles and more. Here are some handy keyboard shortcuts:
- Oval: O
- Rectangle: R
- Rounded Rectangle: U
- Line: L
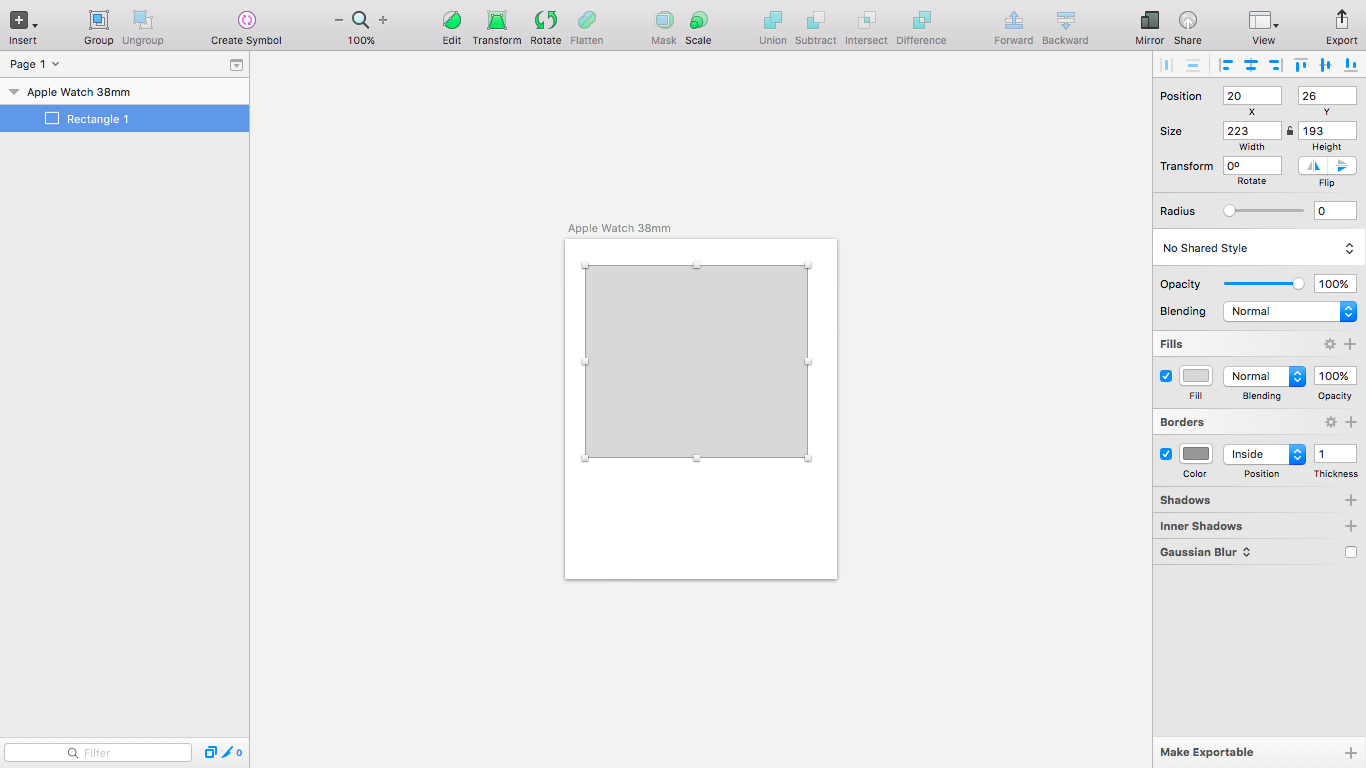
More shapes can be accessed via the menu bar with Insert → Shape, although you won’t need those shapes very often. Once you’ve selected a shape, drag the mouse to draw it on the canvas. Getting the correct dimensions isn’t a big deal, since we can style shapes and other types of layers very easily.
Text Layers
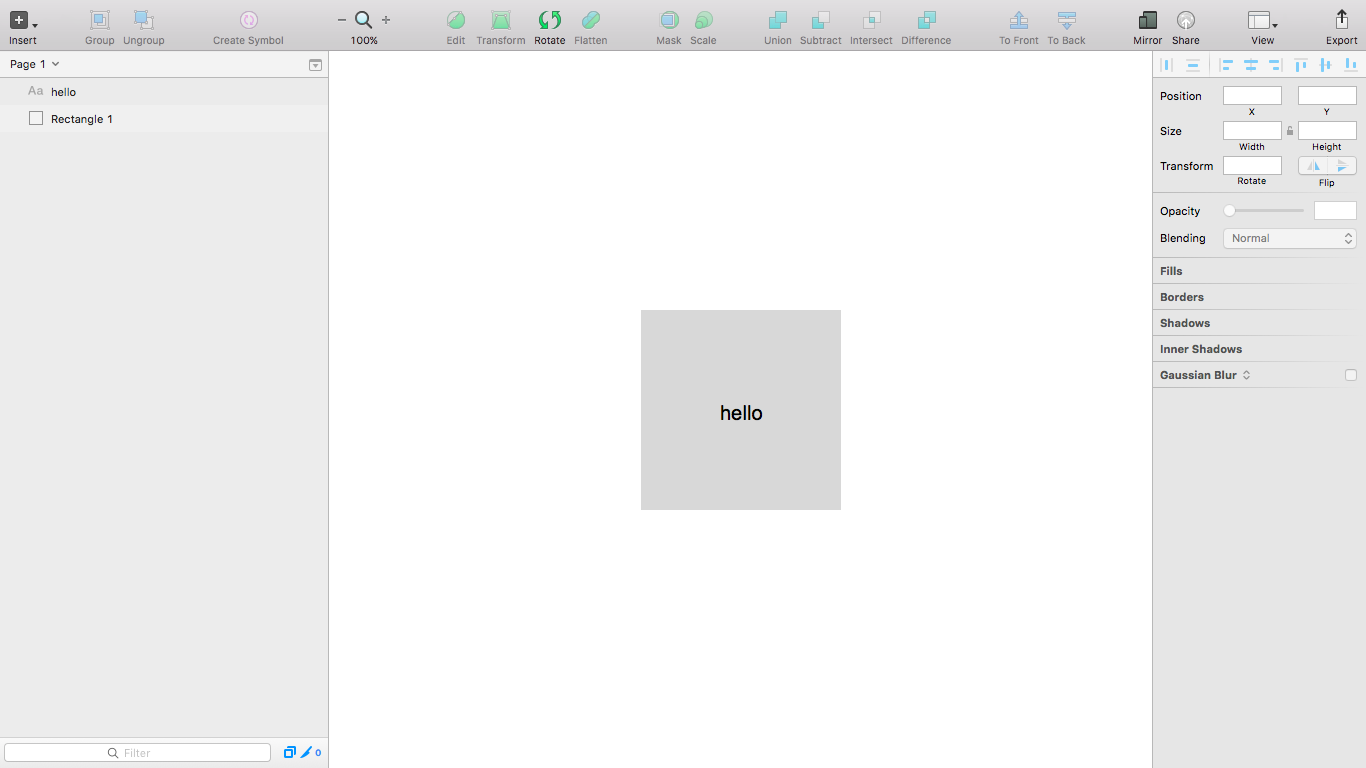
Similarly to shapes, text can be created by using the keyboard shortcut T and drawing out the layer. When you’ve finished typing out the text, you can use esc on the keyboard to snap out of editing mode and move the layer around once more.
Selecting and Hiding Layers
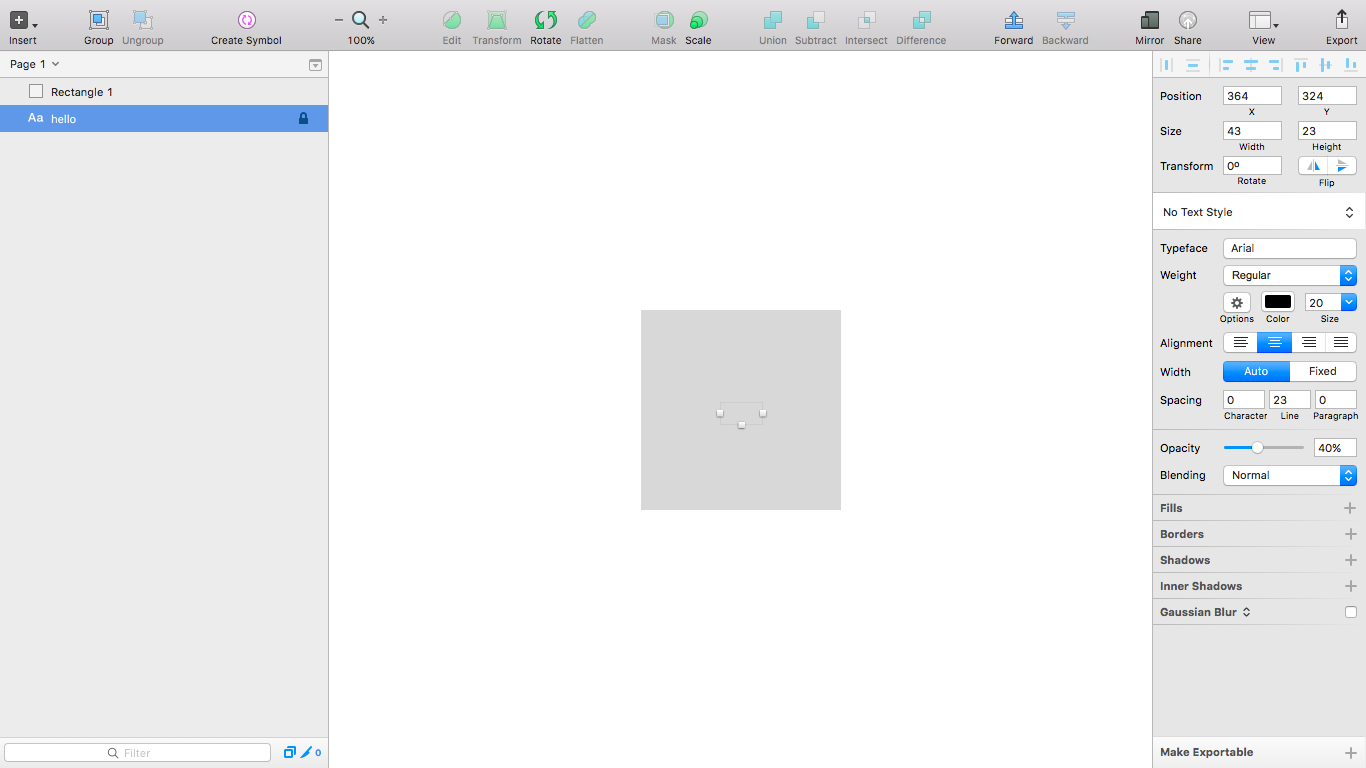
You can select a text layer by either clicking on it in the canvas or selecting it from the Layer List. You can hide the layer by hovering over it in the Layer List and clicking the “eye” icon that appears. Click it once more to reveal it again.
Reordering Layers
Now that we have two layers—one shape and one text layer—we can alter the hierarchy. Select the text layer and run the keyboard shortcut cmd + option + ↓. Our text layer has disappeared.
It’s not hidden, but it is out of view, because we shifted it down one stage in the Layer List, and the rectangle layer now blocks its view. Press cmd + option + ↑ to make it rise one level in the list. Now the layer appears as it did before.
Duplicating and Renaming Layers
Duplicating a layer can also be accomplished with the quick keyboard shortcut cmd + D —which makes much more sense than Photoshop’s cmd + J.
Renaming layers is cmd + R.
Groups
We now know how to create, select, hide, reorder and duplicate layers, but what about entire components? In this context, a component is two or more layers that make up to something bigger. For example, a button background (rectangle shape layer) and button text (text layer) would make up a button component.
Layers can be combined into single components so that several related layers can be moved and aligned at once. These single components are called groups.
You can select multiple layers at once by holding cmd while clicking on their names in the Layer List (add shift into the mix if you’re doing this from the canvas). Press cmd + G on the keyboard to combine those selected layers into a single group, which then adopts its own hierarchy as well as being part of another hierarchy.
A group can be selected and moved as if it were a single layer.
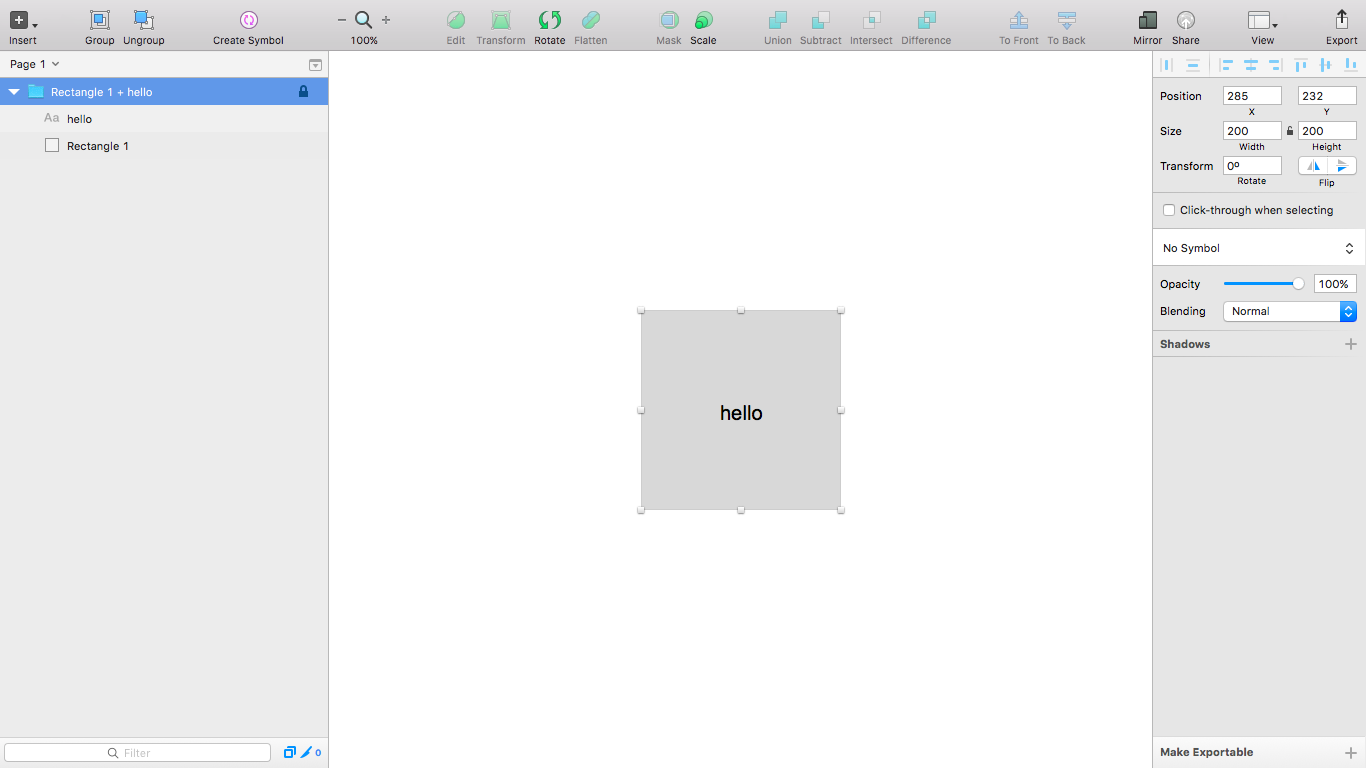
In the toolbar there’s also a Group and Ungroup button.
Accessing Nested (Or “Child”) Layers
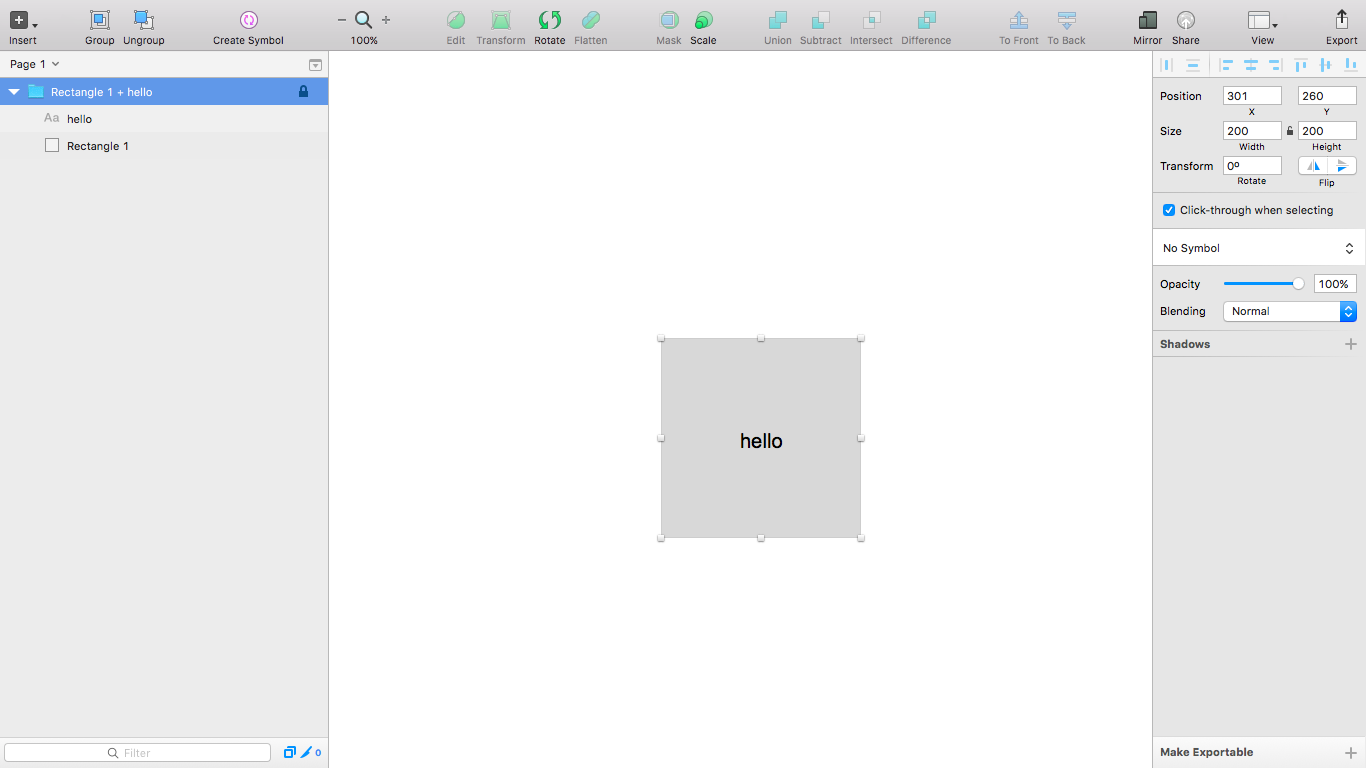
Nested layers are layers that are wrapped inside a group. In order to select a layer inside a group, you first need to select the group and then double-click the layer inside it; otherwise you’ll need to select it manually from the Layer List. Layers can be nested inside groups that are also nested inside other groups, which eventually makes layer selection quite tiresome.
We can bypass this need to double-click by selecting the group and checking the Click-through when selecting checkbox in the Inspector, which appears on the right-hand side of the UI.
You can accomplish the same thing by holding cmd while you click. It will allow you to directly click-through to the nested layer on a temporary basis—but due the simplicity of this feature, it’s usually best to do it this way all the time.
Pages
Eventually, your canvas will start to build up, and you’ll be responsible for many different layers and groups, as well as Artboards (which I’ll talk about in the next chapter). As I mentioned earlier, there’s no need to split a design into various files. In order to maintain cleanliness, we use Pages.
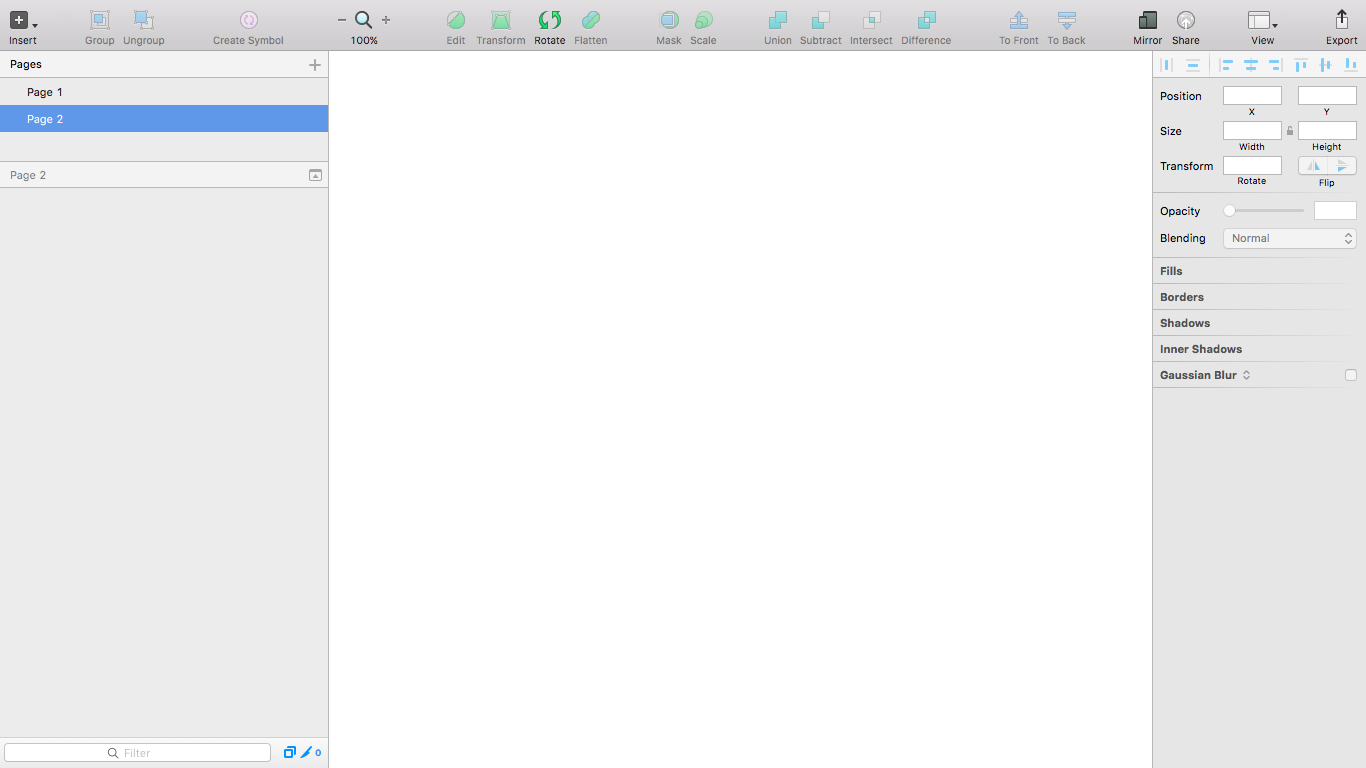
At the very top of the Layer List you’ll notice that it says “Page 1”. Press the icon (boxed-arrow) in the top right corner of the Layer List and then again to open a new “Page”. If you wanted to separate your homepage from your about us section, for example, this would be an ideal way to do it. Keeping a neat .sketch file is a combined effort between groups, Artboards and Pages.
Renaming Pages
When focused on a layer or group in the Layer List, cmd + R lets you rename it easily. However, this doesn’t work within the Pages tab, so you’ll have to double-click to rename those. In order to distinguish between a homepage (for instance) and an About Us section, we can rename “Page 1” and “Page 2” to “Homepage” and “About us” respectively.
If you’re following along with the steps I’ve described so far, make sure to revert back to “Homepage” before we move on, as that’s what I’ll focus on for the time being.
The Inspector
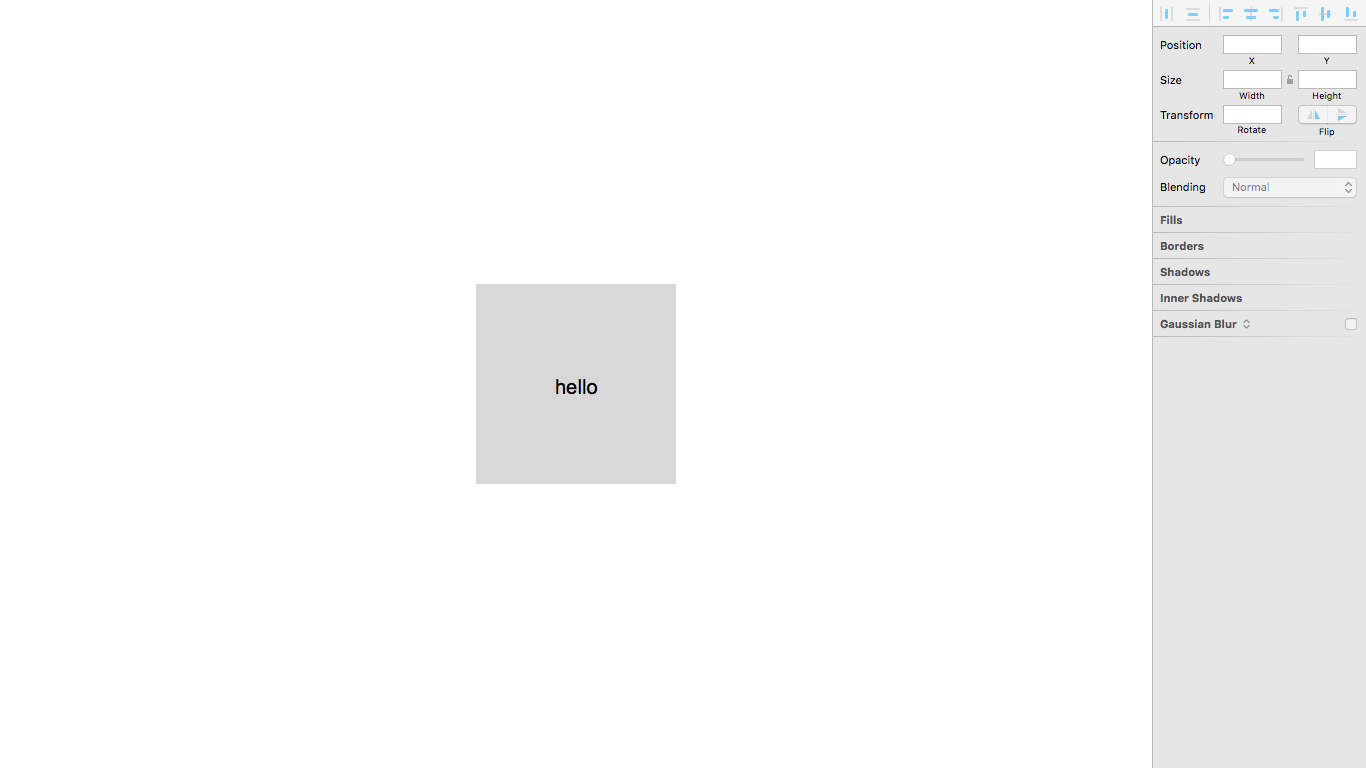
I mentioned above something called the Inspector, which appears on the right-hand side of the Sketch window. No, it’s not an awesome comic book superhero; it’s where we style our layers and declare optional settings for our Artboards and groups. If you’re familiar with building websites in “Design view”, you’ll find this is exactly the same, only without the generated code.
Different types of layers have different options available to them. Groups and Artboards don’t have any style options at all, but they do have settings. We’ll explore this awesomely named Inspector in much more depth in Chapter 3. Don’t disappear!
The Toolbar
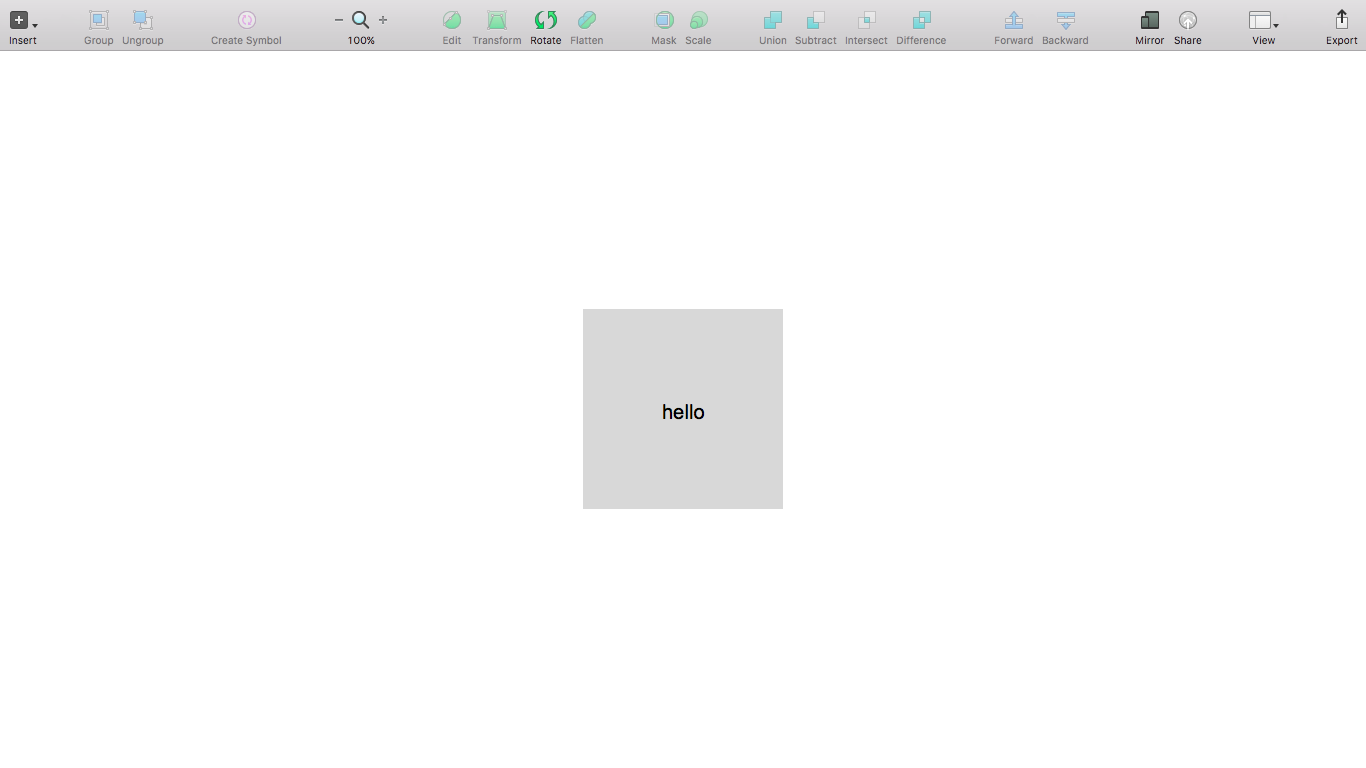
In the toolbar (up top) you’ll see a row of … well … tools. Each of these fulfills a specific action—most of which we’ll discuss throughout the various chapters in this book, and some of which we’ve already discussed (such as Group, Ungroup, Forward and Backward). You may have noticed Insert too, which is an alternative way of inserting shapes, vectors and bitmaps.
In short, the toolbar offers quick access to some of the most-used tools in Sketch. We won’t be able to cover every aspect of Sketch in this book (like vectoring, which is quite complex), but we will cover the vital tools that appear in this toolbar.
Hiding the UI
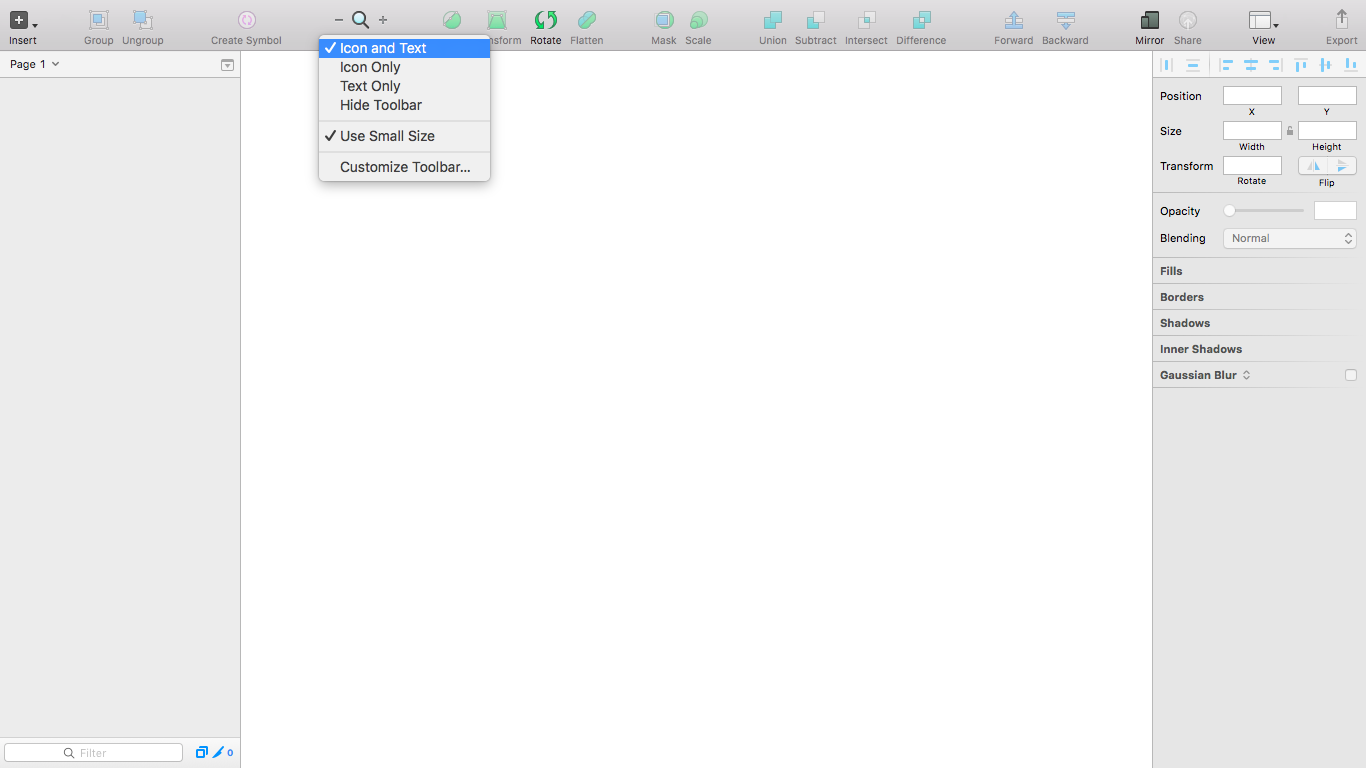
Sometimes, especially if you’re working on a tiny 11-inch MacBook Air like me, you’ll want to take an objective look at your work without the user interface being in the way. You can toggle literally every aspect of the UI on and off with a shortcut:
- Layer List: cmd + option + 1
- Inspector: cmd + option + 2
- Toolbar: cmd + option + T
As you may have noticed, I’ve been doing this in some of the screenshots so they’re cleaner and easier to understand.
Context Menu
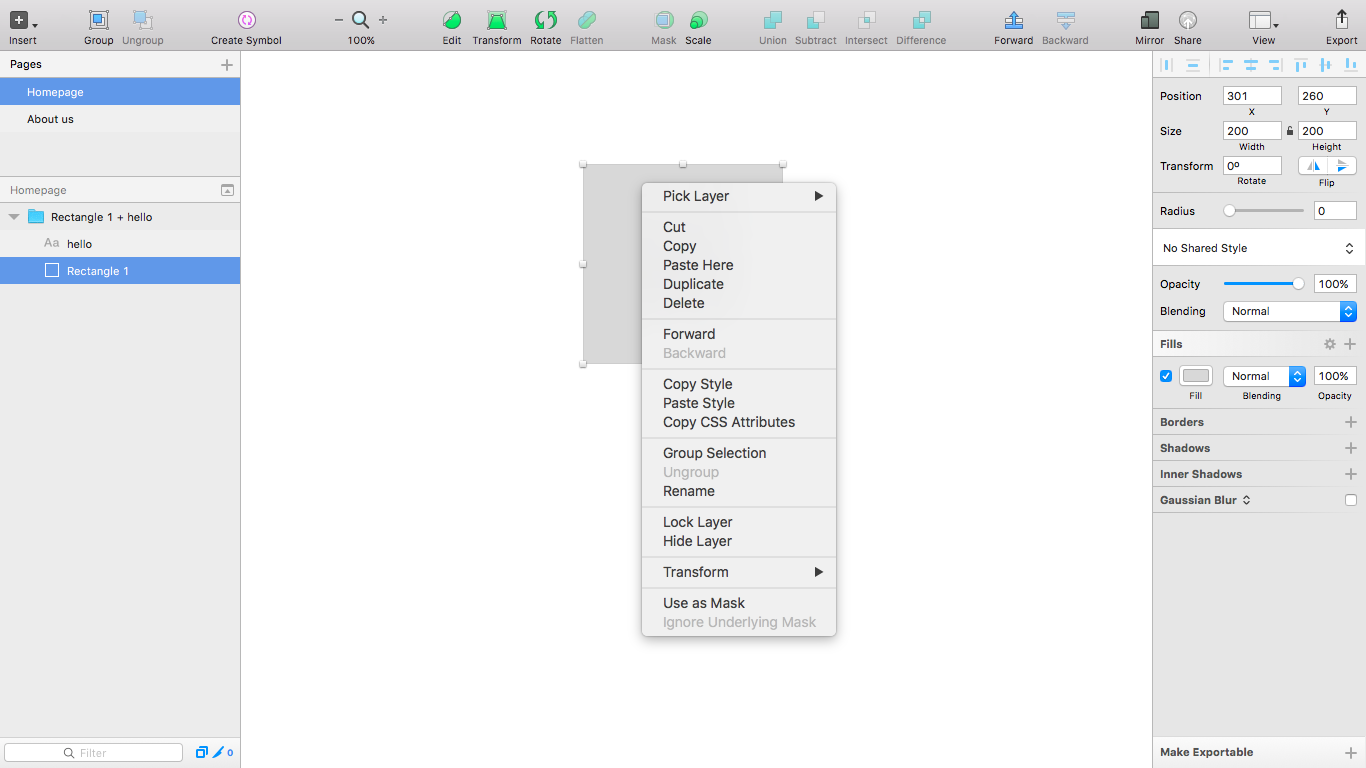
Also known as the “right-click menu”, the context menu changes its options depending on where you click. It’s like an ever-changing tool menu that offers you tools relevant to the object in focus.
For instance, if you right-click on a layer, you’ll be able to extract its style markup as CSS by clicking the Copy CSS Attributes option in the context menu. Many of the actions available in the context menu can also be accessed from the toolbar, or more often than not, a handy keyboard shortcut.
In rarer cases, you might have to dig through the app’s native menu to access File, Edit, Layer, Type, Arrange, Plugins or View. However, the options and tools listed here aren’t commonly used by most designers. Sketch’s context menu aims to make some of those “hidden” tools more accessible.
Whether you choose to use the context menu or the menu bar is up to you. It mostly depends on how complex your needs are.
Summary
What makes Sketch so wonderfully versatile is that many of the features can be found in the context menu, the toolbar and the menu bar, not to mention the fact that they’re accessible via a keyboard shortcut too. You can use Sketch in a way that suits you. Let’s sum up the core aspects of Sketch’s user interface:
- Page: a fresh, blank canvas inside a document
- Canvas: a blank, unlimited workspace inside a Page
- Artboard: an optional template inserted into the canvas
- Layers: the shapes, text and bitmap images inside an Artboard
- Layer List: a list of groups and layers ordered by hierarchy
- Inspector: an interface for specifying styles and settings
- Toolbar: a row of mouse-operated design tools
- Menu bar: the native app menu for less common tools.