

In this tutorial, we will see how to use Cockpit CMS to set up a CMS backend and to use the API interface provided by Cockpit to build a customized functional frontend.
Not quite like other “heavy weight”, or “fully fledged” CMSes, Cockpit is lightweight and “bare”. It only provides a backend to manage meta-data and data entries, whilst the frontend is all in the developer’s hands.
Key Takeaways
- Cockpit CMS is a lightweight, flexible CMS for developers that requires them to build their own frontend, offering full control over the presentation and layout of content.
- Cockpit uses SQLite as its database engine, and its installation process is simple, requiring only a single click after the files are unzipped to a web server directory.
- The CMS’s two most important modules are “Collections”, which are like tables, and “Galleries”, which function as photo albums. It also provides APIs for frontend development, although these are not yet fully comprehensive.
- Cockpit is best suited for PHP developers with a good understanding of CSS and frameworks, who want a simple, tidy CMS without the constraints of heavier platforms. However, this may increase the programming difficulty when adding more features to the frontend.
Installation
A copy of Cockpit CMS can be downloaded here in zip form. After downloading, just unzip the archive to a directory on your web server that is accessible. In my case, it is mapped to: http://vagrant/cockpit.
Next, visit the installation page: http://vagrant/cockpit/install to start the installation process.
NOTE: Cockpit uses SQLite as its database engine by default. If you have not installed SQLite yet, please do so before the installation.
NOTE: Cockpit also requires that its /storage/data directory be writable. Please change the mode of that directory accordingly.
The installation is just one click. When the installation is complete, you will be greeted with this page:
Now we can log in with admin/admin and the backend administration dashboard page will be shown:
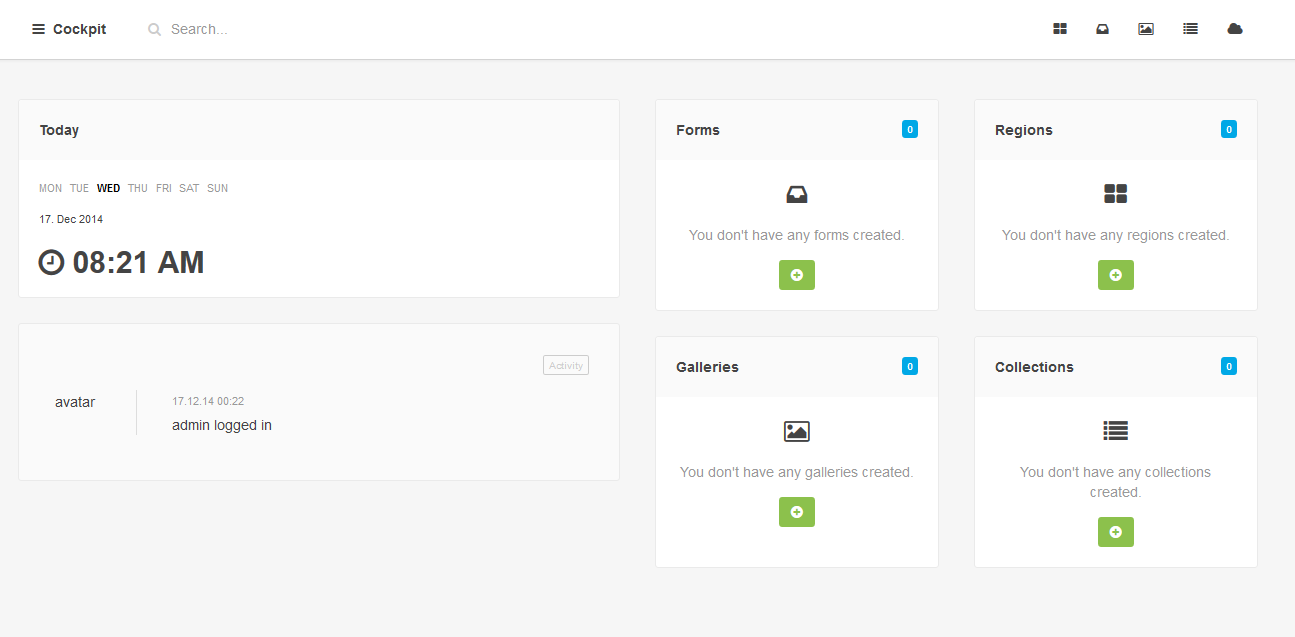
Well, we don’t have anything set up yet. Before we create our own content, let’s learn about a few key modules in Cockpit.
Modules in Cockpit
The two most important modules in Cockpit are: Collections and Galleries.
We can treat “Collections” as a bunch of tables. All collections are defined in Cockpit with various fields of virtually all kinds of types. Collections are populated with “Entries“, which is similar to a record in a table.
Galleries are “photo albums”. A user creates a photo album which can contain pictures that can be used later, in the backend as well.
Cockpit also has other modules: forms, regions (a kind of reusable snippets to be inserted in the frontend pages), media manager (to manage all the media files in the site). The detailed documentation for these modules (include collections and galleries) can be found on the official site.
Create a Trip collection
To start, I will create a collection to capture my trips made. We need to provide a name for the collection (Trips) and define what its entries will contain:
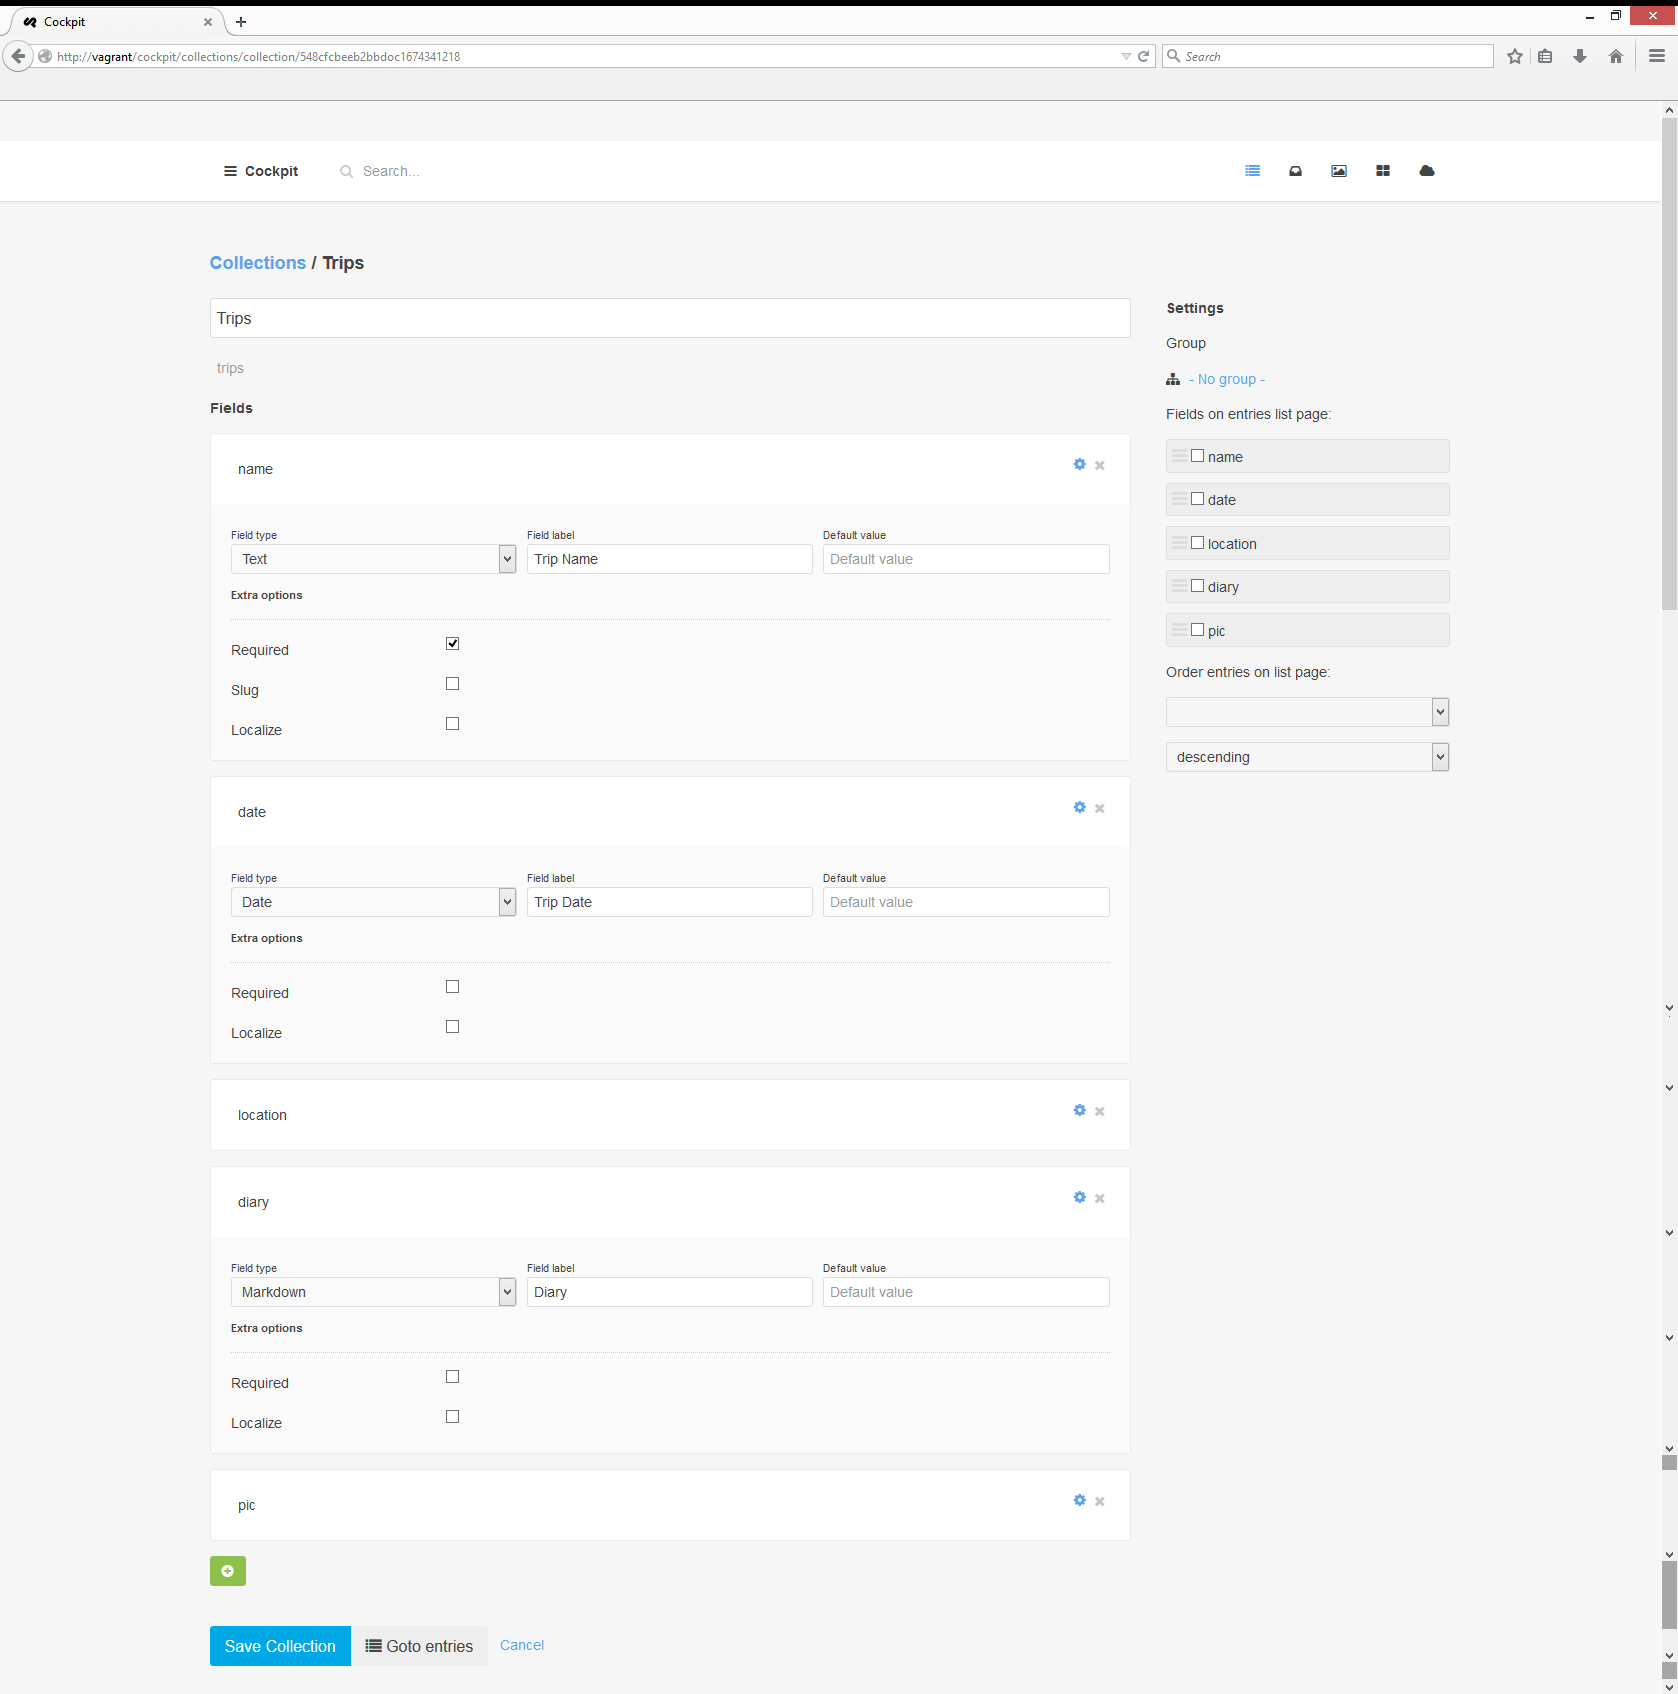
It is a simple structure and consists of the followings fields:
name: aTextfield.date: aDatefield.location: aTextfield.diary: aMarkdownfield to capture some highlights of the trip.pic: aTextfield to link to a gallery of pictures associated with the trip.
The above screenshot shows how a user can visually define the structure and other options (like “What to show in an entry page and show by what order on which field”). Quite intuitive.
NOTE: Cockpit also creates several other fields automatically to store information like ID, creation date, modification date, etc. We can also use these “meta” fields in our code.
We have created a field diary to contain Markdown texts. Later, we will see how to display this in a web page.
You may also notice that though Cockpit supports a field type “Gallery“, we are still using a “text” field. This is because Cockpit can’t yet link an existing gallery in a collection entry. Later, we will see how to get around this.
We can create more collections, galleries, and drop some entries in there.
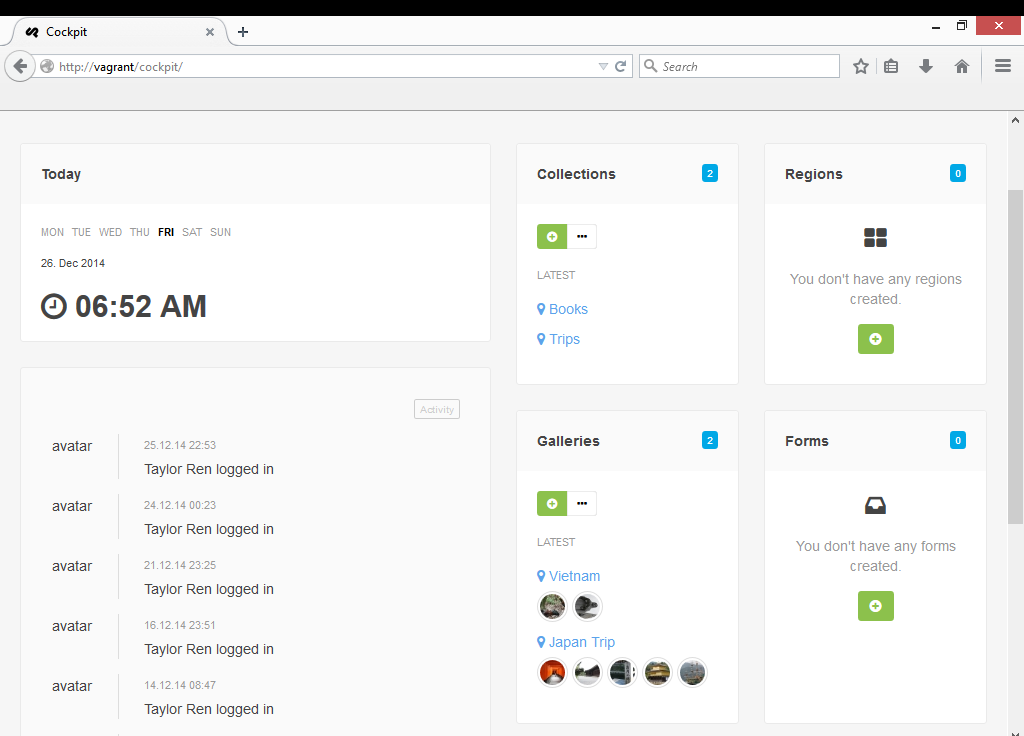
Now, let’s move to the “frontend” part.
The frontend
NOTE: We’ll be using the Silex framework with Twig to build our front end, but you can pick your favorite – the logic is almost the same in any case, as long as you do the require we mention below.
Cockpit comes with a neat backend but it lacks a frontend to present the data. It is the programmer’s job to make this happen. To facilitate this, Cockpit exposes some fundamental APIs which are categorized by different modules and various Helpers. The official documentation contains a list of these functions. In this demo, we will only focus on some of them.
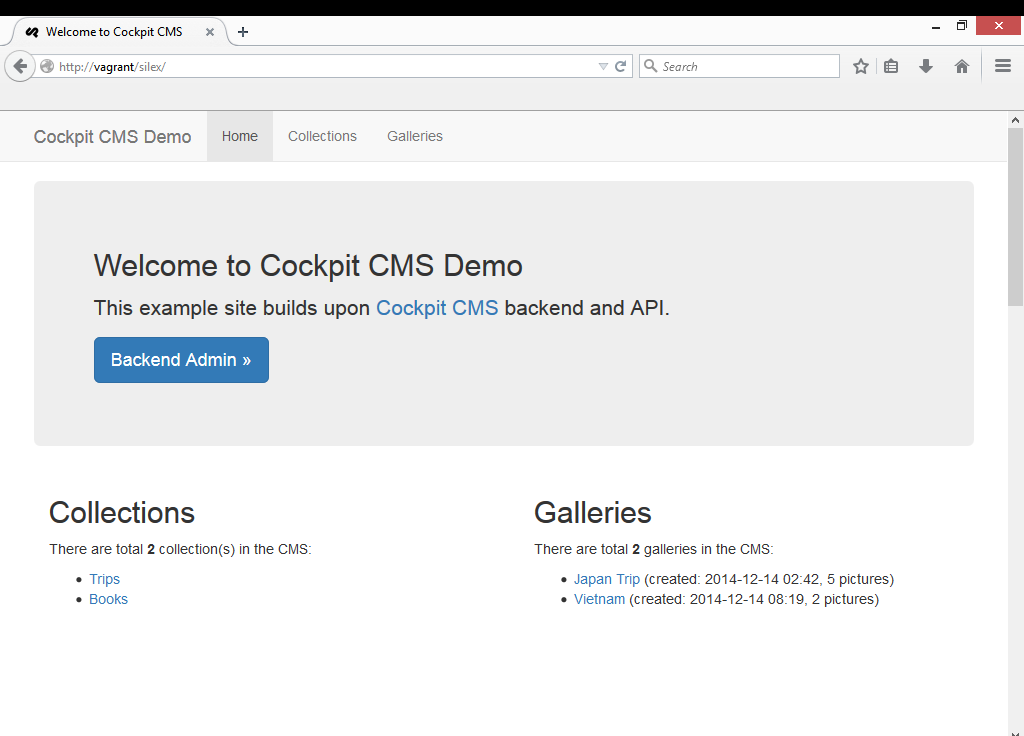
First, let’s see how to display a Welcome page with all the summary information.
NOTE: To use these APIs in our PHP code, please require_once __DIR__ . '/../cockpit/bootstrap.php';
The code is listed below:
$app->get('/', function () use ($app) {

    $collections = cockpit('collections:collections', []);

    $galleries = cockpit('galleries:galleries', []);
    return $app['twig']->render('index.html.twig', ['collections' => $collections, 'galleries' => $galleries]);

})->bind('home');
We get all the collections and galleries through the Cockpit API interface. It is very straightforward.
The collections section can be displayed using the below Twig code:
	<h2>Collections</h2>

	<p>There are total <strong>{{collections|length}}</strong> collection(s) in the CMS:</p>

    <ul>

    {% for col in collections|keys %}

    	<li>

        	<a href="{{ url('collection', {col: col})}}">{{col}}</a>

        </li>

    {% endfor %}

    </ul>
With help from Symfony’s new VarDumper, it is very convenient to inspect the inner structure of a variable so that we can easily locate the correct members to be used.
NOTE: VarDumper can be used in Silex too, as well as in any other framework or non-framework app. For a detailed introduction on this new tool from Symfony, please take a look at Bruno’s article on VarDumper. To use this in Silex, you need use Symfony\VarDumper; and add one line in your composer.json file:
"symfony/var-dumper": "3.0.*@dev"
We can now click an entry link and it will bring us to the entry page:
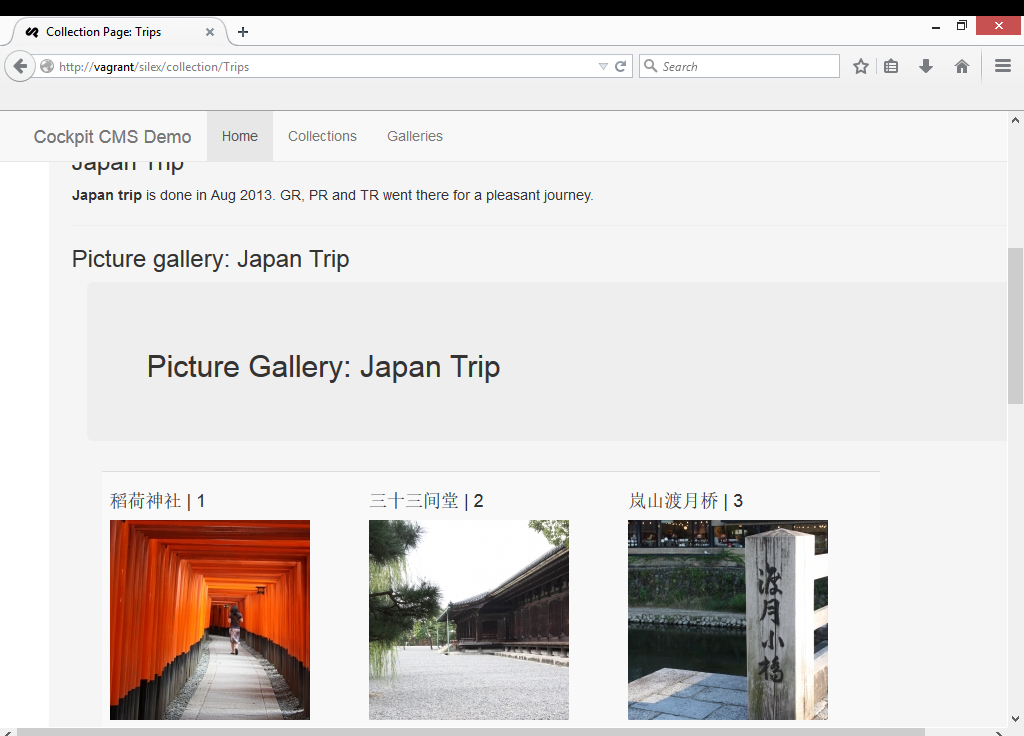
Two points need to be highlighted here.
The notes (diary field) of the entry is a Markdown field and my input in the backend is:
###Japan Trip
**Japan trip** is done in Aug 2013. GR, PR and TR went there for a pleasant journey.
With Markdown syntax, I can skip the configuration of an online editor and use “plain” text to achieve a certain level of formatting effect which, in most cases, is sufficient.
To display Markdown in our final HTML page, we need to install the Markdown bundle by adding one line in the composer.json file:
"michelf/php-markdown": "~1.4"
and reference it in our index.php file:
use Michelf\MarkdownExtra;
NOTE: I am using Markdown Extra syntax in this demo. Details on Markdown (and Markdown Extra) syntax can be found here.
The rendering of a Markdown string (text) is simple:
	foreach ($entries as &$entry) {

        $text = $entry['diary'];

        $html = MarkdownExtra::defaultTransform($text);
        $entry['diary'] = $html;

    }
The output of Markdown rendering is satisfying.
Next, we may want to display the picture galleries associated with that entry. As mentioned earlier, there is no easy way (or in my opinion, an intuitive way) to do so. In this demo, the pic field defined above acts as a “link” to the gallery containing the pictures. There are a few lines of code to be done to display the images.
	$app->get('/gallery/{gal}', function ($gal) use ($app) {
    $images = cockpit("galleries")->gallery($gal);

    foreach ($images as &$img) {

        $image = $img['path'];

        $imgurl = cockpit('mediamanager:thumbnail', $image, 200, 200);

        $img['cache']=$imgurl;
        $path=$img['path'];

        $url=str_replace('site:', 'http://'.$app['request']->getHost().'/', $path);

        $img['url']=$url;
    }
    return $app['twig']->render('gallery.html.twig', ['images'=>$images, 'gal'=>$gal]);

	}

	)->bind('gallery');
The first step is to get all images for a particular gallery by calling the Cockpit API: $images = cockpit("galleries")->gallery($gal);.
Next, we need to get two things out of each image: a thumbnail and the real path of that image.
To get a thumbnail, Cockpit provides an API: cockpit('mediamanager:thumbnail', $image, 200, 200);, where 200 specifies the width/height of the thumbnail. There are a few other options available to create a thumbnail, like to control the quality and cropping mode. Please consult the documentation for a detailed usage explanation.
One thing is missing, though, from this API, which is an automatic rotation of pictures so that a picutre taken in portrait orientation can be properly recognized and displayed. Now the system displays all pictures in landscape mode, regardless of the orientation of the original picture.
Cockpit does not store the real path of the picture. This may make sense in my case, as my pictures are actually loaded in the backend using vagrant/cockpit and the frontend is vagrant/silex.
If we check the VarDumper dump of $images, the path is in fact something like: "path" => "site:cockpit/assets/images/IMG_3427.JPG". Hence, we use a str_replace to generate a real Web URI for that image: "url" => "http://vagrant/cockpit/assets/images/IMG_3548.JPG". Of course, to make this work, we must make sure the image is served properly via that URI.
And that’s it! With not many lines of coding, we have a functional frontend powered by Cockpit CMS.
Conclusion
Cockpit is lightweight, easy to install and to set up. Its backend is tidy and intuitive. Creating collections and galleries is straightforward and I personally like the various field types it offers. Populating an entry in a collection and loading pictures into a gallery isn’t hard either.
The lack of a frontend, in my opinion, is not a bad thing. Various collection structures will definitely require different presentations and layouts. For example, a book collection may use a tabular style while a trip collection may include a gallery section showing some pictures. A default dumping of all fields of an entry will simply be ugly and unfitting. Thus, I would say Cockpit is quite smart in not providing one. However, this will require the user to code a different layout for each collection structure. It could be troublesome and time consuming in some cases and it requires a certain level of programming skills, which is why CockpitCMS labels itself as the “developer’s CMS”.
Its API is of great value when we do frontend development, but it is still not complete. For example, the lack of providing a usable real path to a picture and the lack of an option to rotate a picture based on its orientation are just a few I’ve noticed in my short time with the CMS. I would suggest the author of the CMS to make some further improvements in this aspect.
Most critical of all, it does not provide APIs to CRUD an entry. This is probably because the collection structure is different from one to another and it is practically impossible to provide a universal CRUD API. But this also stops us from using PHP code to quickly and easily manage the data. All we are left with is the backend, which may not be convenient enough sometimes. I would love to see this part of the API come into being.
Cockpit CMS is best for those PHP developers who possess a certain level of PHP, CSS and framework knowledge, who are unwilling to be bound by other heavier CMSes and want to create a simple, tidy and “everything-under-my-control” CMS to show off their work and life. However, it is important to highlight that this may increase the programming difficulty, especially when we need to add more features into the fronend.
There are certain other areas provided by Cockpit that are not covered in this post – feel free to explore its potential and share what you have achieved.
The demo code for this tutorial can be found in the Github repo here.
Frequently Asked Questions (FAQs) about Cockpit CMS
What makes Cockpit CMS different from other CMS platforms?
Cockpit CMS stands out from other CMS platforms due to its simplicity and flexibility. Unlike traditional CMS platforms that come with a predefined structure, Cockpit CMS is a headless CMS. This means it doesn’t impose any specific design or structure on your content. Instead, it allows you to define your own content structure, giving you complete control over how your content is organized and presented. This makes it an excellent choice for developers who want to build a custom website or application without being constrained by the limitations of a traditional CMS.
How does Cockpit CMS handle data storage?
Cockpit CMS uses a unique approach to data storage. Instead of using a traditional SQL database, it uses a NoSQL database called LiteDB. This allows for more flexible data structures and faster performance. LiteDB is a serverless database, which means it runs directly in your application process and doesn’t require a separate server to operate. This makes it a great choice for small to medium-sized projects where a full-fledged SQL database might be overkill.
Is Cockpit CMS suitable for large-scale projects?
While Cockpit CMS is lightweight and simple, it’s also scalable and can handle large-scale projects. Its flexible architecture allows it to adapt to the needs of any project, regardless of size. However, for very large projects with complex data structures and high traffic, a more robust CMS or a custom-built solution might be more suitable.
How easy is it to get started with Cockpit CMS?
Getting started with Cockpit CMS is relatively straightforward. It doesn’t require any complex setup or configuration. All you need to do is download the software, install it on your server, and start defining your content structure. The user interface is intuitive and easy to use, even for beginners.
Can I use Cockpit CMS with my existing website or application?
Yes, Cockpit CMS can be integrated with any existing website or application. It provides a RESTful API that allows you to fetch your content from any application, regardless of the technology stack. This makes it a versatile solution that can fit into any development workflow.
What kind of support is available for Cockpit CMS?
Cockpit CMS has a strong community of users and developers who are always ready to help. There are also plenty of resources available online, including documentation, tutorials, and forums where you can ask questions and get help.
Is Cockpit CMS open source?
Yes, Cockpit CMS is an open-source project. This means you can use it for free, and you’re also free to modify it and contribute to its development. This makes it a great choice for developers who want to customize their CMS to fit their specific needs.
What languages does Cockpit CMS support?
Cockpit CMS supports multiple languages, making it a great choice for multilingual websites and applications. You can define your content in any language, and the CMS will automatically handle the translation.
Can I extend the functionality of Cockpit CMS?
Yes, Cockpit CMS is highly extensible. You can add new features and functionality by creating custom addons. This allows you to tailor the CMS to your specific needs and create a truly custom solution.
How secure is Cockpit CMS?
Cockpit CMS takes security seriously. It includes built-in features to protect against common security threats, and it’s regularly updated to address new vulnerabilities. However, like any software, it’s important to keep it up to date and follow best practices for web security to ensure your site remains secure.