In our previous articles in this series, we covered what Docker is, and then how to manually build Docker containers for WordPress.
In this article I’ll show you how to set up Docker in a much easier way. Docker has an official image for WordPress that makes it easier to get started. We’ll also check out Docker Compose for a Heroku-like configuration. After all, building and managing containers manually can take a lot of work.
The Official WordPress Docker Image
Before we get started, make sure you create a new folder and navigate inside that folder.
In my previous article we built a MySQL container. The official WordPress image (by the Docker team) requires you to have a running MySQL container.
docker run --name wordpressdb -e MYSQL_ROOT_PASSWORD=password -e MYSQL_DATABASE=wordpress -d mysql:5.7Next, search for ‘WordPress’ on Docker Hub and pull that image.
docker pull wordpress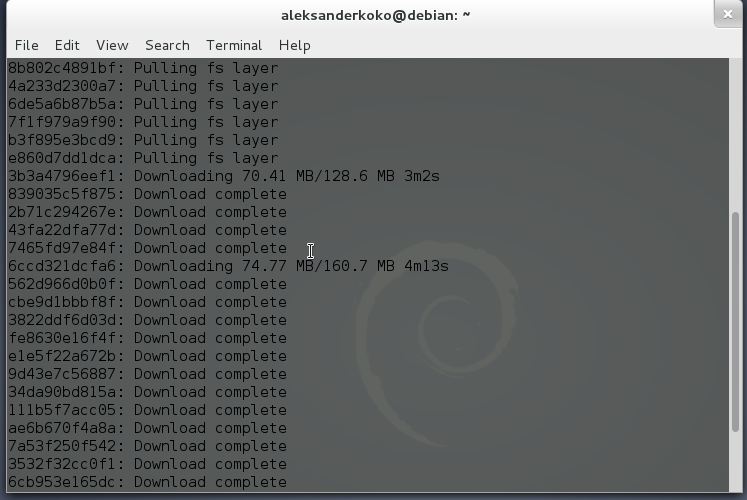
Then, build a container from it.
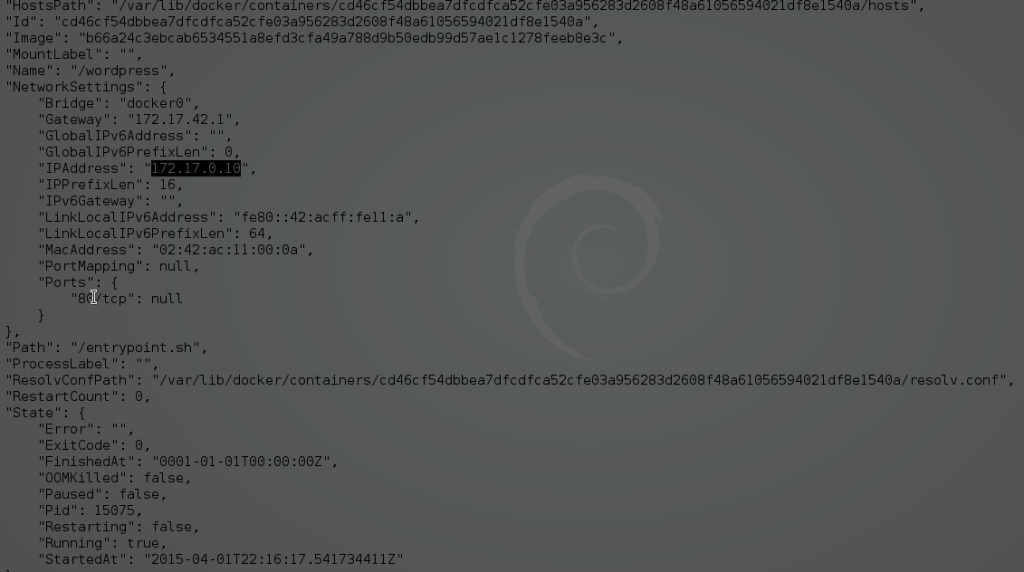
docker run -e WORDPRESS_DB_PASSWORD=password -d --name wordpress --link wordpressdb:mysql wordpressWe see two environment variables. WORDPRESS_DB_PASSWORD is the database password for our user. But we haven’t yet specified this. Don’t worry though, this image will use default values for environment variables that we haven’t specified (when the container is first created). For example, WORDPRESS_DB_USER will be root if we don’t define it. The same applies to the database name with wordpress as the default. Check out the official documentation for additional environment variables. -d makes the container to run in the background. We can’t see the IP address of the container, to get this execute docker inspect wordpress to get its IP and port. Mine is 172.17.0.10 and the port is 80. Using docker inspect, you can find lots of useful information about a container.
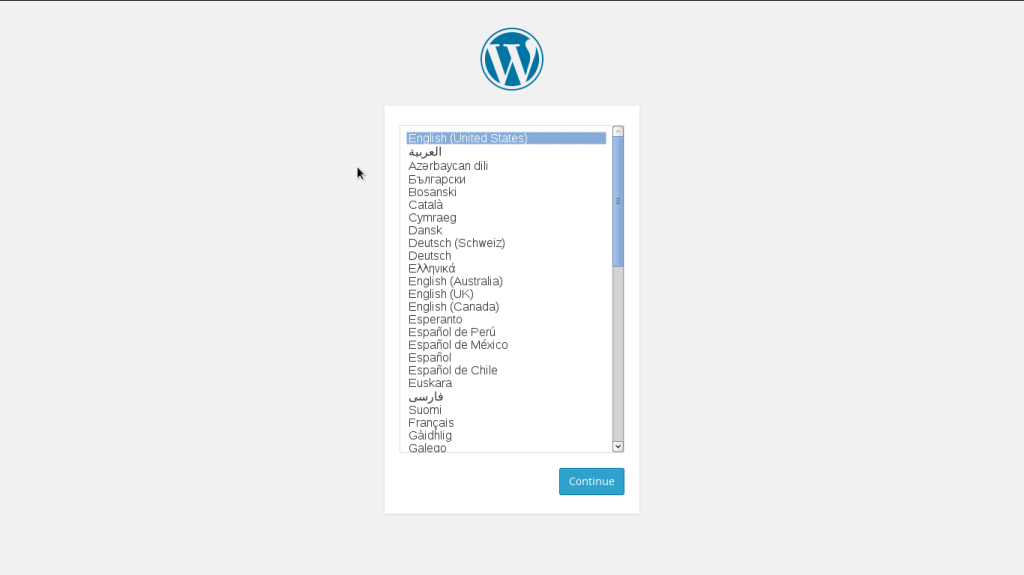
Visit the IP of your wordpress container in your browser and you’ll see something like this:
The problem with this example is that we can’t access the WordPress files, also each time we start the container, it will change it’s IP. But we can easily fix both of these issues.
docker run -e WORDPRESS_DB_PASSWORD=password -d --name wordpress --link wordpressdb:mysql -p 127.0.0.2:8080:80 -v "$PWD/":/var/www/html wordpressThis is a very long command, we see two new arguments here. The -p and -v arguments. The -p argument is used for port mapping. Inside the container, Apache runs on port 80. We tell Docker that we’ll use the port 8080 to communicate with the port 80 inside the container. Also, we specified 127.0.0.2 as the IP for this container. -v "$PWD/":/var/www/html will map the two folders. By default, the container puts the WordPress files in the /var/www/html directory which is the filesystem inside the container (this is nothing to do with our local filesystem). Check out your current directory and you’ll see that some additional files are there.
Using your new container, you’ll now be able to modify files in our filesystem. In the previous example, it was much more work to be able to write to our filesystem. This method is a lot simpler. But can it be more simpler? Sure it can!
Docker Compose
Until now, we’ve seen how to create our containers using commands on the terminal. As much as I love Linux and the terminal, I really don’t want to create the containers using the command line and remembering the various arguments all the time. That’s why Docker Compose exists.
This tool started under the name Fig (not by the Docker team) as an Open Source, easier solution to manage multiple containers. Now the tool is officially maintained by Docker (under the name Docker Compose). Before moving to Compose, make sure to first install it. All you need is a docker-compose.yml file and a new project folder. In this file we’ll write all the configuration that is needed to build the wordpress and mysql container. Docker Compose, just like Docker CLI, uses the Docker daemon to create the containers, so basically you can do almost everything that you did with the CLI.
Let’s see an example:
web:
    image: wordpress
    links:
     - mysql
    environment:
     - WORDPRESS_DB_PASSWORD=password
    ports:
     - "127.0.0.3:8080:80"
mysql:
    image: mysql:5.7
    environment:
     - MYSQL_ROOT_PASSWORD=password
     - MYSQL_DATABASE=wordpress
This should be familiar to most readers. web and mysql are the names of the containers. When these containers are built from Compose, the actual names are different. A container created from Compose has a name like [foldername]compose_[containername]_[number]. The [foldername] would be the parent folder of docker-compose.yml, [containername] would be web or mysql in this case and [number] would be the number of the container. The good thing about Compose is that you can have more than one container of one type. We could have two web containers. Their names in this case would be [foldername]compose_web_1 and [foldername]compose_web_2. This also applies to other containers that are defined in docker-compose.yml (the mysql container for example).
When using containers of one type, you’ll need to specify separate IP addresses.
environment:
     - WORDPRESS_DB_PASSWORD=password
This works like -e WORDPRESS_DB_PASSWORD=password.
links:
     - mysql
This works like --link mysql:mysql.
ports:
     - "127.0.0.3:8080:80"
This works just like -p 127.0.0.3:8080:80.
To learn more about Docker Compose commands and docker-compose.yml, you’ll find the CLI reference here and docker-compose.yml reference here.
Now that you’ve got your docker-compose.yml file, execute docker-compose up and Compose will start building the containers for you. Navigate to 127.0.0.3:8080 and you’ll again see a welcome page. Now, all we need is access to the WordPress files.
As we’ve discussed previously, to get access to the WordPress files on our local filesystem, we need to do something like -v "$PWD/":/var/www/html. You should add a working directory and map two folders (one on your container and one on your local filesystem). To do this, we just add the following two lines:
    working_dir: /var/www/html
    volumes:
     - wordpress/wp-content/:/var/www/html/wp-content
The working_dir tells the WordPress image to install WordPress in that directory. volumes: behaves like -v "$PWD/wordpress":/var/www/html/wp-content. The WordPress files live under /var/www/html folder. We’re really only interested in the wp-content folder, since that’s where our plugins and themes reside. After all, most developers only deal with this folder.
Again, execute docker-compose up. If you’re on Linux, you should change the permissions of the wordpress folder (the local folder) to writable. That’s because the containers are created by the Docker daemon, a process that starts when the system boots (by the sudo user). To fix this execute:
sudo chmod -R 777 wordpressYou’ll now have write access to these folders and you’ll be good to go!
Conclusion
In this article we saw how to use the official WordPress Docker image, with a quick introduction to Docker Compose. If you haven’t checked the previous articles in this series, you can find them below:
- Introduction to Docker for WordPress Developers
- How to Manually Build Docker Containers for WordPress
This series wouldn’t be complete without showing you how to deploy a WordPress project. In the next article, I’ll show you how to deploy a Docker-based WordPress project on DigitalOcean. Stay tuned!
If you’ve been reading the series this far, you should now have a much better understanding of the underlying concepts of how Docker works. You should now be able to work with abstractions and tools that make things even easier. If you have any questions please leave a comment below. I know that it’s the third time I’m asking, but I’m very interested if would you consider using Docker in production for your next project?
Frequently Asked Questions (FAQs) about Using the Official Docker WordPress Image
What is the Official Docker WordPress Image?
The Official Docker WordPress Image is a pre-configured Docker image that allows you to quickly set up and run a WordPress site in a Docker container. It includes the latest version of WordPress and is designed to be lightweight, secure, and easy to use. This image is maintained by the Docker community and is regularly updated to include the latest security patches and WordPress updates.
How do I install the Official Docker WordPress Image?
To install the Official Docker WordPress Image, you need to have Docker installed on your system. Once Docker is installed, you can pull the WordPress image from the Docker Hub using the command docker pull wordpress. This will download the image to your system and make it available for use.
How do I run a WordPress site using the Docker WordPress Image?
To run a WordPress site using the Docker WordPress Image, you need to create a Docker container from the image. This can be done using the command docker run --name some-wordpress -p 8080:80 -d wordpress. This command will start a new container named some-wordpress, map port 8080 on your host to port 80 on the container, and run the container in the background.
How do I configure the Docker WordPress Image?
The Docker WordPress Image can be configured using environment variables. These variables can be set when creating the container using the -e option. For example, to set the WordPress database name, you can use the command docker run -e WORDPRESS_DB_NAME=mydbname -d wordpress.
How do I update the Docker WordPress Image?
To update the Docker WordPress Image, you need to pull the latest version of the image from the Docker Hub using the command docker pull wordpress. Once the latest image is downloaded, you can create a new container from the updated image.
How do I backup my WordPress site running in a Docker container?
To backup your WordPress site, you can use the docker cp command to copy the WordPress files from the container to your host system. You can also use a Docker volume to persist the WordPress files and database outside of the container.
How do I troubleshoot issues with the Docker WordPress Image?
To troubleshoot issues with the Docker WordPress Image, you can use the docker logs command to view the logs of the WordPress container. This can provide valuable information about any errors or issues that may be occurring.
Can I use the Docker WordPress Image in a production environment?
Yes, the Docker WordPress Image is designed to be used in both development and production environments. However, for production use, it is recommended to use a Docker Compose file to manage the WordPress and database containers, and to use Docker volumes to persist data.
How do I secure my WordPress site running in a Docker container?
To secure your WordPress site, you should always use the latest version of the Docker WordPress Image, which includes the latest security patches. You should also configure your WordPress site to use HTTPS, and regularly backup your WordPress files and database.
How do I scale my WordPress site running in a Docker container?
To scale your WordPress site, you can use Docker’s built-in scaling features. This includes the ability to create multiple containers from the same image, and to distribute traffic between these containers using a load balancer.
 Aleksander Koko
Aleksander is young developer who loves to play with the newest web technologies. In his free time, he reads about PHP, Firefox OS or experiments with a new language. Currently, his main interests are PHP design patterns, laravel, dart and cloud.