There used to be a time when installing Ruby and the associated Ruby on Rails web framework was a complete pain. Since then, all sorts of solutions have sprung up to make this process a little bit less painful and tedious. One of the latest is called Tokaido and makes the installation a breeze. But, it abstracts away so much from the user that what Tokaido actually does on your system can be somewhat confusing for a beginner. In this article, we’ll take a look at how to use Tokaido to get Ruby/Rails up and running, as well as what kind of stuff Tokaido brings along with it.
Please note that Tokaido is currently Mac OS X only. Sorry Linux and Windows users; you can check out RailsInstaller instead.
The Basics: Ruby Ecosystem
We’ll go through some of the basics of how the distribution of the Ruby interpreter as well as Ruby libraries (i.e. “gems”) works before taking a look at Tokaido.
Ruby Versions
When we say that Tokaido installs Ruby, we’re not being particuarly clear. It turns out that Ruby itself is just a specification of a language and there are many implementations of it, all with different versions. The canonical implementation, however, is the one available on Ruby’s website and is referred to as the MRI/YARV interpreter. There’s other implementations as well, such as JRuby or IronRuby, which all have their specific use-cases. Tokaido gives you a copy of MRI/YARV since that’s what 90%+ projects will use.
Currently, MRI/YARV has three different versioning splits. There’s 2.2.x (stable), 2.1.x (old stable) and 2.0.x (previous old stable). For most projects, you will want the 2.2.x version; fortunately, that’s what Tokaido will get you.
Ruby Gems
Before we get down to using Tokaido, it is important to understand how the Ruby world handles the distribution of code. I’m going assume a basic knowledge of how the Ruby language works but not much more.
Often, we would like to re-use code that someone else has already written, i.e. a library. For languages such as C, there is no centralized way to get a library and use it in your project. You just have to track it down and somehow include it with your project. Ruby, on the other hand, makes this process simple with a system called RubyGems. Basically, when someone writes a library, he/she organizes it in a specific format and then uploads it to a server which will keep track of it. When someone else wants to use that code, they use a client that will “install” that library locally. Dependency resolution is another benefit of using these “gems”, i.e. if we download gem “A” and it needs gem “B” to be available, the RubyGems client will automatically get gem “B” as well.
Although Ruby comes with a bunch of stuff out of the box (referred to as the Ruby Standard Library), a lot of what practicing Ruby developers use come in the from of gems. In fact, Ruby on Rails itself is generally distributed as a gem. Tokaido not only takes care of installing Ruby for us, but also the RubyGems client through which we can install Rails and friends. You should never use another package manager (e.g. Homebrew) in order to install what can be installed through RubyGems. It is far easier for a gem developer update RubyGems than it is to update RubyGems and another package manager, so the package managers often have old versions of gems which will cause odd problems when you try to run your projects.
Tokaido
Alright, let’s get ourselves a copy of Tokaido. Head on over to the Github download page and get the main zip file. Extract it and drag the Tokaido application to your Applications folder. Run it. You should see something like this:
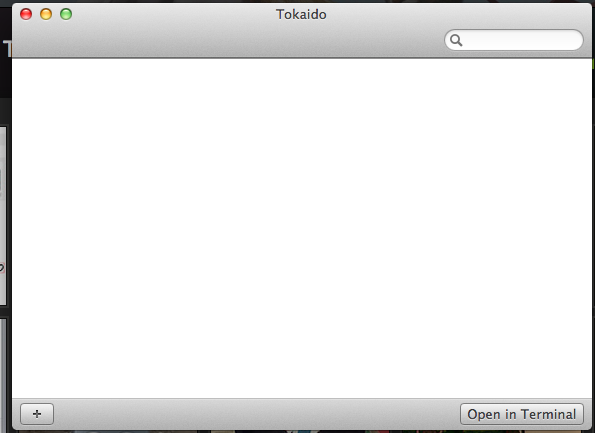
If you’ve reached this point, congratulations! You have a copy of Ruby, RubyGems, etc. all ready to go on your system. In fact, you have Rails ready to go! Click on the “Open in Terminal” button and, after clicking “OK” on a dialog box, you’ll see a Terminal window. This Terminal has been loaded with a version of Ruby, the “gem” client, etc. To create a new Rails project, type in the following:
rails new projectnameApps
You can also manage your Rails apps through Tokaido. Once you’ve created a project, click the “+” button within Tokaido in order to navigate to your Rails application folder (i.e. the folder called “projectname”) and add it to Tokaido. Once you add it in, you’ll see something like the following:
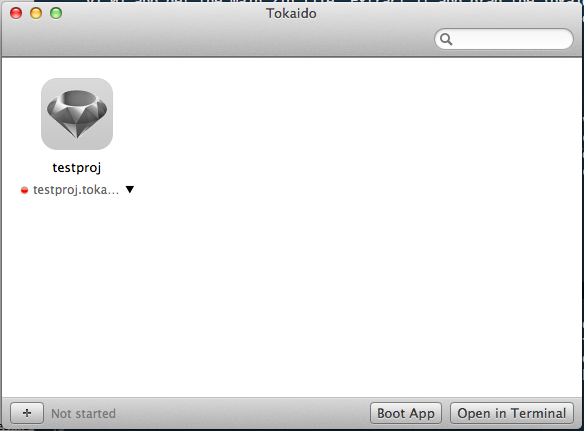
Click “Boot App” in order to run the Rails app and get a local development server running, just as you would with the command line rails server command. In the latest version of Rails (4.1.x at the time of writing), the Puma webserver is used on port 3000.
Wrapping It Up
With a few clicks, Tokaido lets us set up Ruby, Rails, gems, etc. on a Mac OS X system. This used to be such a pain point that people coughed up $50,000 for someone to make it easier. For many Rails beginners back in the day, half of the first day of learning would be spent trying to square away the installation. Tokaido takes this problem and decimates it. Hopefully, this quick guide can help you can get Ruby/Rails up and running on your system.
Frequently Asked Questions (FAQs) about Quick Start Rails
How do I install Ruby on Rails on my system?
To install Ruby on Rails on your system, you need to first install Ruby. You can do this by downloading the RubyInstaller for Windows. For Mac users, you can use Homebrew. Once Ruby is installed, you can install Rails by opening your terminal and typing “gem install rails”. This will install the latest version of Rails. If you want a specific version, you can specify it by typing “gem install rails -v 5.2.3”, replacing 5.2.3 with the version number you want.
What is the purpose of the ‘bundle install’ command?
The ‘bundle install’ command is used to install all the gems that your application depends on. These dependencies are listed in your Gemfile. When you run ‘bundle install’, Bundler will look at the Gemfile and install all the gems listed there. This ensures that all the necessary gems are installed for your application to run properly.
How do I create a new Rails application?
To create a new Rails application, open your terminal and navigate to the directory where you want your application to be. Then, type “rails new myapp”, replacing ‘myapp’ with the name of your application. This will create a new directory with the name of your application and set up the basic structure of a Rails application.
What is the MVC architecture in Rails?
MVC stands for Model-View-Controller. It is a design pattern that separates an application into three interconnected parts. The Model corresponds to all the data-related logic, the View is for all the UI logic, and the Controller bridges the two, handling user interaction and coordinating the Model and View.
How do I start the Rails server?
To start the Rails server, navigate to your application directory in the terminal and type “rails server” or “rails s” for short. This will start the server and you can access your application by going to http://localhost:3000 in your web browser.
How do I generate a new controller in Rails?
To generate a new controller in Rails, you can use the ‘rails generate controller’ command followed by the name of the controller. For example, “rails generate controller Pages” will generate a Pages controller.
What is the purpose of the ‘db:migrate’ command?
The ‘db:migrate’ command is used to apply any changes you’ve made to your database schema. When you create a new table or modify an existing one, Rails generates a migration file. Running ‘db:migrate’ applies these migrations, updating your database to match the schema.
How do I create a new model in Rails?
To create a new model in Rails, you can use the ‘rails generate model’ command followed by the name of the model. For example, “rails generate model User” will generate a User model.
How do I update a record in Rails?
To update a record in Rails, you first need to find the record. You can do this using the ‘find’ method. Once you have the record, you can update it using the ‘update’ method. For example, “user = User.find(1); user.update(name: ‘New Name’)” will find the user with an id of 1 and update their name to ‘New Name’.
How do I delete a record in Rails?
To delete a record in Rails, you first need to find the record. You can do this using the ‘find’ method. Once you have the record, you can delete it using the ‘destroy’ method. For example, “user = User.find(1); user.destroy” will find the user with an id of 1 and delete them.
 Dhaivat Pandya
I'm a developer, math enthusiast and student.