
In this article, you will learn how to use Jetpack’s social media functionality to augment your WordPress site. Depending on where you get your copy of WordPress, Jetpack might be a part of the installation – or not. This post will cover setting up Jetpack, if it is not included with your installation, and then linking social media accounts to it to automate posting to them when new blog entries are published on your site.
Note that this is not an explanation of the many social media widget plugins out there, nor an explanation of how to make your own, but rather the use of Jetpack to create social media posts on your own accounts when you publish a blog article on your site.
To get started, go to Jetpack.com. As you can see, there are two options, the free install or pricing. In this tutorial you’ll see the free installation.

When you click on the Install Free button, the screen above appears. Enter the full URL of your WordPress site. When you do, the blue Start Installation button appears. Click on it to begin installing Jetpack.
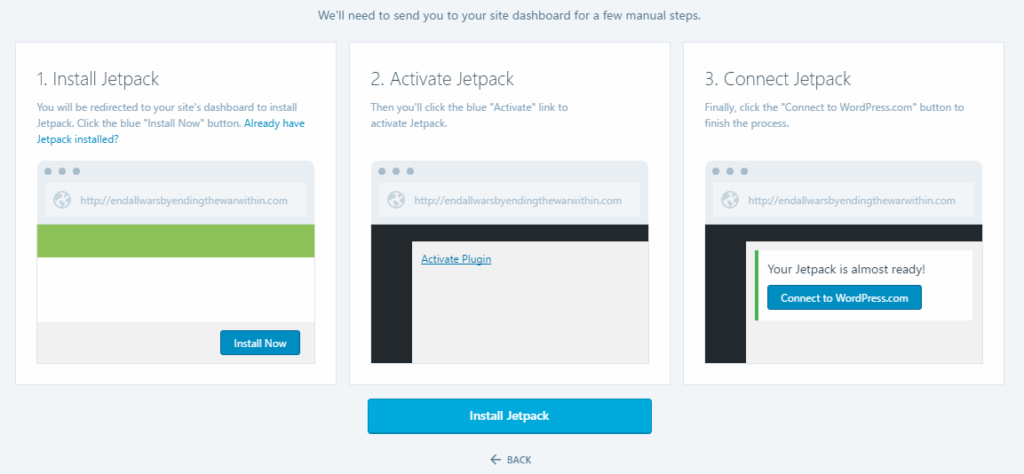
On the screen above, click on Install Jetpack.
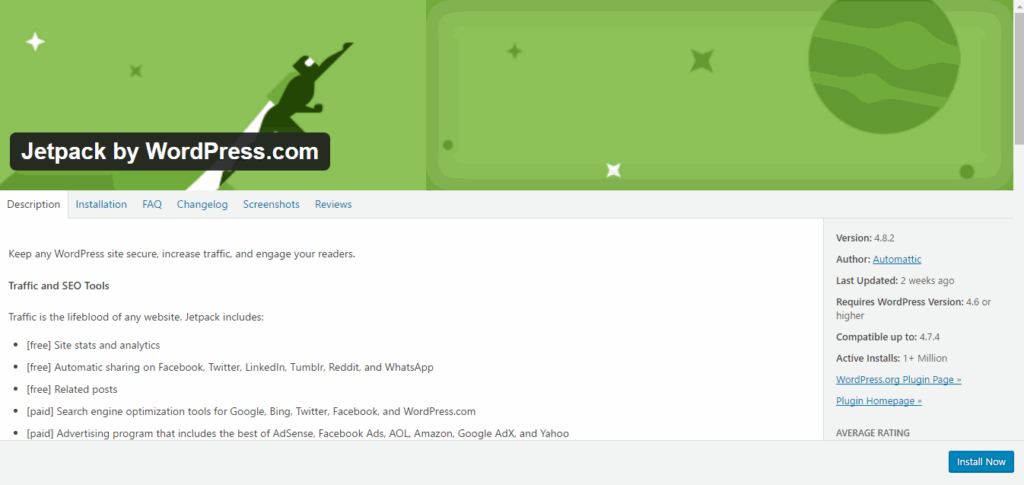
This takes you to yet another screen. Click on the blue Install Now button at lower-right.

This redirects you back to WordPress, where you are informed that Jetpack has been successfully installed. Click on the Blue Activate Plugin button to activate Jetpack.
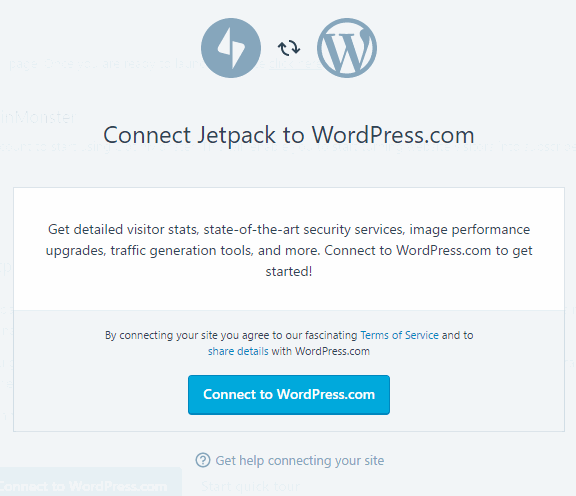
At this point, you will come to a screen which could look like the above. This will allow you to connect Jetpack (via WordPress.com) to your installation. When you press on the connection button, you will either need to sign in to an account on WordPress.com (or else sign up for one) to connect Jetpack to your WordPress installation.
Once you click on the blue button to connect your account, you will be redirected back to your installation, where you should click Jetpack in the sidebar.
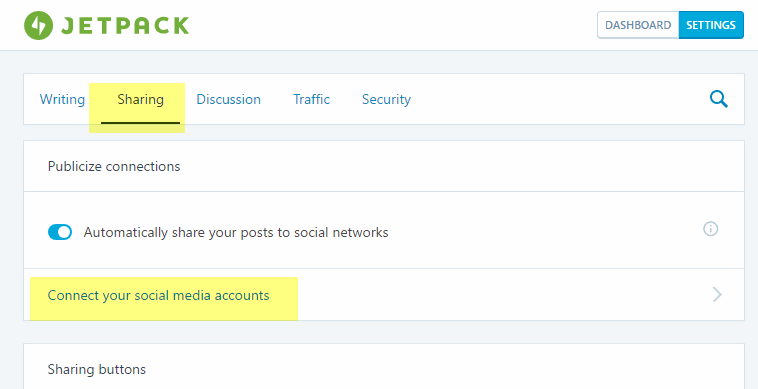
This brings you to the Jetpack page. Click on the Sharing tab and on the Sharing page, click on the Connect your social media accounts link.
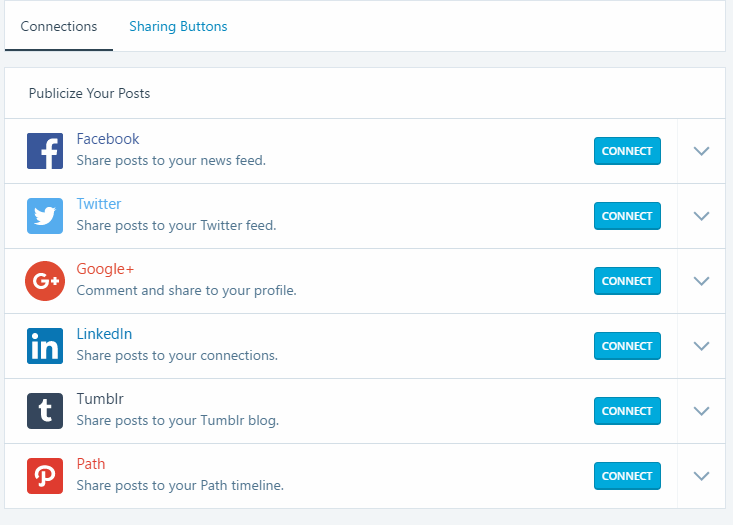
That brings up the Publicize Your Posts page above, where you can connect as many as six social media accounts. Note that you need to have the social media accounts you wish to connect to already set up, or the connection process will fail.
The process will be different for each social media account.
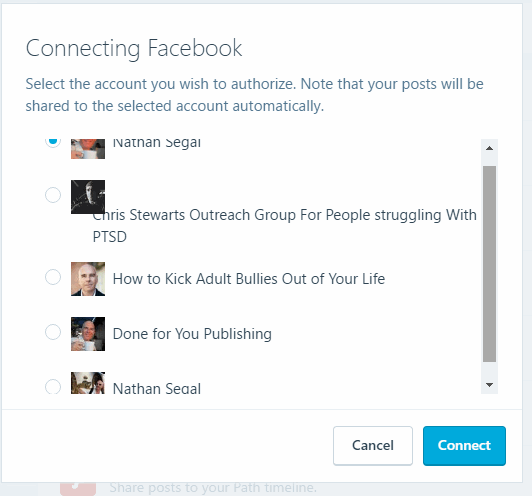
Here’s what it looks like for Facebook. As you can see in the instructions, choose the account you want to authorize. Note that your posts will be shared to the selected account automatically. Once the process completes, your Facebook account will be connected.
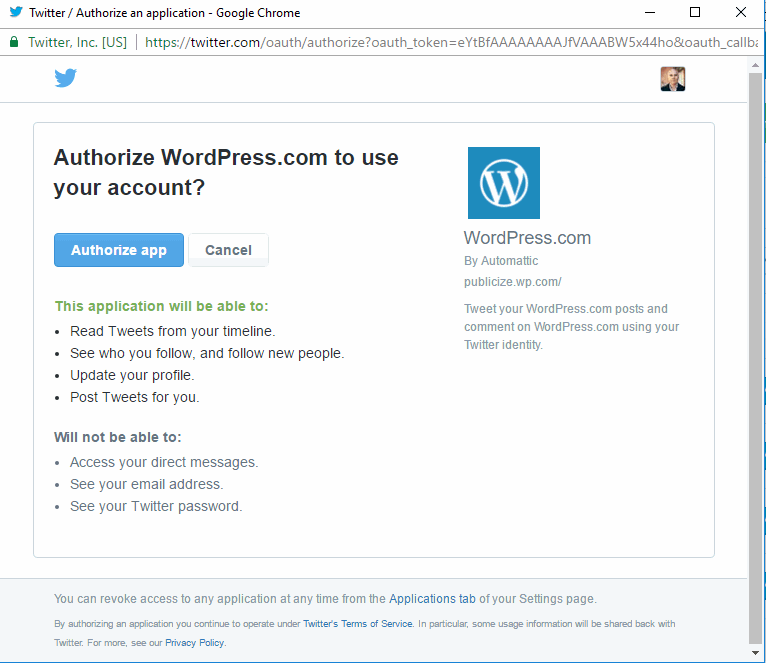
Here’s what the process looks like for Twitter. When you click on the Authorize app button it will quickly connect Jetpack to your Twitter feed.
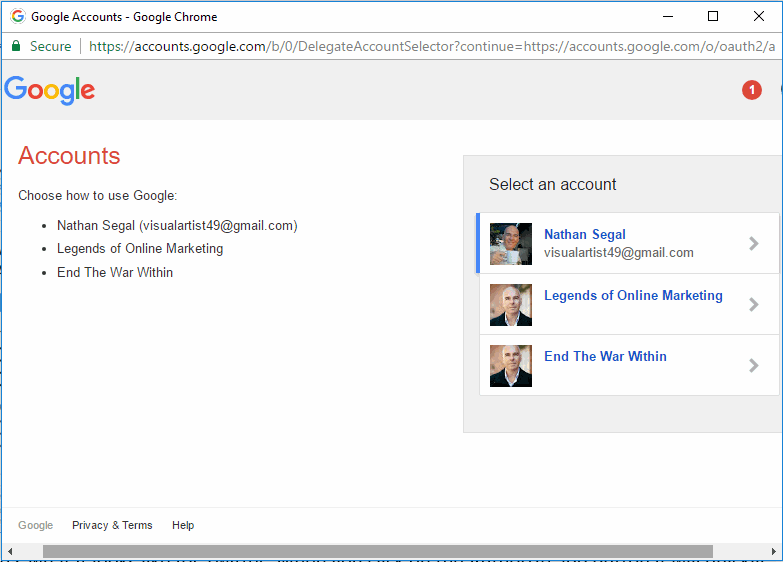
We’ll have a look at one more, Google+. This is what the connection screen looks like above. When you click on an account, a screen will pop up asking you for offline access. Click on Allow. This will take you back to Jetpack and there will be another connection screen. Click on the Connection button.
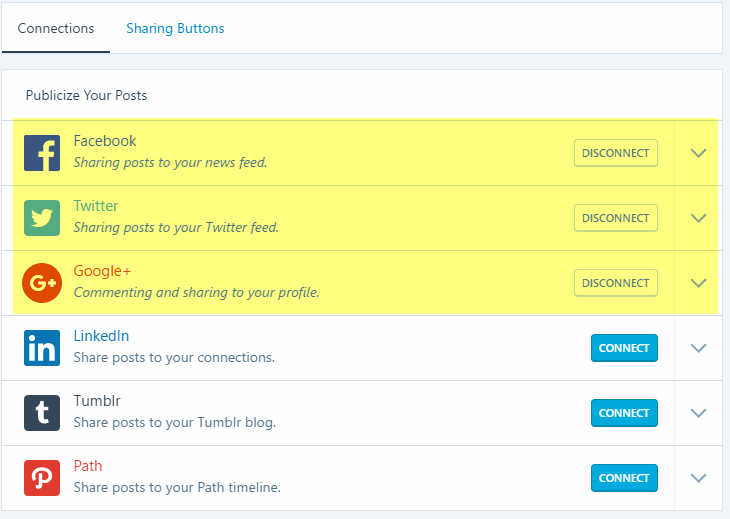
Here’s what the Connections tab looks like with three social media accounts connected.
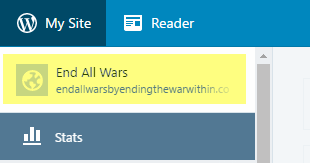
When you’re satisfied with the number of sites you’ve connected, click on the name of your site, top-left. This takes you to your website site display. Go to top-left and where you see the name of your site, click on it. In the drop-down that appears, choose Dashboard and you will return to the back-end of your WordPress site.
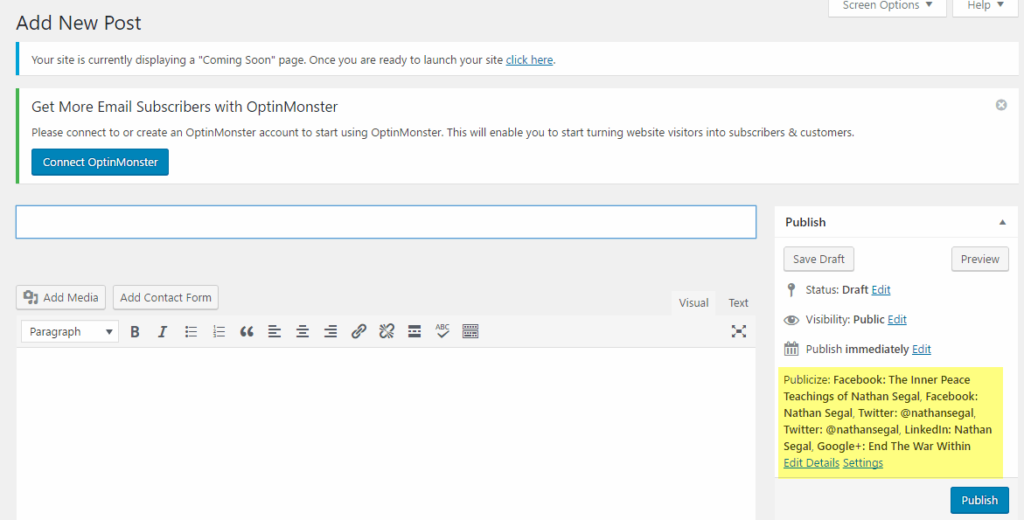
Once there, to go Posts and click on Add new. While you can now set up a post, what’s most important on this page are the settings far-right under the Publish Immediately heading. These are the various Jetpack links to your social media accounts. Here, you see each account and at the bottom of this section, you see the headings, Edit Details and Settings. These allow you to control how you publish. As an example, depending on the post, you might not want to publish to all your social media channels.
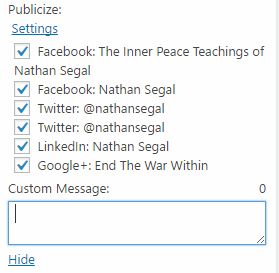
If that’s the case, click on the Edit details link. You will see the options above and you can choose where you want to publish your post.
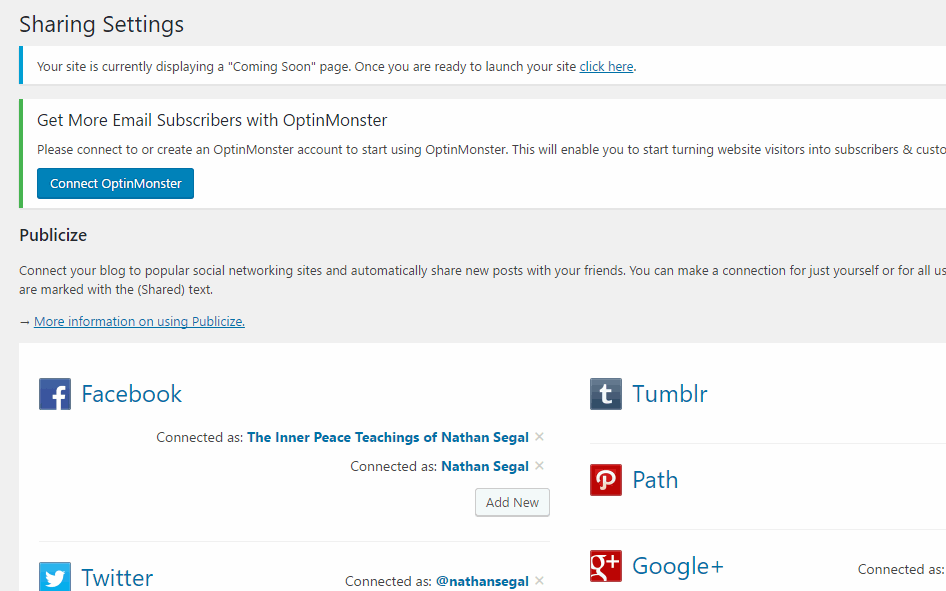
If you decide to add or disconnect any of your social media accounts, click on the Settings link. This will take you to the Sharing Setting section and you can change your settings accordingly.
That’s it! Now you’re all set to automatically post to social media when new posts are added to your blog!
Frequently Asked Questions about Automating Social Media Posting
What are the benefits of automating social media posts?
Automating social media posts can save you a significant amount of time and effort. It allows you to schedule posts in advance, ensuring that your content is shared at optimal times for engagement. Automation tools also provide analytics to track the performance of your posts, helping you to refine your social media strategy. Moreover, it ensures consistency in your posting schedule, which is crucial for building an engaged and loyal audience.
Can I automate posts on all social media platforms?
Yes, most social media automation tools support a wide range of platforms including Facebook, Twitter, Instagram, LinkedIn, and Pinterest. However, the availability of certain features may vary depending on the platform. For instance, some tools may not support automated posting for Instagram stories or LinkedIn articles.
Does automating social media posts affect engagement?
While automation can save time, it’s important to maintain a balance. Over-automation can make your posts seem impersonal and may negatively impact engagement. It’s crucial to monitor your posts and interact with your audience regularly to maintain authenticity.
How can I choose the right social media automation tool?
When choosing an automation tool, consider factors like ease of use, the number of supported platforms, scheduling capabilities, analytics features, and pricing. It’s also beneficial to read reviews and try out free trials before making a decision.
Can I use automation tools to repost old content?
Yes, many automation tools allow you to recycle or repost old content. This can be particularly useful for evergreen content that remains relevant over time. However, it’s important to update and refresh your content regularly to keep your audience engaged.
How can I ensure my automated posts are optimized for each platform?
Most automation tools allow you to customize your posts for each platform. This includes adjusting the post format, image size, hashtags, and more. It’s important to understand the best practices for each platform to ensure your posts are optimized for engagement.
Can I use automation tools to monitor my social media accounts?
Yes, many automation tools provide monitoring features. This includes tracking mentions of your brand, monitoring specific keywords, and more. This can help you stay on top of your social media presence and respond to any comments or queries promptly.
Can I schedule posts for different time zones?
Yes, most automation tools allow you to schedule posts for different time zones. This is particularly useful if your audience is spread across various regions. You can schedule your posts to go live at the optimal times for each time zone.
Can I use automation tools to manage multiple social media accounts?
Yes, most automation tools support management of multiple accounts. This can be particularly useful for businesses with a presence on multiple platforms or for social media managers handling multiple clients.
Can I use automation tools to analyze the performance of my posts?
Yes, most automation tools provide analytics features. This includes tracking likes, shares, comments, click-through rates, and more. These insights can help you understand what type of content resonates with your audience and refine your social media strategy accordingly.
 Nathan Segal
Nathan Segal has been working as a freelance writer for 18 years. He written over 1,000 articles and has published 9 books, mostly on computer graphics and photography. You can learn more about him at http://NathanSegal.org.