Enhanced Internationalization (i18n) in Next.js 14


Key Takeaways
- Next.js 14 simplifies multilingual web development with tools like language routing and dynamic message loading, making it easier for developers to create dynamic, multilingual web apps.
- The article provides practical insights into internationalization in Next.js 14, from setting up a new project, enabling i18n support, creating JSON files for each locale to compensate for Next.js’s current limitation in automatic translation, and implementing language-specific routing.
- The process of setting up language slugs in Next.js 14 is discussed, which are particularly useful for content-heavy pages like blogs or product listings. The steps include setting up dynamic message loading based on the chosen locale, defining a middleware that matches the locales and redirects users based on their preferred language, and modifying the layout and page components to configure the app language.
- The creation of a dynamic language switcher is also covered, which enhances user experience by providing an intuitive interface for language selection in multilingual Next.js 14 applications. The language switcher component uses Next.js’s router and usePathname hooks to handle routing and track the current pathname.
In this article, we’ll dive into why internationalization (i18n) is crucial for web development, explore Next.js 14’s new features, and learn how to build multilingual web experiences effortlessly.
Imagine landing on a website where you need to extract a piece of important information and suddenly hitting a language barrier. Frustrating, right? That’s where internationalization (i18n) comes in, making websites accessible to people worldwide.
Next.js 14 simplifies multilingual web development with tools like language routing and dynamic message loading. It’s designed to help developers easily create dynamic, multilingual web apps.
By the conclusion of this article, we’ll have practical insights into internationalization in Next.js 14, from setting up a new project to adding language switching.
Setting Up a Next.js 14 Project
Let’s start by setting up our project with built-in i18n.
Step 1. Create a fresh Next.js project by running the command below. For the sake of this article, we’ll name it i18n-next-app:
npx create-next-app i18n-next-app
Step 2. Navigate into your project folder and install Next.js (Version 14) and the next-intl package:
cd i18n-next-app
npm install next@latest next-intl
The command above installs Next.js along with its most recent features, such as i18n, and includes next-intl. The reason behind utilizing next-intl is its seamless integration with the App Router via a [locale] dynamic segment. This integration allows us to deliver content in various languages.
Step 3. Enable i18n support in Next.js 14 in your project by adding the following configuration in your next.config.js:
const withNextIntl = require('next-intl/plugin')();

module.exports = withNextIntl({
  //include other configs here
});
This code above configures Next.js with the next-intl plugin for enhanced internationalization capabilities. It imports the plugin and applies it to the Next.js configuration, allowing developers to easily incorporate internationalization features into their projects. This is done while giving room to preserve other project configurations.
Step 4: Create a content folder at the project’s root. Inside, create JSON files for each locale (en.json, es.json, de.json), containing your translated strings. This approach compensates for Next.js’s current limitation in automatic translation.
For the sake of this project, we’re going to use English, Spanish, and German, but feel free to add more locales as needed for your project’s requirements:
//content/de.json
{
  "Home": {
    "navigation": {
      "home": "Heim",
      "about": "Über uns",
      "contact": "Kontakt"
    },
    "title": "Internationalisierung (i18n) in Next.js 14",
    "description": "Next.js 14 führt erweiterte Internationalisierungs (i18n)-Funktionen ein, die Entwicklern ermöglichen, Übersetzungen, lokalisierungsbasiertes Routing und Inhaltslokalisierung für weltweit zugängliche Webanwendungen mühelos zu verwalten. <br /> <br />Darüber hinaus bietet es integrierte Unterstützung für mehrere Sprachvarianten, dynamisches Inhaltsladen und robuste Fallback-Behandlung."
  }
}
//content/es.json
{
  "Home": {
    "navigation": {
      "home": "Inicio",
      "about": "Acerca de",
      "contact": "Contacto"
    },
    "title": "Internacionalización (i18n) en Next.js 14",
    "description": "Next.js 14 introduce características avanzadas de internacionalización (i18n), capacitando a los desarrolladores para gestionar fácilmente traducciones, enrutamiento basado en localización y localización de contenido para aplicaciones web globalmente accesibles. <br /> <br />Esto también aprovecha el soporte incorporado para múltiples locales, carga dinámica de contenido y manejo de respaldo robusto."
  }
}
//content/en.json
{
  "Home": {
    "navigation": {
      "home": "Home",
      "about": "About",
      "contact": "Contact Us"
    },
    "title": "Internationalization(i18n) in Next.js 14",
    "description": "Next.js 14 introduces enhanced internationalization (i18n) features, empowering developers to effortlessly manage translations, locale-based routing, and content localization for globally accessible web applications. <br /> <br />This also piggy-backs built-in support for multiple locales, dynamic content loading, and robust fallback handling."
  }
}
The content above represents the landing page content of our projects tailored to cater to three distinct languages.
Language Routing and Slugs
In a multilingual web application, language routing ensures that users are directed to the appropriate version of the site based on their language preferences. Additionally, slugs allow for the dynamic generation of routes, particularly useful for content-heavy pages like blogs or product listings.
With our configuration finalized, let’s implement language-specific routing. Let’s also set up language slugs without relying on extra libraries.
Step 1. In the src/ directory, create a new file and name it i18n.ts. Configure it to dynamically load messages in accordance with the locale:
//i18n.ts
import { notFound } from "next/navigation";
import { getRequestConfig } from 'next-intl/server';

const locales: string[] = ['en', 'de', 'es'];

export default getRequestConfig(async ({ locale }) => {
  if (!locales.includes(locale as any)) notFound();

  return {
    messages: (await import(`../content/${locale}.json`)).default
  };
});
In this step, we’re setting up dynamic message loading based on the chosen locale. The getRequestConfig function dynamically imports JSON files corresponding to the locale from the content folder. This ensures that the application adapts its content easily to different language preferences.
Step 2. Create a middleware.ts file inside src/ to match the locales and allow redirecting the user based on the locale:
//middleware.ts
import createMiddleware from 'next-intl/middleware';

const middleware = createMiddleware({
  // Add locales you want in the app
  locales: ['en', 'de', 'es'],

  // Default locale if no match
  defaultLocale: 'en'
});

export default middleware;

export const config = {
  // Match only internationalized pathnames
  matcher: ['/', '/(de|es|en)/:page*']
};
In this step, we’re defining a middleware that matches the locales and redirects users based on their preferred language. We specify the supported locales and set a default locale in case of no match.
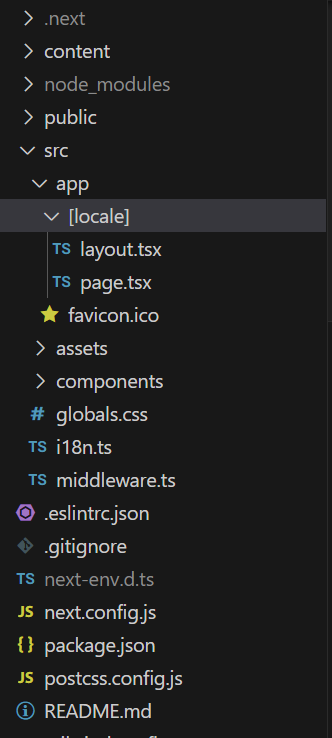
Step 3. Next, we configure the app language and modify the layout and page components. Establish a [locale] directory within app/ and move layout.tsx and page.tsx inside of it
//layout.tsx
interface RootLayoutProps {
  children: React.ReactNode;
  locale: never;
}

export default function RootLayout({ children, locale }: RootLayoutProps) {
  return (
    <html lang={locale}>
      <body className={inter.className}>{children}</body>
    </html>
  );
}
//page.tsx
import Header from "@/components/Header";
import { useTranslations } from "next-intl";
import Image from "next/image";
import heroImage from "../../assets/img/intl_icon.png";

export default function Home() {
  const t = useTranslations("Home");

  // Extract the navigation object keys from the translations
  const navigationKeys = Object.keys(t.raw("navigation"));

  return (
    <>
      <Header />
      <nav>
        <ul>
          {navigationKeys.map((key) => (
            <li key={key}>
              <a href={`#/${key}`}>{t(`navigation.${key}`)}</a>
            </li>
          ))}
        </ul>
      </nav>
      <main>
        <div>
          <aside>
            <h2>{t("title")}</h2>
            <p dangerouslySetInnerHTML={{ __html: t("description") }}></p>
          </aside>
          <aside>
            <Image src={heroImage} width={"600"} height={"600"} alt="" />
          </aside>
        </div>
      </main>
    </>
  );
}
From the code above, stripped of the stylings (the styled version can be found here) for clarity’s sake, we have used the useTranslations hook from next-intl to retrieve translated content, providing a better approach to managing multilingual content.
This hook allows us to retrieve translations for specific keys, such as title or description, from our JSON message files. With these implementations in place, our Next.js 14 app is now equipped with language routes and slugs.
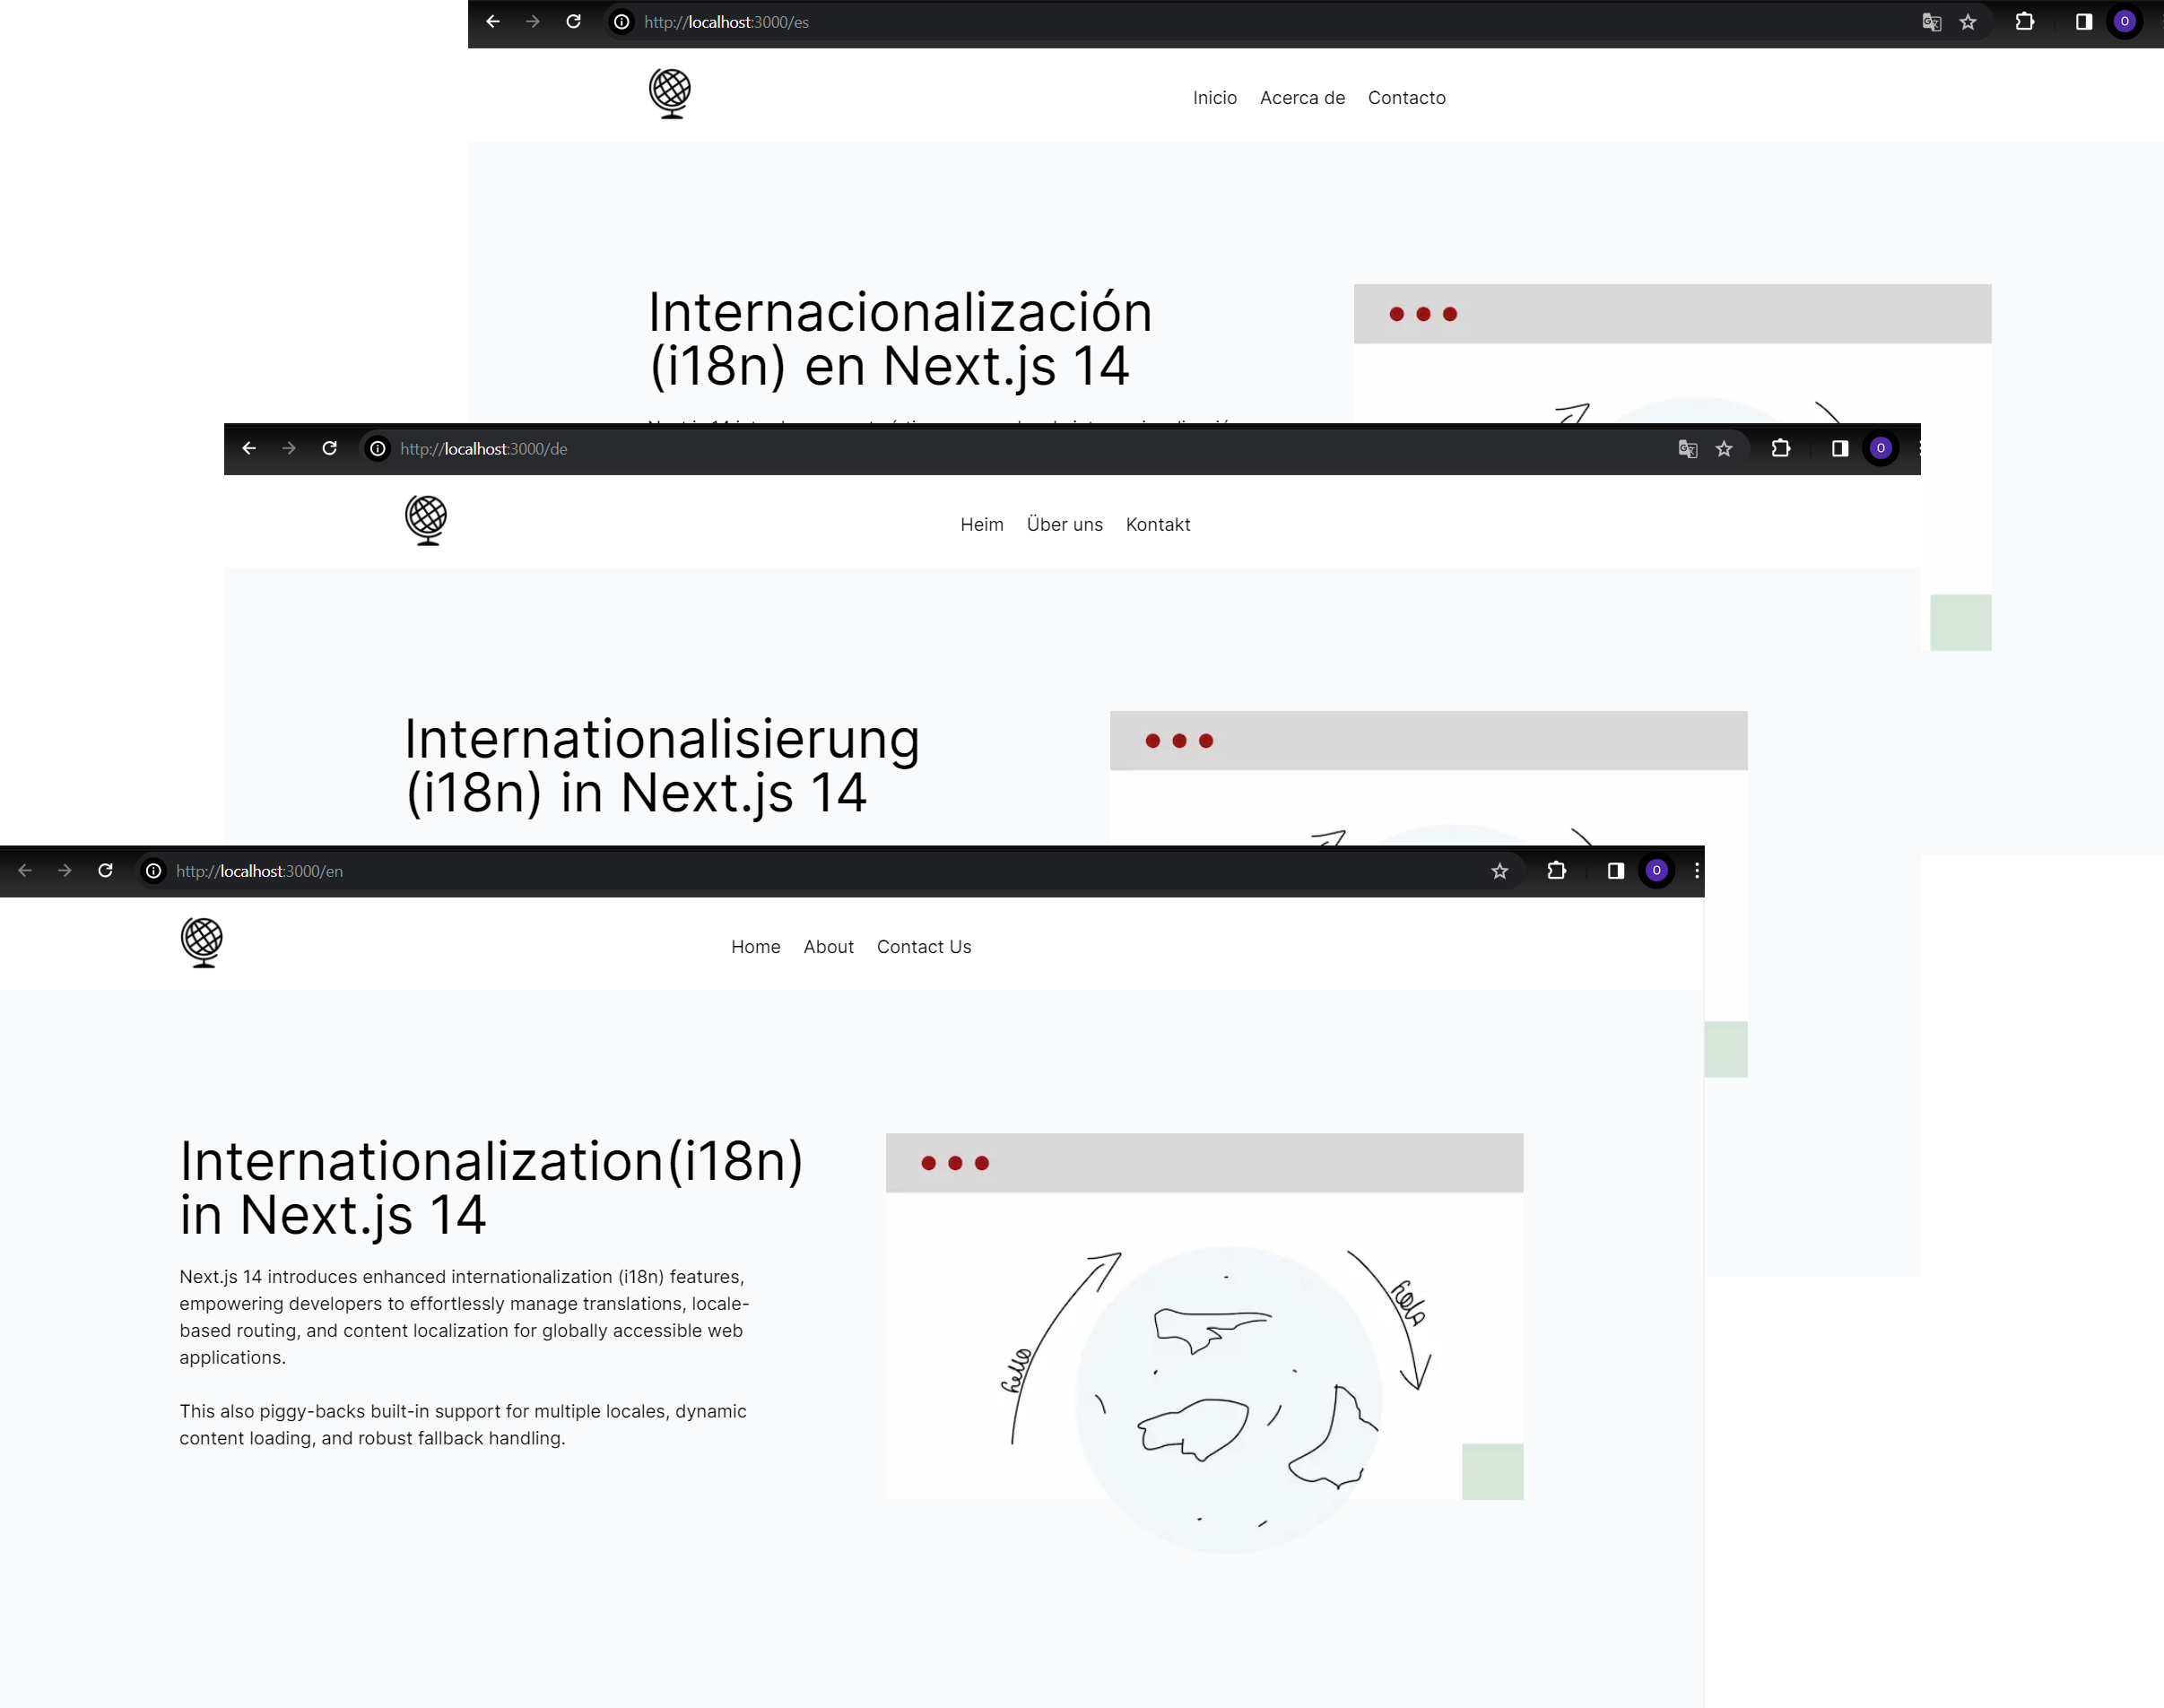
Step 4. When we run the app and visit URLs like localhost:port/en, localhost:port/es, localhost:port/de, we see the output in different languages.
With these steps, we’ve successfully implemented language routing and slugs in our Next.js 14 app, providing a seamless multilingual experience for users.
Implementing Language Switching
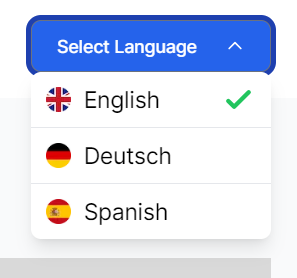
Here we create a language switcher component LangSwitch.tsx. This component will serve as the gateway for users to select their desired language:
//LangSwitcher.tsx
import React, { useState } from "react";
import Image from "next/image";
import { StaticImageData } from "next/image";
import { useRouter } from "next/navigation";
import { usePathname } from "next/navigation";
import gbFlag from "../assets/img/bg_flag.png";
import geFlag from "../assets/img/german_flag.png";
import esFlag from "../assets/img/spain_flag.png";
const LangSwitcher: React.FC = () => {
interface Option {
country: string;
code: string;
flag: StaticImageData;
}
const router = useRouter();
const pathname = usePathname();
const [isOptionsExpanded, setIsOptionsExpanded] = useState(false);
const options: Option[] = [
{ country: "English", code: "en", flag: gbFlag },
{ country: "Deutsch", code: "de", flag: geFlag },
{ country: "Spanish", code: "es", flag: esFlag },
];
const setOption = (option: Option) => {
setIsOptionsExpanded(false);
router.push(`/${option.code}`);
};
return (
<div className="flex items-center justify-center bg-gray-100">
<div className="relative text-lg w-48">
<button
className=" justify-between w-full border border-gray-500 text-white bg-blue-700 hover:bg-blue-800 focus:ring-4 focus:outline-none focus:ring-blue-300 font-medium rounded-lg text-sm px-5 py-2.5 text-center inline-flex items-center dark:bg-blue-600 dark:hover:bg-blue-700 dark:focus:ring-blue-800"
onClick={() => setIsOptionsExpanded(!isOptionsExpanded)}
onBlur={() => setIsOptionsExpanded(false)}
>
Select Language
<svg
fill="none"
viewBox="0 0 24 24"
stroke="currentColor"
className={`h-4 w-4 transform transition-transform duration-200 ease-in-out ${
isOptionsExpanded ? "rotate-180" : "rotate-0"
}`}
>
<path
strokeLinecap="round"
strokeLinejoin="round"
strokeWidth={2}
d="M19 9l-7 7-7-7"
/>
</svg>
</button>
<div
className={`transition-transform duration-500 ease-custom ${
!isOptionsExpanded
? "-translate-y-1/2 scale-y-0 opacity-0"
: "translate-y-0 scale-y-100 opacity-100"
}`}
>
<ul className="absolute left-0 right-0 mb-4 bg-white divide-y rounded-lg shadow-lg overflow-hidden">
{options.map((option, index) => (
<li
key={index}
className="px-3 py-2 transition-colors duration-300 hover:bg-gray-200 flex items-center cursor-pointer"
onMouseDown={(e) => {
e.preventDefault();
setOption(option);
}}
onClick={() => setIsOptionsExpanded(false)}
>
<Image
src={option.flag}
width={"20"}
height={"20"}
alt="logo"
/>
{option.country}
{pathname === `/${option.code}` && (
<svg
xmlns="http://www.w3.org/2000/svg"
fill="none"
viewBox="0 0 24 24"
stroke="currentColor"
className="w-7 h-7 text-green-500 ml-auto"
>
<path
strokeLinecap="round"
strokeLinejoin="round"
strokeWidth={3}
d="M5 13l4 4L19 7"
/>
</svg>
)}
</li>
))}
</ul>
</div>
</div>
</div>
);
};
export default LangSwitcher;
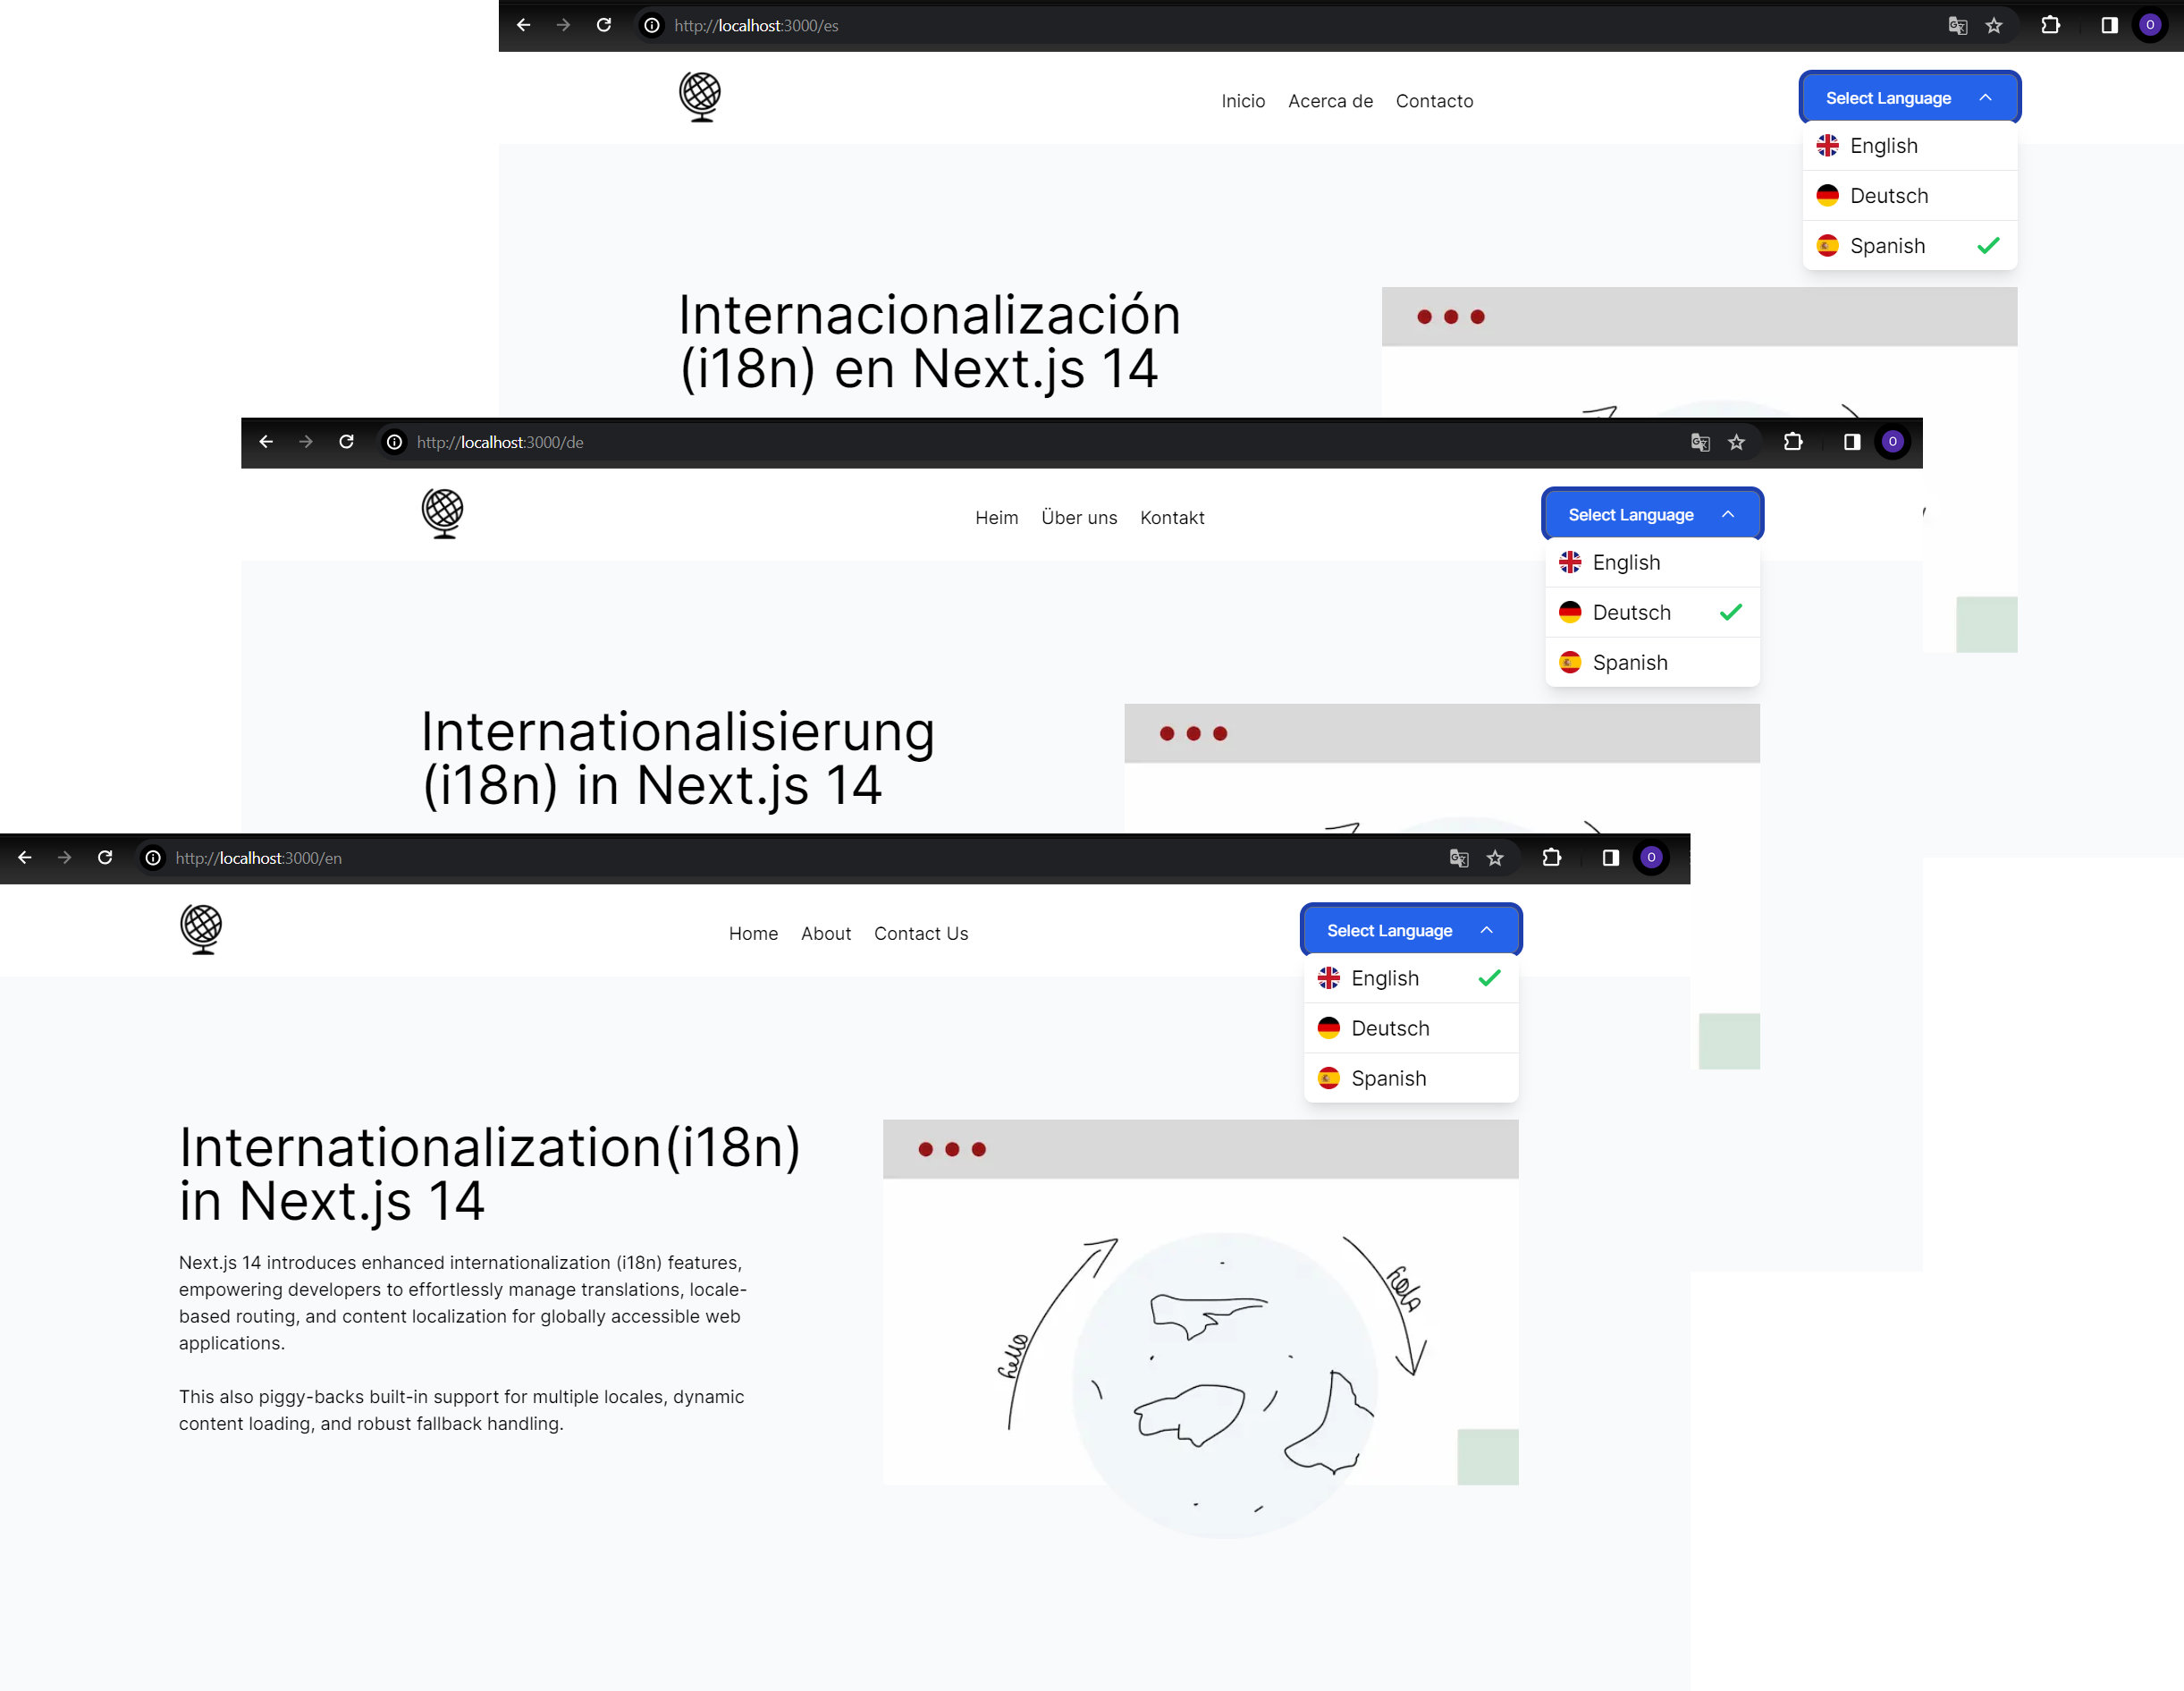
The LangSwitcher component above uses Next.js’s router and usePathname hooks to handle routing and track the current pathname. The state is managed using the useState hook to toggle the visibility of the language options dropdown. An array called options stores language options, with each object representing a language and containing its respective properties.
The function setOption is defined to handle language selection. When a language option is clicked, it updates the URL with the selected language code. If a language option matches the currently selected language, a checkmark icon is displayed next to it.
Styled with Tailwind CSS, the LangSwitcher component enhances user experience by providing an intuitive interface for language selection in multilingual Next.js 14 applications.
Now that we have our language switcher component ready, we integrate it into our header.tsx file within the layout to make it accessible across all pages of our application. So here we have it: users can effortlessly switch languages regardless of which page they’re on.
Conclusion
To sum it up, internationalization plays a crucial role in reaching a global audience and improving user experience by providing content in users’ preferred languages. With Next.js 14, developers have powerful tools at their disposal to create dynamic multilingual websites efficiently.
From the initial setup using next-intl to crafting language-specific routing and dynamic slugs, Next.js 14 organizes the complexities of multilingual web development. Additionally, we explored the creation of a dynamic language switcher to elevate user experience.
To see the project in action, explore the live demonstration hosted on Vercel. Additionally, valuable insights and guidance for the codebase are available on the GitHub repository.
Emmanuel is a passionate software developer who finds joy in both writing and problem-solving.


Published in
·AI·Computing·Content Marketing·Email Marketing·Entrepreneur·Low Code·Marketing·SEO & SEM·October 6, 2021