An “activity” in Android is a single screen in which the user will interact. If you want to create a form to take input from the user, or if you need to display information or feedback to the user, you would usually build an activity for the purpose. In some circumstances, an activity will be running on the user’s phone (or any other Android device) and they might want to switch to some other task. Android runtime will put your initial activity in the background in those kinds of scenarios. When there are many activities and the android runtime is low on resources, it might destroy your activity depending on its priority (the activity with which the user is interacting currently always has the highest priority). So, depending on the situation, once your activity is launched, Android runtime might handle your activities in a number of different ways. When the state of your activity changes, Android runtime calls specific events (functions) that allow your activity to perform certain tasks before its state is changed. In this article, we are going to examine the different states in which an activity can be, the different events that are executed during the lifetime of an activity, and what a well-designed activity can and should perform during those events.
States of An Activity
During its lifetime, an Android activity will be in one of the following states:- Active – An activity is in an active state when it is in direct interaction with the user in the foreground of the Android device.
- Inactive – An activity is in an inactive state before it is launched or once it has been “killed” by the android runtime.
- Paused – An activity is in a paused state when the activity is visible but not in focus.
- Stopped – An activity is in a stopped state when it’s no longer visible. It is still in memory, but it could be destroyed by the android runtime, as “stopped” activities are generally considered low priority.
Activity Life Cycles
When the activity changes states, the Android runtime calls different even handlers on the activity. The default implementations of these even handlers are already present in the Activity class. Depending on the needs of your activity, you can override any of the following even handlers. To understand the event handlers, let’s create a simple Activity called as ActivityLifeCycleDemo. The default activity will look as follows: [sourcecode language=”java”] public class ActivityLifeCycleDemo extends Activity { /** Called when the activity is first created. */ @Override public void onCreate(Bundle savedInstanceState) { super.onCreate(savedInstanceState); setContentView(R.layout.main); } } [/sourcecode] Now, I’ll add two support functions that we are going to use with our activity. Within the class, first define a final “int”, and then follow with the functions: [sourcecode language=”java”] static final int NOTIFICATION_ID = 1776; protected void DisplayNotification(String title,String message) { NotificationManager notifManager = (NotificationManager) getSystemService(NOTIFICATION_SERVICE); Notification note = new Notification(R.drawable.icon, title, System.currentTimeMillis()); PendingIntent intent = PendingIntent.getActivity(this, 0, new Intent(this, ActivityLifeCycleDemo.class), 0); note.setLatestEventInfo(this, title, message, intent); notifManager.notify(NOTIFICATION_ID, note); } protected void sleepForaMinute() { try { Thread.sleep(60000); } catch (InterruptedException e) { // TODO Auto-generated catch block e.printStackTrace(); } } [/sourcecode] In the above example, function “DisplayNotification” will simply display a notification using the Android’s standard notification classes. The function “sleepForaMinute” just sleeps for a minute so that we can see the events in case they happen very quickly.onCreate
Let’s first override the onCreate handler as follows: [sourcecode language=”java”] public void onCreate(Bundle savedInstanceState) { super.onCreate(savedInstanceState); setContentView(R.layout.main); DisplayNotification(“ActivityLifeCycleDemo”,”onCreate”); sleepForaMinute(); } [/sourcecode] Now, when you start your activity, you should see the notification shown below on your Android device.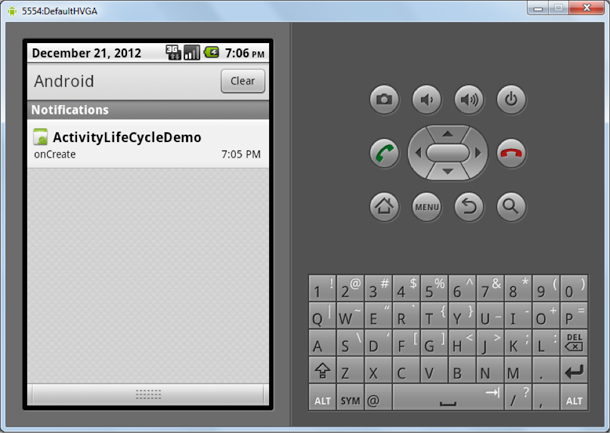 In our onCreate handler, we set the main content view and display the notification to signify that this event handler is called. The onCreate handler is called whenever a new activity is created. In your onCreate handler, you should include all of the typical initializing tasks like creating the UI, acquiring some resources, creating services, etc.
The onCreate method even passes the savedInstanceState; It can read values and assist with the initializing of the UI and other basic tasks. Almost all activities will require you to override this method.
onDestroy
Now let’s override the onDestroy event as follows: [sourcecode language=”java”] @Override <strong>protected</strong> <strong>void</strong> onDestroy() { super.onDestroy(); DisplayNotification(“ActivityLifeCycleDemo”,”onDestroy”); } [/sourcecode] The onDestroy event is called whenever the activity is destroyed. If you start an activity and then press the back button, the activity will be destroyed and you should see the following notification.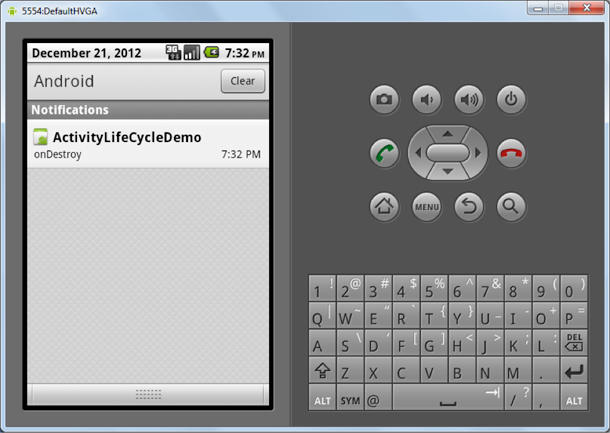 The onDestroy method should clean up all the resources those were acquired by the onCreate method and previously used by the now-destroyed activity.
onStart
Now let’s override the onStart method as follows: [sourcecode language=”java”] @Override protected void onStart() { super.onStart(); DisplayNotification(“ActivityLifeCycleDemo”,”onStart”); sleepForaMinute(); } [/sourcecode] The onStart event is called whenever the activity becomes visible. When you start a new activity, the onStart event will be called after the onCreate event. If the activity becomes invisible (when the user starts another activity) and then becomes visible once again, the onStart event will be called (onCreate will not be called in this case; it’s reserved for brand new activities). The following notification will be seen whenever the activity changes from an invisible to a visible state.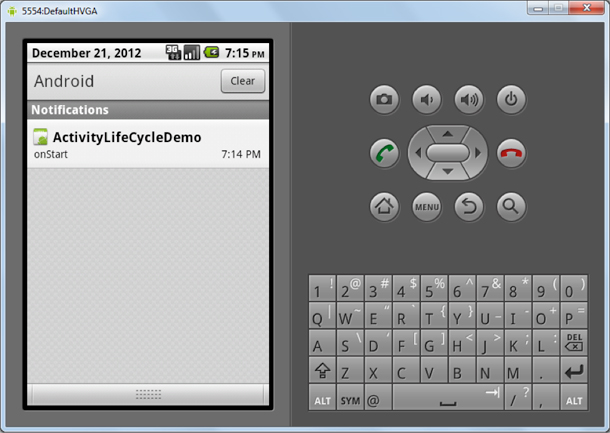 In the onStart method, you should start all the visible actions necessary for your activity, like showing animations, displaying user prompts, etc.
onStop
Now, let’s override the onStop method as follows: [sourcecode language=”java”] @Override protected void onStop() { super.onStop(); DisplayNotification(“ActivityLifeCycleDemo”,”onStop”); } [/sourcecode] The onStop event is executed whenever an activity becomes invisible. So, if you have you activity started, andclick on the home button (making your current activity invisible), you should see the following notification.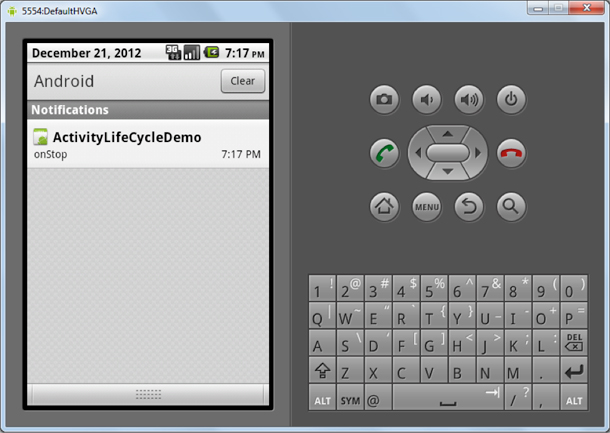 The onStop method should stop all of the actions that were started in the onStart method. Because the activity is invisible, your activity should not be performing (and consuming CPU cycles for) any tasks required for the Android interface.
onResume
Now let’s override the onResume method as follows: [sourcecode language=”java”] protected void onResume() { super.onResume(); DisplayNotification(“ActivityLifeCycleDemo”,”onResume”); } [/sourcecode] The onResume event happens just before the activity is made visible and becomes ready to take user inputs once again. When the activity starts or comes back into focus, you will see the following notification.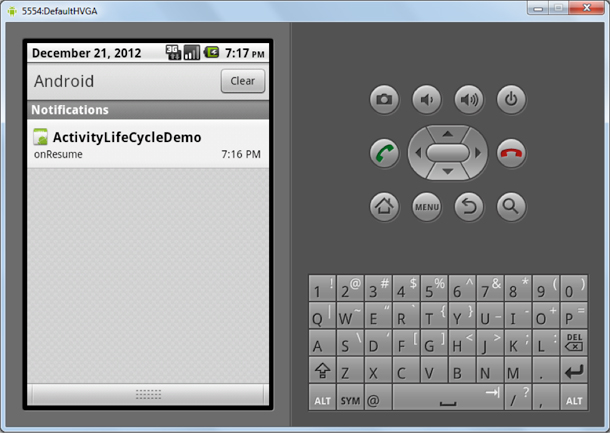 You should keep the code in onResume very quick, because it will be called quite frequently. If you build onResume inefficiently, you might end up with a slow, unresponsive Android app.
onPause
Now let’s override the onPause method as follows: [sourcecode language=”java”] @Override protected void onPause() { super.onPause(); DisplayNotification(“ActivityLifeCycleDemo”,”onPause”); } [/sourcecode] onPause is called whenever an activity goes out of focus. The code in onPause (like onResume) should be very quick, as it might get called frequently.onSaveInstanceState
onSaveInstanceState is an event that can be used to save the state of the activity in a Bundle. That Bundle will be passed either to the event onRestoreInstanceState or onCreate, both of which can read from the Bundle and restore the state of the activity.Conclusion
An Android activity goes through several different states during its lifetime. Understanding the states and the events will help you to code your app in a more efficient, responsive way for your users. The Android operating system, by calling events on the activity, lets the activity manage itself quite effectively, as long as you’re developing the different events carefully. So, have fun while managing the life cycle of your next Android app!Frequently Asked Questions (FAQs) about Android Activity Lifecycle
What is the significance of the Android Activity Lifecycle?
The Android Activity Lifecycle is a set of states that an activity can be in during its entire lifetime. It includes methods like onCreate(), onStart(), onResume(), onPause(), onStop(), onDestroy(), and onRestart(). Understanding these lifecycle methods is crucial for building an efficient Android app. It helps in creating an interactive user experience and ensures that the user’s progress isn’t lost when they navigate away from the activity. It also helps in managing resources effectively, preventing unnecessary usage of system resources, and avoiding potential app crashes.
How does the ‘onCreate()’ method work in the Android Activity Lifecycle?
The ‘onCreate()’ method is the first step in the lifecycle of an activity. It is called when the activity is first created. This method is typically used to perform one-time initializations such as creating the user interface, binding data to lists, and setting up any static setup that needs to be done. Once this method finishes execution, the activity enters the ‘Started State’.
What is the role of the ‘onResume()’ and ‘onPause()’ methods in the Android Activity Lifecycle?
The ‘onResume()’ method is called when the activity is ready to start interacting with the user. It is at this point that the activity is at the top of the activity stack, with user input going to it. On the other hand, ‘onPause()’ is called when the system is about to start resuming a previous activity. This method is typically used to commit unsaved changes, stop animations and other things that may be consuming CPU, and so on. It is the last method that’s guaranteed to be called before the activity is either destroyed or stopped.
Can you explain the ‘onStop()’ method in the Android Activity Lifecycle?
The ‘onStop()’ method is called when the activity is no longer visible to the user. This may happen because the activity is being destroyed, a new activity is starting, or an existing activity is entering a resumed state and is covering the stopped activity. In all these cases, the stopped activity is no longer visible at all. The ‘onStop()’ method is a good place to save the data that should be persisted between user sessions because the method is called early in the lifecycle of an activity being stopped.
What happens during the ‘onDestroy()’ method in the Android Activity Lifecycle?
The ‘onDestroy()’ method is called before the activity is destroyed. This is the final call that the activity will receive. It could be called either because the activity is finishing (due to the user completely dismissing the activity or due to ‘finish()’ being called on the activity), or because the system is temporarily destroying the activity due to a configuration change (such as device rotation or multi-window mode).
How does the ‘onRestart()’ method function in the Android Activity Lifecycle?
The ‘onRestart()’ method is called when the activity has been stopped, prior to it being started again. This method is always followed by ‘onStart()’. The ‘onRestart()’ method is a good place to reload changes that depend on configuration or other data that might have changed while the activity was in the stopped state.
What is the difference between ‘onPause()’ and ‘onStop()’ in the Android Activity Lifecycle?
The ‘onPause()’ method is called as part of the activity lifecycle when an activity is going into the background, but has not (yet) been killed. While ‘onStop()’ is called when the activity is no longer visible to the user. The key difference is that ‘onPause()’ is the first method that’s called when the system is about to resume a previous activity, while ‘onStop()’ is called when the activity is no longer visible.
How can I handle configuration changes in Android Activity Lifecycle?
When a configuration change occurs at runtime, such as screen rotation, Android restarts the running Activity (‘onDestroy()’ is called, followed by ‘onCreate()’). To handle this, you can use the ‘onSaveInstanceState()’ method to save your instance state with a bundle that gets passed to ‘onCreate()’ and ‘onRestoreInstanceState()’. You can then use this bundle to restore your state.
What is the importance of the ‘onStart()’ method in the Android Activity Lifecycle?
The ‘onStart()’ method is called just before the activity becomes visible to the user. After ‘onStart()’, the ‘onResume()’ method is quickly called. The ‘onStart()’ method is typically overridden to restart any halted operations (such as animations and music playback), or to register any broadcast receivers and other components that became unregistered during ‘onPause()’.
How can I ensure smooth transitions and avoid app crashes using Android Activity Lifecycle?
Understanding and properly implementing the Android Activity Lifecycle methods can help ensure smooth transitions between different states of your app. For instance, you should release resources like network connections, sensors, or any components that may affect battery life in your ‘onPause()’, ‘onStop()’, or ‘onDestroy()’ methods. Similarly, any long-running CPU intensive work should be done in a separate thread to avoid UI freezes. By managing resources effectively and doing heavy work off the UI thread, you can avoid app crashes and enhance user experience.
Abbas is a software engineer by profession and a passionate coder who lives every moment to the fullest. He loves open source projects and WordPress. When not chilling around with friends he's occupied with one of the following open source projects he's built: Choomantar, The Browser Counter WordPress plugin, and Google Buzz From Admin.


