Design agencies typically know what it takes to create eye-catching designs for their clients and often try to make sure that their outward appearance matches their talent. When a design agency moves their company online to attract more clients and become more accessible they know that their website must be designed to perfection.
This is why you are most likely to see creatively designed websites attached to a design studio. Other than showing their skills design agencies also want you to know what it is they do by providing an overview of the agency.
Today’s tutorial will take you through the process of prototyping a stylish overview page for your design agency.
Resources you will need:
Step 1
If you haven’t opened up Photoshop this is the first thing you will want to do. Once the program is up and running you will want to create a new file by going to File > New or simply pressing Ctrl + N. Give your canvas the dimensions of 1361px by 1797px. Press OK.
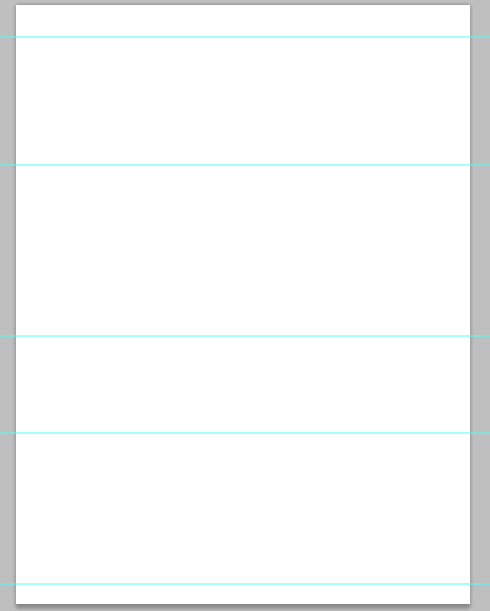
Step 2 Guidelines
We will now add guidelines to our canvas to designate where the elements of our page will go. To add guidelines simply go to View > New Guide…
Here is how you will input the first guide, for the navigation menu:

Continue by adding the rest of the guides:
Header Image: 480px
Overview Text: 993px
Contact Info: 1284px
Map: 1737px
Here is what your final image should look like:
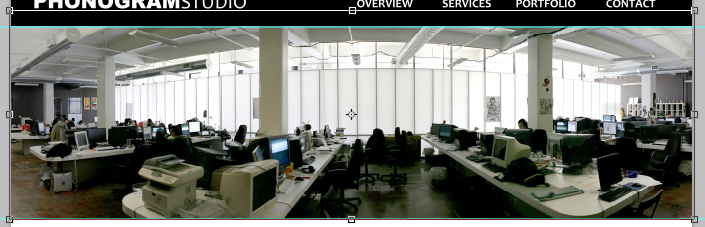
Step 3 Navigation Menu
With our guidelines in place we will first begin on our header. Change your foreground to #000000 and use the Rectangular Marquee Tool to select your section and fill it in.

If you have a logo you can now enter it in the top left corner. If you do not have a logo you can simply type in the company as I have done. I used Arial and Candara both in 30pt.
![]()
Next finish up your navigation menu by adding your navigation links for “overview”, “services”, “portfolio” and “contact”. Create these in 18pt font using Candara and making the words bold.
![]()
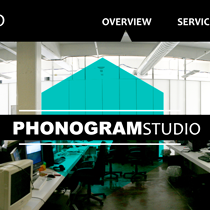
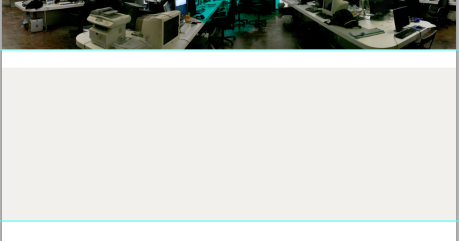
Step 4 Header Image
Open up the office image that will be used for your header. Paste it on to your canvas and scale it down so that it fits your designated header section. Notice how the image overlaps underneath the navigation menu bar. This is important.
Next select a triangle shape with the Polygonal Lasso Tool making sure the tip of the triangle is right under the word “overview”. Go to the navigation layer and press DELETE.

Step 5 Header Content
Now is the time to add content to our header image. Start by changing your foreground color to #00afaa and create a hexagon shape with the Polygon Tool in the middle of your header image at about 160px. Change the layer mode to Darken.

Next create a black bar in the center of your hexagon and add the agency name in the center so you have something like this.

Finish up your graphic by creating two lines at the top and bottom of the black bar.

Step 6 Overview Content Area
Create a new layer for your content area. With the color # f2f0ed fill in this section but leave 50px at the top white.
Change your foreground color to #a6a6a6 and use the Rectangular Marquee Tool to create a square on a new layer. Stroke the selection so the outline is 3px thick. Next rotate the square so that it is a diamond.

Duplicate this layer three times and move the diamonds in the same manner as done in the image below.

Now duplicate this layer and move the new row of diamonds beneath the original so that the tips touch.

Combine these two layers and then fill in the top and bottom diamonds with #a6a6a6 skipping every other one. Fill in the middle diamonds with #cfcfcf.
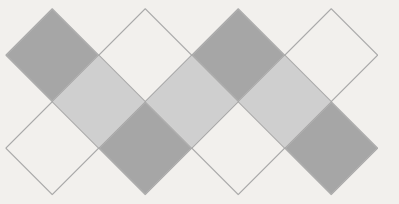
Duplicate this design once more then move them so you have one design in the bottom left of you content area and the other in the top right. Change the layer mode to Screen.

Once your designs are in place you can add in your overview text. Note the two colors used are #00afaa and #585a5a. The top line is 33pt, the middle line is 30pt and the bottom is 24pt. The font throughout is Candara.

Step 7 Contact Area
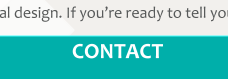
Change your foreground color to #00afaa and make a new layer for the contact portion of your layout. Fill in the designated area.

Next using Candara at 33pt and in bold, write the word “contact” towards the top of the box centering it.
Create a small black hexagon just under the contact title and with the Rectangular Marquee Tool create two skinny white lines and offset them on either side of the hexagon making sure that they are evenly spaced.

With the colors #be202e and #ffffff create two skinny rectangles and place one on each of your newly added white lines like I have done below. Don’t forget to add in your desired text.

Now write your main text for each form of contact: “Let’s Talk”, “The Studio”, “Press Kit” and “Social Media”. Next add in the icons envelope, pushpin 1, document, facebook, twitter bird and phone 2 and put them in their respective places.

Finish up by filling out the rest of your contact information beneath each corresponding area.

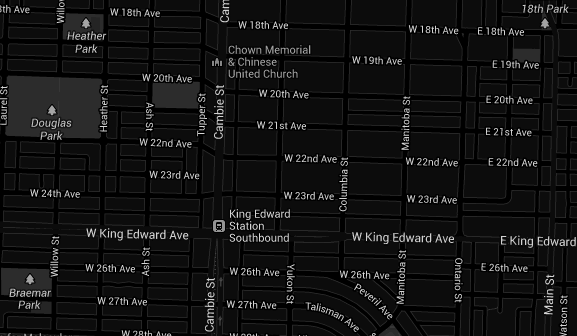
Step 8 Map
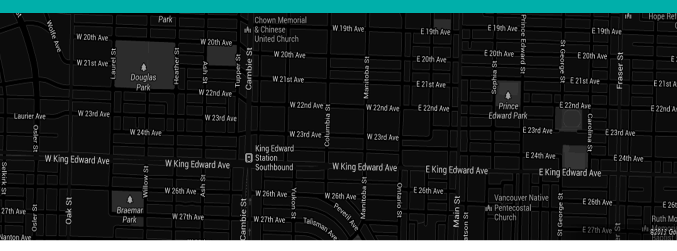
If you are working with a fake agency then you will need to simply grab a screenshot of a map like I did by going to Google Maps. If you’re agency is real then use a map with the correct address. Open your map image once you have it and go to Image > Adjustments > Invert.
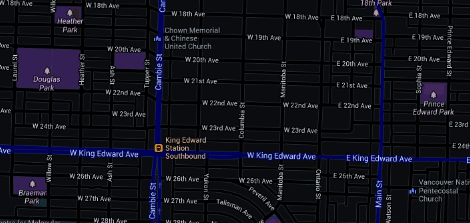
Next create a new layer and fill it in with #5c5c5c then change the layer mode to Color. Merge layers down.
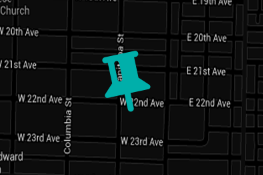
Place your map in the designated map area.
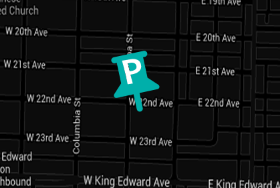
Add the icon pushpin 2 to the map and change it to #00afaa.
Finish up by adding the first letter of the agency’s name on the pinhead in white.
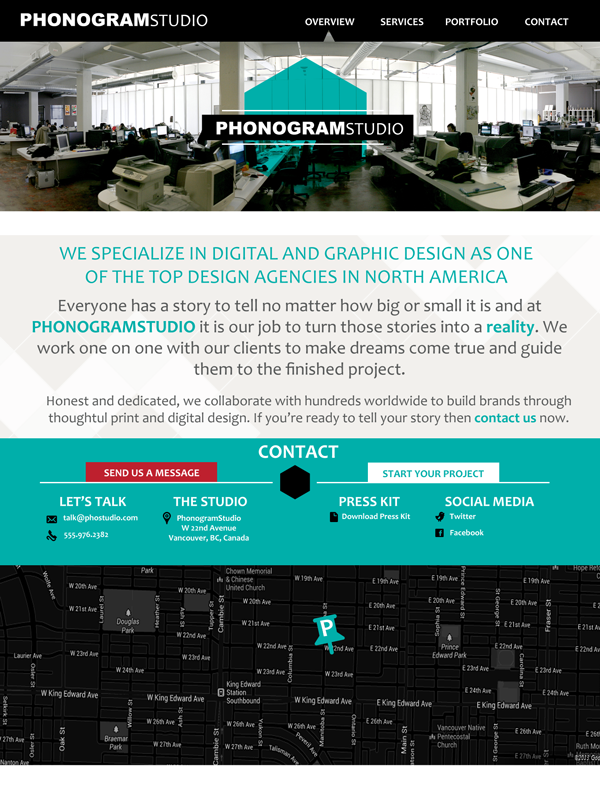
Here is what the final image will look like.
Download the PSD File https://www.dropbox.com/s/xeoc3tk0cp7skk8/overview.zip
 Gabrielle Gosha
Gabrielle is a creative type who specializes in graphic design, animation and photography.